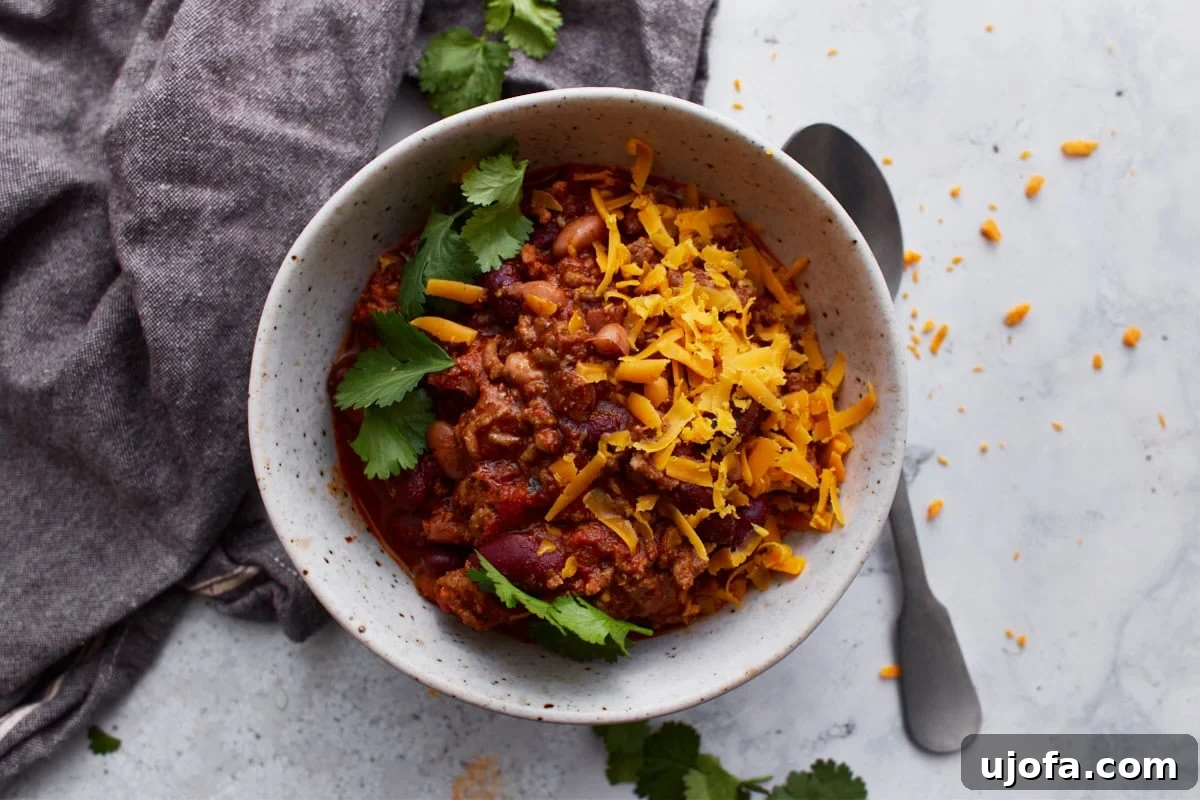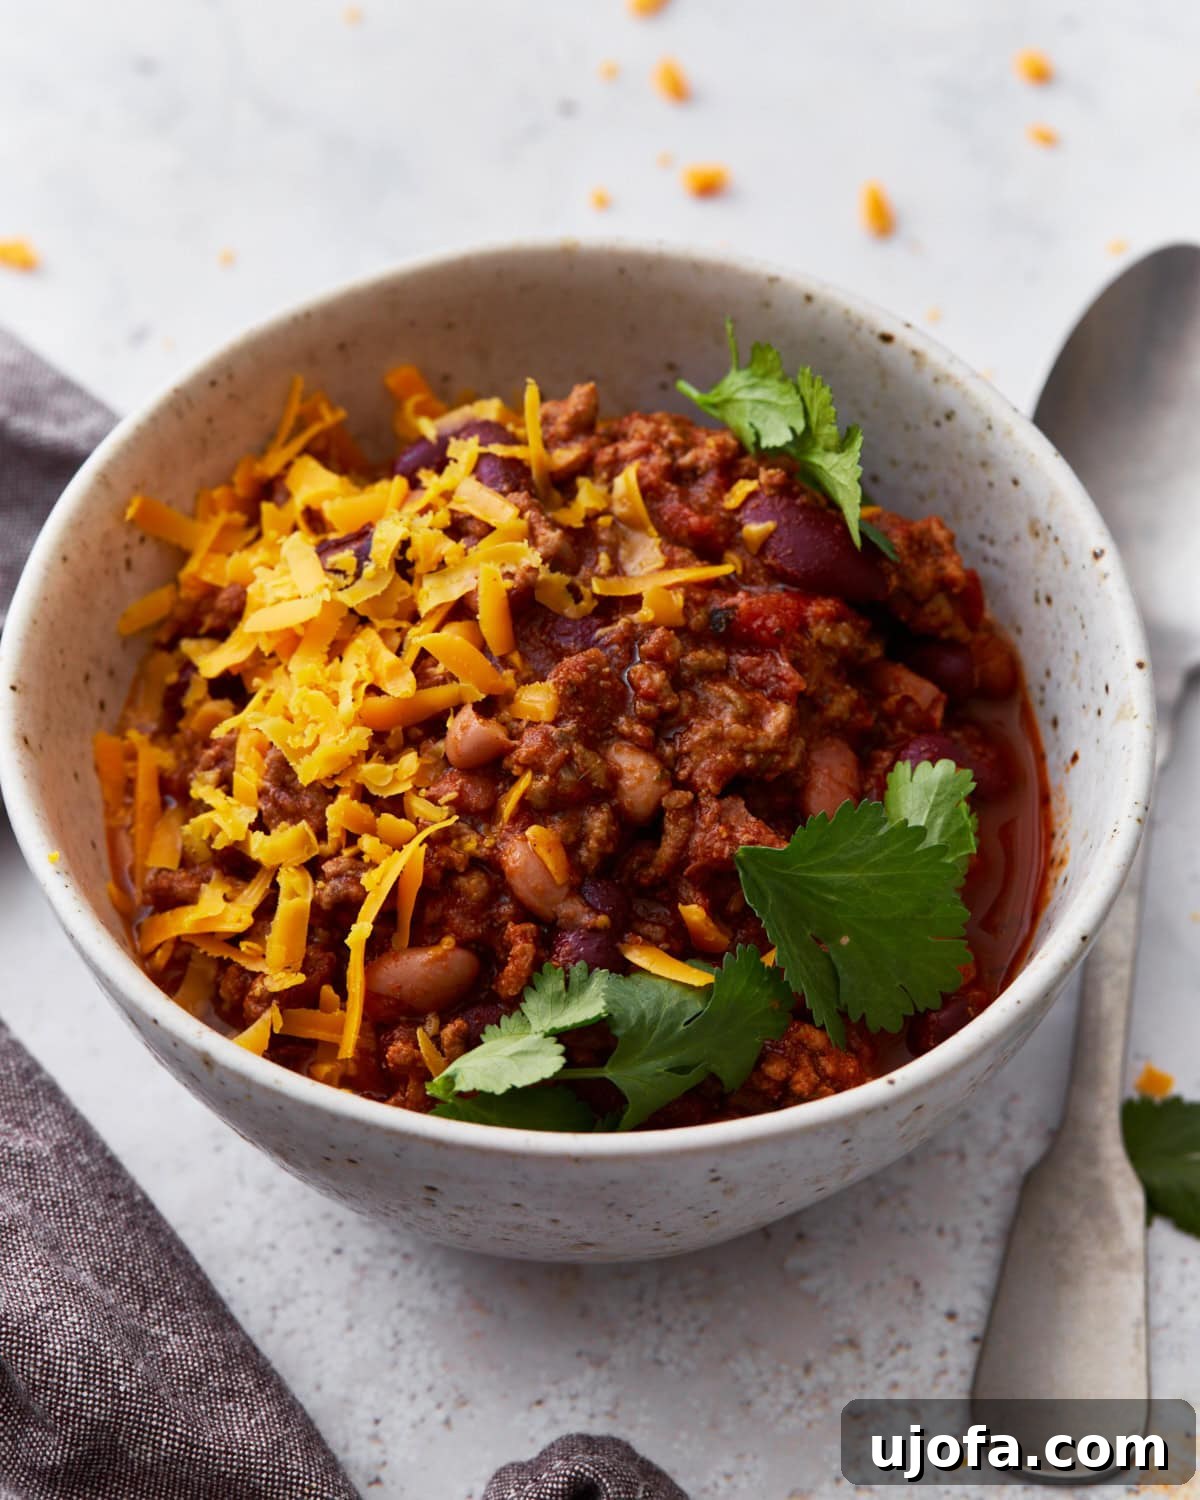
Welcome to the ultimate guide for a truly heartwarming and satisfying meal: the Easy Gluten-Free Chili Recipe. This hearty, one-pot wonder is designed to bring comfort to your table without any hidden gluten, making it a perfect choice for those with dietary restrictions or anyone seeking a delicious, wholesome meal. Crafted with tender ground beef, a vibrant blend of beans, and a carefully balanced homemade chili seasoning, this recipe comes together in a remarkable 30 minutes. Whether you’re battling a chilly evening, hosting a lively game day gathering, or simply craving a fuss-free dinner, this gluten-free and dairy-free chili promises to be a crowd-pleaser.
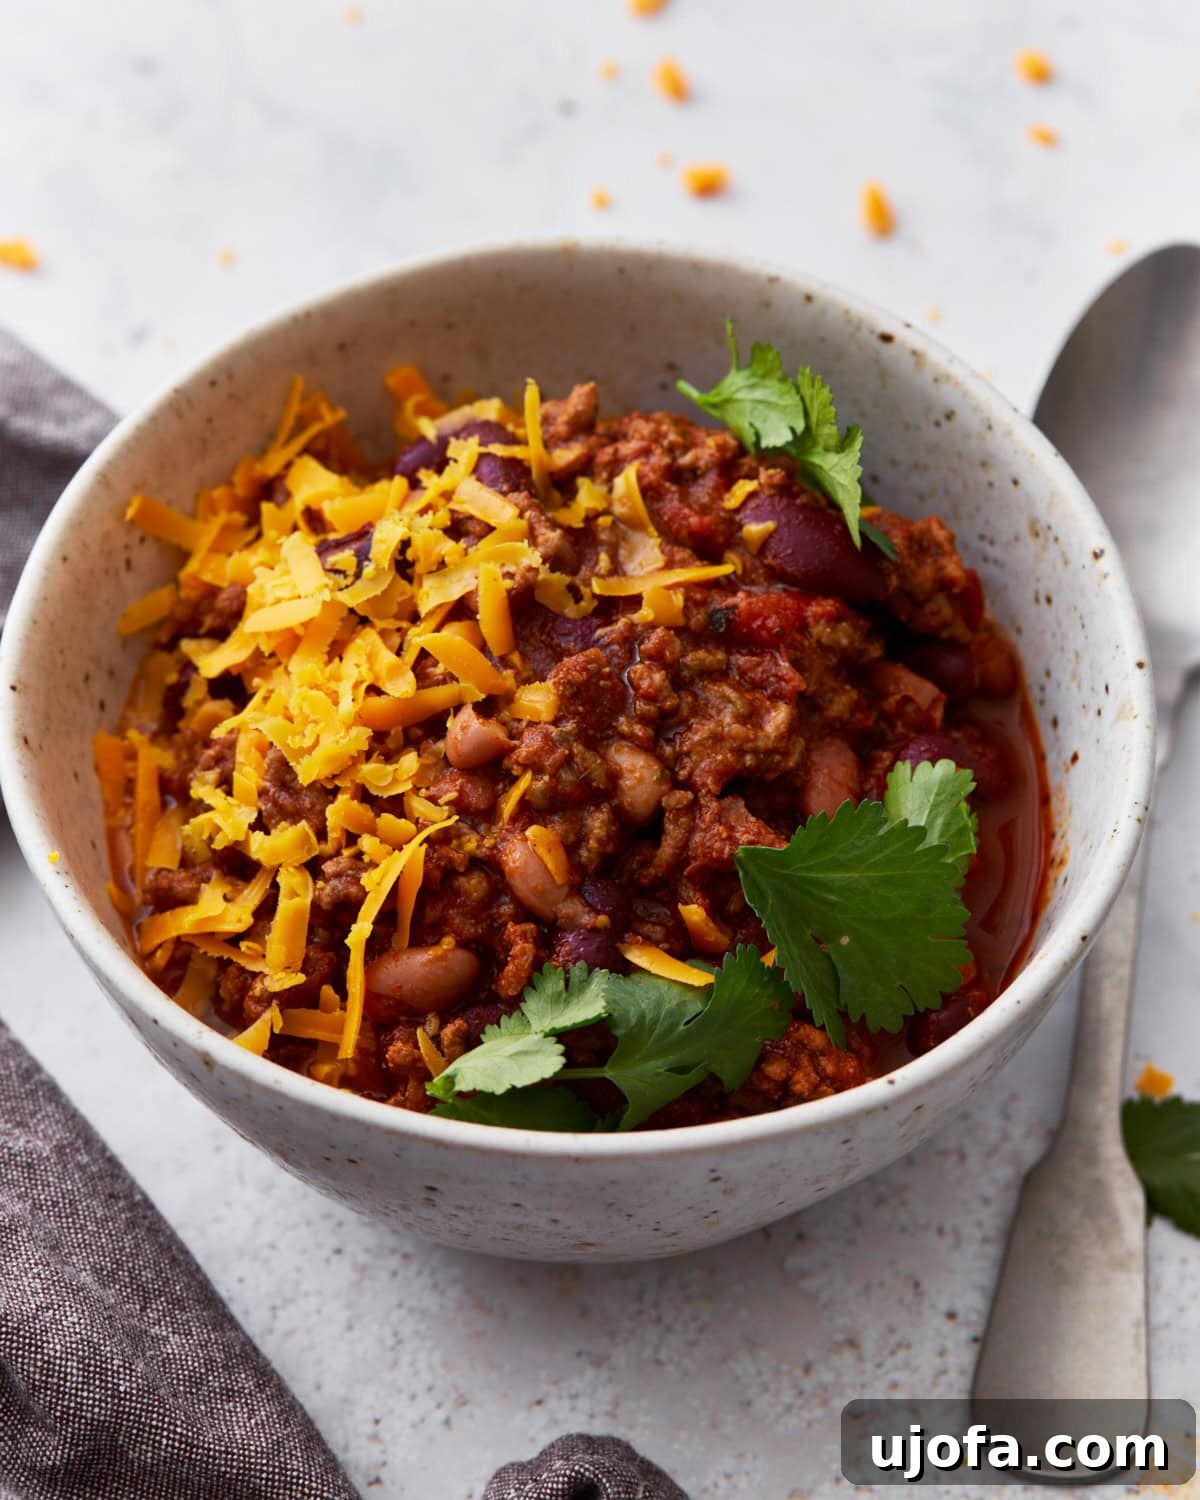
Mastering the Art of Gluten-Free Chili: A Comfort Food Essential
Chili isn’t just a dish; it’s an experience. A deeply flavorful concoction of rich beef, robust beans, tangy tomatoes, and an aromatic symphony of spices, all simmered to perfection. This particular gluten-free beef chili stands out as a top contender for regular dinner rotation in many households, and for good reason. It’s incredibly straightforward to prepare, capable of feeding a hungry crowd, and surprisingly, you likely have most of the necessary ingredients already stocked in your pantry.
You might naturally assume that all chili is gluten-free, but this isn’t always the case. Many commercially canned beans can contain gluten in their preservatives, and a significant number of store-bought or restaurant chilis use wheat flour or other gluten-containing agents as thickeners. This can be a concern for individuals with celiac disease or gluten sensitivity. That’s why crafting your own chili from scratch with carefully selected, trusted gluten-free ingredients is the most reliable and satisfying approach. Our recipe delivers a thick, chunky, and deeply satisfying chili, achieving the perfect harmony between meat, beans, and tomatoes. The homemade seasoning blend ensures just the right amount of warmth and spice, providing an authentic chili flavor without any guesswork or hidden ingredients.
Beyond its incredible taste, homemade gluten-free chili offers numerous benefits. It’s a fantastic source of protein and fiber, making it a wholesome and filling meal. It’s also incredibly versatile; you can adjust the spice level to your liking, add more vegetables for extra nutrients, or even swap out the protein. This recipe highlights how easy it is to create a nourishing, flavorful, and safe meal that everyone can enjoy, proving that going gluten-free doesn’t mean sacrificing taste or convenience.
Essential Ingredients for Your Perfect Gluten-Free Chili
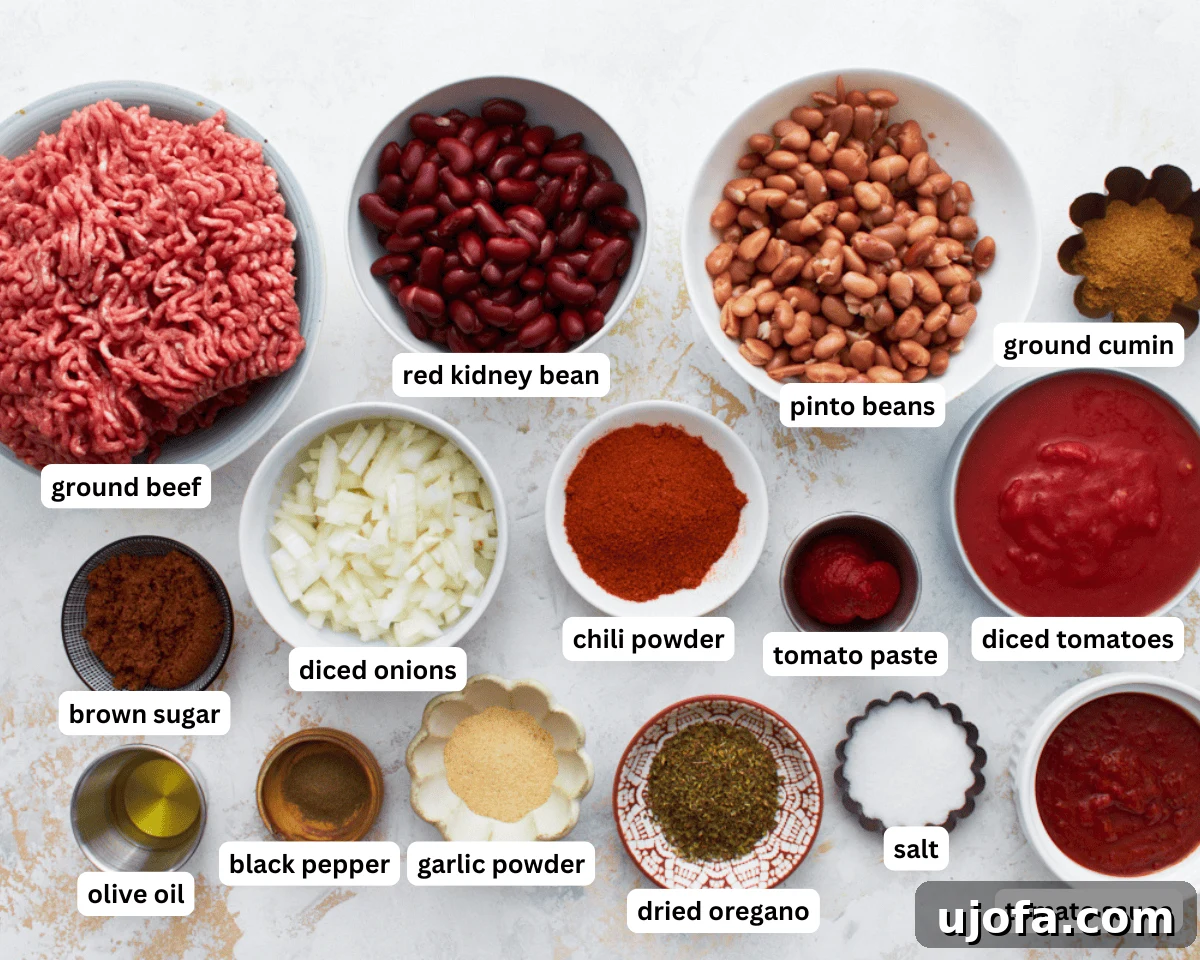
The secret to an outstanding chili lies in the quality and balance of its ingredients. Here’s a detailed look at what makes our gluten-free chili shine:
- Yellow Onion: This humble vegetable forms the aromatic foundation of our chili. When sautéed, it releases sweet, savory notes that build a crucial flavor base, contributing to the overall depth and complexity of the dish.
- Ground Beef: We recommend 90% lean ground beef for a hearty, less greasy chili. Its rich, meaty flavor is central to traditional chili. For those seeking alternatives, ground turkey or ground chicken can be excellent substitutes, offering a lighter protein option while still delivering a satisfying texture.
- Chili Powder: This is the star spice, providing the signature flavor and a medium, approachable heat that is characteristic of classic chili. The blend typically includes dried chiles, cumin, garlic, and oregano, giving it a complex profile.
- Ground Cumin: Essential for an authentic chili flavor, ground cumin contributes a warm, earthy, and slightly smoky aroma. It’s a key player in developing the deep, rich taste of the dish.
- Dried Oregano: Adding a subtle hint of earthiness, dried oregano complements the other spices beautifully. Its slightly floral and peppery notes provide a balanced herbaceousness that elevates the overall flavor profile.
- Garlic Powder: For concentrated savory flavor that permeates every bite, garlic powder is a convenient choice. If you prefer using fresh garlic, remember that its flavor is less concentrated; you’ll typically need 6-8 cloves of minced fresh garlic to achieve a similar intensity to one tablespoon of garlic powder.
- Brown Sugar: This ingredient is not just for sweetness; it plays a vital role in balancing the acidity of the tomatoes and mellowing the heat from the spices. The molasses in brown sugar also imparts a rich, slightly caramelized undertone, adding another layer of complexity to the chili’s flavor.
- Tomato Paste: A powerhouse of concentrated tomato flavor, tomato paste deepens the umami notes of the chili without introducing excess liquid. It thickens the sauce and provides an intense tomato backbone that is indispensable.
- Salt and Black Pepper: These fundamental seasonings are crucial for enhancing all the other flavors in the chili. Proper seasoning brings out the best in each ingredient, ensuring a well-rounded and delicious taste.
- Beef Broth: Serving as the liquid base for our chili, gluten-free beef broth adds savory depth and helps all the ingredients meld together. Always ensure your beef broth is certified gluten-free to avoid hidden gluten.
- Diced Tomatoes: Added for both texture and a burst of tangy flavor in every spoonful, diced tomatoes maintain their shape during simmering, providing a satisfying chunkiness that distinguishes chili from a smooth soup.
- Tomato Sauce: This provides a smooth, rich tomato base that combines with the beef broth to create a luscious, full-bodied sauce, contributing to the classic chili consistency.
- Beans: Our preferred combination includes red kidney beans and pinto beans, which are classic choices for chili due to their creamy texture and ability to absorb flavors. Always remember to diligently check the package ingredients of your canned beans to verify they are entirely gluten-free, as some brands may use gluten-containing additives.
Expert Tips for the Best Gluten-Free Chili
Crafting the perfect chili is an art, and these tips will help you achieve outstanding results every time:
- Always Verify Labels: This cannot be stressed enough when cooking gluten-free. Always double-check the labels on all canned ingredients, spice blends, and especially beef broth, to ensure they are certified gluten-free. Hidden gluten can often be found in unexpected places.
- Allow for Cooling: Before serving, let the chili cool for a few minutes. This crucial step allows the starches to set and the chili to thicken, resulting in a richer, more substantial texture.
- The “Next Day” Phenomenon: Chili, like many stews, often tastes even better the next day. The overnight rest gives all the flavors ample time to fully meld and deepen, creating a more harmonious and complex taste profile. Consider making it ahead of time for peak flavor!
- Don’t Skip Browning the Meat: Thoroughly browning the ground beef before adding other ingredients is essential. This step, known as the Maillard reaction, creates rich, savory flavors and complex aromas that form the backbone of your chili.
- Bloom Your Spices: After browning the meat and softening the onions, add your dry spices and tomato paste and cook for an additional minute or two, stirring constantly. This “blooming” process in hot oil enhances their aroma and flavor significantly.
- Adjust Seasoning to Taste: Taste your chili as it simmers and adjust salt, pepper, or other spices as needed. Personal preference plays a big role in chili, so don’t be afraid to tweak it to your liking. A pinch more sugar can balance acidity, or a dash of hot sauce can add extra kick.
Adapt Your Chili: Crockpot or Slow Cooker Method
For those days when you need a delicious meal with minimal hands-on time, the crockpot (slow cooker) is your best friend. Start by cooking the onions and browning the ground beef as directed in the main instructions. This initial step is important for developing deep flavor. Once the beef and onions are cooked, transfer them to your crockpot along with all the other ingredients, *except* for the beans. Cover and cook on high for approximately 4 hours, or on low heat for 5-6 hours. During the last 30 minutes of cooking, stir in the beans to ensure they are perfectly tender but not mushy. Serve directly from the slow cooker for an easy, comforting meal.
Adapt Your Chili: Instant Pot Method
If speed and efficiency are what you’re after, the Instant Pot delivers incredible results in a fraction of the time. Begin by adding olive oil to your Instant Pot and selecting the “Saute” function. Once hot, add the ground meat and cook until thoroughly browned, using a wooden spoon to break it into crumbles. Next, add the diced onion and continue to sauté for 2-3 minutes until softened and fragrant. Incorporate all the remaining ingredients into the pot, stirring well to ensure everything is fully combined. Secure the lid, set the Instant Pot to “Pressure Cook” on High, and cook for 14 minutes. Once cooking is complete, follow your manufacturer’s instructions for a quick pressure release. Carefully remove the lid, give the chili a final stir, and serve immediately for a quick and flavorful meal.
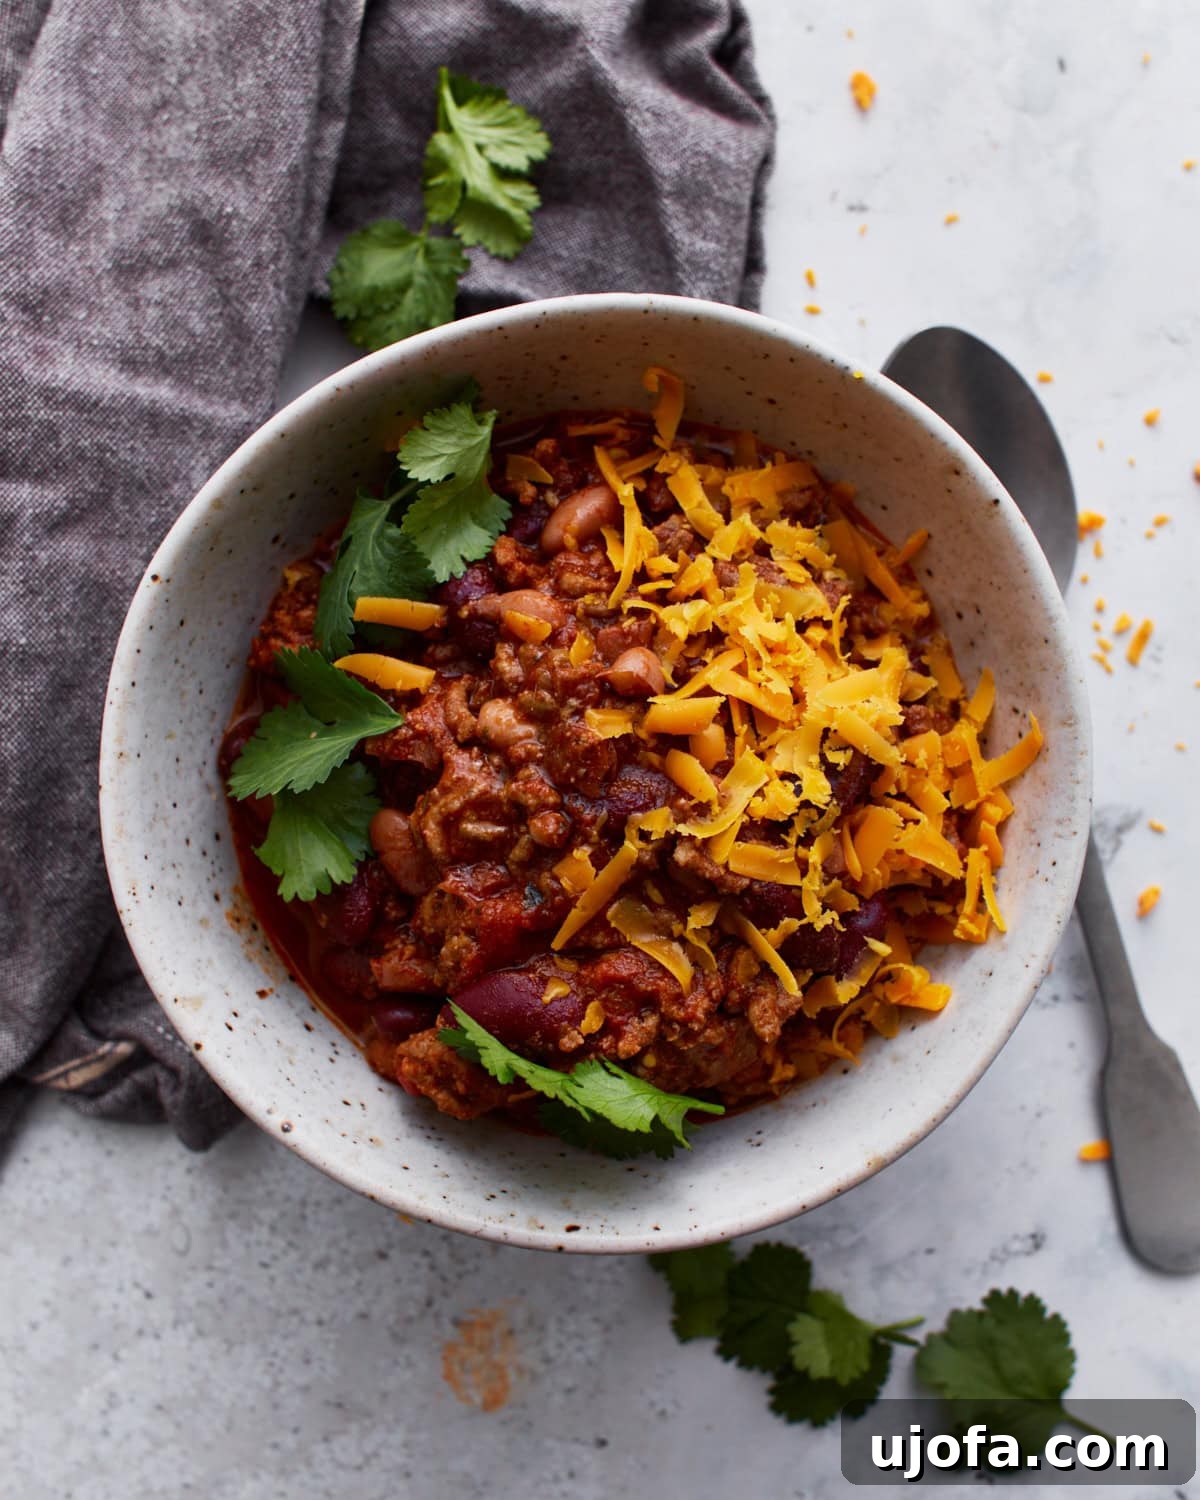
Perfect Pairings: Serving Suggestions for Your Gluten-Free Chili
While homemade chili is undeniably delicious on its own, adding a few thoughtful toppings can elevate it from great to extraordinary. Here are some of our favorite gluten-free chili toppings to take your meal to the next level:
- Shredded Cheddar Cheese: A classic choice, shredded cheddar melts beautifully, adding a creamy, tangy richness. For a dairy-free option, we highly recommend VioLife brand dairy-free shredded cheese for a similar satisfying experience.
- Sour Cream or Dairy-Free Alternative: A dollop of sour cream provides a cool, creamy contrast to the warmth and spice of the chili. Look for dairy-free sour cream alternatives to keep the recipe completely dairy-free.
- Gluten-Free Crackers: Perfect for dipping and adding a slight crunch, gluten-free crackers are a simple yet satisfying accompaniment.
- Gluten-Free Corn Chips or Fritos: For a delightful crunch and extra salty flavor, corn chips or Fritos are an excellent choice for scooping up every last bit of chili goodness.
- Sliced Green Onions (Scallions): These provide a fresh, mild onion flavor and a vibrant green garnish, adding a pleasant bite.
- Diced Avocado: Creamy and rich, diced avocado adds a lovely texture and a mild, buttery flavor that complements the chili beautifully. It also introduces healthy fats.
- Chopped Cilantro: Fresh cilantro offers a bright, herbaceous note that can cut through the richness of the chili, adding a burst of freshness.
- Jalapeños: For those who love extra heat, thinly sliced fresh or pickled jalapeños can add a fiery kick and a zesty tang.
And to truly complete the meal, I adore serving my Gluten-Free Cheddar Bay Biscuits or light and fluffy Gluten-Free Drop Biscuits on the side. They are absolutely perfect for soaking up every last drop of that incredible chili sauce, ensuring no flavor goes to waste.
Storage and Freezing Instructions for Meal Prep
This gluten-free chili is not only delicious freshly made, but it also makes fantastic leftovers, perfect for meal prepping or quick future meals. Proper storage ensures its flavor and freshness endure:
- Refrigeration: Store any leftover chili in an airtight container in the refrigerator for up to 5 days. This allows you to enjoy convenient and flavorful meals throughout the week.
- Freezing: Chili freezes exceptionally well, making it ideal for longer-term storage. Once the chili has completely cooled to room temperature, transfer it to freezer-safe containers or heavy-duty freezer bags. Ensure there’s a little headspace if using containers, as liquids expand when frozen. Chili can be safely frozen for up to 6 months without significant loss of quality.
- Defrosting and Reheating: To enjoy your frozen chili, simply transfer it to the refrigerator overnight to defrost. Once thawed, reheat the chili gently on the stovetop over medium heat, stirring occasionally, until it is thoroughly warmed through. Alternatively, you can reheat individual portions in the microwave.
Always ensure that when reheating, the chili reaches a safe internal temperature to prevent any foodborne illnesses. Enjoy the convenience of having delicious, homemade gluten-free chili ready whenever a craving strikes!
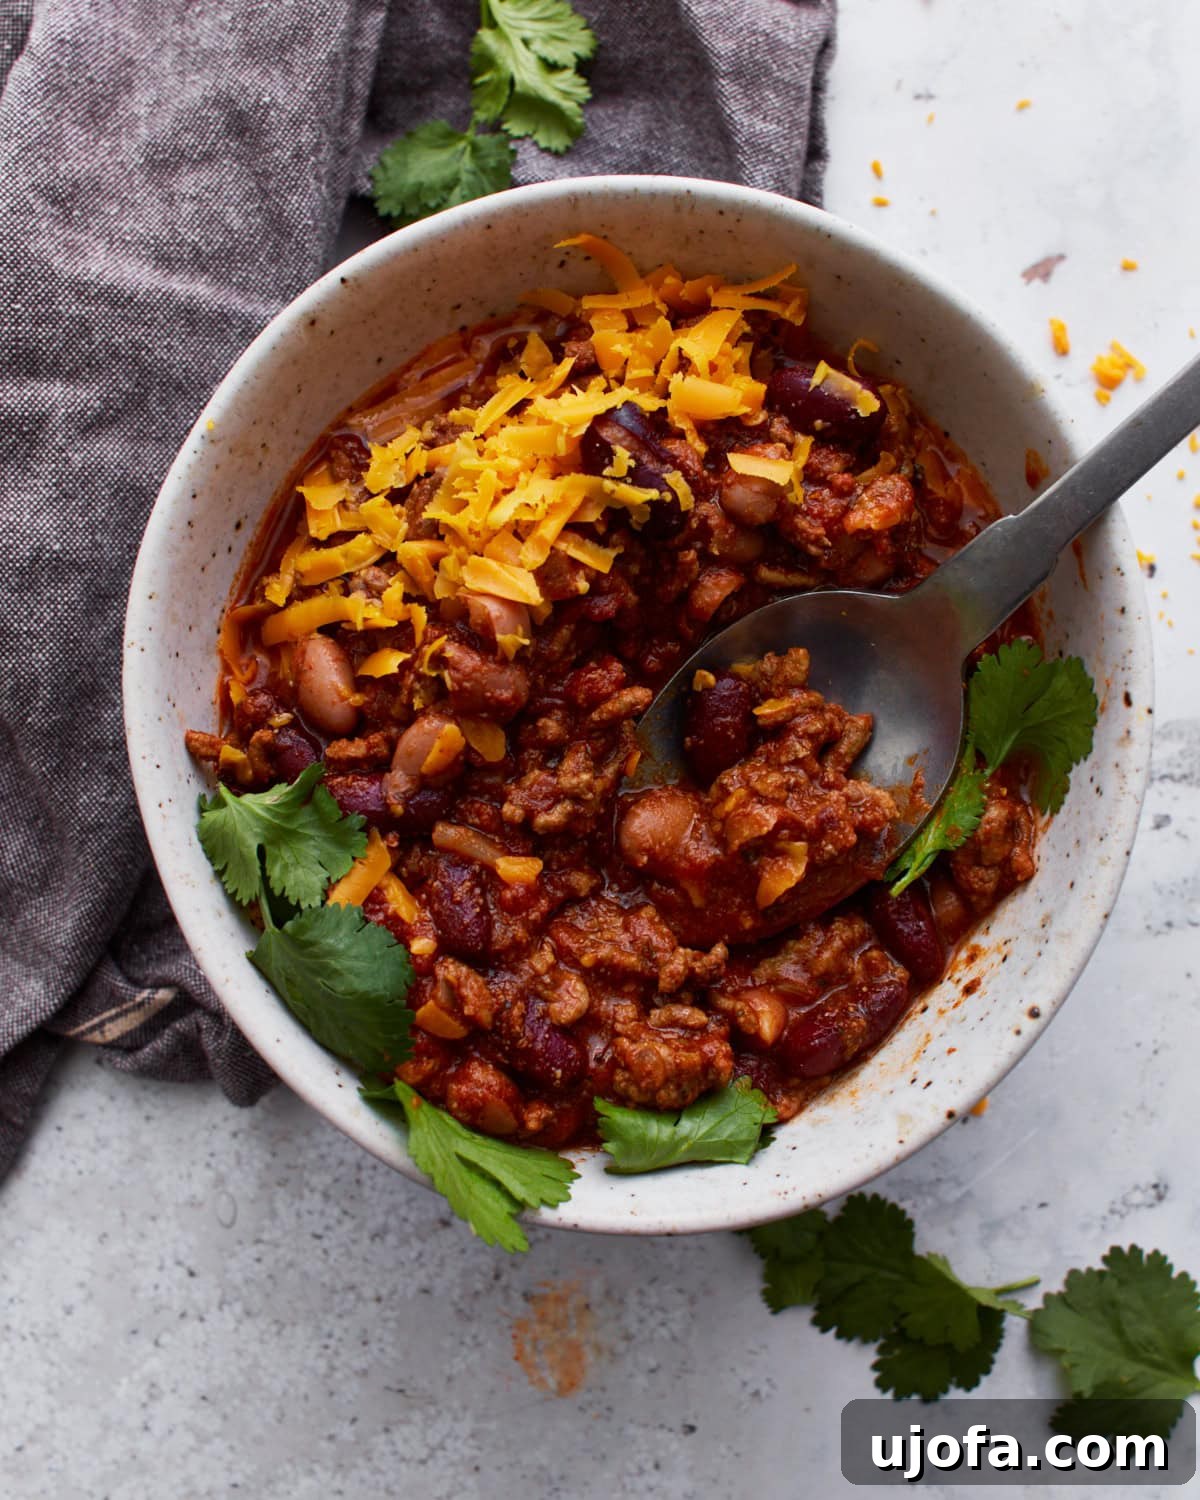
Explore More Gluten-Free Soups and Stews
If you’ve enjoyed this hearty chili, you’ll be delighted to explore other comforting and delicious gluten-free soup and stew recipes from our collection:
- Gluten-Free Beef Stew
- Gluten-Free Cream of Chicken Soup
- Gluten-Free Cream of Mushroom Soup
- Gluten-Free Chicken Noodle Soup
Gluten-Free Chili Recipe Card
This hearty and warm gluten-free chili is a perfect one-pot meal for any occasion. Made with simple, wholesome ingredients, it comes together in just 30 minutes, offering a delicious and satisfying experience.
By: Audrey Roberts
Servings: 6 servings
Prep Time: 5 minutes
Cook Time: 25 minutes
Total Time: 30 minutes

Equipment
- 1 large pot (or Dutch oven, slow cooker, Instant Pot)
Ingredients
- 1 tablespoon olive oil
- 1 medium yellow onion, diced
- 1 1/2 pounds ground beef, 90% lean (or ground turkey/chicken)
- 2 1/2 tablespoons chili powder
- 2 tablespoons ground cumin
- 1 tablespoon dried oregano
- 1 tablespoon garlic powder (or 6-8 fresh garlic cloves, minced)
- 2 tablespoons brown sugar
- 2 tablespoons tomato paste
- 1 1/2 teaspoons salt
- 1/2 teaspoon black pepper
- 1 1/2 cups gluten-free beef broth
- 1 (15 ounce) can diced tomatoes, undrained
- 1 (16 ounce) can red kidney beans, drained and rinsed (ensure gluten-free)
- 1 (16 ounce) can pinto beans, drained and rinsed (ensure gluten-free)
- 1 (8 ounce) can tomato sauce
Instructions
- Add the olive oil and chopped onions to a large soup pot or Dutch oven. Cook over medium-high heat for 2-5 minutes, stirring occasionally, until onions are translucent and fragrant.
- Add the ground beef to the pot with the onions. Use a wooden spoon to break the meat apart into smaller crumbles. Cook for 6-7 minutes, stirring occasionally, until the meat is thoroughly browned. Drain any excess fat if necessary.
- Stir in the chili powder, ground cumin, dried oregano, brown sugar, tomato paste, garlic powder, salt, and black pepper. Cook for another minute, stirring well, to allow the spices to bloom and release their aromas.
- Pour in the gluten-free beef broth, undrained diced tomatoes, drained and rinsed red kidney beans, pinto beans, and tomato sauce. Stir thoroughly to combine all the ingredients.
- Bring the chili to a gentle boil, then reduce the heat to low (or medium-low). Allow the chili to simmer, uncovered, for 20-25 minutes, stirring occasionally. This simmering time allows the flavors to meld beautifully.
- Remove the pot from the heat. For a thicker chili and enhanced flavor, let it cool for 5-10 minutes before serving.
- Serve hot with your favorite toppings and enjoy your delicious homemade gluten-free chili!
Notes
- Always double-check labels for all canned ingredients and beef broth to ensure they are certified gluten-free.
- Allowing the chili to cool slightly before serving helps it thicken further and allows flavors to deepen.
- This chili often tastes even better the next day, as the ingredients have more time to meld together.
- Leftovers can be stored in an airtight container in the refrigerator for up to 5 days.
- For longer storage, chili freezes exceptionally well. After it has completely cooled, transfer it to a freezer-safe container and freeze for up to 6 months.
- To enjoy frozen chili, defrost it in the refrigerator overnight, then reheat on the stovetop over medium heat or in the microwave until thoroughly warm.
Nutrition Information (Approximate Per Serving)
- Calories: 320 kcal
- Carbohydrates: 11 g
- Protein: 23 g
- Fat: 20 g
- Saturated Fat: 7 g
- Polyunsaturated Fat: 1 g
- Monounsaturated Fat: 10 g
- Trans Fat: 1 g
- Cholesterol: 77 mg
- Sodium: 983 mg
- Potassium: 585 mg
- Fiber: 2 g
- Sugar: 6 g
- Vitamin A: 1111 IU
- Vitamin C: 3 mg
- Calcium: 75 mg
- Iron: 5 mg
Nutrition information is automatically calculated and should be used as an approximation.
Additional Information
- Course: Dinner, Lunch, Main Course, Soup
- Cuisine: American
How to Make Gluten-Free Chili: A Visual Step-by-Step Guide
Follow these simple steps with accompanying visuals to create your perfect bowl of gluten-free chili:
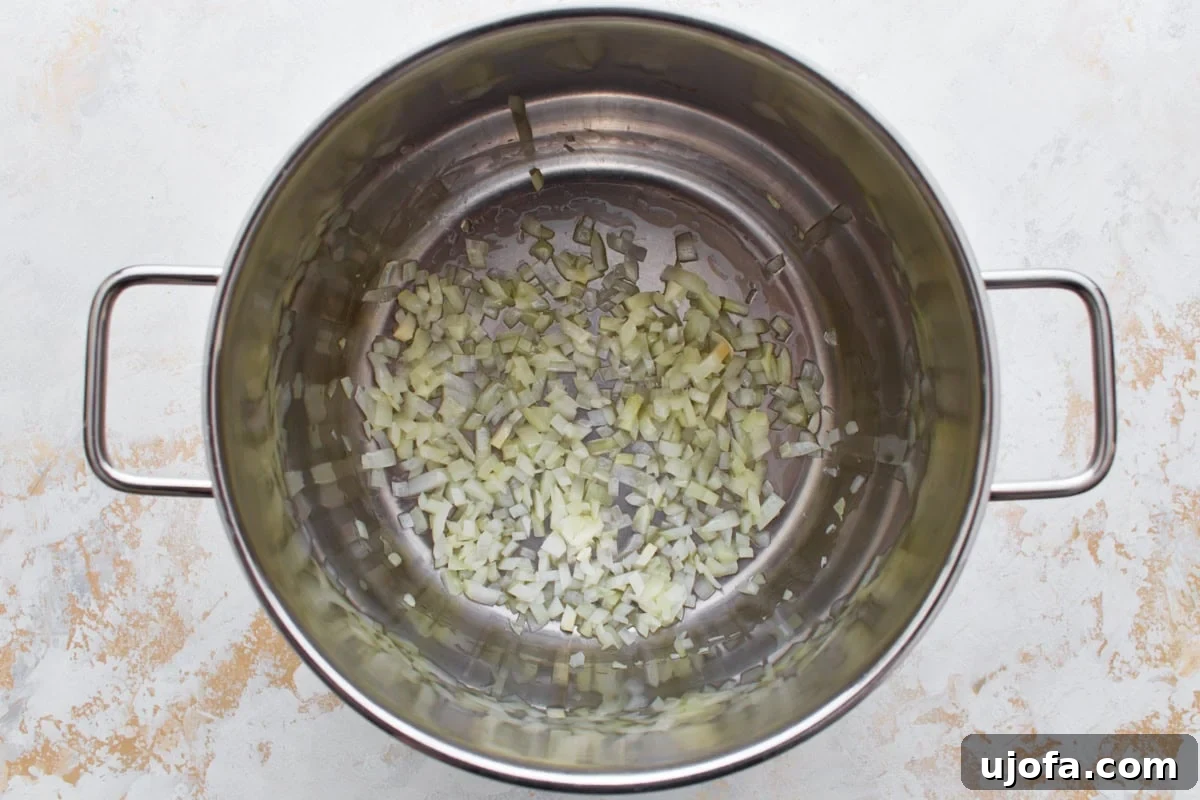
Step 1: Sauté the Onions. Heat a large pot or Dutch oven over medium-high heat. Add 1 tablespoon of olive oil, then add 1 medium-diced yellow onion. Cook for 2-5 minutes, stirring occasionally, until the onions become translucent and fragrant. This step creates a crucial aromatic base for your chili.
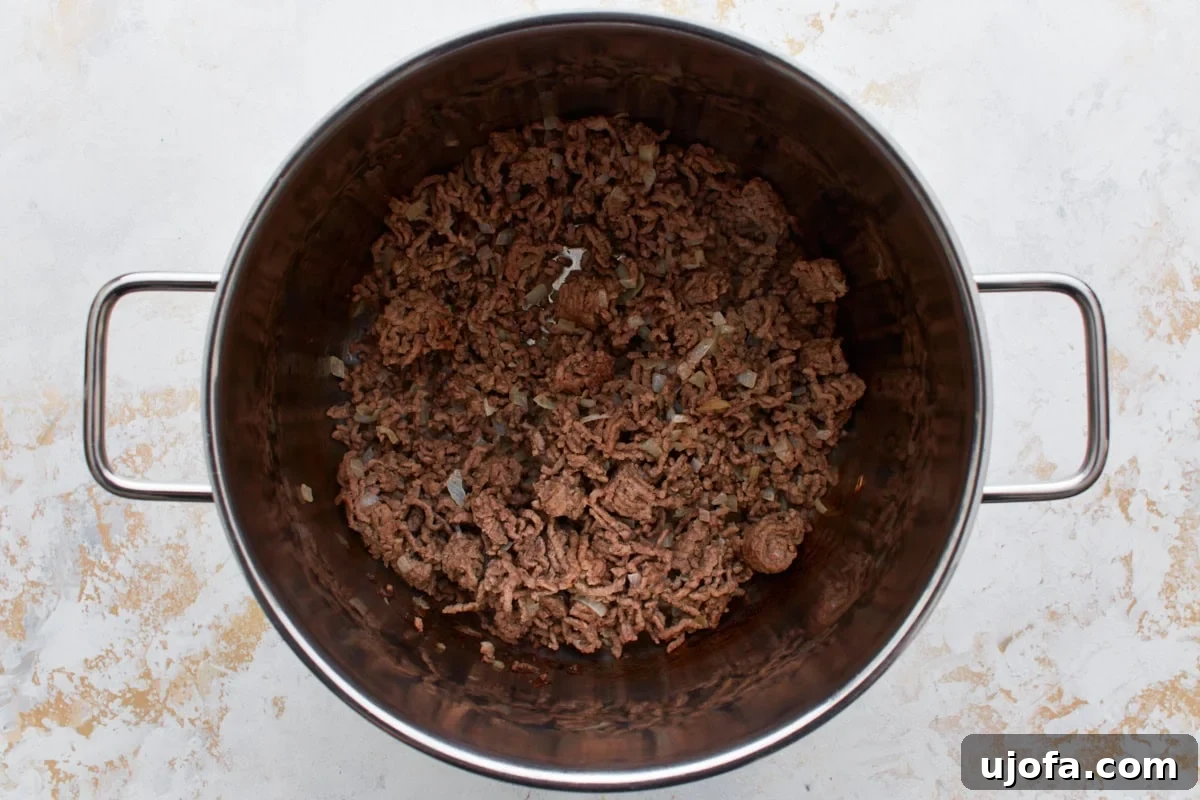
Step 2: Brown the Ground Beef. Add 1 ½ pounds of 90% lean ground beef to the pot with the sautéed onions. Use a wooden spoon to break the meat apart into smaller crumbles. Cook for 6-7 minutes, stirring occasionally, until the meat is thoroughly browned. This browning process is key to developing deep, savory flavors.
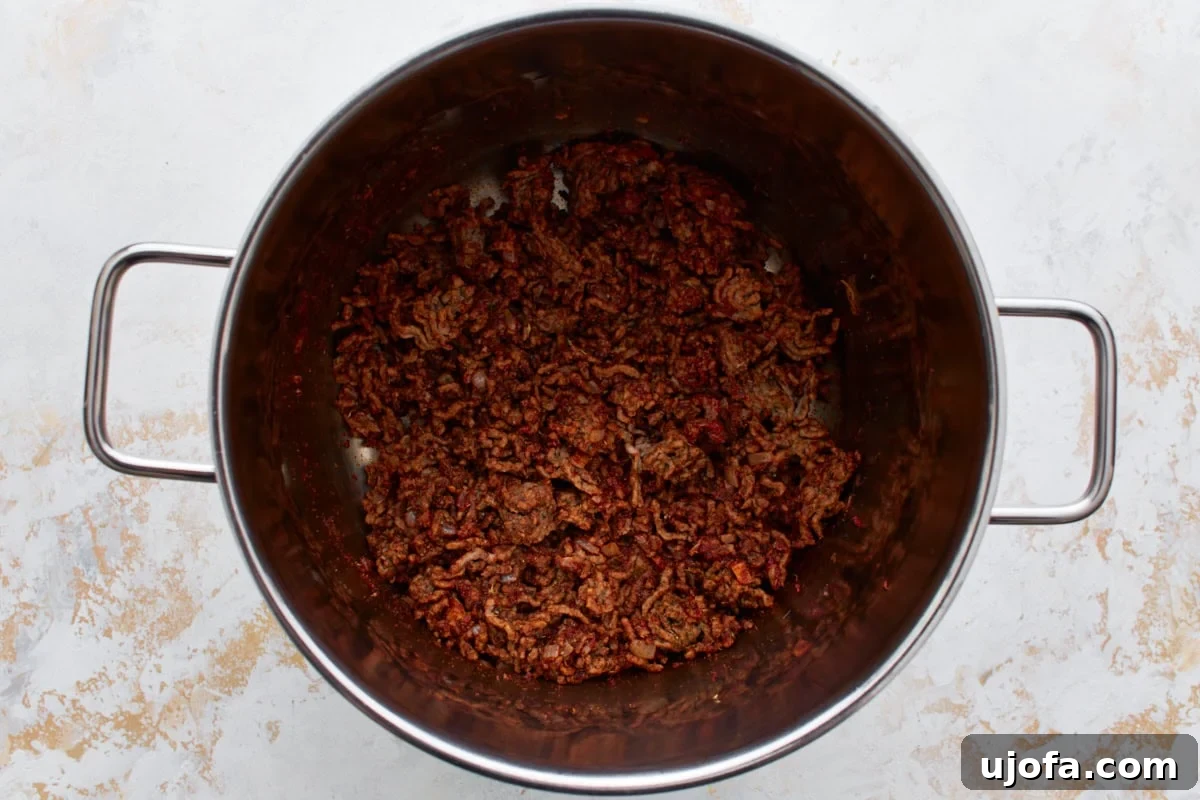
Step 3: Add Spices and Tomato Paste. Now it’s time to build the flavor profile! Stir in 2 ½ tablespoons of chili powder, 2 tablespoons of ground cumin, 1 tablespoon of dried oregano, 1 tablespoon of garlic powder, 2 tablespoons of brown sugar, 2 tablespoons of tomato paste, 1 ½ teaspoons of salt, and ½ teaspoon of black pepper. Mix thoroughly with the meat and onions, cooking for about one minute to allow the spices to bloom and release their full aroma.
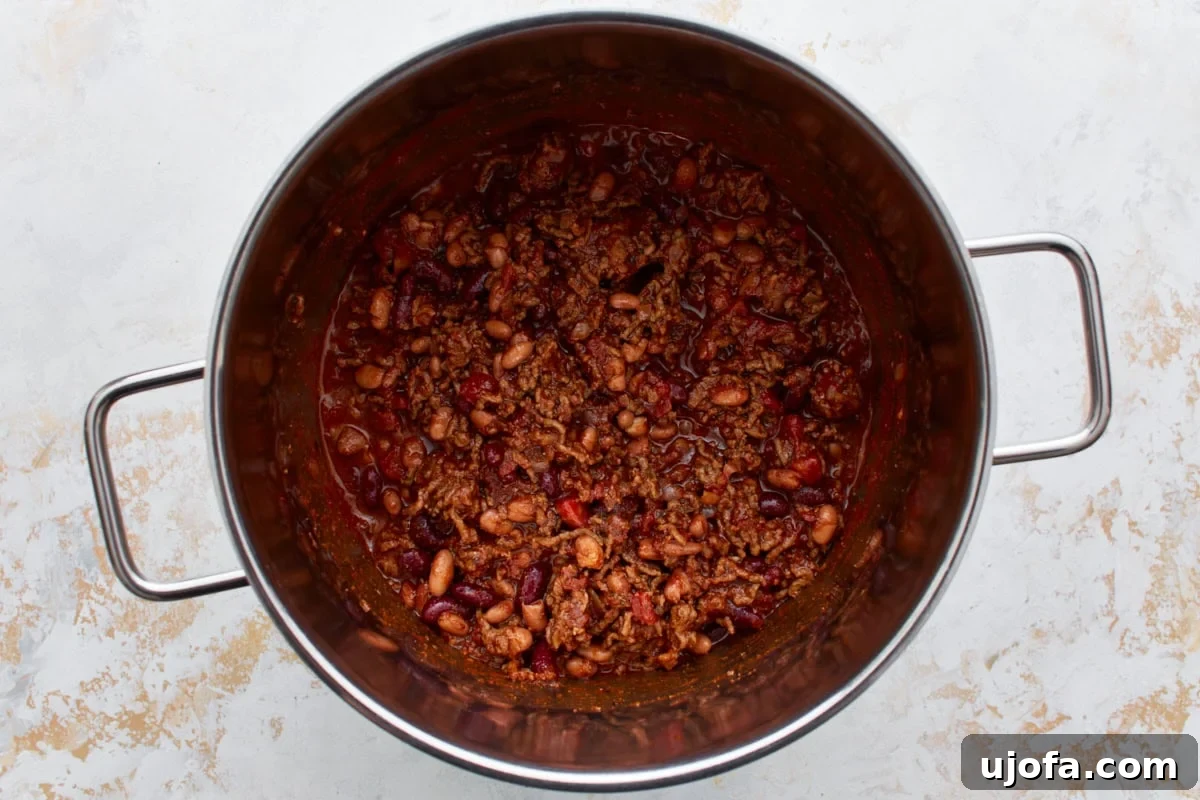
Step 4: Incorporate Liquids and Beans. Pour in 1 ½ cups of gluten-free beef broth, 1 (15 ounce) can of undrained diced tomatoes, 1 (16 ounce) can of drained and rinsed red kidney beans, 1 (16 ounce) can of drained and rinsed pinto beans, and 1 (8 ounce) can of tomato sauce. Stir everything together exceptionally well to ensure all ingredients are fully combined and coated.
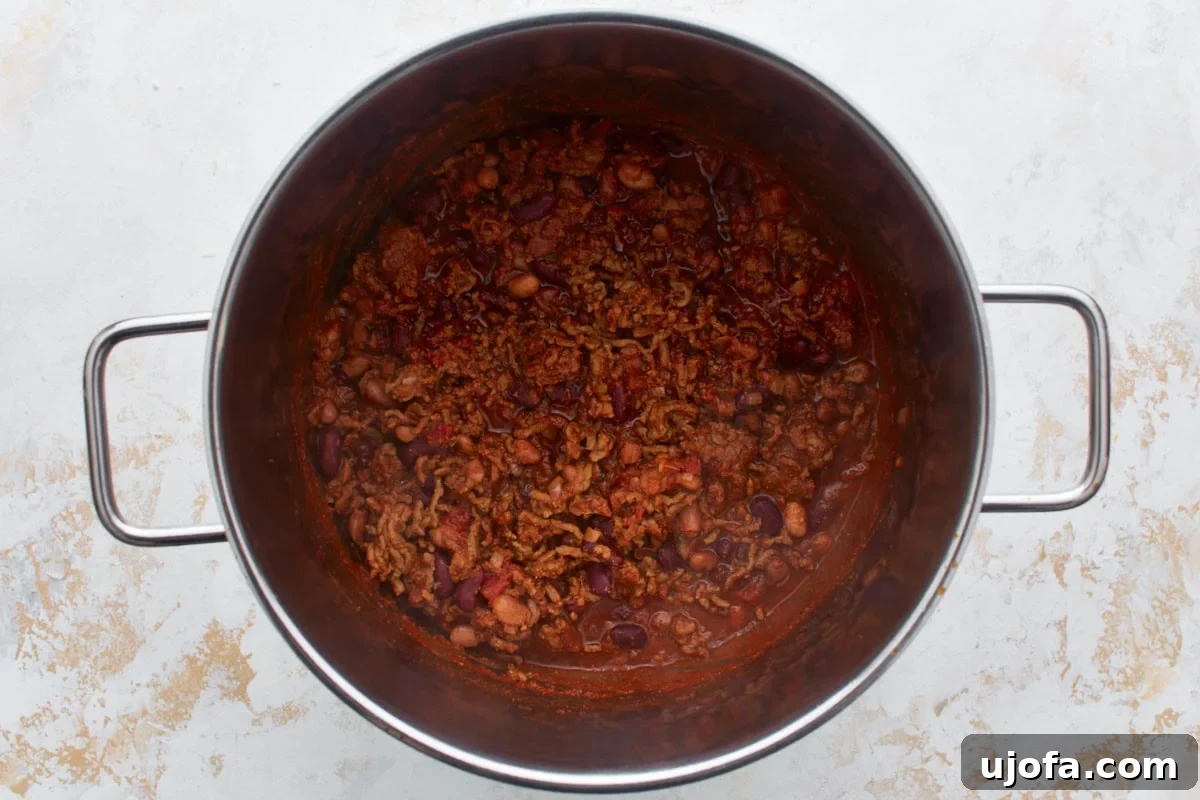
Step 5: Simmer to Perfection. Bring the chili to a gentle, low boil. Once boiling, reduce the heat to low (or medium-low) and allow the chili to simmer, uncovered, for 20-25 minutes. Stir occasionally to prevent sticking and allow the rich flavors to meld and deepen beautifully. This simmering time is crucial for developing the chili’s complex taste. After simmering, remove the pot from the heat and let the chili cool for 5-10 minutes before serving, as this helps it thicken and enhances the flavor. Serve hot with your favorite toppings, and enjoy your delicious homemade gluten-free chili!