
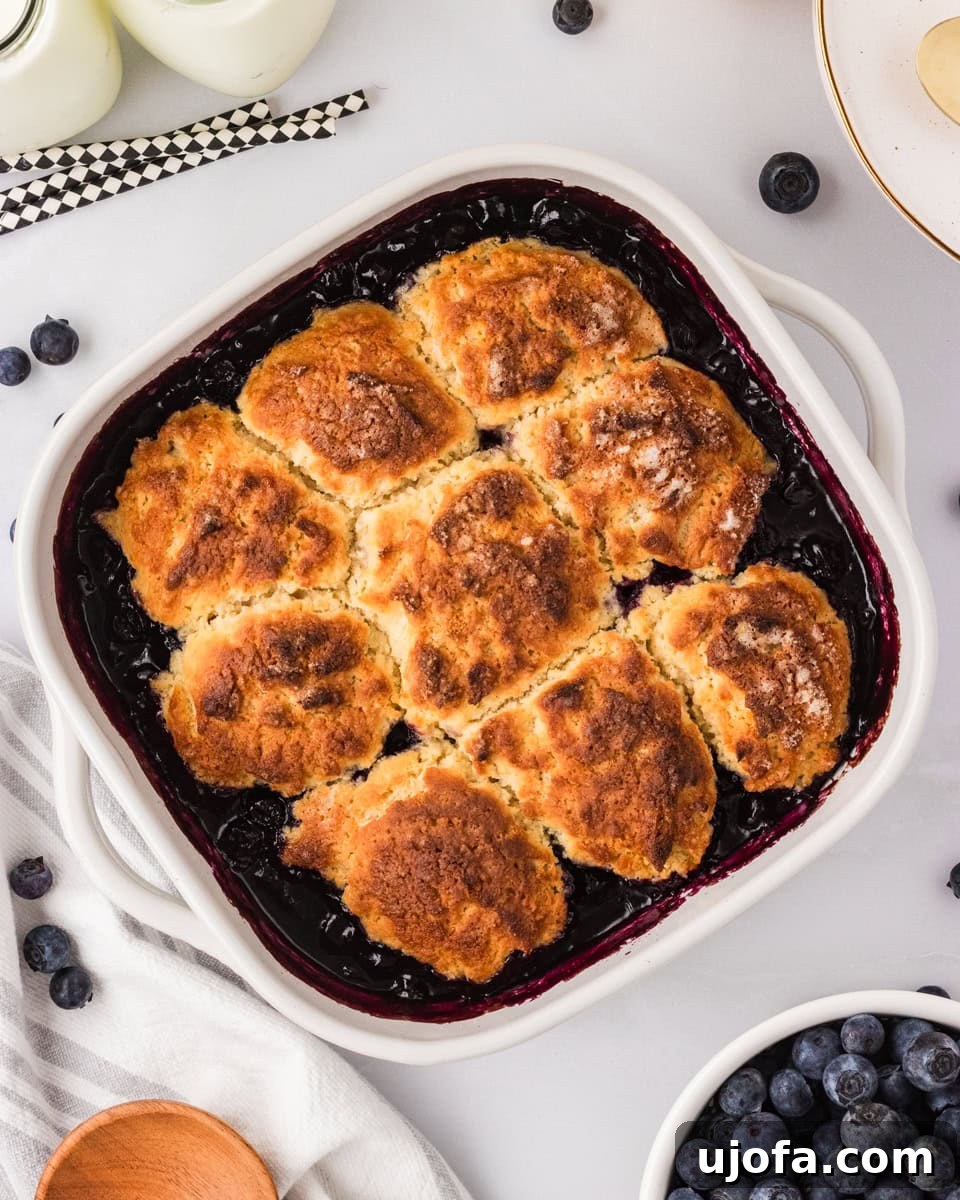
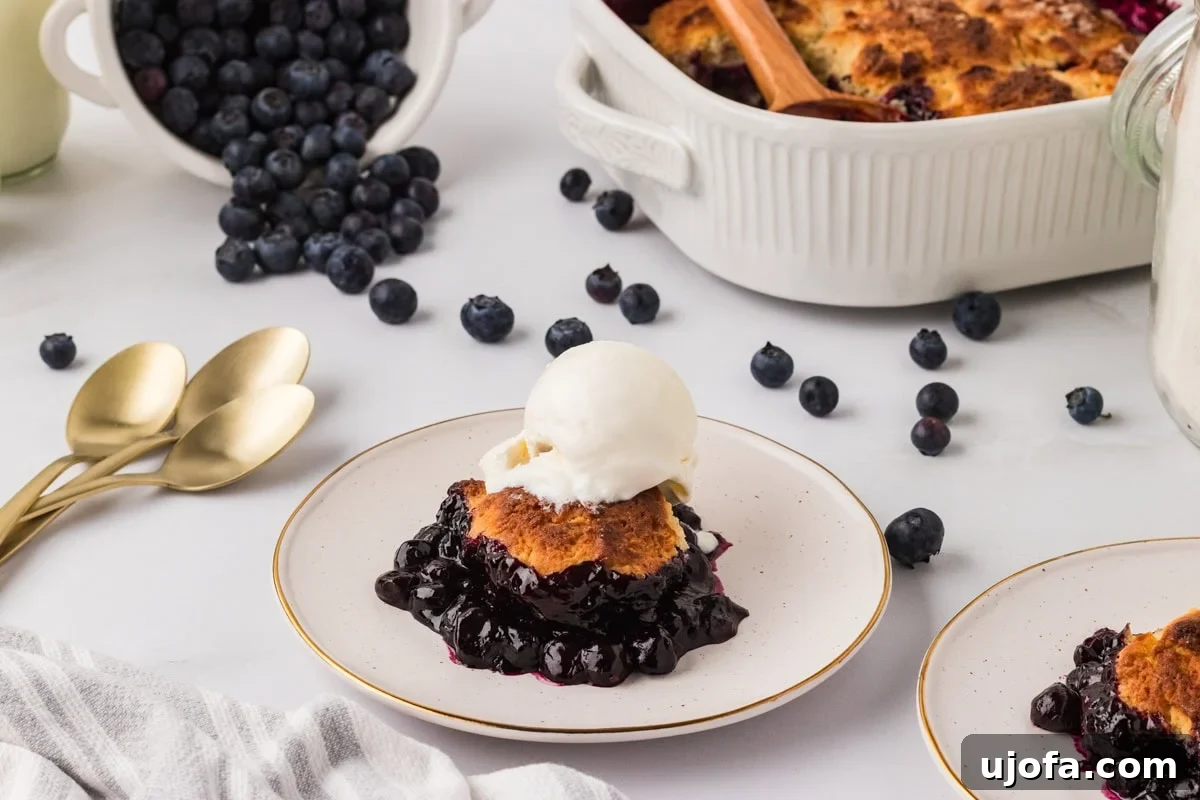
Blueberry cobbler has always been one of my go-to summer desserts, and this gluten-free blueberry cobbler is just as comforting and delicious as the classic. Whether you’re gluten-free, dairy-free, or simply love a cozy fruit dessert, this one’s easy to make with pantry staples and works beautifully with fresh or frozen berries. The golden, biscuit-style topping and warm, juicy filling make it a crowd-pleasing favorite every time.
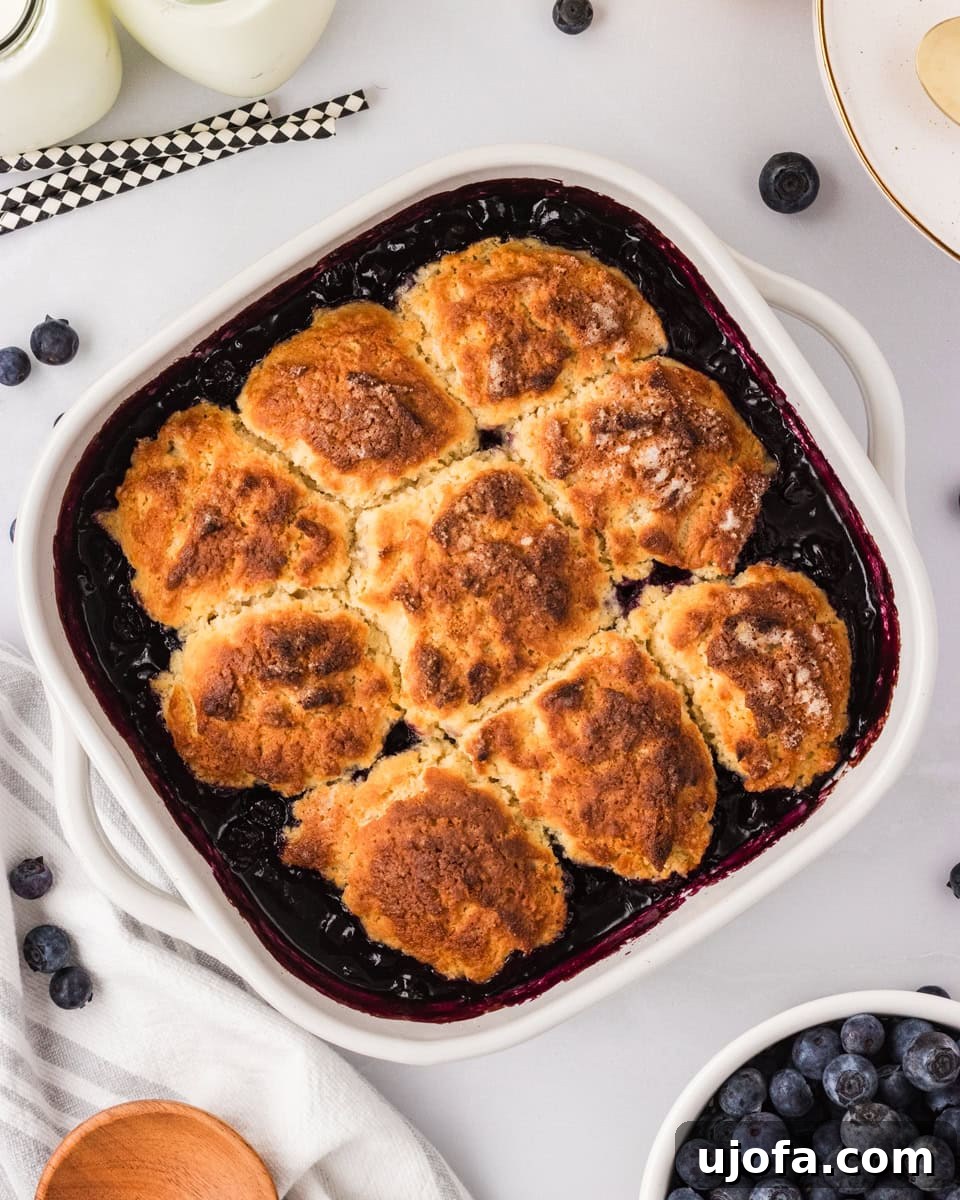
“This is the best blueberry cobbler I’ve ever had in my life. I didn’t change a thing. Everything turned out wonderfully. My husband could not even tell it was gluten free, & ate it all in one night. We served it with vanilla ice cream. I am making this again today.”
– Teri
There’s nothing quite like the warm embrace of a homemade blueberry cobbler, especially when it’s crafted to perfection without gluten or dairy. This recipe isn’t just a delicious summer dessert; it’s a celebration of simple, wholesome ingredients transformed into a show-stopping treat that caters to everyone. From its tender, golden biscuit topping to the lusciously sweet and tangy blueberry filling, every spoonful promises pure comfort. Our take on this beloved classic ensures that those with dietary restrictions can indulge without compromise, making it an essential addition to any recipe repertoire. This gluten-free blueberry cobbler recipe is designed for ease and maximum flavor, proving that dietary needs don’t mean sacrificing the joy of a truly delicious dessert.
My recipe is a true Southern-style homemade fruit cobbler, inspired by the comforting desserts my husband grew up enjoying. Unlike many cobblers that rely on cake-like layers or crumbly streusel toppings, ours features a soft, buttery, and incredibly fluffy biscuit topping. This specific texture is what elevates a cobbler from good to unforgettable, providing a delightful contrast to the juicy fruit beneath. If you’ve enjoyed our gluten-free peach cobbler, you’ll recognize the familiar warmth and nostalgic flavors that define our approach to these beloved fruit desserts. This blueberry version is just as straightforward to prepare and comes together in under an hour, making it perfect for both spontaneous weeknight treats and planned weekend gatherings. The topping bakes up flawlessly golden with a tender crumb, completely free from any gritty texture often associated with gluten-free baking, delivering pure, unadulterated cobbler goodness that will have everyone asking for seconds.
I frequently bring this delightful cobbler to summer cookouts, where it consistently garners rave reviews, or prepare it on quiet evenings when I crave something warm, sweet, and reminiscent of home. It’s a huge hit with my children, and one of its best attributes is how beautifully it freezes. This means you can easily prepare a larger batch and tuck away leftovers for future cravings – if there are any! The convenience of being able to freeze and reheat this dessert makes it a fantastic option for busy families or for those who simply want a delicious treat at a moment’s notice. Don’t forget to also try our equally scrumptious gluten-free blackberry cobbler for another fruit-filled favorite that captures the essence of summer.
Understanding Gluten-Free Baking for Cobbler
Making a truly exceptional gluten-free cobbler requires a little understanding of how gluten-free flours behave. The key to our success lies in using a high-quality gluten-free all-purpose flour blend that already contains xanthan gum. Xanthan gum acts as a binder, mimicking the elasticity and structure that gluten provides in traditional baking. Without it, your biscuits might be too crumbly, failing to achieve that satisfying chewiness. This recipe is meticulously developed to ensure the biscuit topping rises beautifully, achieving that perfect golden-brown crust and a tender, fluffy interior – a hallmark of a truly great cobbler. It’s a common misconception that gluten-free baking means sacrificing texture, but with the right ingredients and techniques, you can achieve results that rival, and often surpass, their traditional counterparts, delivering a dessert that truly satisfies.
Another aspect we consider is versatility. We know that many people navigating a gluten-free lifestyle also manage other dietary needs. That’s why this recipe seamlessly incorporates dairy-free and vegan options without compromising on flavor or texture. By simply swapping out traditional butter and milk for their plant-based alternatives, and using an egg replacer, you can enjoy this comforting dessert regardless of your dietary preferences. This makes our Gluten-Free Blueberry Cobbler not just a recipe, but a flexible foundation for a wide range of delicious possibilities, ensuring everyone at your table can share in the joy of a warm, fruit-filled dessert. The careful selection of ingredients and precise instructions make this recipe approachable for even novice bakers, guaranteeing delicious results every time.
Gluten-Free Blueberry Cobbler
By: Audrey Roberts
Servings: 8 servings
Prep Time: 15 minutes
Cook Time: 45 minutes
Total Time: 1 hour
Pin Recipe |
Email Share |
Print Recipe

Blueberry cobbler has always been one of my go-to summer desserts, and this gluten-free blueberry cobbler is just as comforting and delicious as the classic. Whether you’re gluten-free, dairy-free, or simply love a cozy fruit dessert, this one’s easy to make with pantry staples and works beautifully with fresh or frozen berries. Step-by-step photos can be seen below the recipe card.
Ingredients
Blueberry Filling
- 4 cups blueberries (fresh or frozen)
- ¼ cup granulated sugar
- 1 tbsp lemon juice
- 2 tbsp corn starch
- 2 tbsp melted butter (for dairy-free, use Smart Balance or your favorite vegan butter)
Topping
- 1¼ cups gluten-free all-purpose flour with xanthan gum (Pillsbury gluten-free is recommended, as flour blends vary significantly)
- ¼ cup granulated sugar
- 1½ tsp gluten-free baking powder
- ¼ tsp salt
- ¼ tsp ground cinnamon
- ½ cup milk (for dairy-free or vegan, use unsweetened almond or unsweetened coconut milk)
- 6 tbsp chilled butter (for dairy-free, use Smart Balance or your favorite vegan butter)
- 1 large egg (for vegan, use Bob’s Red Mill gluten-free egg replacer)
- 2 tbsp granulated sugar (for sprinkling on top)
Instructions
- Prepare the Oven and Dish: Preheat your oven to 425°F (220°C). Lightly spray a 2-quart baking dish with a gluten-free cooking spray (such as coconut oil spray) or grease it with butter or oil to prevent sticking. A well-greased dish ensures the cobbler releases cleanly and prevents any delicious crust from being left behind.
- Mix the Blueberry Filling: In a large mixing bowl, combine the 4 cups of blueberries (whether fresh or frozen), ¼ cup of granulated sugar, 1 tablespoon of fresh lemon juice, and 2 tablespoons of cornstarch. Stir gently until all the blueberries are thoroughly coated with the sugar and starch mixture. The lemon juice brightens the berry flavor, while the cornstarch works as a natural thickener, ensuring your filling is perfectly juicy and not watery when baked. This mixture forms the heart of your cobbler.
- Combine Dry Topping Ingredients: In a separate, generously sized mixing bowl, whisk together the dry components of your biscuit topping. This includes 1¼ cups of gluten-free all-purpose flour (ensure it contains xanthan gum for the best texture), ¼ cup of granulated sugar, 1½ teaspoons of gluten-free baking powder, ¼ teaspoon of salt, and ¼ teaspoon of ground cinnamon. Whisking them thoroughly ensures all leavening agents and spices are evenly distributed, which is vital for a consistent rise and flavor in your biscuits.
- Cut in the Chilled Butter: Add the 6 tablespoons of cold, diced butter (or your preferred dairy-free alternative) to the dry flour mixture. Using a pastry blender, two forks, or your fingertips, quickly cut the butter into the flour until the mixture resembles coarse crumbs, with some pea-sized pieces of butter still visible. Avoid overworking the butter, as it needs to remain cold and in distinct pieces to create steam and pockets of air during baking, leading to a light, flaky texture in your topping.
- Prepare Wet Topping Ingredients: In a small bowl, whisk together the ½ cup of milk (or your chosen dairy-free milk alternative, such as unsweetened almond or coconut milk) and 1 large egg (or a vegan egg replacer like Bob’s Red Mill gluten-free egg replacer). Ensure these liquids are well combined before adding them to the dry ingredients, as this helps prevent overmixing later and ensures uniform moisture distribution.
- Form the Topping Dough: Pour the whisked milk and egg mixture into the bowl with the flour and butter. Stir gently with a spoon or spatula just until the dough comes together. It’s crucial not to overmix at this stage; the dough should appear “shaggy” and thick, with visible small chunks of butter. Overmixing can lead to a tough and flat biscuit topping, so stop as soon as the ingredients are combined. This rustic appearance is exactly what you want for a fluffy cobbler topping.
- Assemble the Cobbler Base: Transfer the prepared blueberry mixture into your greased 2-quart baking dish, spreading it out evenly to form the base of your cobbler. Next, drizzle 2 tablespoons of melted butter (or its dairy-free counterpart) evenly over the blueberries. This added fat will contribute to a richer, more flavorful filling and a beautifully glossy appearance as it bakes.
- Add the Topping: Using a greased ice cream scoop or a large spoon, carefully drop 8 evenly sized mounds of the “shaggy” dough onto the blueberry filling. Aim to distribute them somewhat evenly over the fruit, allowing space between each mound for expansion during baking. To achieve a wonderfully sweet and slightly crisp crust, sprinkle the remaining 2 tablespoons of granulated sugar generously over the dough mounds. This sugar will caramelize during baking, adding an extra layer of texture and sweetness that provides a perfect contrast to the soft biscuits.
- Bake to Perfection: Loosely cover your baking dish with aluminum foil. To prevent the topping from sticking to the foil, you can lightly spray the inside (the side that will touch the cobbler) of the foil with gluten-free cooking spray. Place the covered cobbler on the middle rack of your preheated oven and bake for 20 minutes. After this initial baking period, carefully remove the foil and continue to bake for an additional 25-30 minutes, or until the biscuit topping is a beautiful golden brown and the blueberry filling is vigorously bubbling around the edges. Keep a close eye on your cobbler during the uncovered baking time, as oven temperatures can vary significantly. The bubbling fruit indicates that the cornstarch has fully activated and thickened the filling.
- Cool and Enjoy Your Delicious Cobbler: Once baked to perfection, remove the cobbler from the oven. It’s crucial to allow it to cool for at least 10-15 minutes before serving. This resting period allows the hot fruit filling to set and thicken, preventing it from being too runny when scooped. While it’s tempting to dig in immediately, patience will be rewarded with a perfectly textured cobbler. Serve it warm, either on its own to truly savor the blueberry and biscuit flavors, or elevate the experience with a dollop of dairy-free whipped cream or a scoop of creamy vanilla ice cream for an unforgettable dessert experience.
Notes for Success
- Using Frozen Blueberries: If using frozen blueberries, there is no need to thaw them before adding them to the filling mixture. Simply toss them with the sugar, lemon juice, and cornstarch as instructed. Keep in mind that frozen berries may release slightly more liquid during baking, resulting in a slightly saucier cobbler, which many find delightful. If you prefer a thicker filling, you might add an extra teaspoon of cornstarch to compensate for the additional moisture.
- Addressing a Runny Filling: If you find your cobbler filling is too runny after baking, it typically means it hasn’t cooled long enough. Allow it to rest for an additional 15-30 minutes, or even longer, as it will continue to thicken significantly as it cools. Alternatively, for future batches, you can increase the amount of cornstarch in the filling by an additional ½ to 1 tablespoon to ensure a firmer set.
- Achieving the Perfect Topping Texture: The key to a light and fluffy biscuit topping is in handling the dough. Avoid overmixing at all costs; a “shaggy” dough with visible butter bits is exactly what you’re aiming for. This ensures tenderness and a beautiful rise, giving you that classic cobbler texture without the grittiness sometimes found in gluten-free baking.
- Preventing Foil from Sticking: For easy removal of the foil cover, lightly spray the underside of the aluminum foil with gluten-free cooking spray before placing it over the cobbler. This simple step prevents the delicate biscuit topping from sticking to the foil and tearing, preserving its beautiful golden crust.
- Properly Greasing Your Baking Dish: Always start by thoroughly greasing your baking dish with gluten-free cooking spray, butter, or oil. This ensures that the bubbling fruit filling doesn’t stick to the bottom or sides, making for easy serving and cleanup. Coconut oil spray is an excellent choice for this purpose, adding a subtle, pleasant aroma without overpowering the blueberries.
Nutrition Information
Serving Size: 1 serving
Calories: 344 kcal
Carbohydrates: 55 g
Protein: 4 g
Fat: 14 g
Saturated Fat: 8 g
Cholesterol: 35 mg
Sodium: 195 mg
Potassium: 193 mg
Fiber: 4 g
Sugar: 35 g
Vitamin A: 469 IU
Vitamin C: 7 mg
Calcium: 107 mg
Iron: 1 mg
Nutrition information is automatically calculated and should only be used as an approximation.
Additional Info
Course: Dessert
Cuisine: American
Tried this recipe? Mention @mamaknowsglutenfree or tag #mamaknowsglutenfree!
How to Make Gluten-Free Blueberry Cobbler Step by Step
Crafting this delightful gluten-free blueberry cobbler is a straightforward and rewarding process, even for beginner bakers. Follow these detailed steps to ensure a perfect bake every time, from preparing your ingredients to achieving that golden, bubbly finish that everyone will adore. Each step is designed to be clear and concise, guiding you towards a truly comforting homemade dessert.
1. Gather and Prepare Your Ingredients
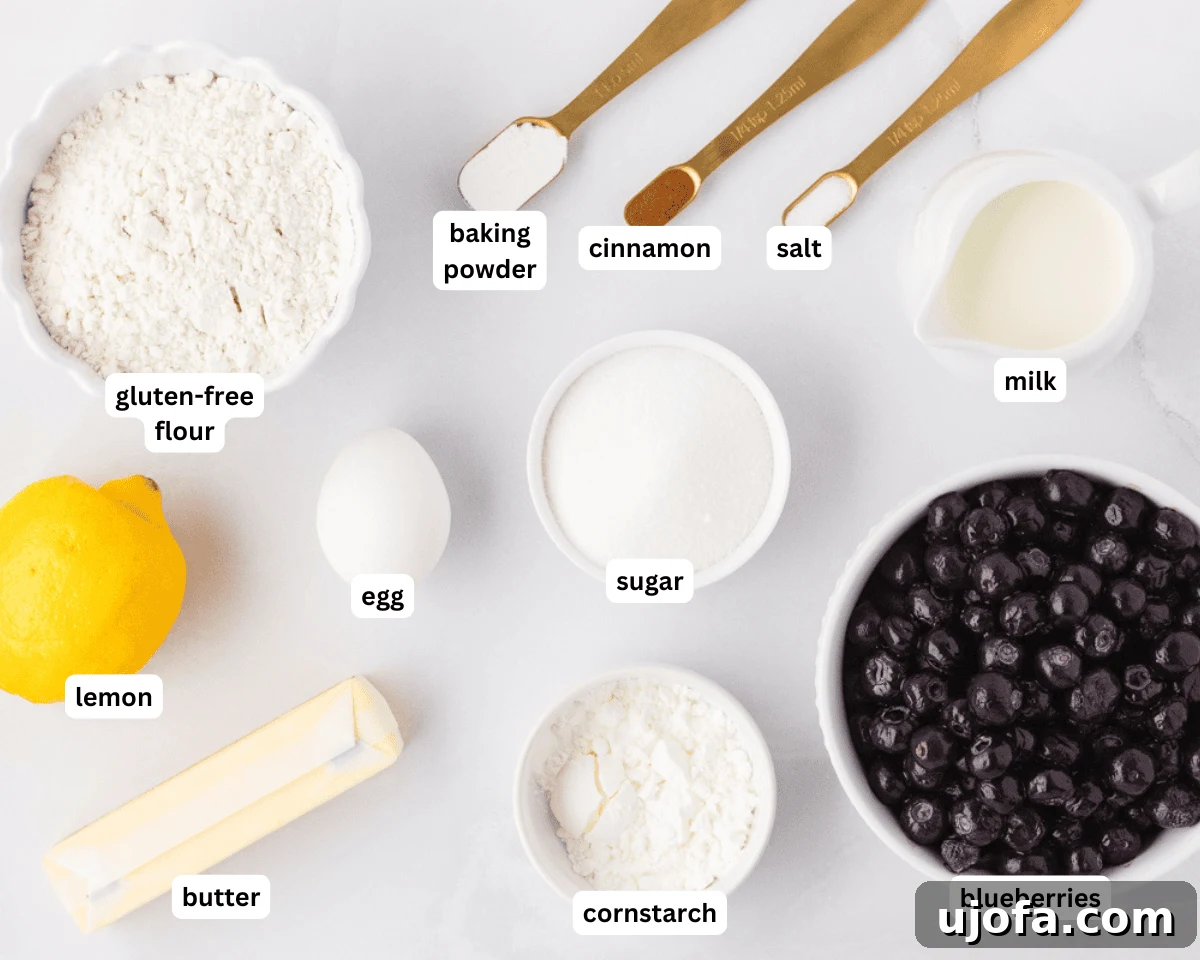
Before you begin mixing, ensure all your ingredients are measured and ready. This “mise en place” approach makes the baking process smooth and stress-free, preventing any last-minute scrambling. Preheat your oven to a precise 425°F (220°C). Then, lightly grease a 2-quart baking dish with a gluten-free cooking spray, such as coconut oil spray, or simply rub it with butter or oil. This essential first step prevents the cobbler from sticking to the dish during baking and ensures easy serving.
2. Create the Luscious Blueberry Filling
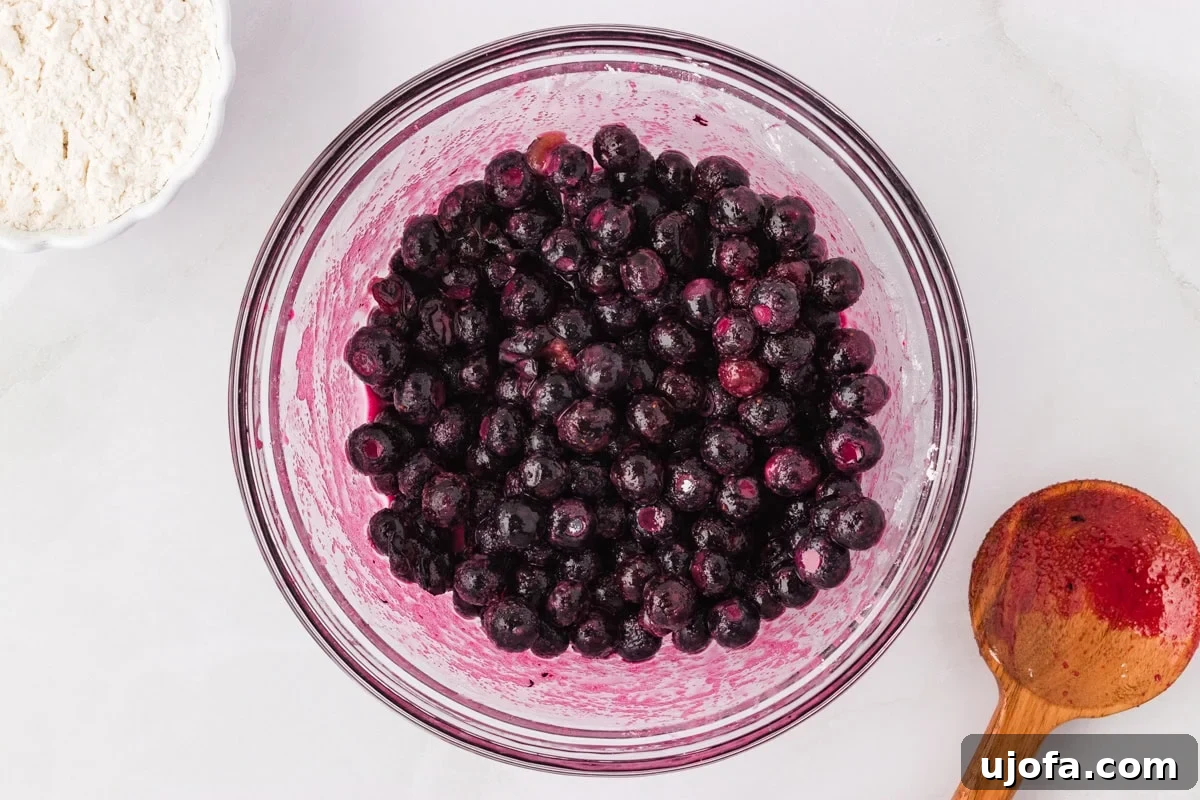
In a large bowl, combine 4 cups of either fresh, plump blueberries or frozen blueberries (no need to thaw!). Add ¼ cup of granulated sugar, 1 tablespoon of fresh lemon juice for a bright zing, and 2 tablespoons of cornstarch. Gently stir these ingredients together until the blueberries are evenly coated. The lemon juice brightens the berry flavor, while the cornstarch works as a natural thickener, ensuring your filling is perfectly juicy and not watery when baked. This mixture forms the delightful heart of your cobbler.
3. Prepare the Dry Ingredients for the Topping
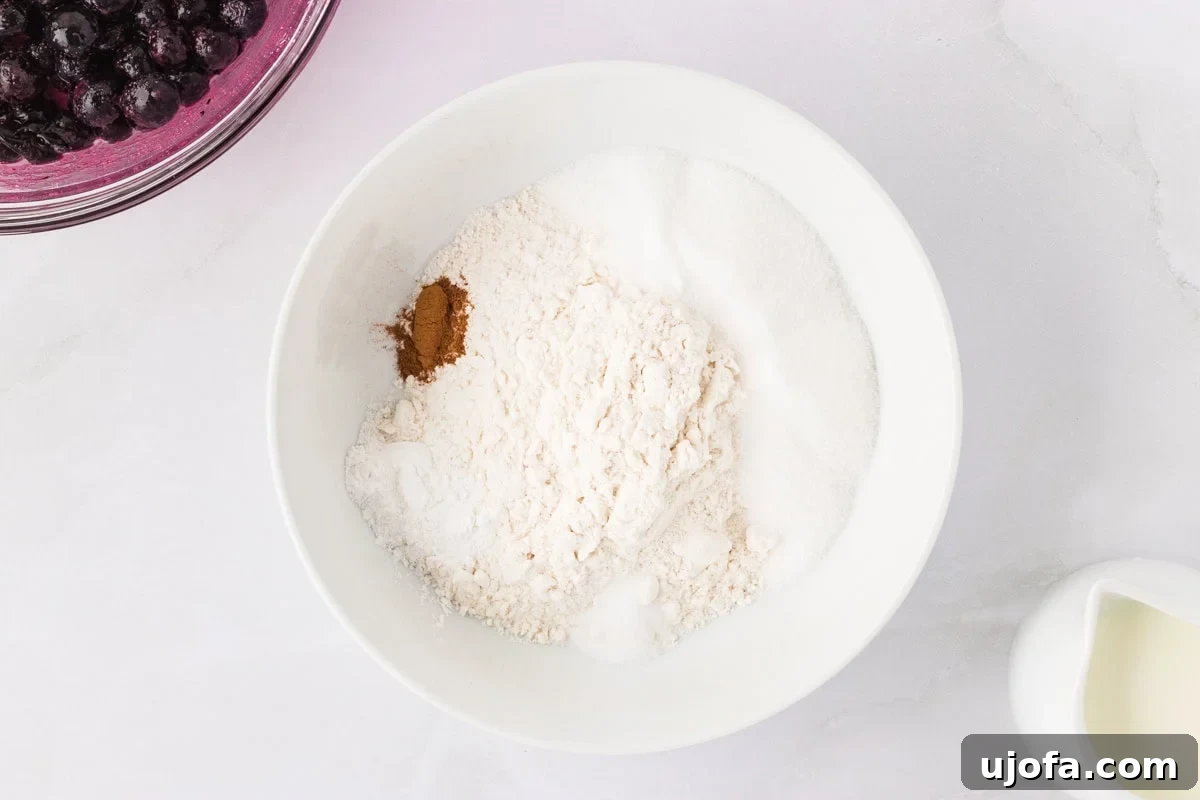
In a separate, generously sized mixing bowl, whisk together the dry components of your biscuit topping. This includes 1¼ cups of gluten-free all-purpose flour (ensure it contains xanthan gum for the best texture and structure), ¼ cup of granulated sugar, 1½ teaspoons of gluten-free baking powder for a good rise, ¼ teaspoon of salt to balance the sweetness, and ¼ teaspoon of ground cinnamon for a hint of warmth. Whisking them thoroughly ensures all leavening agents and spices are evenly distributed, which is vital for a consistent rise and flavor in your biscuits.
4. Integrate Chilled Butter into the Flour
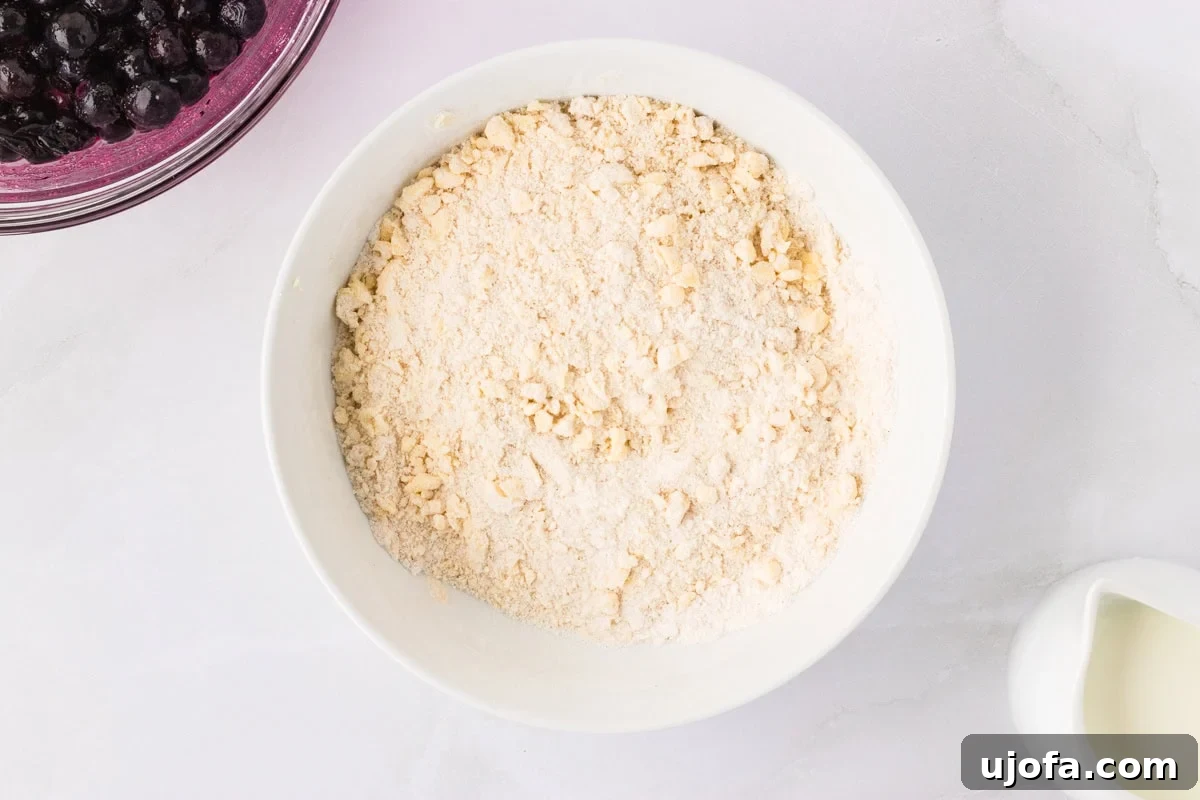
The secret to a tender, flaky biscuit topping is cold butter. Add 6 tablespoons of chilled, cubed butter (or your preferred dairy-free alternative) to the dry flour mixture. Using a pastry blender, two forks, or even your fingertips, quickly cut the butter into the flour until the mixture resembles coarse crumbs, with some pea-sized pieces of butter still visible. Avoid overworking the butter, as it needs to remain cold and in distinct pieces to create steam and pockets of air during baking, leading to a light, airy, and beautifully textured topping.
5. Prepare the Wet Ingredients for the Topping
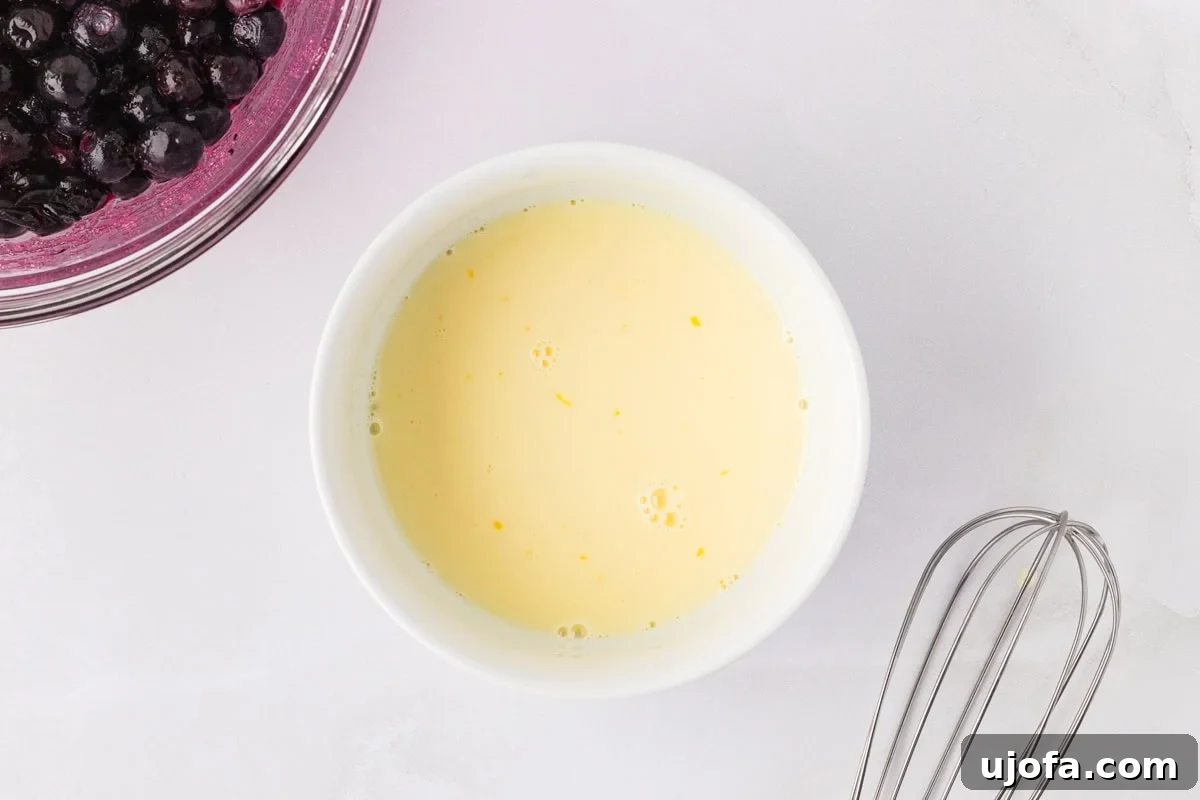
In a small bowl, whisk together ½ cup of milk (or your chosen dairy-free milk alternative, such as unsweetened almond or coconut milk) and 1 large egg (or a vegan egg replacer like Bob’s Red Mill gluten-free egg replacer). Ensure these liquids are thoroughly combined before adding them to the dry ingredients. This step is crucial for achieving a uniform batter consistency and helps prevent overmixing the dough later, which can result in a tough topping.
6. Gently Combine the Topping Dough
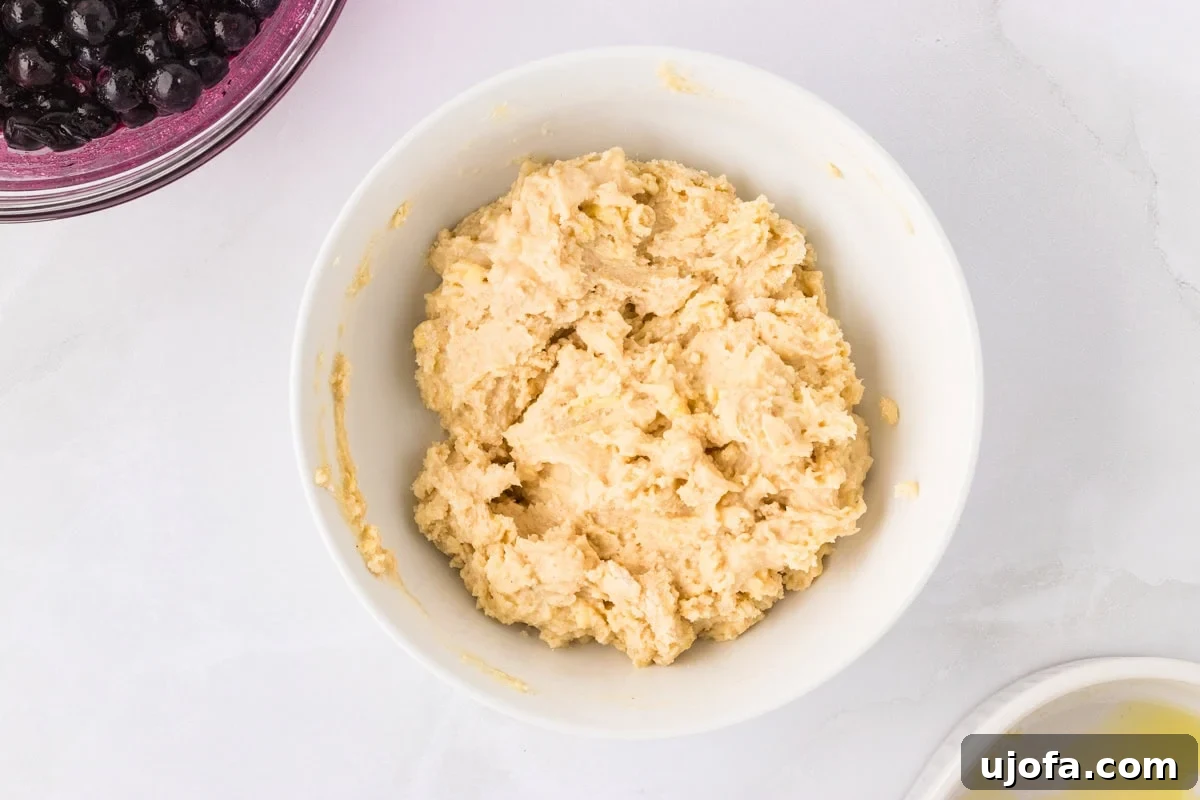
Pour the whisked milk and egg mixture into the bowl with the flour and butter mixture. Stir gently with a spoon or spatula just until the dough comes together. It’s crucial not to overmix at this stage; the dough should appear “shaggy” and thick, with visible small chunks of butter. Overmixing can lead to a tough and flat biscuit topping, so stop as soon as the ingredients are combined. This rustic appearance is exactly what you want for a fluffy, authentic cobbler topping.
7. Assemble the Cobbler in the Baking Dish
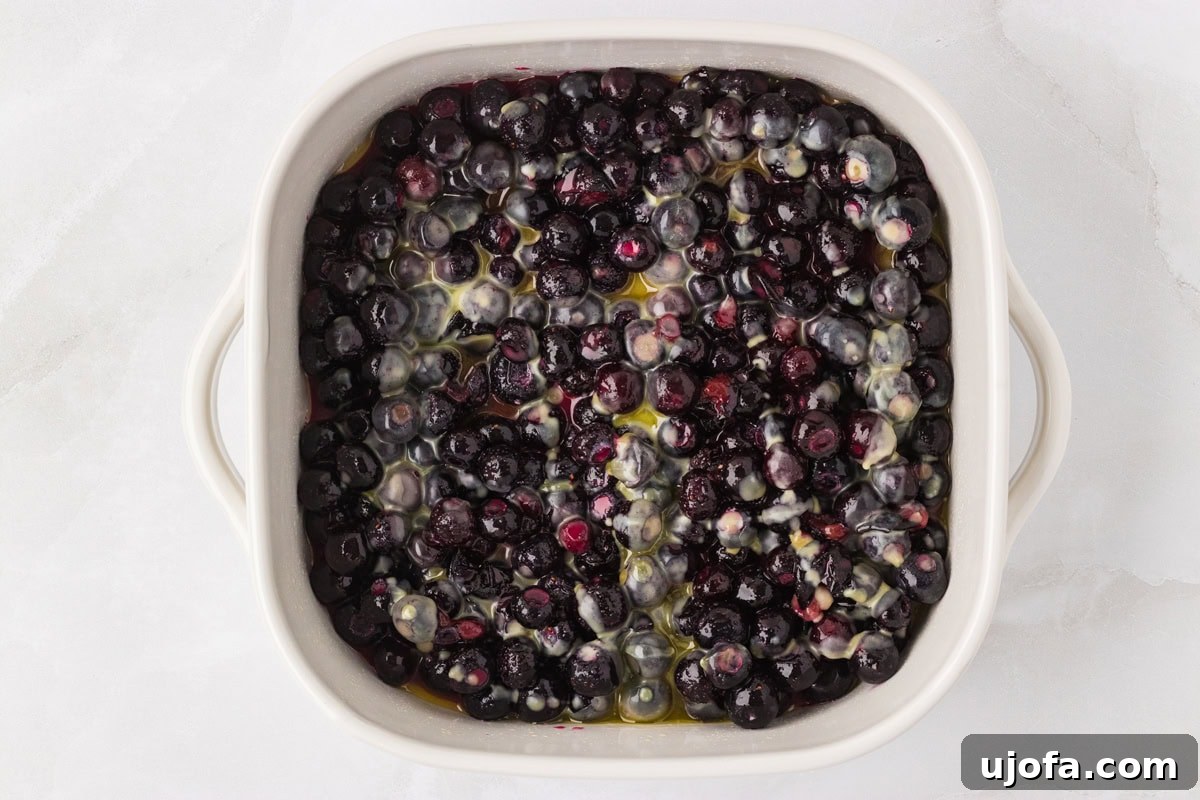
Transfer the prepared blueberry mixture into your greased 2-quart baking dish, spreading it out evenly to form a luscious base for your cobbler. Next, drizzle 2 tablespoons of melted butter (or its dairy-free counterpart) evenly over the blueberries. This added fat will contribute to a richer, more flavorful filling and a beautifully glossy appearance as it bakes, enhancing the overall sensory experience of this comforting dessert.
8. Place the Biscuit Topping and Sugar
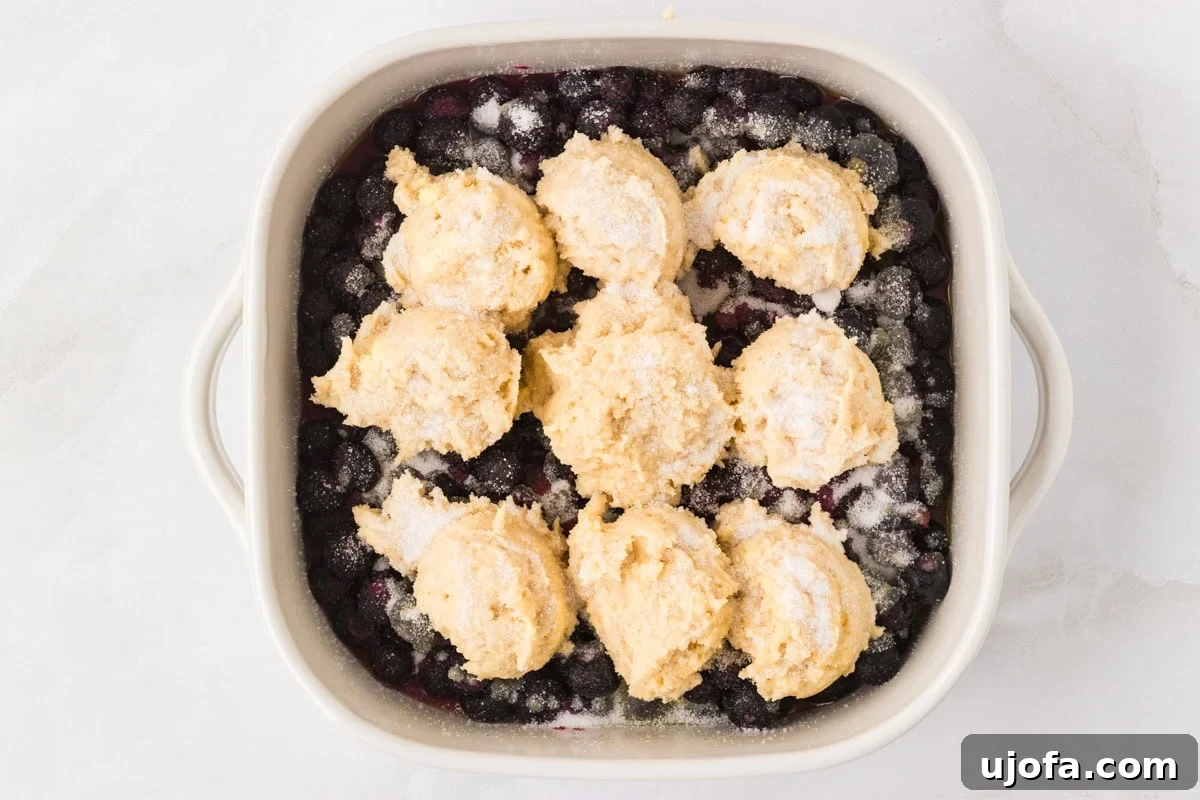
Using a greased ice cream scoop or a large spoon, carefully drop 8 evenly sized mounds of the biscuit dough onto the blueberry filling. Aim to distribute them somewhat evenly over the fruit, allowing a little space between each mound for expansion during baking. To achieve a wonderfully sweet and slightly crisp crust, sprinkle the remaining 2 tablespoons of granulated sugar generously over the dough mounds. This sugar will caramelize during baking, adding an extra layer of texture and sweetness that perfectly complements the soft, tender biscuits.
9. Bake Until Golden and Bubbly
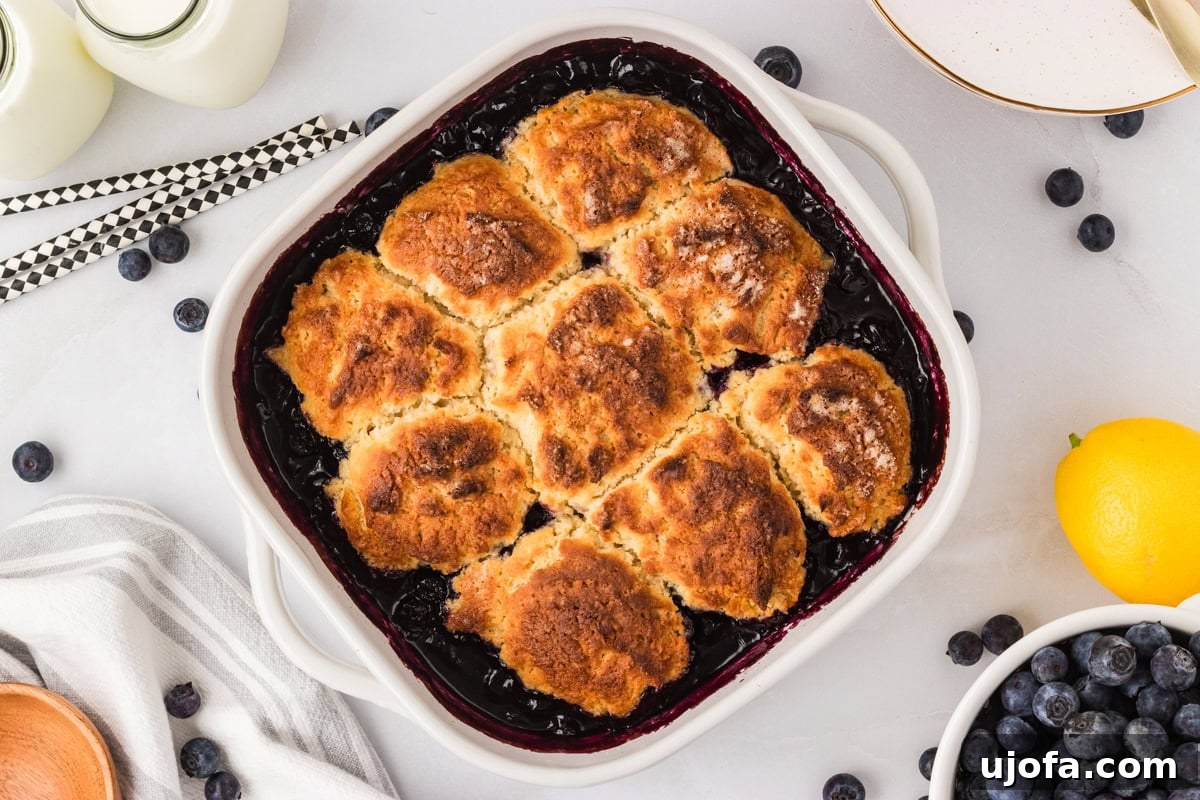
Loosely cover your baking dish with aluminum foil. To prevent the topping from sticking to the foil, you can lightly spray the inside (the side that will touch the cobbler) of the foil with gluten-free cooking spray. Place the covered cobbler on the middle rack of your preheated oven and bake for 20 minutes. After this initial baking period, carefully remove the foil and continue to bake for an additional 25-30 minutes, or until the biscuit topping is a beautiful golden brown and the blueberry filling is vigorously bubbling around the edges. Keep a close eye on your cobbler during the uncovered baking time, as oven temperatures can vary significantly, and adjust accordingly for perfect doneness. The bubbling fruit indicates that the cornstarch has fully activated and thickened the filling, ensuring a delightful consistency.
10. Cool and Enjoy Your Delicious Cobbler
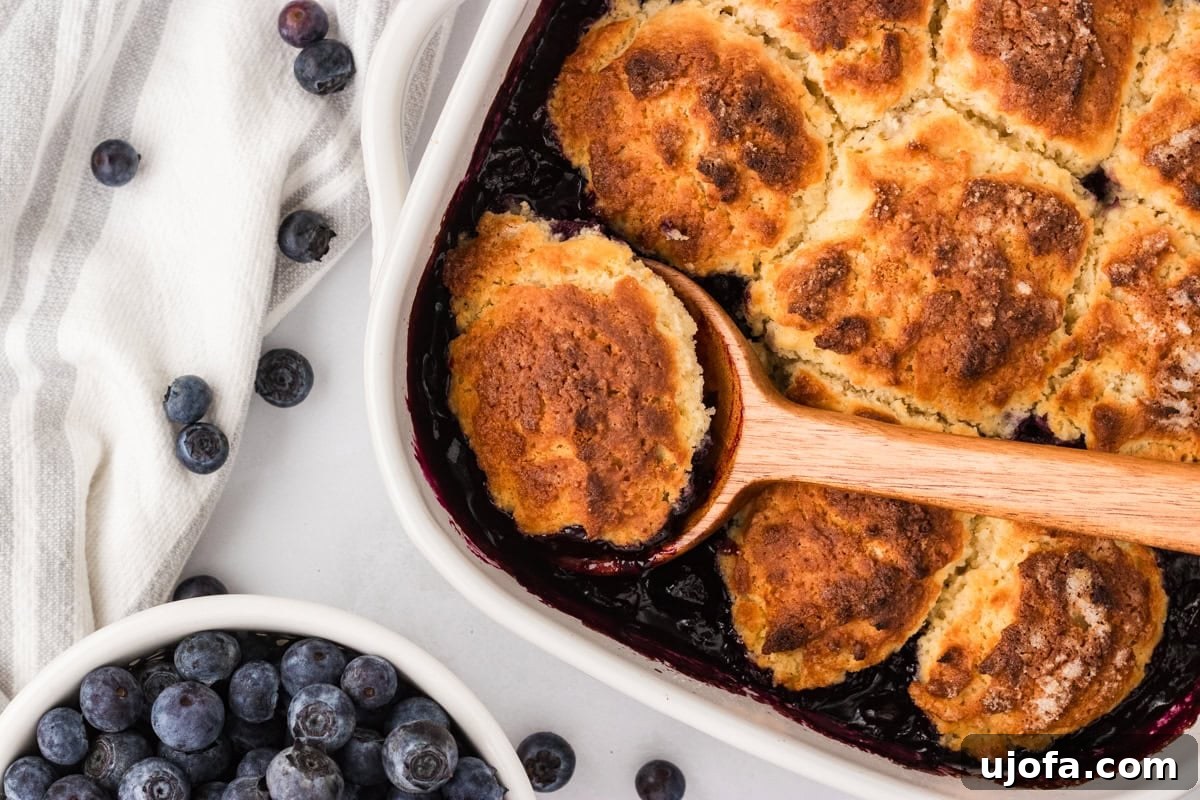
Once baked to perfection, remove the cobbler from the oven. It’s crucial to allow it to cool for at least 10-15 minutes before serving. This resting period allows the hot fruit filling to set and thicken, ensuring it won’t be too runny when scooped. While it’s tempting to dig in immediately, patience will be rewarded with a perfectly textured cobbler. Serve it warm, either on its own to truly savor the blueberry and biscuit flavors, or elevate the experience with a dollop of dairy-free whipped cream or a scoop of creamy vanilla ice cream for an unforgettable dessert experience that will leave everyone satisfied.
Expert Gluten-Free Baking Tips for Cobbler Perfection
Achieving a flawless gluten-free cobbler is easier than you think with these expert tips. By paying attention to a few key details, you can ensure your biscuit topping is light and fluffy, and your fruit filling is perfectly set every time. These insights will help you master the art of gluten-free cobbler baking.
- Avoid Overmixing the Topping Dough: This is perhaps the most crucial tip for any biscuit-style topping, especially with gluten-free flour. Gluten-free flours, while not developing gluten, can still become tough and dense if overmixed. You are looking for a “shaggy” dough consistency, with visible bits of butter and a slightly lumpy texture. Mixing just until the ingredients are combined will yield a tender, flaky, and beautifully risen topping that’s incredibly satisfying.
- Use a Greased Ice Cream Scoop for Uniform Topping: For consistent size and even baking, use a greased ice cream scoop to drop the dough onto the blueberries. This method not only helps in creating uniform portions but also contributes to a lovely, fluffy topping structure. The grease on the scoop prevents sticking and allows the dough to release cleanly, leading to perfectly shaped biscuits.
- Prevent Foil from Sticking: To avoid having your delicious topping cling to the aluminum foil during the covered baking phase, lightly spray the inside (the side that will touch the cobbler) of the foil with gluten-free cooking spray. This simple step ensures your golden crust remains intact and beautiful, preventing any disappointment when you unveil your masterpiece.
- Properly Grease Your Baking Dish: Always start by thoroughly greasing your baking dish with gluten-free cooking spray, butter, or oil. This ensures that the bubbling fruit filling doesn’t stick to the bottom or sides, making for easy serving and cleanup. Coconut oil spray is an excellent choice for this purpose, adding a subtle, pleasant aroma without overpowering the blueberries.
- Choosing the Right Gluten-Free Flour: Not all gluten-free flours are created equal. For best results, use a high-quality gluten-free all-purpose flour blend that already contains xanthan gum. If your blend does not contain xanthan gum, you may need to add about ½ teaspoon per cup of flour to achieve the desired texture and binding. Consistency can vary significantly between brands, so sticking to a tried-and-true blend like Pillsbury gluten-free can lead to more predictable and successful baking outcomes.
- Don’t Be Afraid of Frozen Berries: Frozen blueberries are just as good as fresh for this recipe, and sometimes even better because they’re often picked at peak ripeness. They contribute extra moisture that can make the cobbler even juicier, though you might consider adding a little extra cornstarch if you prefer a very thick filling.
Delightful Serving Suggestions
This gluten-free blueberry cobbler is a true showstopper on its own, but pairing it with the right accompaniments can elevate the experience to new heights. Here are some of our favorite ways to enjoy this warm, fruity dessert, ensuring every bite is a moment of pure bliss:
- Classic Vanilla Ice Cream: A generous scoop of rich, creamy vanilla ice cream (or a keto vanilla ice cream for a lower-carb option) melting languidly over the warm cobbler is an irresistible combination. The cold creaminess perfectly complements the hot, bubbly fruit and crisp topping, creating a delightful contrast of temperatures and textures.
- Whipped Cream or Coconut Cream: For a lighter touch, a dollop of freshly whipped cream or a dairy-free whipped coconut cream adds a delicate sweetness and airy texture. It’s a wonderful way to enjoy the cobbler without overwhelming its natural flavors, providing a fluffy cloud of indulgence.
- Fresh Mint and Lemon Zest: A sprinkle of fresh lemon zest provides a vibrant, citrusy aroma that beautifully enhances the natural sweetness of the blueberries, while a few fresh mint leaves add a pop of color and a refreshing counterpoint, making the dessert visually appealing and aromatically delightful.
- Aromatic Pairings: Serve alongside a tall glass of crisp iced tea for a quintessential summer treat, perfect for cooling down on a warm day. For a more cozy experience, pair it with a warm cup of coffee or herbal tea, ideal for enjoying on a cooler evening or as a comforting breakfast indulgence.
- Perfect for Any Occasion: This cobbler is incredibly versatile and suitable for a wide range of gatherings. It’s a guaranteed hit at casual summer BBQs, elegant potlucks, or simply as a comforting dessert for a relaxed Sunday dinner with family and friends. Its homemade charm makes it feel special, no matter the event, and it always receives enthusiastic compliments.
Storage and Reheating Instructions
One of the many great things about this gluten-free blueberry cobbler is how well it stores, allowing you to enjoy its deliciousness for days or even months after baking. Proper storage ensures it retains its delightful flavor and texture, making it a convenient option for future cravings.
- Refrigeration: To keep leftover cobbler fresh and delicious, allow it to cool completely to room temperature first. Then, transfer it to an airtight container. Stored properly in the refrigerator, it will maintain its quality for up to 4 days. When you’re ready for a quick snack, individual portions can be easily reheated in the microwave for 30-60 seconds, or until warmed through, for a delightful treat.
- Freezing for Long-Term Enjoyment: This cobbler freezes beautifully, making it perfect for meal prepping or having a comforting dessert on hand for unexpected guests. Once the cobbler has completely cooled, you have a couple of excellent options for freezing. You can wrap the entire baking dish tightly with several layers of plastic wrap, followed by aluminum foil to prevent freezer burn. Alternatively, transfer individual portions into freezer-safe containers or heavy-duty freezer bags. Properly stored, it will maintain its delicious quality in the freezer for up to 2 months.
- Reheating Frozen Cobbler: When you’re ready to enjoy your frozen cobbler, you can reheat it directly from frozen or thaw it in the refrigerator overnight for faster reheating. To reheat a whole cobbler, place it (covered loosely with foil if reheating from frozen to prevent drying) in a preheated 350°F (175°C) oven for about 20-30 minutes, or until warmed through and the topping is crisp again. For individual frozen portions, microwave them in 30-second bursts, stirring in between, until heated to your liking. While the topping might not be as crisp as freshly baked, the flavors will still be wonderfully satisfying.
More Delightful Summer Desserts
If you’re looking for more gluten-free treats to sweeten your summer days, explore these other fantastic recipes that are sure to please any palate and become new family favorites. Each one offers a unique and delicious way to enjoy the season’s bounty or indulge in classic flavors, all without gluten!
- Creamy Avocado Ice Cream
- Decadent Gluten-Free Ice Cream Cake
- Zesty Gluten-Free Lemon Cake
- Crispy Gluten-Free Churros
- Tangy Gluten-Free Key Lime Pie
Our Gluten-Free Blueberry Cobbler recipe was originally published on August 31, 2020. It was retested, reworked, and republished to be better than ever on August 29, 2025, ensuring it meets the highest standards of taste and dietary needs for all our cherished readers.