
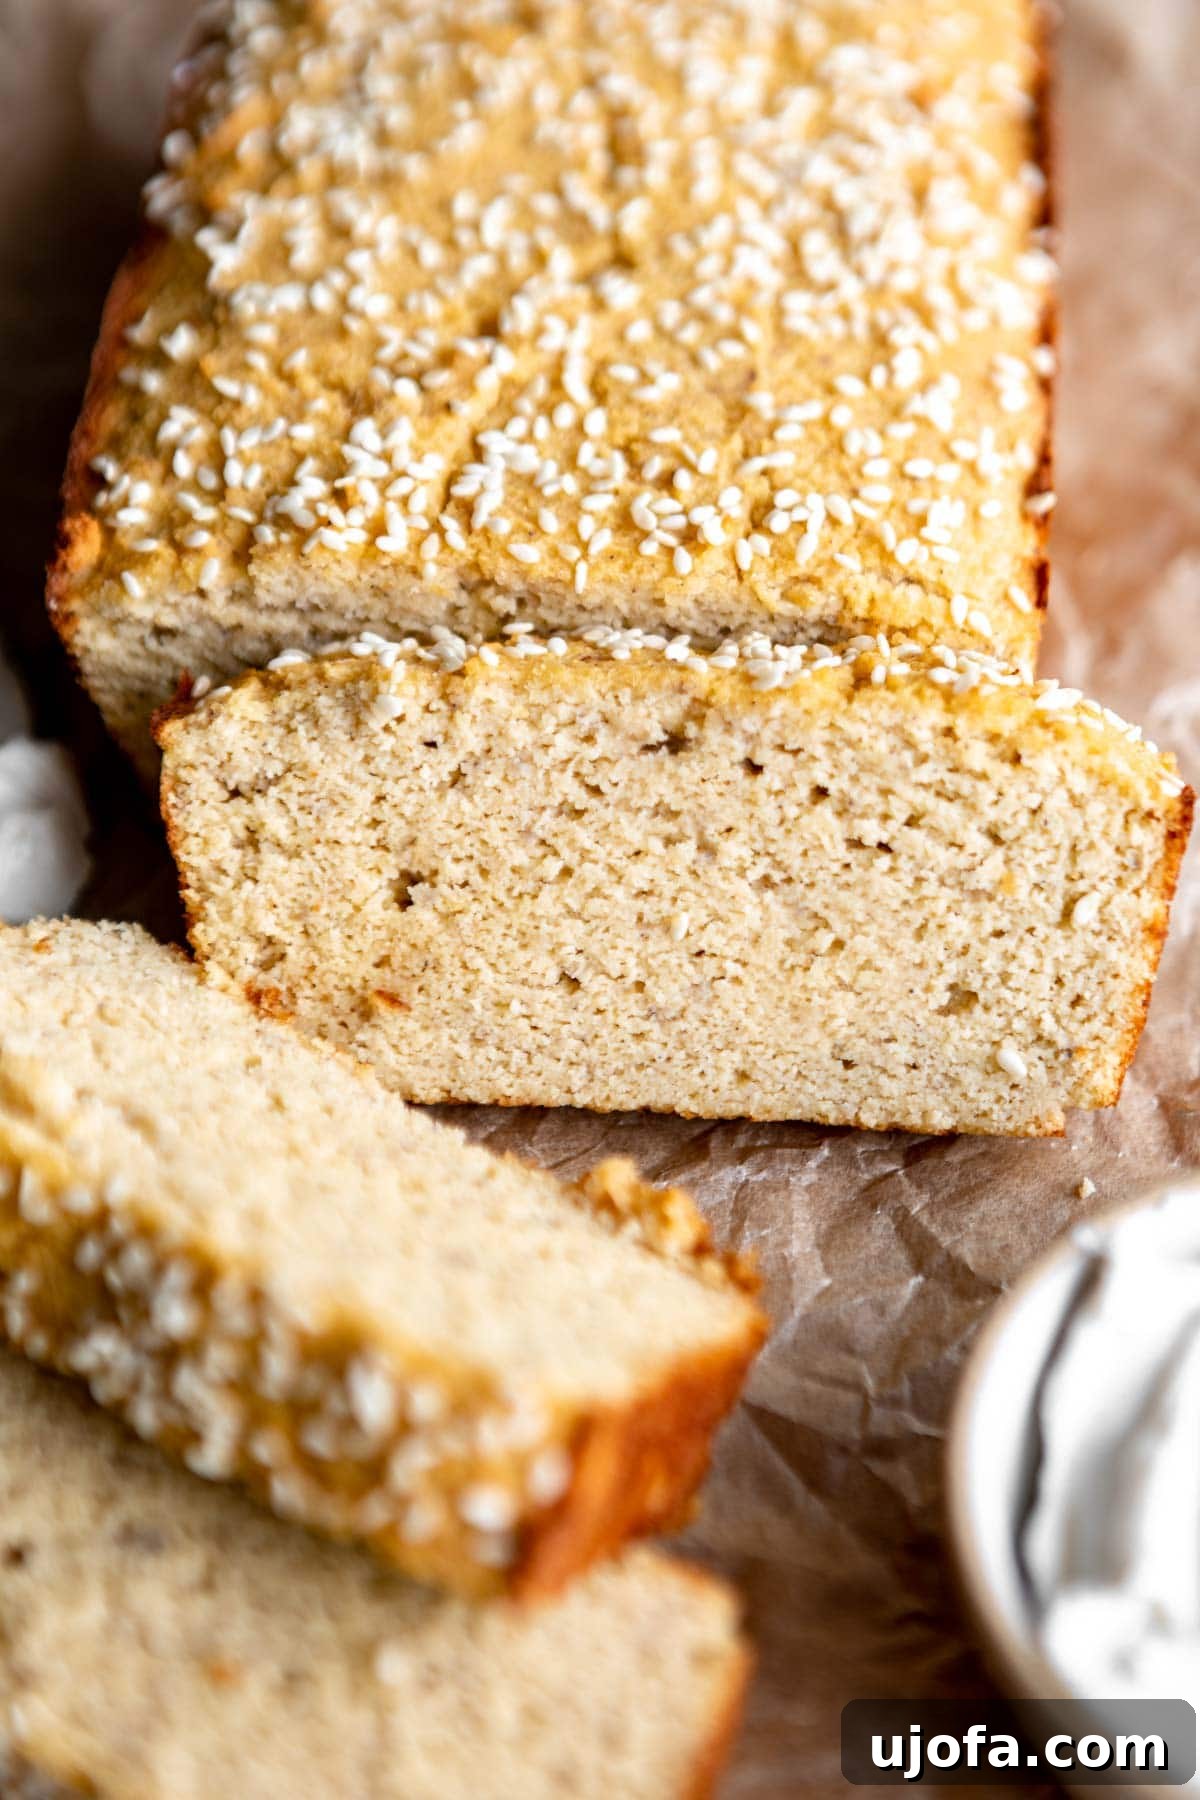
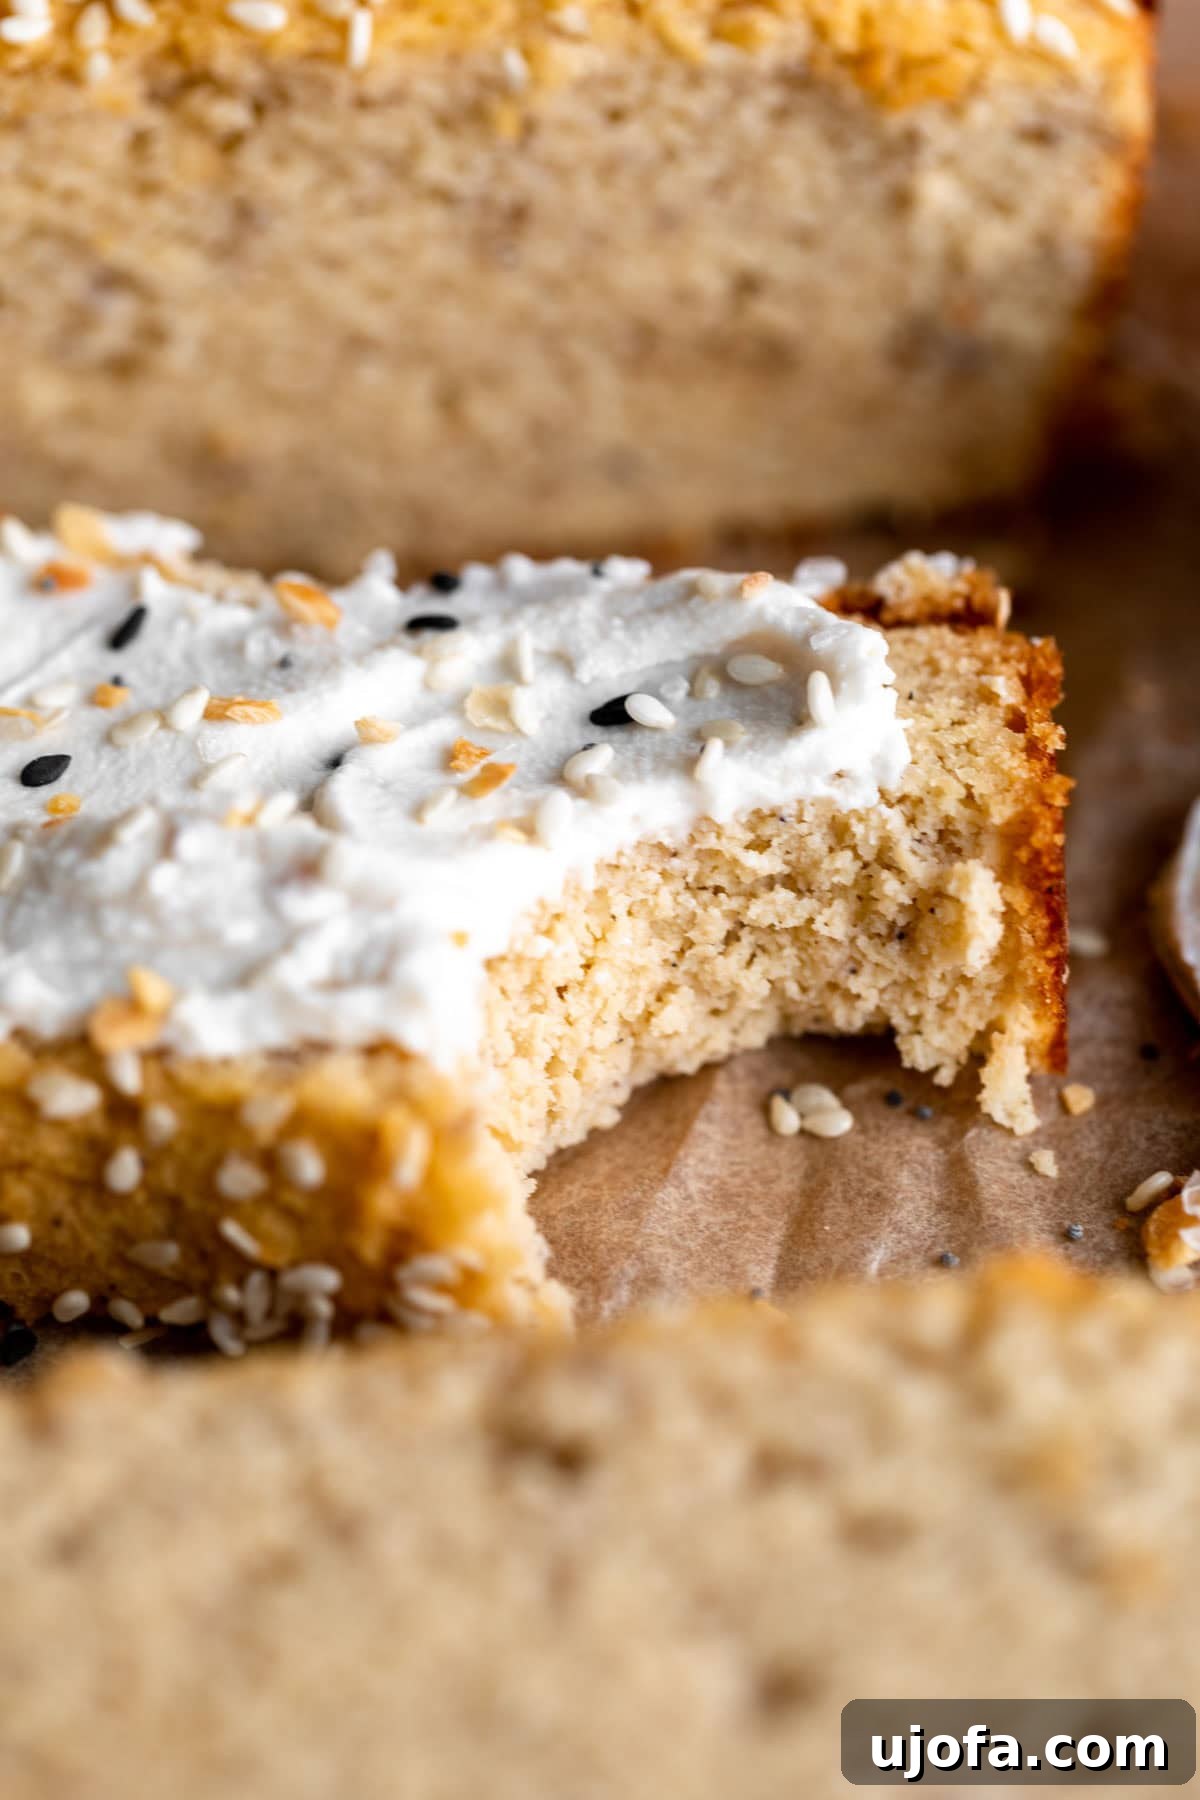
Craving the comforting aroma and satisfying texture of fresh bread, but committed to a low-carb, gluten-free lifestyle? Look no further! This exceptional coconut flour bread recipe is your ultimate solution. Crafted to be naturally high in fiber and low in carbohydrates, it’s a game-changer for anyone managing their diet without sacrificing flavor or enjoyment. Beyond its dietary advantages, this bread is also completely nut and grain-free, making it an incredibly versatile and allergy-friendly option suitable for a wide range of needs, including a ketogenic diet.
Imagine a dense, buttery loaf, perfectly golden, ready to be slathered with your favorite spread. This coconut flour bread delivers exactly that. Its rich flavor profile and wonderfully moist, tender crumb make it an ideal companion for a dollop of grass-fed butter, a spoonful of sugar-free jam, or even as a base for savory sandwiches. It’s not just a bread; it’s an experience that proves healthy eating can be truly delicious and deeply satisfying.
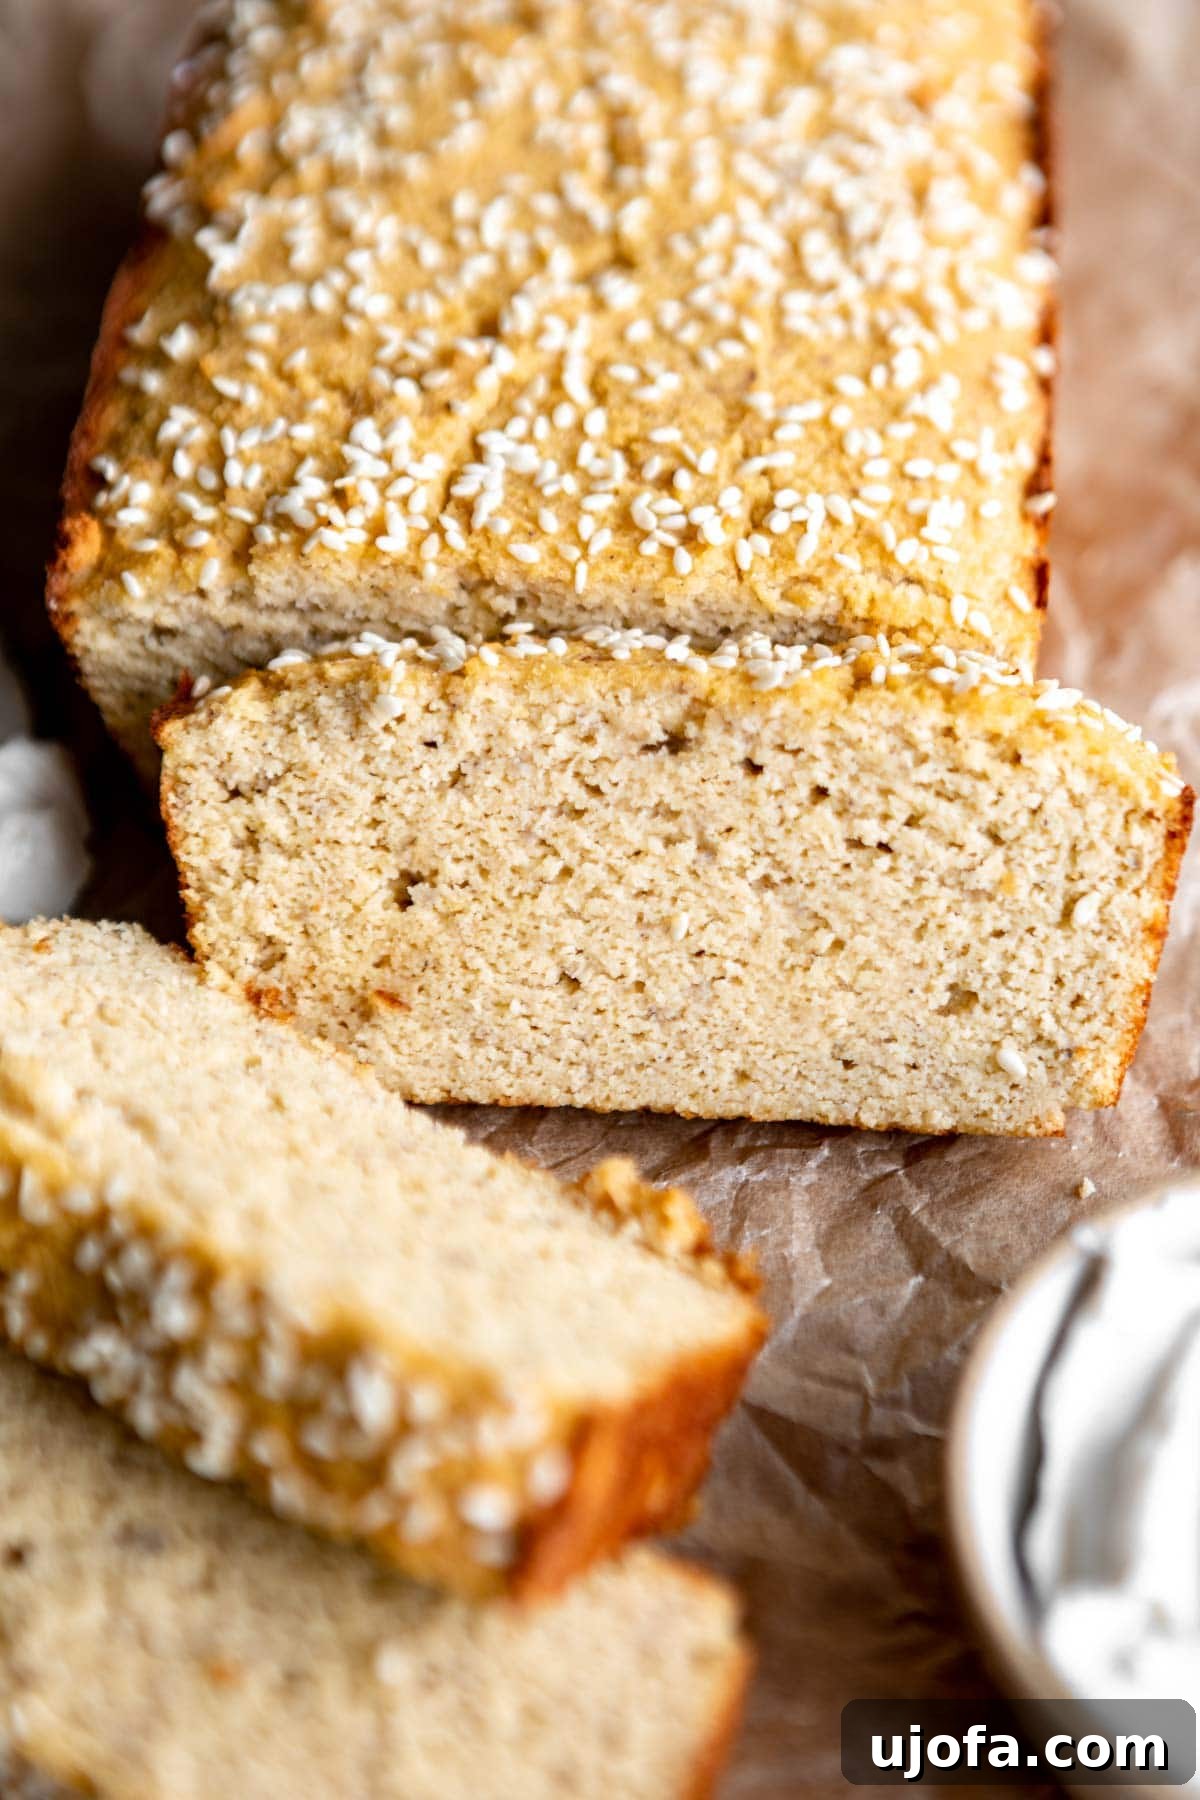
The Ultimate Low-Carb Coconut Flour Bread Recipe
This recipe for coconut flour bread isn’t just a simple alternative; it’s a superior choice for those seeking a nourishing, delicious, and diet-compliant loaf. It stands as a fantastic low-carb, keto-friendly rival to traditional baked goods, offering a similar comforting experience without the high carb count. Whether you’re following a ketogenic diet, managing gluten sensitivities, or simply looking for healthier bread options, this recipe ticks all the boxes. Made with just a handful of straightforward ingredients, it’s remarkably easy to prepare. Plus, it can be effortlessly adapted to be dairy-free, ensuring it caters to even more dietary preferences. This bread truly shines, whether served fresh with sweet or savory toppings, and it toasts beautifully, making it perfect for next-day breakfasts or quick snacks.
Why Choose Coconut Flour for Your Bread?
Coconut flour is an extraordinary ingredient that offers a multitude of health benefits and dietary advantages, setting it apart from conventional flours. Understanding its unique properties is key to appreciating why this bread is such a phenomenal choice:
- Remarkably Low in Carbs: For individuals on a ketogenic diet or those aiming to reduce their carbohydrate intake, coconut flour is an ideal base. Its minimal carb content helps maintain ketosis and stable blood sugar levels.
- Abundant in Fiber: Coconut flour boasts an impressive fiber content, far surpassing most other flours. This high fiber aids digestion, promotes satiety, and contributes to a healthy gut microbiome. It’s a gentle way to boost your daily fiber intake.
- Naturally Gluten-Free: For anyone with Celiac disease, gluten sensitivity, or those choosing a gluten-free lifestyle, coconut flour is a safe and delicious option. It eliminates the need for complex gluten-free flour blends and delivers a naturally wholesome result.
- Nut and Grain-Free: Catering to an even broader audience, coconut flour is free from both nuts and grains. This makes it a perfect choice for individuals with common nut allergies or those avoiding grains for various health reasons.
- Healthy Fats: Coconut flour contains healthy medium-chain triglycerides (MCTs), which are easily digestible and provide a quick source of energy. These fats can support metabolism and overall well-being.
- Unique Texture and Flavor: While it carries a subtle, pleasant aroma of coconut, the flour itself does not impart an overwhelming coconut taste to baked goods. Instead, it contributes to a rich, slightly dense, and incredibly satisfying texture, often described as wonderfully hearty.
Embracing coconut flour in your baking means choosing a nutritious path without compromising on taste or texture. It’s a testament to how specialized ingredients can open up a world of delicious possibilities for health-conscious eaters.
Essential Ingredients for Perfect Coconut Flour Bread
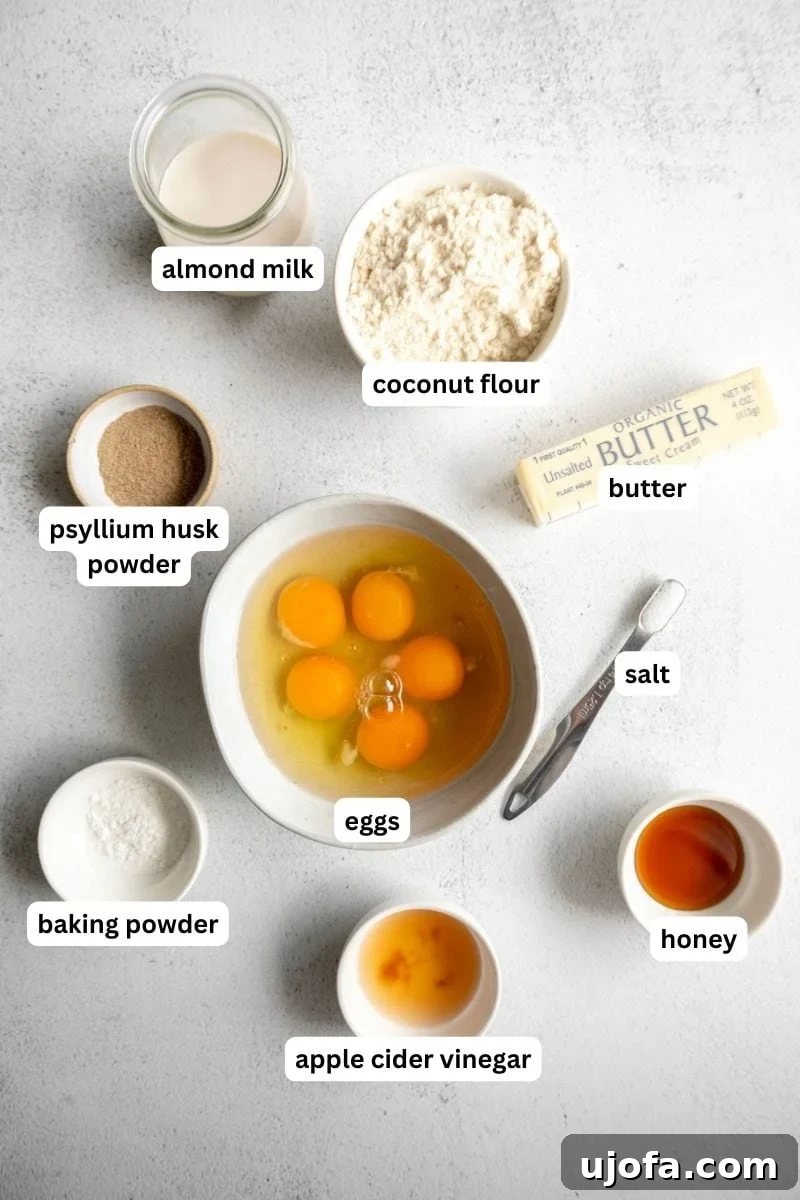
Creating this delicious, low-carb coconut flour bread requires a precise combination of ingredients, each playing a crucial role in achieving the desired texture, flavor, and structure. Here’s a detailed look at what you’ll need and why each component is vital:
- Eggs: More than just a binder, eggs are fundamental in coconut flour baking. Due to coconut flour’s high absorbency, a significant amount of liquid is needed. Eggs provide essential moisture and act as a primary binding agent, ensuring the bread holds together and achieves a tender crumb. They also contribute to the bread’s rise and overall richness.
- Unsalted Butter: Butter imparts a wonderful, rich flavor and adds considerable moisture, leading to a tender and palatable loaf. For a dairy-free alternative, refined coconut oil is an excellent substitute, offering a similar moistness without the dairy taste. Ensure it’s melted before mixing.
- Almond Milk: I typically use plain, unsweetened almond milk to keep the sugar content low and avoid competing flavors. However, this recipe is flexible, and any plant-based milk (like cashew or soy milk) or even dairy milk will work, providing the necessary liquid for hydration.
- Apple Cider Vinegar: This seemingly small addition plays a significant role in activating the baking powder, contributing to the bread’s rise. It also subtly enhances the overall flavor, adding a slight tang that balances the richness of the other ingredients.
- Honey: A small amount of honey is included to provide a touch of sweetness, which helps to round out the flavor profile of the bread and promotes an appetizing golden-brown crust during baking. For strict keto, you can use a keto-friendly liquid sweetener.
- Coconut Flour: The star of the show! This finely ground flour, derived from dried coconut meat, is celebrated for its high fiber and low carbohydrate content. It’s unique in its ability to absorb a vast amount of liquid, which is why the recipe calls for more liquid and eggs than a traditional flour recipe. When properly hydrated, it helps create a light, yet substantial, bread.
- Baking Powder: A crucial leavening agent, baking powder works in conjunction with the apple cider vinegar to create air bubbles, giving the bread its lift and a soft, airy texture. Ensure your baking powder is fresh for optimal results.
- Psyllium Husk Powder: This ingredient is a secret weapon in gluten-free and low-carb baking. Psyllium husk powder acts as a powerful binder, mimicking the elasticity and structure that gluten provides in traditional bread. It prevents the bread from becoming too crumbly, giving it a more conventional, chewy texture.
- Salt: A pinch of salt is essential for balancing and enhancing all the other flavors in the bread. It elevates the sweetness and richness, ensuring a well-rounded and delicious taste.
Each ingredient is chosen not just for its individual contribution but for how it interacts with the others, creating a harmonious and perfectly baked loaf of coconut flour bread.
Expert Tips and Suggestions for Baking Success
Baking with coconut flour is a unique experience, and understanding its properties is key to achieving a perfect loaf. Follow these expert tips to ensure your coconut flour bread turns out beautifully every time:
- Choose the Right Baking Pan: I highly recommend using a metal baking pan for the most even bake. Metal conducts heat consistently, which is crucial for uniform cooking, especially with denser batters like coconut flour bread. To ensure easy release and prevent sticking, always line your pan with parchment paper, leaving an overhang on the sides for convenient lifting.
- Coconut Flour’s Thirst: Remember that coconut flour is incredibly absorbent. It requires significantly more liquid and eggs compared to wheat flour or even other gluten-free flours to bind properly and prevent a dry, crumbly texture. Don’t be alarmed by the seemingly high liquid content in the recipe—it’s necessary!
- Allow the Batter to Hydrate: Patience is a virtue in coconut flour baking. After mixing, let the batter sit for at least 5-10 minutes before baking. This resting period allows the coconut flour to fully absorb the liquids, resulting in a more cohesive dough and a better final texture. Skipping this step can lead to a drier, more crumbly bread.
- Avoid Overbaking: While you want a fully cooked loaf, overbaking can lead to dryness. Start checking for doneness at the lower end of the recommended baking time. The loaf should be firm to the touch when done, and a toothpick inserted into the center should come out clean. The internal temperature for fully cooked bread is typically around 200-210°F (93-99°C).
- Cool Completely Before Slicing: This is perhaps one of the most critical tips for any gluten-free bread, and especially for coconut flour bread. The bread continues to set and firm up as it cools. Slicing it while warm significantly increases the risk of crumbling and an unappealing texture. Allow it to cool completely to room temperature on a wire rack before attempting to slice it.
- Accurate Measurement is Crucial: Due to coconut flour’s high absorbency, even slight inaccuracies in measurement can drastically affect the outcome. Use a kitchen scale for precise measurement of flour whenever possible, or ensure you’re using the “spoon and level” method for measuring flour (spoon flour into the measuring cup, then level off with a straight edge).
- Room Temperature Ingredients: Ensure your eggs and almond milk are at room temperature. This helps them incorporate more smoothly into the batter, leading to a more consistent and emulsified mixture.
Is Coconut Flour The Same As Shredded Coconut? Unraveling the Difference
This is a common question, and the answer is a definitive no! While both come from coconuts, their forms, properties, and culinary uses are entirely different. Coconut flour is the finely ground, dried meat of the coconut after most of its fat has been extracted (often during coconut milk production). It’s incredibly dry, powdery, and highly absorbent, acting as a true flour substitute in baking. Shredded or desiccated coconut, on the other hand, is simply dried, grated coconut meat. It retains much of its natural fat and moisture, giving it a chewy texture. Attempting to substitute shredded coconut for coconut flour in a recipe will lead to disastrous results—the shredded coconut will not bind properly, even if you try to process it into a finer powder. Always use specifically labeled “coconut flour” for this recipe.
Does This Bread Taste Like Coconut? Addressing the Flavor Profile
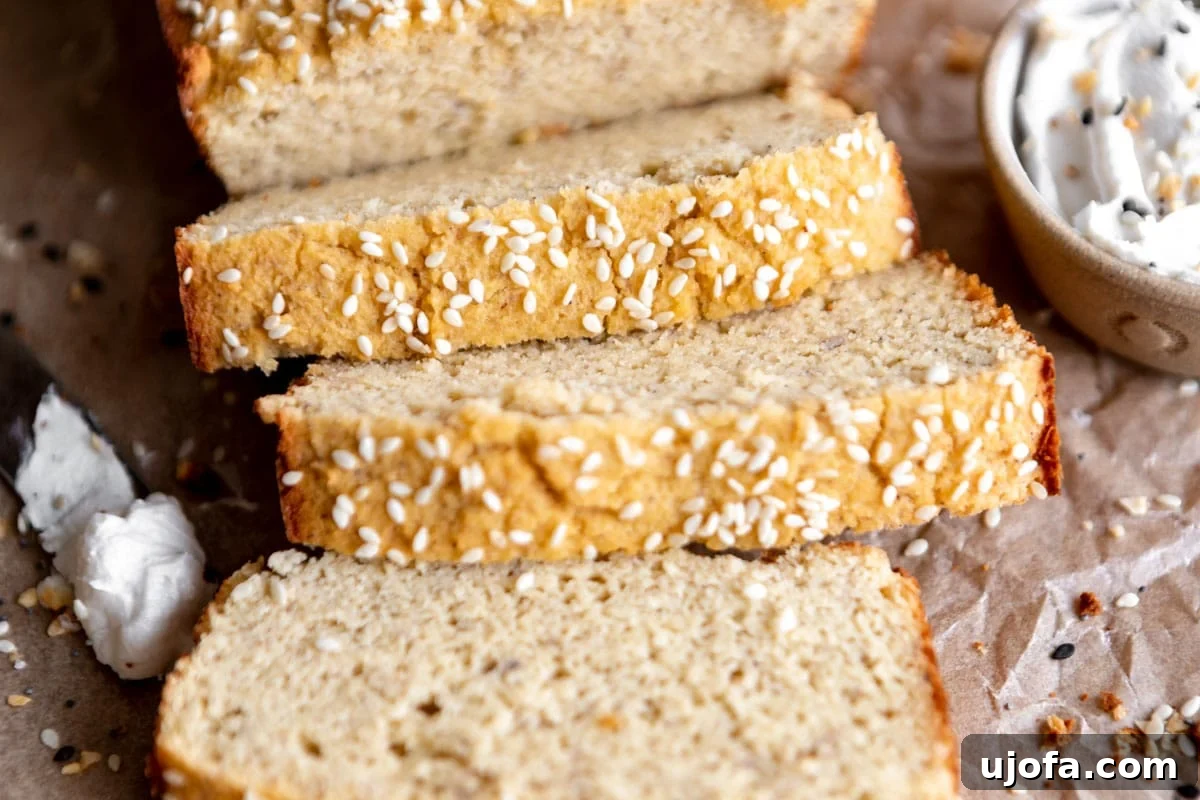
Many people worry that baking with coconut flour will result in an overwhelmingly tropical, coconut-flavored bread. The good news is, not really! While coconut flour itself has a distinct, mild coconutty scent, it contributes very little actual coconut flavor to the final baked product. This bread is designed to be versatile, offering a balanced taste that is subtly sweet and just a hint savory. Its dominant notes are a delightful buttery richness, thanks to the butter (or coconut oil), complemented by the other ingredients. The texture is wonderfully dense and satisfying, making it a perfect canvas for whatever toppings you prefer, without a strong coconut presence to compete with them. It’s more about the texture and nutritional benefits than a prominent coconut flavor.
Can I Make This Bread With A Different Kind Of Flour? Understanding Substitutions
I strongly advise against substituting coconut flour with another type of flour in this specific recipe. Coconut flour is unique in its incredibly high absorbency; it can soak up several times its weight in liquid, a property that most other flours simply do not share. If you were to use an equal amount of almond flour, for instance, your dough would be far too wet and the bread wouldn’t set properly. Conversely, using the same volume of wheat flour would result in a dense, dry, and inedible brick. To achieve similar results with a different flour alternative, you would need to completely re-engineer the recipe, drastically adjusting the liquid, egg, and flour ratios. This recipe is specifically formulated to leverage the distinct characteristics of coconut flour for a perfectly balanced and textured loaf.
Storage Instructions: Keeping Your Coconut Flour Bread Fresh
Proper storage is essential to maintain the freshness and texture of your homemade coconut flour bread. Here’s how to keep it delicious for as long as possible:
- Room Temperature: For immediate enjoyment, store coconut flour bread tightly wrapped in plastic wrap at room temperature for up to 4 days. Ensure it’s in an airtight container if possible, to prevent it from drying out.
- Refrigerator: To extend its shelf life, you can store the bread in the refrigerator for up to 1 week. Again, wrap it tightly in plastic wrap or place it in an airtight container to prevent moisture loss and absorbency of fridge odors.
- Freezer: For longer-term storage, coconut flour bread freezes exceptionally well. Wrap the entire loaf or individual slices tightly in plastic wrap, then place them in a freezer-safe bag or container. It can be stored in the freezer for up to 2 months. To enjoy, simply thaw slices at room temperature or toast them directly from frozen.
By following these guidelines, you can ensure that every slice of your coconut flour bread remains as fresh and delightful as the day it was baked, ready to be enjoyed whenever a craving strikes.
More Irresistible Coconut Flour Recipes to Try!
If you love the versatility and health benefits of coconut flour, you’ll be thrilled to discover more delicious ways to incorporate it into your diet. Here are some fantastic coconut flour recipes to expand your gluten-free and low-carb baking repertoire:
- Coconut Flour Banana Bread
- Coconut Flour Pancakes
- Coconut Flour Muffins
- Coconut Flour Chocolate Chip Cookies
Coconut Flour Bread
Claire Cary
12 slices
10 mins
29 mins
39 mins
Pin Recipe
Email Recipe
Print Recipe
This buttery, dense coconut flour bread is naturally high in fiber and low in carbs, as well as nut and grain-free, and keto-friendly!
Ingredients
- 5 large eggs
- ½ cup unsalted butter, or refined coconut oil, melted
- ½ cup plain unsweetened almond milk
- 2 teaspoons apple cider vinegar
- 1 tablespoon honey
- 1 cup coconut flour
- 1 teaspoon baking powder
- 1½ teaspoons psyllium husk powder
- ¼ teaspoon salt
- Sesame seeds, optional, for topping
Instructions
- Preheat the oven to 350°F (175°C). Line a standard 9×5-inch loaf pan with parchment paper, allowing some overhang on the longer sides to easily lift the bread out later. Set this prepared pan aside.
- In a large mixing bowl, or the bowl of a stand mixer fitted with a whisk attachment, add the 5 large eggs. Beat them thoroughly for approximately 1 minute until they are light and slightly frothy. This incorporates air, which helps with the bread’s texture.
- To the beaten eggs, add the melted unsalted butter (or refined coconut oil), almond milk, honey, and apple cider vinegar. Continue to beat the mixture until all these wet ingredients are fully combined and smooth.
- Next, incorporate the dry ingredients: coconut flour, baking powder, psyllium husk powder, and salt. Beat on low speed until the dry ingredients are just incorporated into the wet mixture. Be careful not to overmix, as this can lead to a tough texture.
- Pour the batter into your prepared loaf pan. Use a spatula to spread the top evenly, ensuring the batter fills the pan from edge to edge.
- If desired, sprinkle sesame seeds generously over the top of the batter. These add a pleasant crunch and a visually appealing finish to your loaf.
- Bake the bread in the preheated oven for 35-40 minutes. To check for doneness, insert a toothpick into the center of the loaf; it should come out clean. The top should be golden brown and the loaf firm to the touch.
- Once baked, remove the loaf pan from the oven and let the bread cool completely in the pan on a wire rack. Cooling fully is crucial for coconut flour bread to set properly and prevent crumbling when sliced. Once cool, carefully lift the bread out of the pan using the parchment paper overhang, slice, and savor!
Notes
- I recommend using a metal baking pan for the most even bake. Line the pan with parchment for easier release.
- Coconut flour absorbs a lot of moisture so it does need a lot of liquid and eggs to bind properly.
- Let the batter sit before baking to allow the coconut flour to hydrate properly.
- Take care not to overbake the bread; the loaf should be firm to the touch when it is done.
- Let the bread cool to room temperature before slicing to reduce the risk of crumbling.
- To store: Wrap the bread tightly in plastic wrap and store at room temperature for up to 4 days or in the refrigerator for up to 1 week.
- To freeze: Wrap the whole loaf or individual slices in plastic wrap to store for up to 2 months.
Nutrition
Calories: 148 kcal
Carbohydrates: 8 g
Protein: 4 g
Fat: 11 g
Saturated Fat: 7 g
Polyunsaturated Fat: 1 g
Monounsaturated Fat: 3 g
Trans Fat: 0.3 g
Cholesterol: 98 mg
Sodium: 149 mg
Potassium: 33 mg
Fiber: 4 g
Sugar: 2 g
Vitamin A: 349 IU
Vitamin C: 0.01 mg
Calcium: 46 mg
Iron: 1 mg
Nutrition information is automatically calculated, so should only be used as an approximation.
Additional Info
Baking, Side Dish
American
How To Make Coconut Flour Bread Step-by-Step: A Visual Guide
Follow these detailed steps, accompanied by images, to master the art of baking perfect coconut flour bread from scratch. Each stage is crucial for achieving that irresistible texture and flavor.

Begin by preheating your oven to 350°F (175°C). Prepare a standard 9×5-inch loaf pan by lining it with parchment paper, ensuring there’s enough overhang on the sides to easily lift the bread out once baked. Set the pan aside. Crack 5 large eggs into a spacious mixing bowl or the bowl of a stand mixer. Beat them vigorously for approximately 1 minute until they become light, frothy, and slightly pale. This aeration is important for the bread’s final texture.
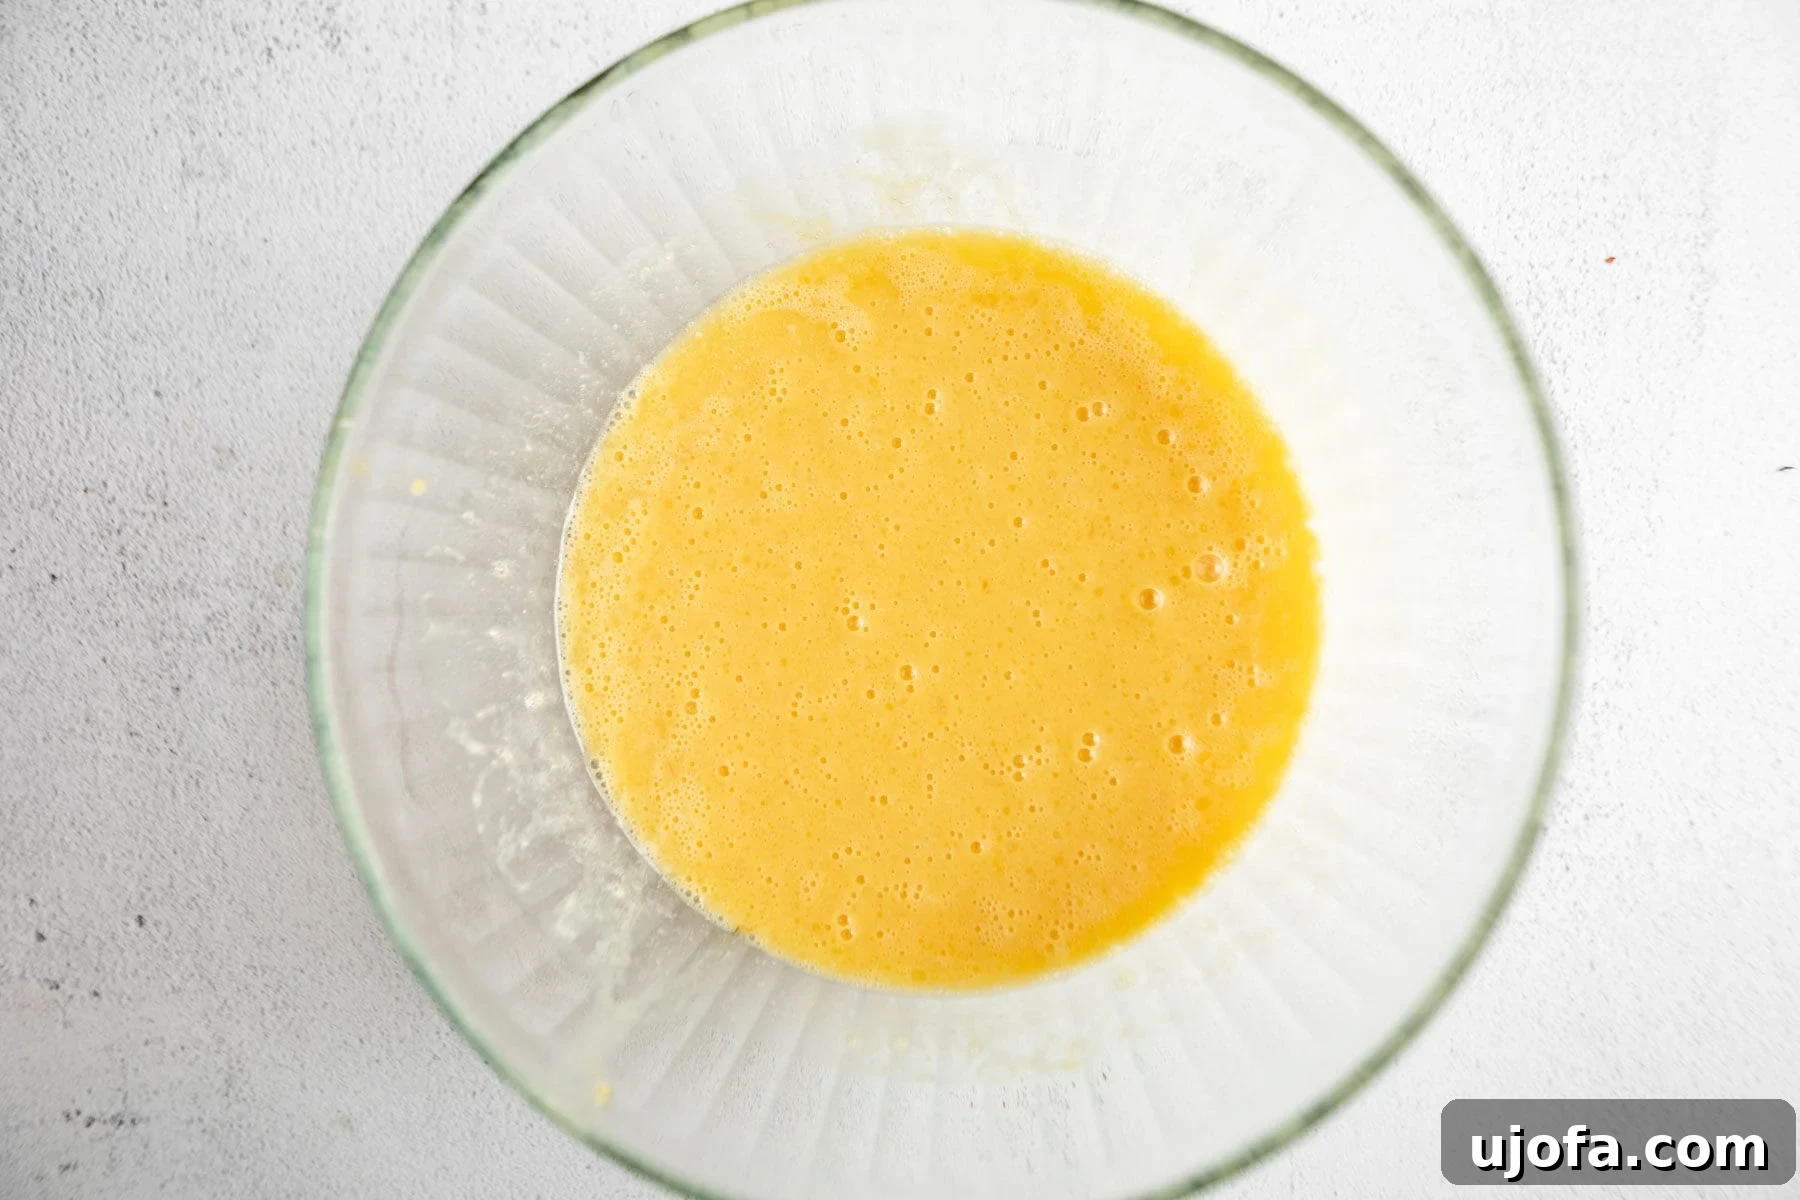
Once your eggs are beautifully beaten, it’s time to incorporate the wet ingredients. Add ½ cup of melted unsalted butter (or refined coconut oil for a dairy-free option), ½ cup of plain unsweetened almond milk, 1 tablespoon of honey, and 2 teaspoons of apple cider vinegar to the bowl. Continue to beat the mixture until all these components are thoroughly combined, creating a smooth, homogeneous liquid base for your bread.
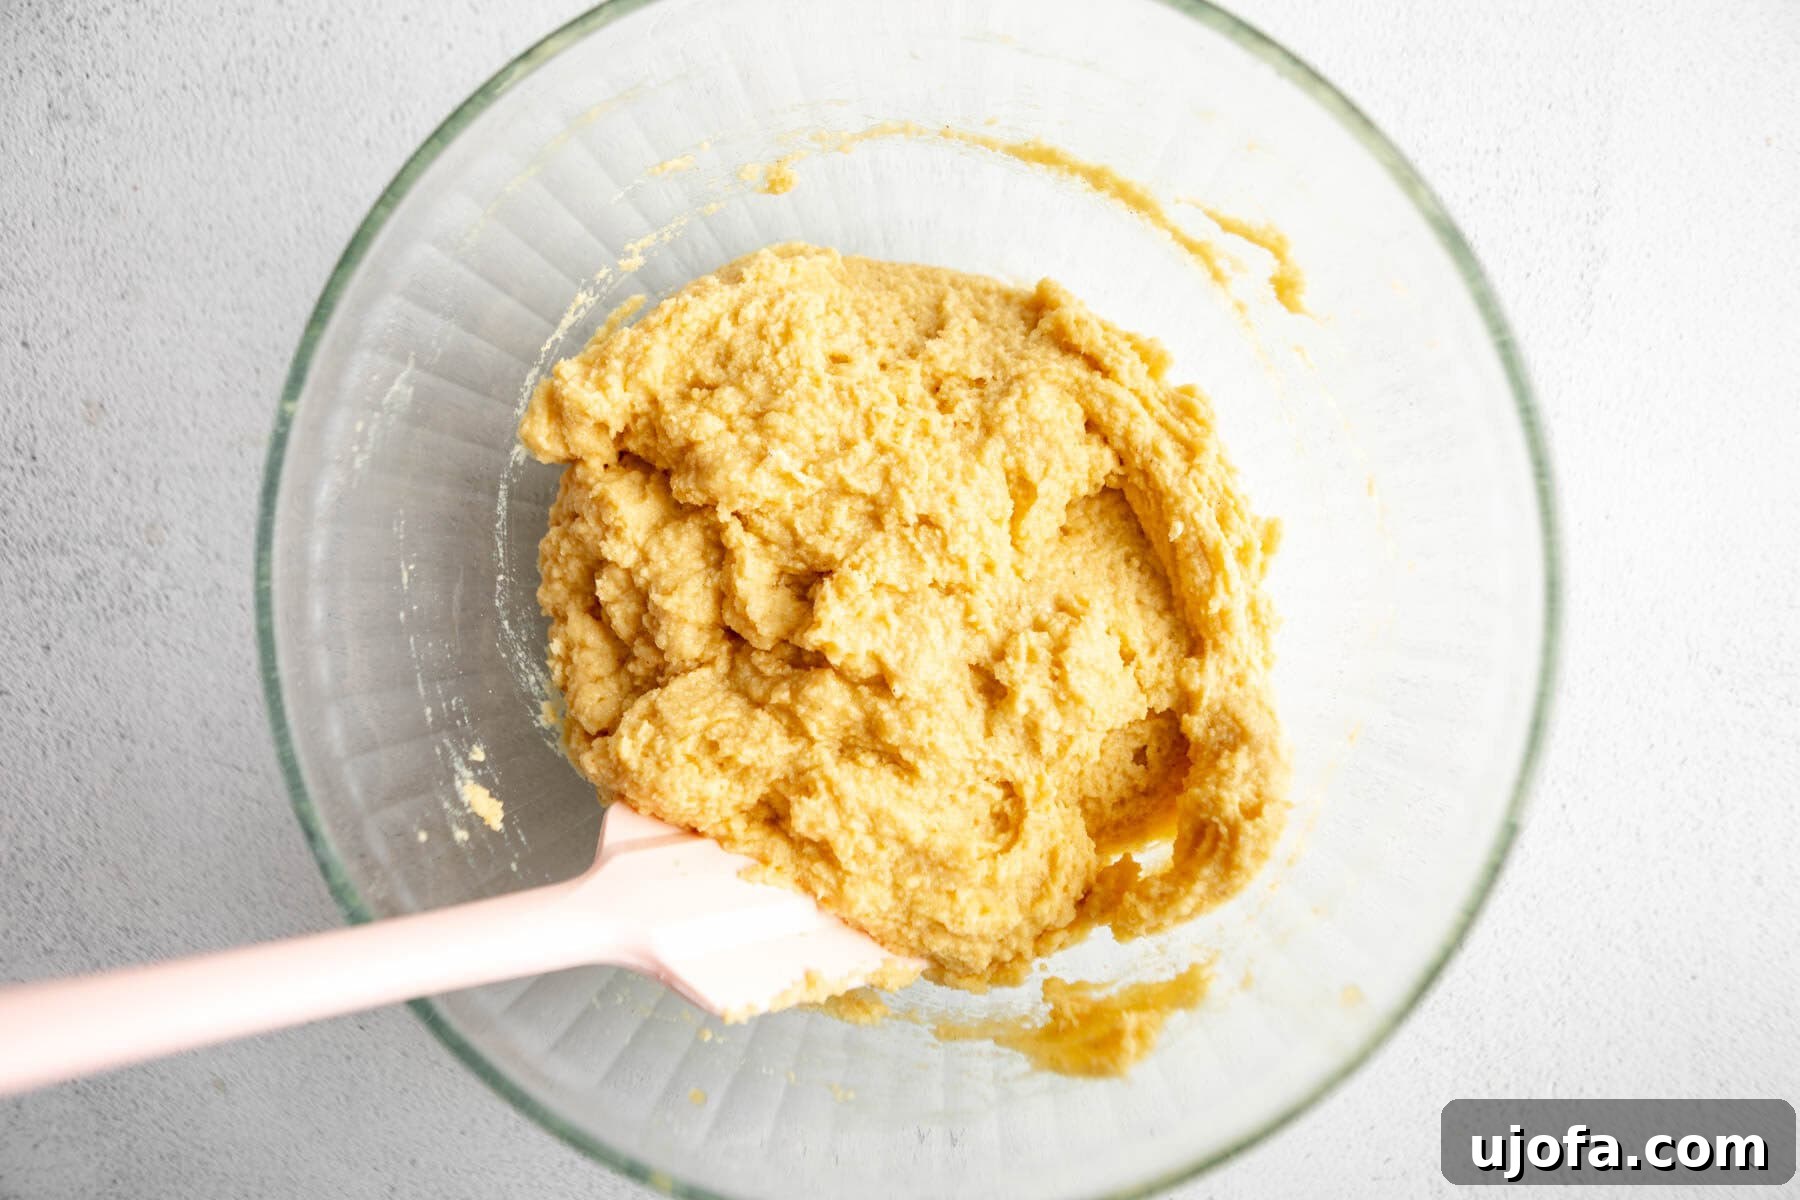
Now, gently add the dry ingredients to the wet mixture. This includes 1 cup of coconut flour, 1 teaspoon of baking powder, 1½ teaspoons of psyllium husk powder, and ¼ teaspoon of salt. Mix these ingredients on low speed until they are just combined and no streaks of dry flour remain. Be mindful not to overmix the batter; mix until it’s cohesive but avoid excessive beating, as this can affect the tenderness of the bread.
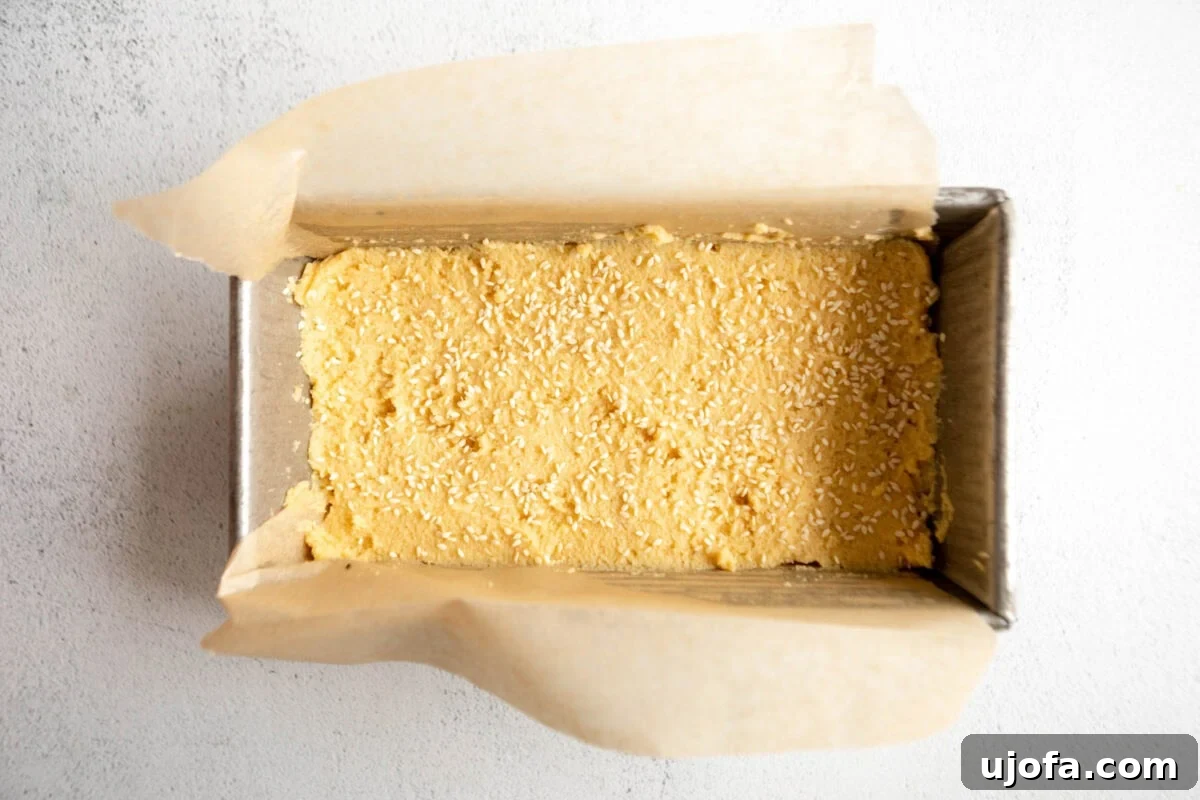
Carefully transfer the thick, prepared coconut flour batter into your parchment-lined loaf pan. Use a spatula to spread the top surface of the batter evenly. This ensures consistent baking and a beautifully shaped loaf. If you wish, sprinkle a generous amount of sesame seeds over the top of the batter. This addition not only enhances the visual appeal but also provides a delightful textural contrast and nutty flavor once baked.
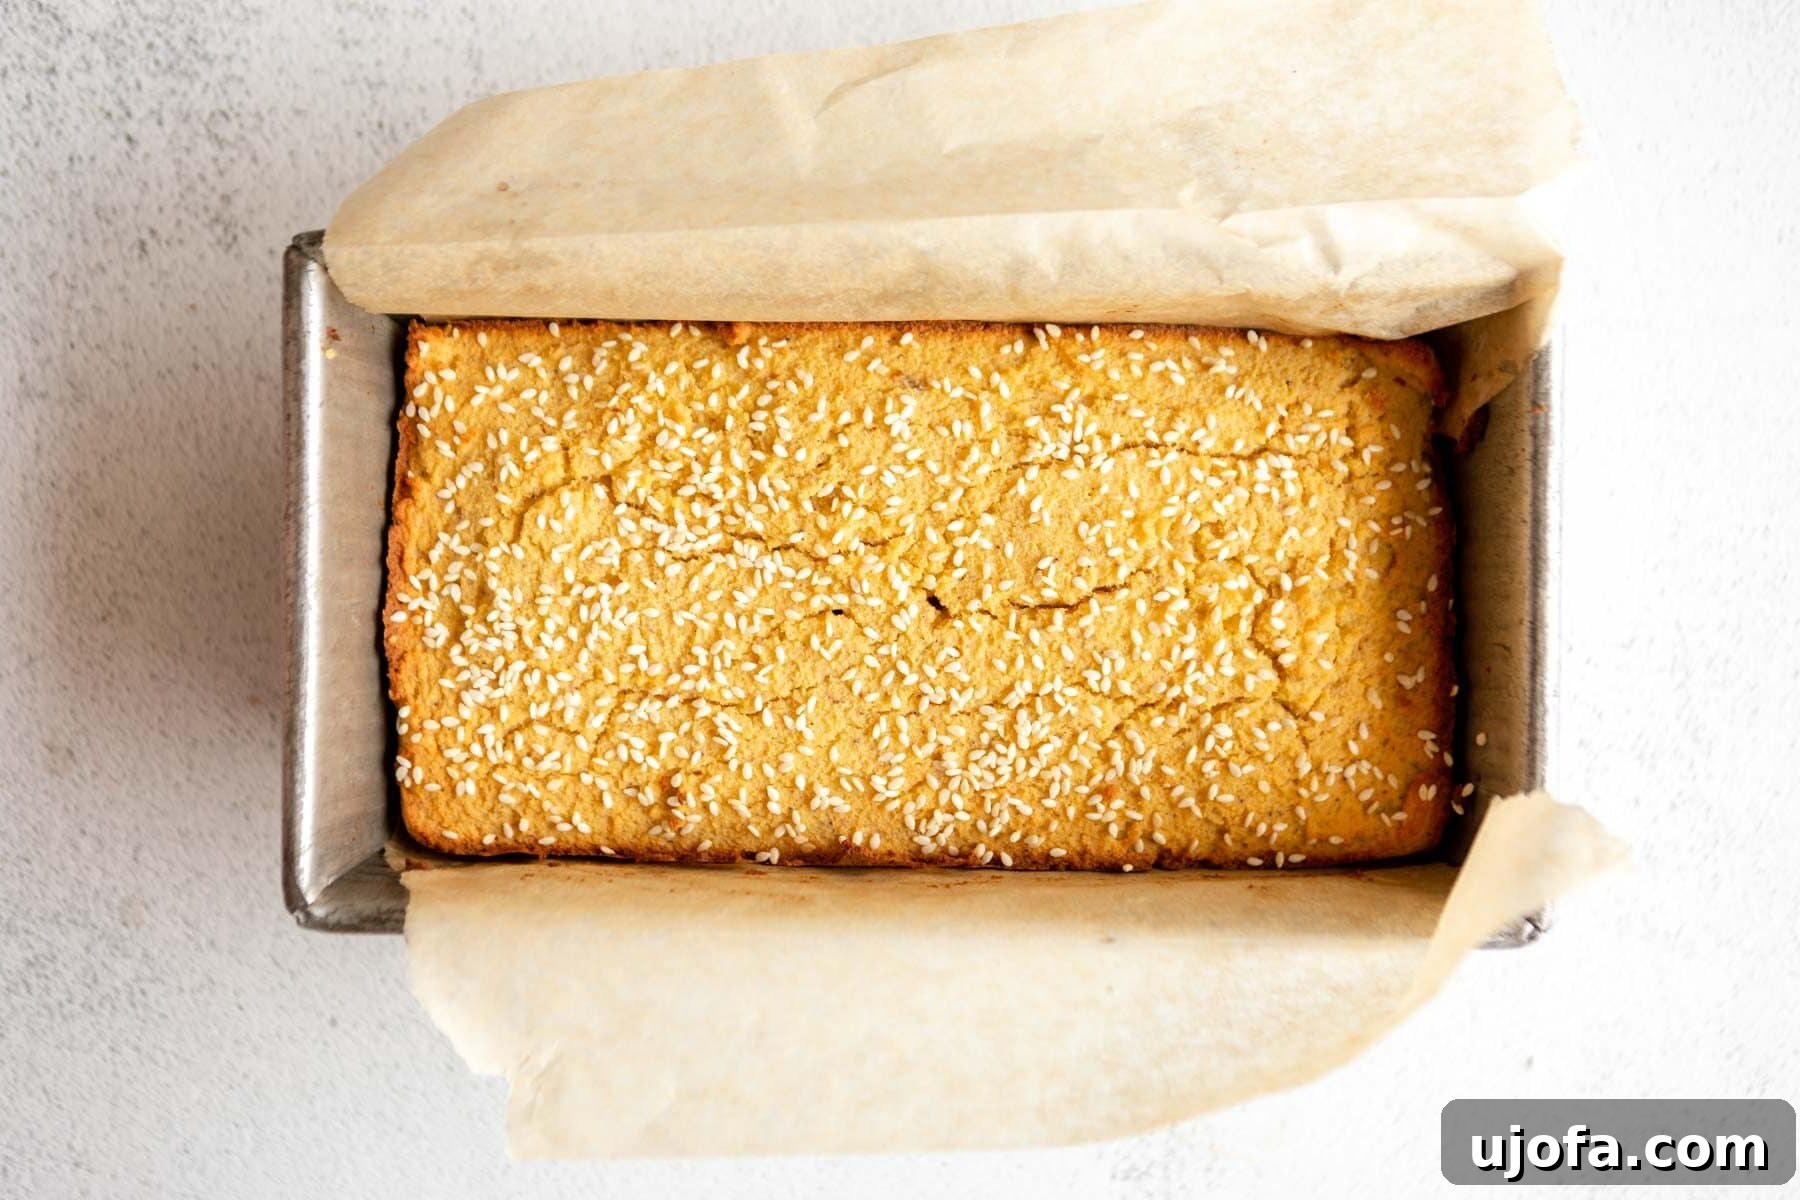
Place the loaf pan into the preheated oven and bake for 35-40 minutes. The baking time can vary slightly depending on your oven, so keep an eye on it. The bread is done when it’s beautifully golden brown on top, feels firm to the touch, and a toothpick inserted into the very center comes out completely clean. Once baked, remove the pan from the oven and transfer it to a wire rack. It is absolutely crucial to let the bread cool completely to room temperature before attempting to slice it. This allows the internal structure to set fully, preventing crumbling. Once cooled, slice with a sharp knife and savor every low-carb, gluten-free bite!