
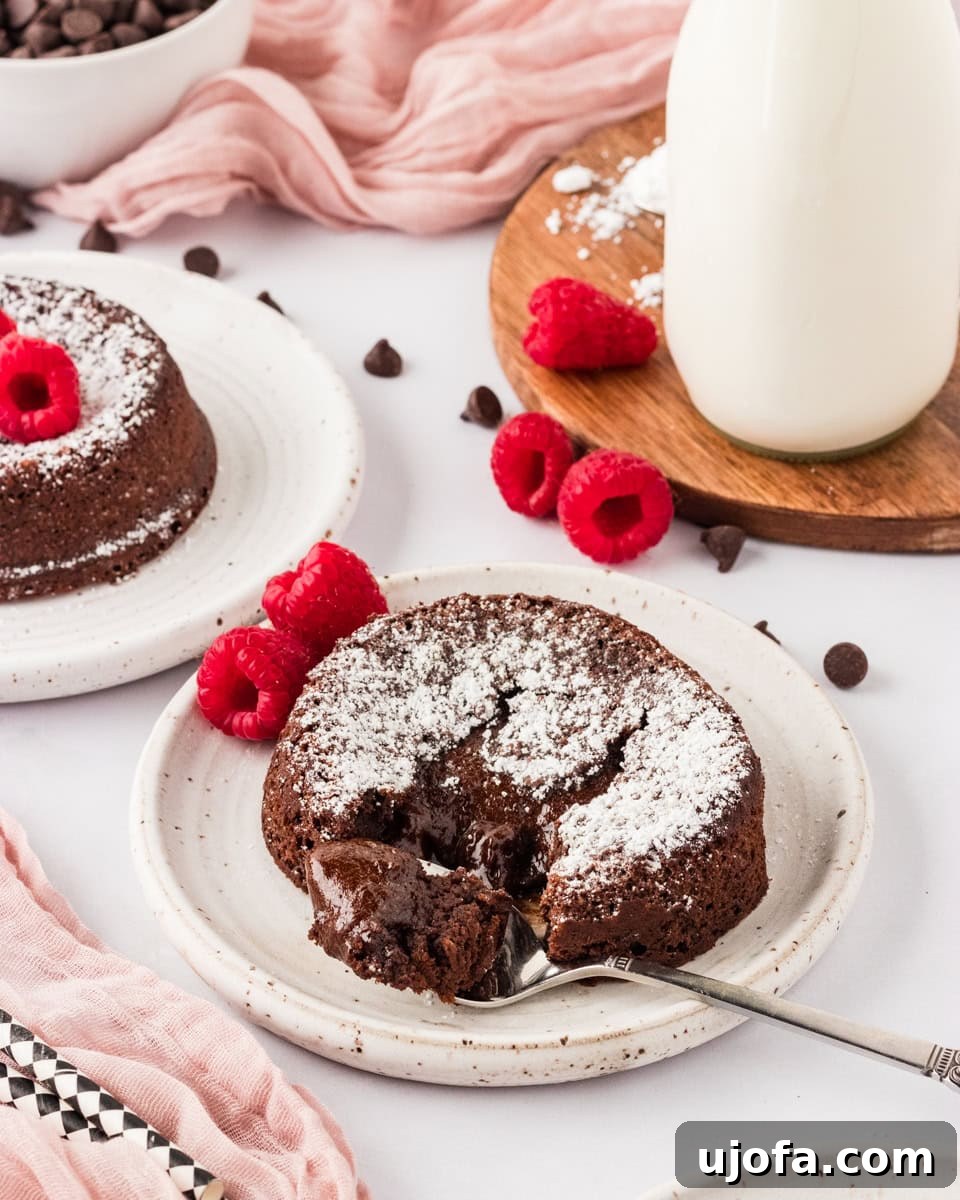
Imagine a dessert that’s rich, decadent, and utterly irresistible, with a molten chocolate core that flows like lava when you cut into it. Now imagine that same heavenly dessert, made easily at home and completely gluten-free. This isn’t just a dream; it’s your next baking triumph: the Gluten-Free Chocolate Lava Cake.
Often considered a gourmet restaurant treat, molten lava cakes might seem intimidating to recreate in your own kitchen, especially when adhering to a gluten-free diet. However, this recipe dispels those myths. It’s remarkably simple, requiring just a handful of common ingredients and a mere 10 minutes of baking time. The result is a spectacular individual dessert, perfect for a romantic Valentine’s Day celebration, a special occasion, or simply an indulgent weeknight treat. You’ll be amazed at how quickly you can whip up this elegant and delicious gluten-free masterpiece.
The Irresistible Allure of Gluten-Free Molten Lava Cakes
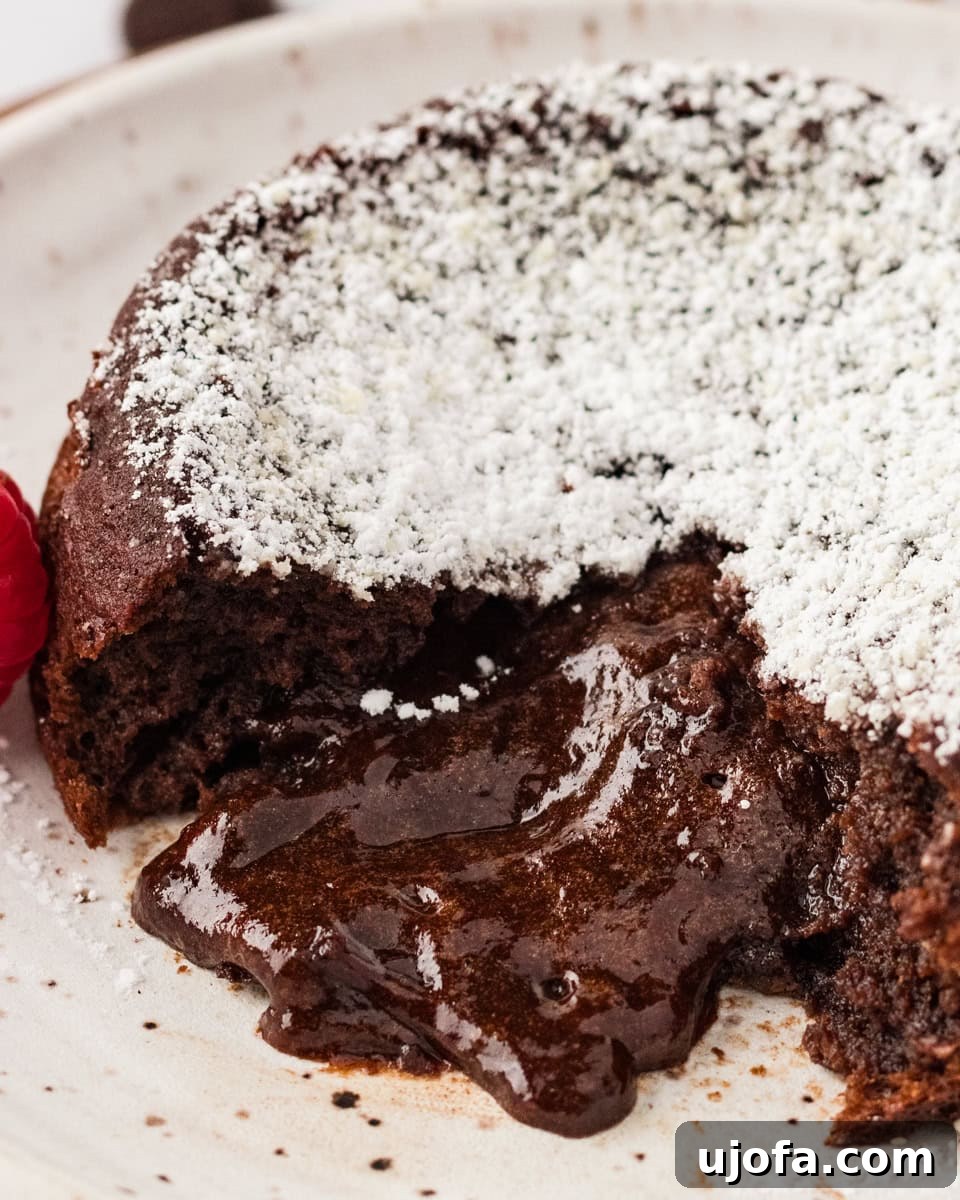
There’s something uniquely captivating about a chocolate lava cake. The delicate balance between a light, tender cake exterior and the warm, gooey, flowing chocolate center creates an experience that few other desserts can match. This recipe masterfully captures that magic, ensuring a rich, intense chocolate flavor from quality semi-sweet chocolate and cocoa powder, complemented by a wonderfully airy texture thanks to a carefully whipped egg mixture. Each forkful delivers the perfect contrast: a satisfying chewiness from the cake giving way to an explosion of melty, luxurious chocolate.
For those managing gluten sensitivities or celiac disease, finding truly satisfying desserts can sometimes be a challenge. Many gluten-free baked goods can suffer from a dry or crumbly texture. This gluten-free chocolate lava cake, however, defies those stereotypes. It’s not just “good for gluten-free” – it’s simply good, period. Its inherently moist and gooey center makes it incredibly forgiving and perfectly suited for gluten-free flour blends, ensuring a consistently delicious outcome every time. Prepare to impress your family and friends with a dessert so decadent, they won’t even realize it’s gluten-free!
Rating: 5 out of 5 stars (based on 2 votes)
Gluten-Free Chocolate Lava Cakes
Julia Elizabeth
4 cakes
10 mins
10 mins
20 mins
Share by Email
Print Recipe
Ooey-gooey and warm in the center with a light cake on the outside, everyone’s favorite restaurant dessert made right at home and gluten-free. Gluten-free chocolate lava cake is made with a handful of simple ingredients and baked in 10 minutes. This recipe is the perfect single-serve gluten-free dessert your family will beg for.
Equipment
- 4 Small Ramekins (4-ounce capacity)
- 1 Heat-Safe Bowl (for double boiler or microwave melting)
- Hand Mixer or Stand Mixer
- Rubber Spatula
- Fine-mesh Sieve (optional, for sifting flour/cocoa)
Ingredients
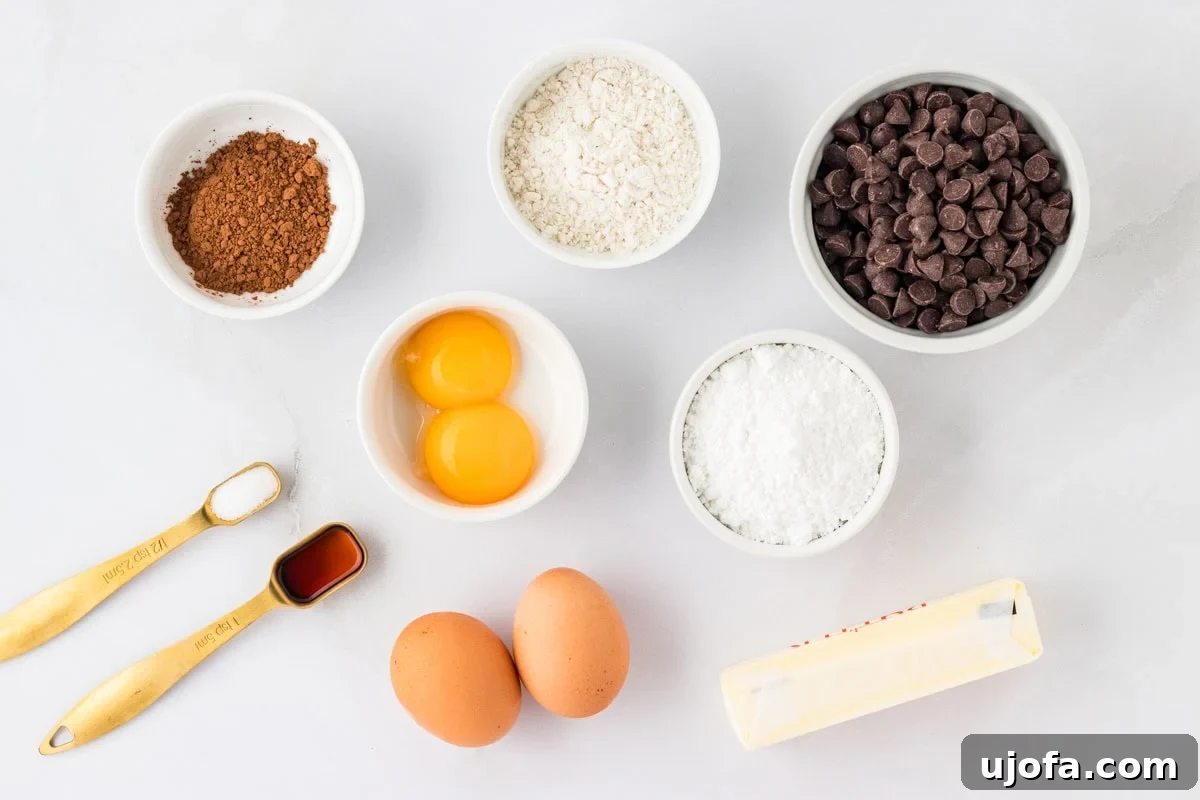
- 6 ounces semi-sweet chocolate, chopped or chips
- ½ cup unsalted butter
- 1 teaspoon vanilla extract
- ½ teaspoon salt
- 2 whole large eggs
- 2 large egg yolks
- ½ cup powdered sugar, plus extra for dusting
- 3 tablespoons gluten-free all-purpose flour blend (ensure it contains xanthan gum or add ¼ tsp if not)
- 1 tablespoon unsweetened cocoa powder
Instructions
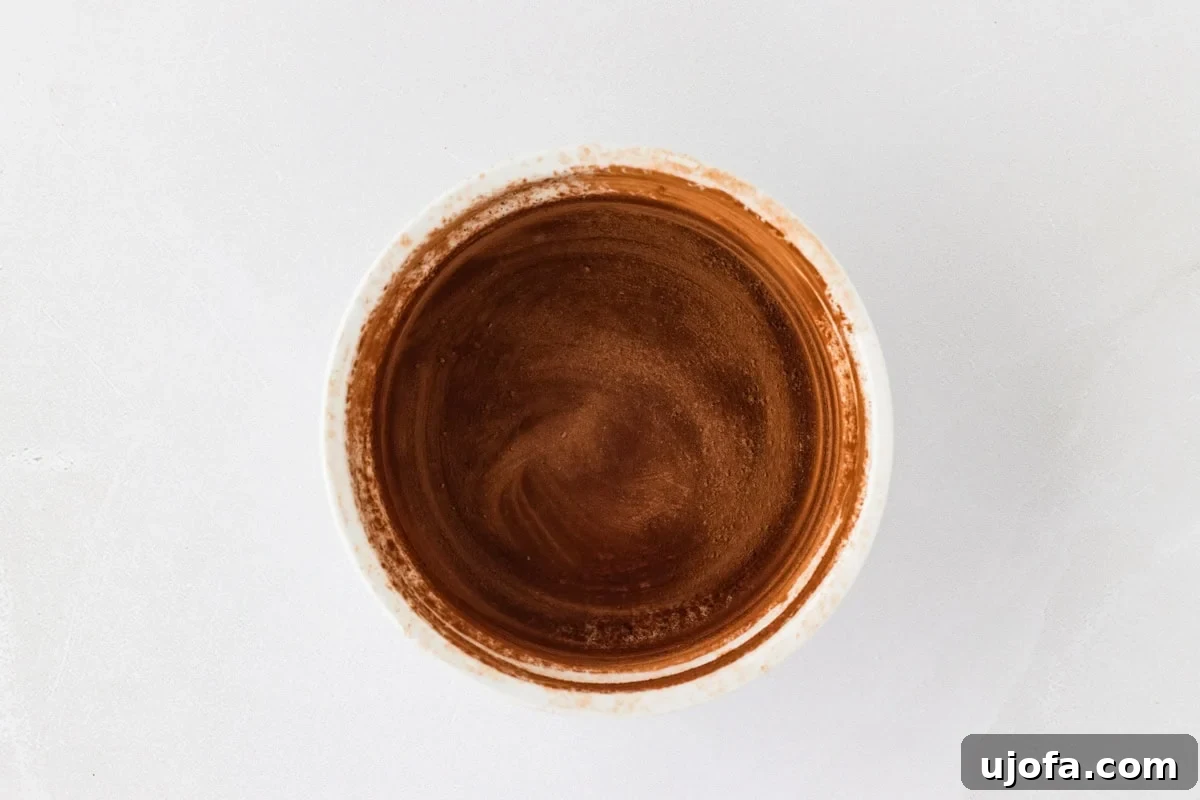
- Preheat your oven to 400°F (200°C) and prepare your ramekins. Generously grease 4 small (about 4-ounce) ramekins with unsalted butter. Then, dust the inside of each buttered ramekin with a small amount of cocoa powder, rotating and tapping out any excess. This cocoa dusting helps prevent sticking and adds an extra layer of chocolate flavor. Set the prepared ramekins aside.
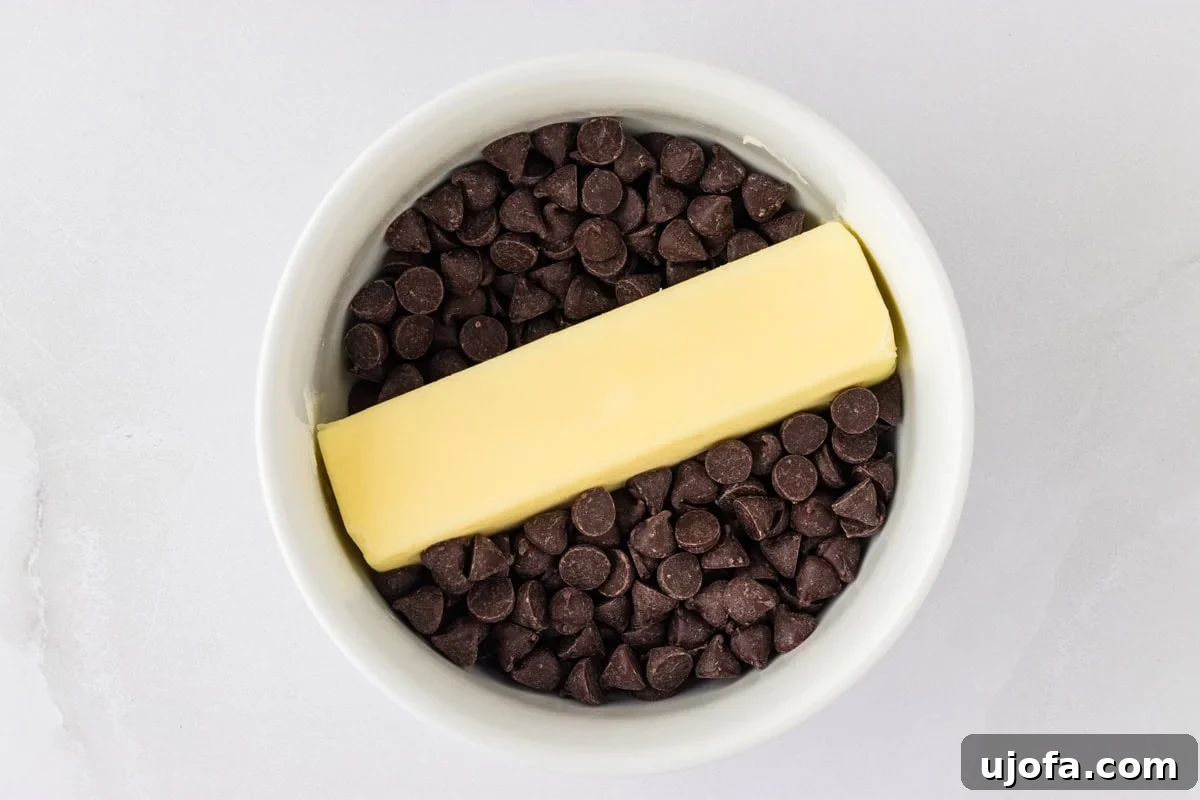
- In a large heat-safe bowl, combine the 6 ounces of semi-sweet chocolate and ½ cup of unsalted butter. Create a double boiler by placing this bowl over a saucepan of simmering water, ensuring the bottom of the bowl does not touch the water. Stir the chocolate and butter mixture occasionally until it is completely melted and smooth. Alternatively, you can melt them in the microwave: heat in 30-second intervals at 50% power, stirring well after each interval, until fully melted and smooth.
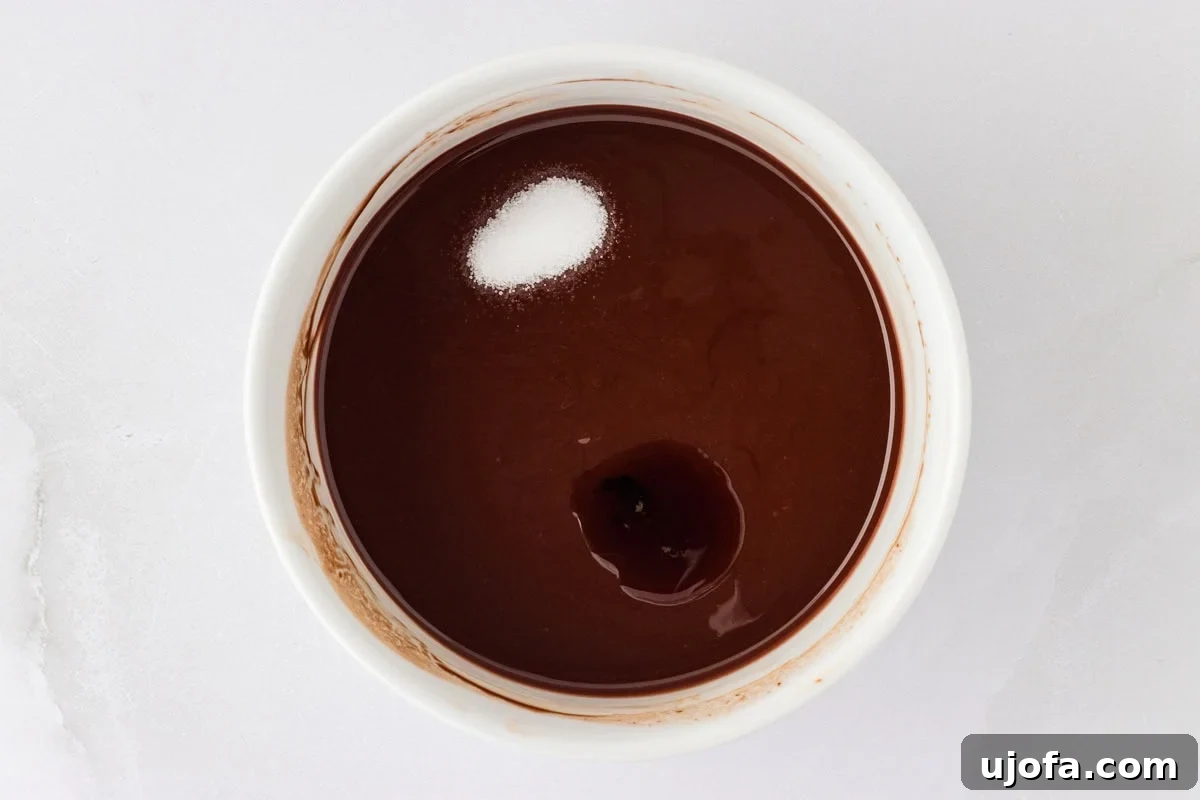
- Once the chocolate and butter are melted, remove the bowl from the heat (or microwave). Stir in the 1 teaspoon of vanilla extract and ½ teaspoon of salt until well combined. Set this mixture aside to cool slightly. It should be warm but not hot to the touch, as you don’t want to scramble the eggs in the next step.
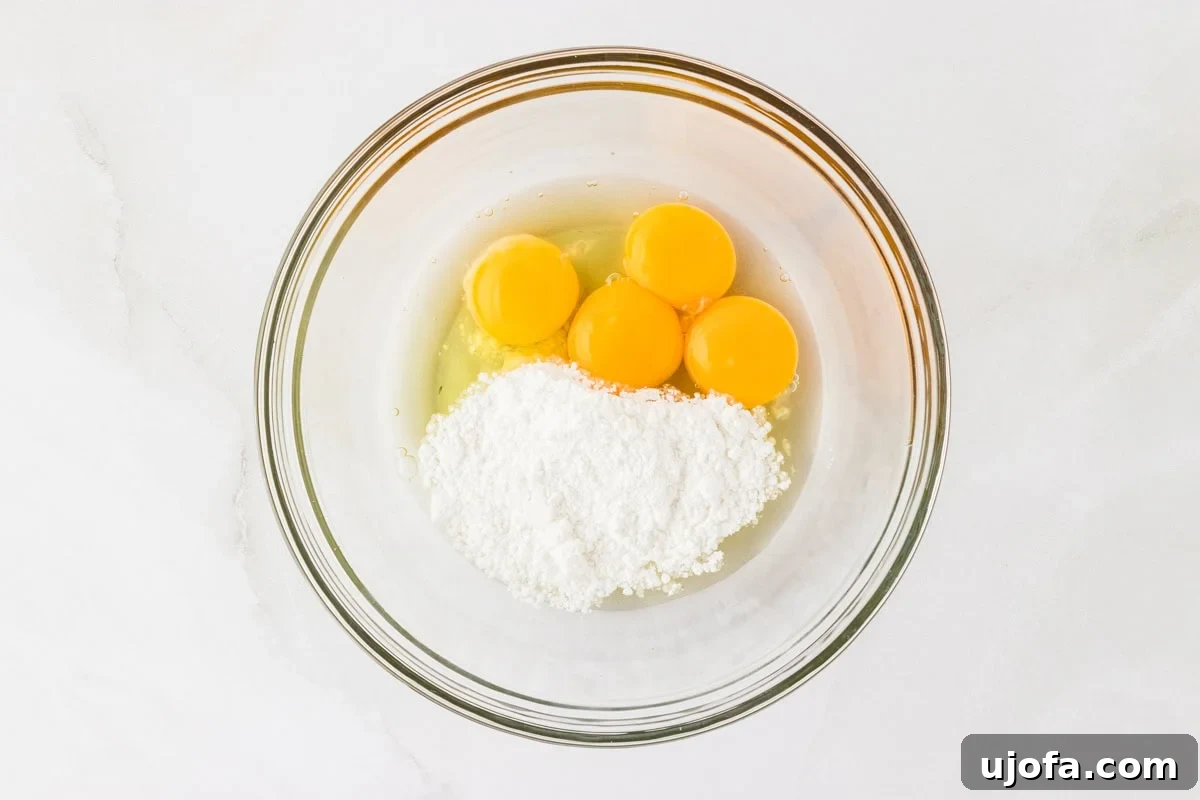
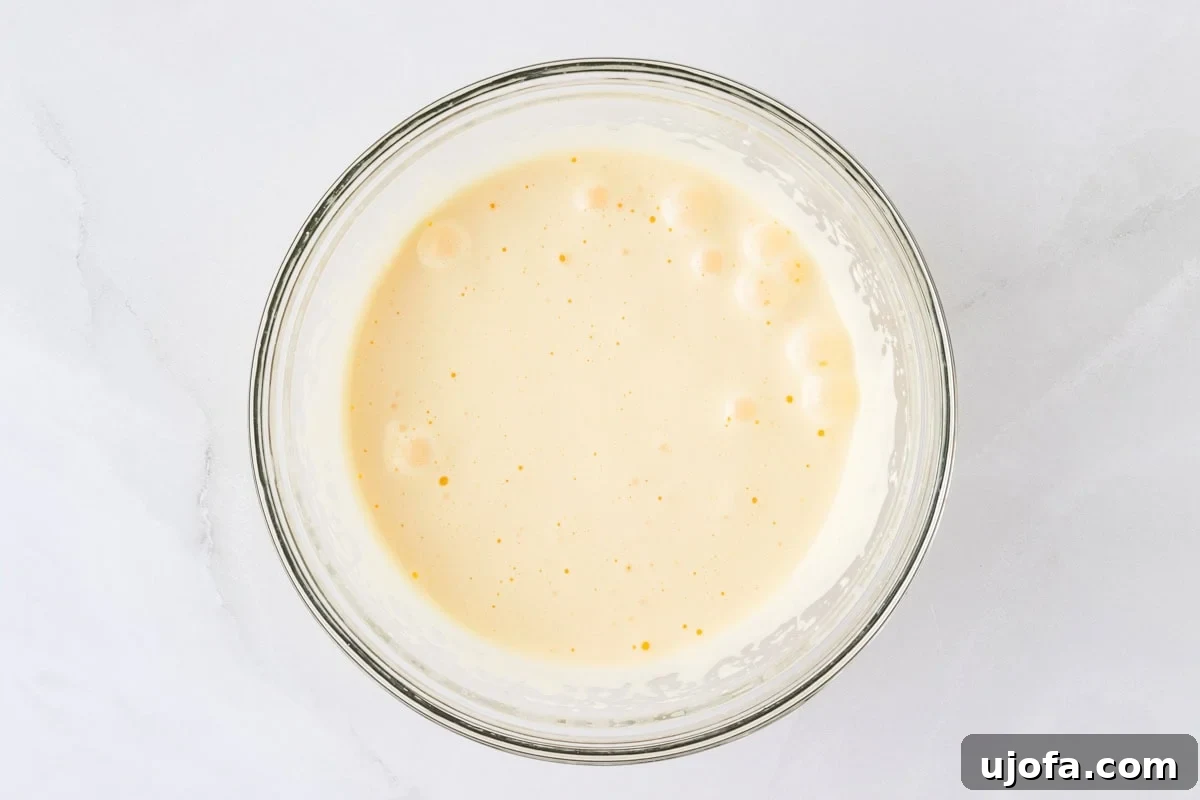
- In a separate, clean mixing bowl, combine the 2 whole eggs, 2 egg yolks, and ½ cup of powdered sugar. Using a hand mixer or a stand mixer fitted with a whisk attachment, beat the mixture on high speed for 4-5 minutes. The goal is to incorporate a lot of air, so the mixture should become very light in color, thick, fluffy, and significantly increased in volume—about three to four times its original size.
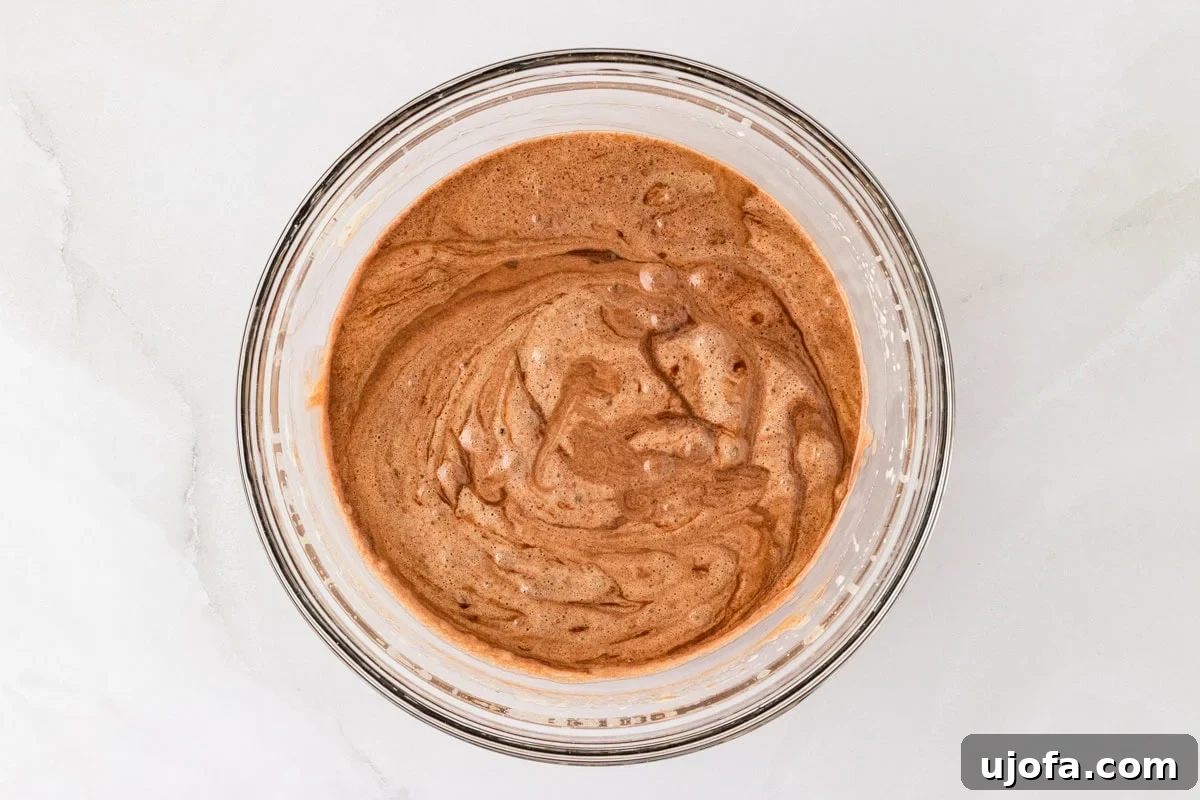
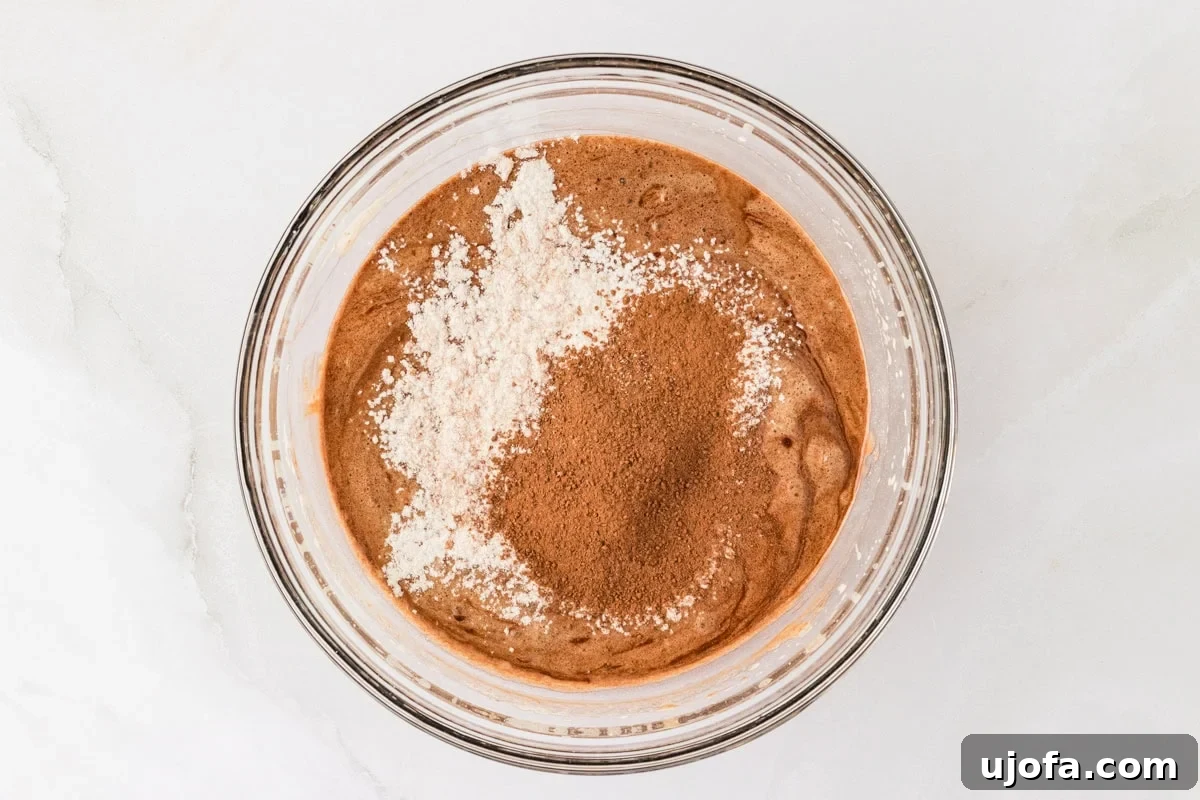
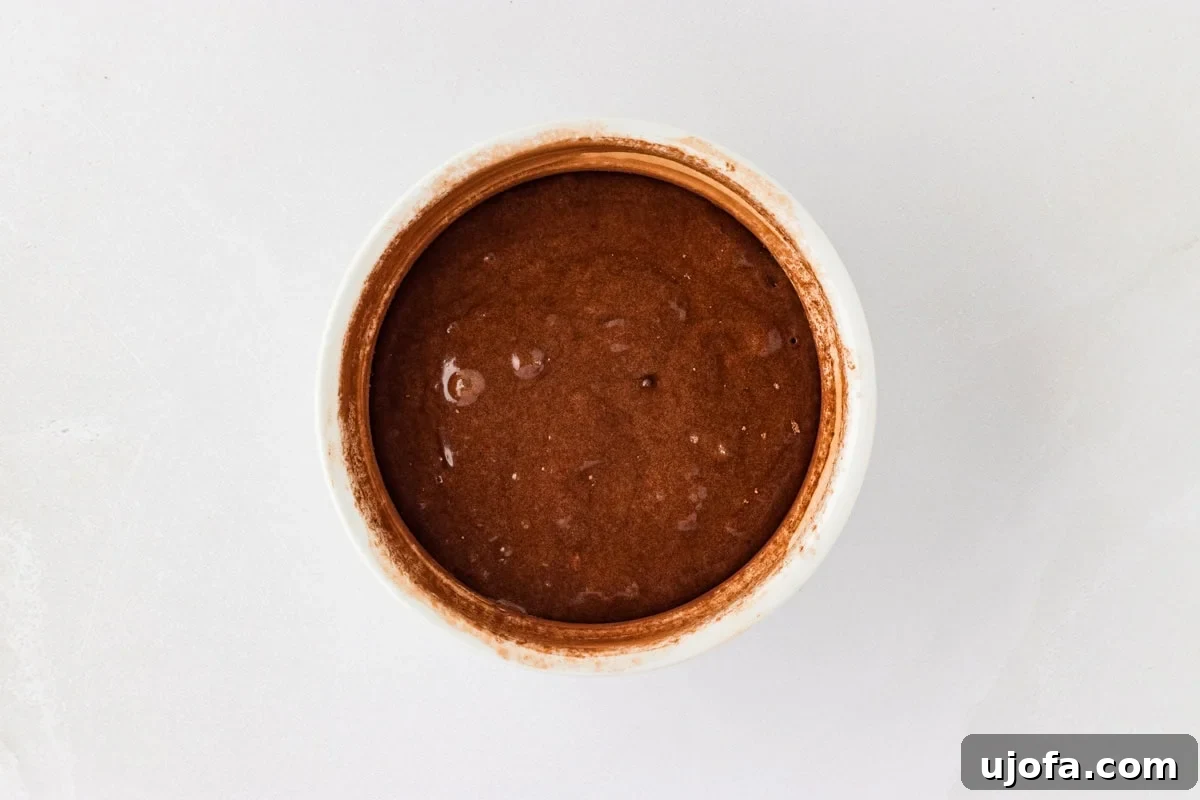
- With a rubber spatula, very carefully fold the whipped egg mixture into the cooled chocolate mixture. Work gently to retain as much air as possible from the eggs. Once the mixture is almost fully combined (you might still see a few streaks), sift in the 3 tablespoons of gluten-free all-purpose flour and 1 tablespoon of cocoa powder. Continue to fold gently until all ingredients are just combined and no streaks of flour or chocolate remain. Be extremely careful not to over-mix, as this can deflate the batter and result in a less airy cake.
- Evenly divide the batter among your 4 prepared ramekins. Place the ramekins on a baking sheet for easier handling.
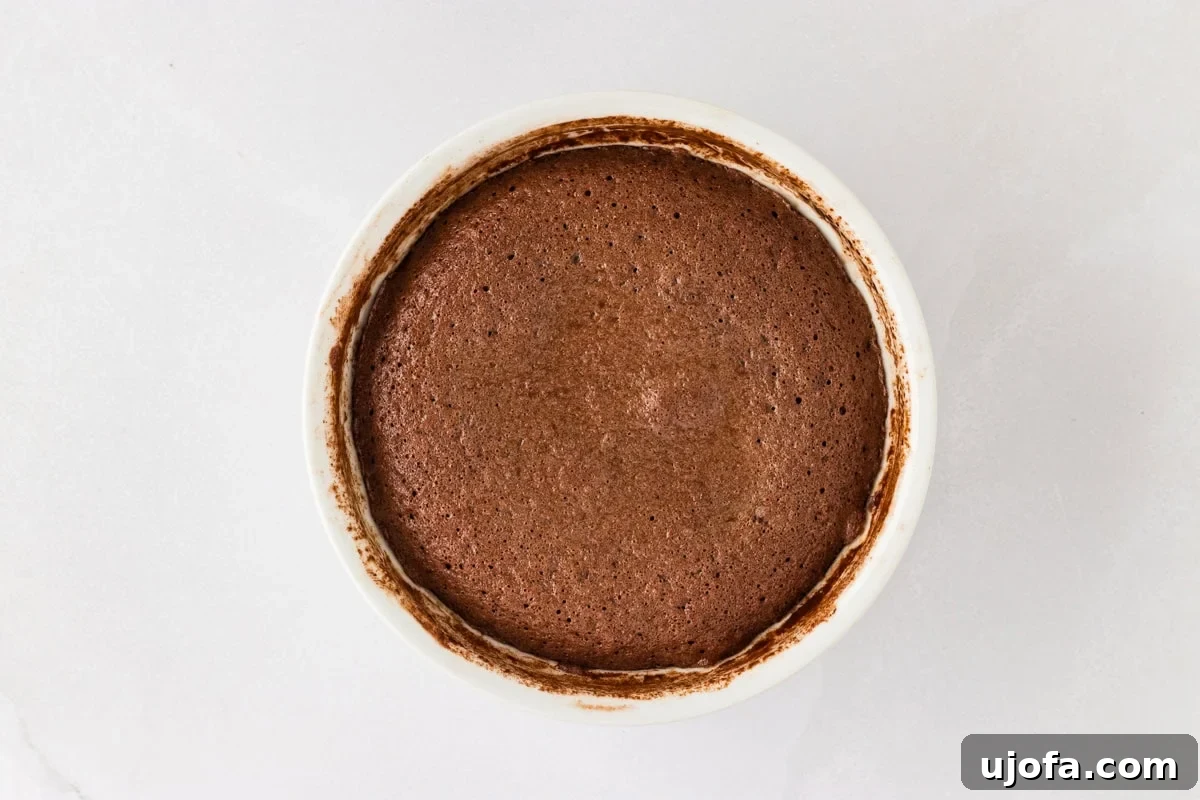
- Bake in the preheated oven for 9-11 minutes. The baking time is crucial and will determine the gooeyness of your lava center. You’re looking for the edges of the cakes to be set and firm, but the very center should still be visibly jiggly when gently shaken. For a firmer lava center, bake closer to 11 minutes; for a very runny, molten center, aim for 9 minutes.
- Once baked, carefully remove the ramekins from the oven. Let them rest on a wire rack for just 1 minute. This brief resting period allows the cakes to set slightly.
- To serve, place a small serving plate upside down over the top of each ramekin. Using oven mitts, carefully invert the ramekin and plate together. The lava cake should slide out easily. If it doesn’t immediately release, gently tap the bottom and sides of the ramekin a few times until you hear it drop onto the plate. Be very cautious, as the ramekins will still be extremely hot.
- Serve immediately while hot, with your favorite toppings, and enjoy the delicious molten center!
Notes and Expert Tips
- Baking Time is Key: The “lava” in lava cake comes from the perfectly molten, gooey chocolate center. Therefore, baking time is incredibly important for this recipe. Overbaking these cakes will cause the insides to set completely, turning it into a regular chocolate cake and eliminating the desired ‘lava’ consistency. Conversely, undercooking can cause the cakes to collapse into a chocolatey pudding. Watch carefully and trust the “jiggly center” test!
- Prepare Ahead: This is a quick recipe for same-day baking, but you can definitely prepare the batter ahead of time. Mix the batter, pour it into the ramekins, cover them loosely with plastic wrap, and refrigerate for up to 24 hours. Before baking, allow the ramekins to come to room temperature for about 20-30 minutes, then bake as directed.
- Chocolate Quality Matters: For the best flavor, use high-quality semi-sweet chocolate chips or a finely chopped semi-sweet chocolate bar. Good chocolate makes a noticeable difference in the final taste.
- Dairy-Free Option: To make this recipe completely dairy-free, simply substitute the unsalted butter with an equal amount of your favorite vegan butter, coconut oil, or vegetable oil. Ensure your chocolate chips are also dairy-free.
- Gluten-Free Flour: I recommend using a good quality gluten-free all-purpose flour blend. Many blends already contain xanthan gum, which helps with structure. If your chosen blend does not include it, consider adding about ¼ teaspoon of xanthan gum to the dry ingredients.
- Ramekin Alternatives: If you don’t have oven-safe ramekins, a standard muffin tin can work in a pinch! Just be sure to grease and dust the muffin cavities thoroughly and adjust baking time slightly, as muffin wells are typically shallower. Cupcake liners are generally not recommended as they can stick to the gooey center.
- Storage: Leftover lava cakes can be tightly wrapped in plastic wrap or stored in an airtight container in the refrigerator for 4-5 days.
- Reheating: To reheat, place a cake on a microwave-safe plate, cover it lightly with a damp paper towel (this helps retain moisture), and heat for 15-20 seconds. Be cautious not to overheat, as this may solidify the molten center. Check and heat in short bursts if needed.
- Freezing: You can freeze baked lava cakes by wrapping them tightly in plastic wrap, then placing them in an airtight container or freezer-safe bag. To enjoy, defrost in the refrigerator overnight. Reheat gently in the microwave or a low oven (around 250°F / 120°C) until warm and gooey.
Nutrition
Serving: 1 cake | Calories: 592kcal | Carbohydrates: 42g | Protein: 8g | Fat: 44g | Saturated Fat: 26g | Polyunsaturated Fat: 2g | Monounsaturated Fat: 13g | Trans Fat: 1g | Cholesterol: 243mg | Sodium: 334mg | Potassium: 309mg | Fiber: 4g | Sugar: 31g | Vitamin A: 979IU | Calcium: 63mg | Iron: 4mg
Nutrition information is automatically calculated, so should only be used as an approximation.
Additional Info
Baking, Dessert
American
Step-by-Step Guide to Perfect Gluten-Free Chocolate Lava Cakes
Making these gluten-free chocolate lava cakes is a delightful process that’s easier than you might think. Follow these detailed steps to achieve restaurant-quality results in your own home.
Serving Suggestions for an Unforgettable Dessert
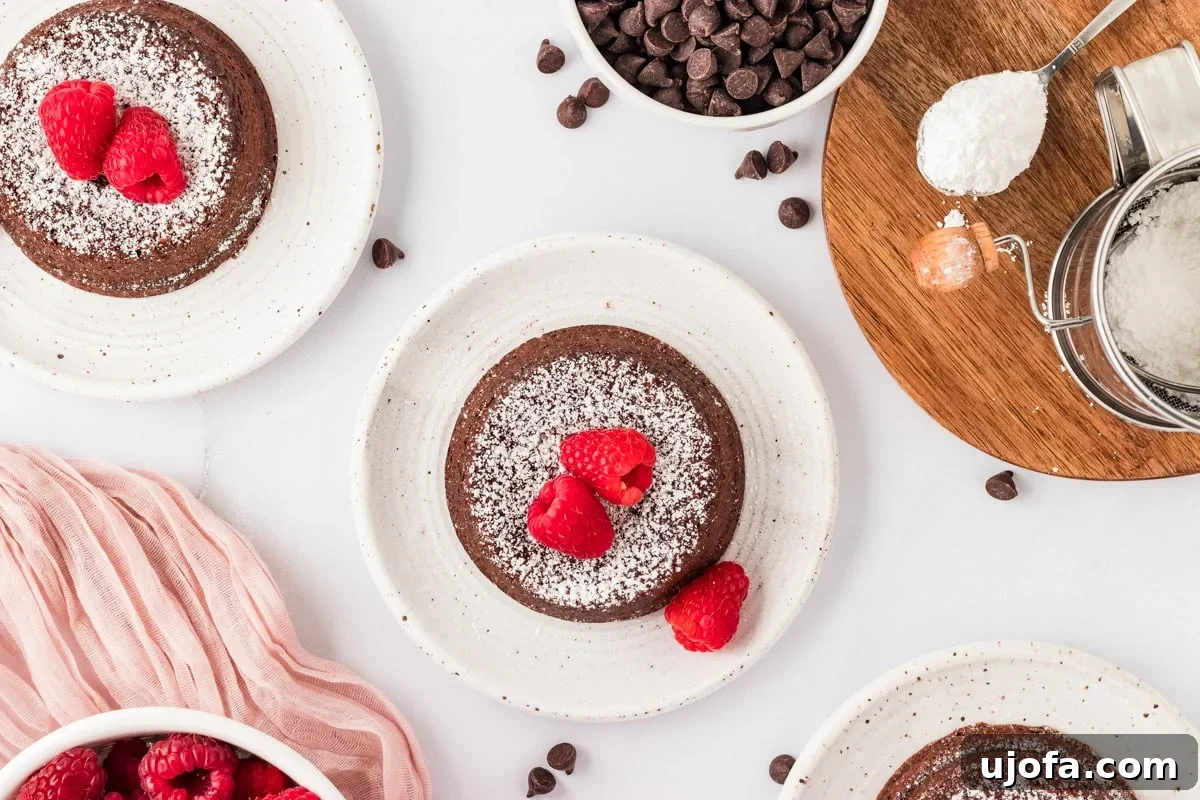
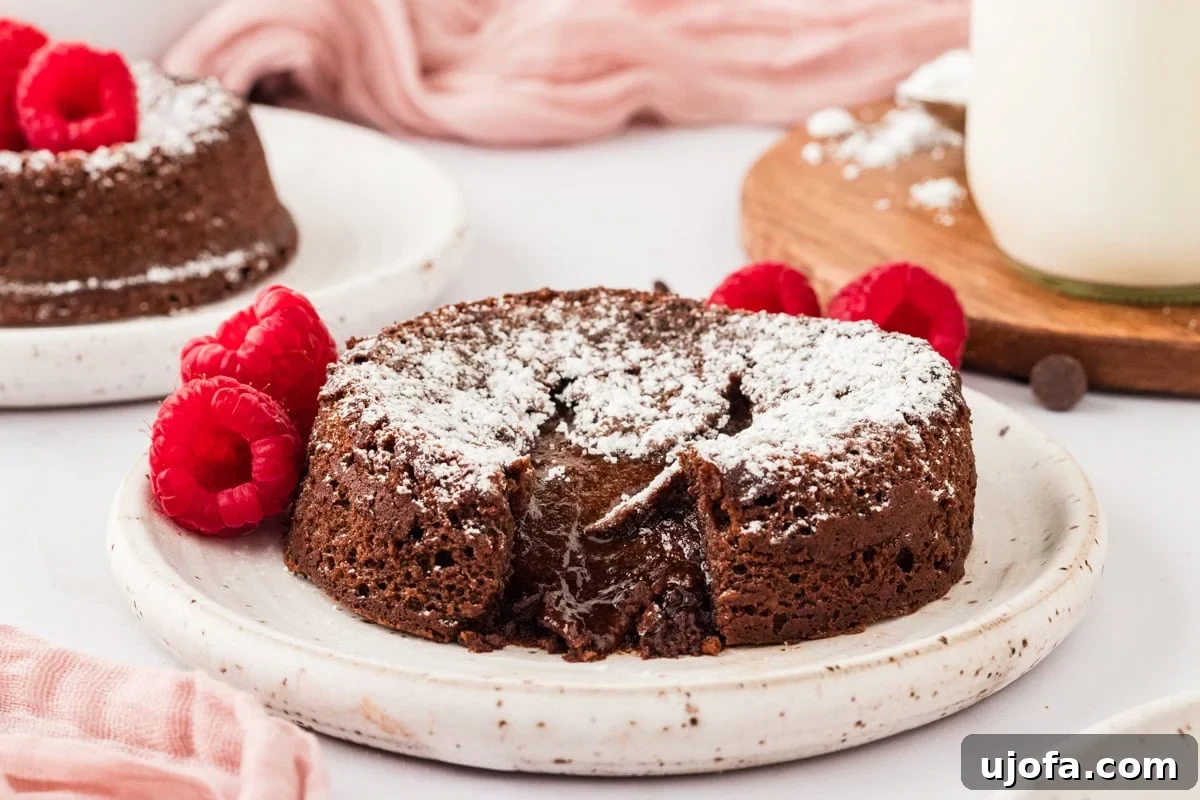
The beauty of a warm gluten-free chocolate lava cake lies not just in its rich flavor but also in its versatility when it comes to serving. While it’s utterly delicious on its own, a few thoughtful additions can elevate it to an extraordinary dessert experience. For a classic and elegant presentation, a simple dusting of powdered sugar adds a touch of sophistication. Pair this with a handful of fresh raspberries for a vibrant pop of color and a tart counterpoint that beautifully balances the sweetness of the chocolate. Blackberries or strawberries also work wonderfully.
If you’re looking to indulge further, consider topping your lava cake with a scoop of your favorite ice cream. Vanilla bean ice cream offers a timeless pairing, but a mint chocolate chip, coffee, or even a salted caramel ice cream would be sensational. For the ultimate chocolate lover, a drizzle of warm chocolate fudge sauce or a sprinkle of mini chocolate chips on top will create an unparalleled cocoa explosion. A dollop of freshly whipped cream can also add a delightful lightness, contrasting with the dense cake. Don’t be afraid to experiment with a sprinkle of sea salt flakes for an intriguing sweet and salty dynamic that enhances the chocolate flavor.
Storage and Reheating Tips
While these gluten-free chocolate lava cakes are best enjoyed warm, straight from the oven, you can certainly store and reheat them for later enjoyment. To maintain their freshness, allow the cakes to cool completely. Once cooled, tightly wrap each individual cake in plastic wrap or place them in an airtight container. They will keep well in the refrigerator for 4-5 days.
When you’re ready to enjoy them again, reheating is simple but requires a bit of care to preserve that coveted molten center. Place a single lava cake on a microwave-safe plate. Lightly cover it with a damp paper towel – this helps to create a steamy environment that prevents the cake from drying out. Heat in the microwave for 15-20 seconds. It’s crucial not to overheat, as too much time in the microwave can cause the molten center to solidify, defeating the purpose of a lava cake. Check the center after 15 seconds; if it’s not warm enough, heat in additional 5-second increments.
For longer storage, gluten-free lava cakes freeze beautifully. Once cooled, wrap each cake tightly in plastic wrap, then place them in an airtight freezer-safe bag or container. They can be frozen for up to 1 month. To reheat from frozen, it’s best to defrost them in the refrigerator overnight. Once thawed, you can reheat them using the microwave method described above. Alternatively, you can gently warm them in a preheated oven at a low temperature (around 250°F or 120°C) for 10-15 minutes, or until the center is warm and gooey again. Enjoying these cakes is always a treat, even on the second or third day!
Explore More Delicious Gluten-Free Chocolate Baking Recipes
If you’ve fallen in love with the ease and deliciousness of this Gluten-Free Chocolate Lava Cake, you’re in for a treat! The world of gluten-free chocolate baking is vast and full of delightful possibilities. Whether you’re craving cookies, brownies, or a full-sized cake, there’s a gluten-free option that’s just as satisfying as its conventional counterpart. Expand your baking repertoire with these other fantastic chocolate-infused, gluten-free recipes that are sure to become new favorites:
- Coconut Flour Chocolate Chip Cookies
- Coconut Flour Brownies
- Easy Gluten-Free Brownies
- Almond Flour Chocolate Cake
- Flourless Brownies