

Welcome to the ultimate guide for crafting perfect, fluffy gluten-free crescent rolls that will become a staple in your kitchen. These delightful, crescent-shaped rolls are more than just a holiday treat; they’re a versatile bread that pairs wonderfully with any meal, from a cozy Sunday dinner to a festive gathering. After years of perfecting, I’ve developed a recipe that transforms gluten-free ingredients into incredibly light, flaky, and irresistibly tender rolls, ensuring nobody misses out on the joy of fresh-baked bread.
The secret to their impressive texture lies in a thoughtful combination of gluten-free flour, instant yeast, and the often-underestimated psyllium husk powder. This dynamic duo works together to mimic the elastic properties of gluten, resulting in a dough that’s not only easy to work with but also delivers that coveted pillowy softness and subtle chewiness we all adore in traditional crescent rolls. Forget dense, crumbly gluten-free breads of the past; this recipe will elevate your baking game and leave your guests asking for more. From savory sandwiches to sweet spreads, these rolls are a testament to how delicious and satisfying gluten-free baking can truly be.

“Thank you for this wonderful recipe! I have been craving little crescent rolls filled with a nut mix my Mom used to make but having to go wheat free haven’t made until seeing this. Adore how you make this difficult transition to gf baking so much simpler and less scary.😊”
– Bonnie
Perfectly Flaky Gluten-Free Crescent Rolls Recipe
This easy gluten-free crescent roll recipe is meticulously crafted to give you impressive results every time. It harnesses the power of instant yeast for a beautiful rise, baking powder for added lightness, and cold butter for those desirable flaky layers. The chosen gluten-free bread flour blend ensures a fantastic texture and a satisfying chew, making these rolls truly stand out. They are absolutely divine served warm with a slather of butter or a dollop of your favorite jam. But their versatility doesn’t stop there; this robust dough can be transformed into a myriad of delicious baked goods, from classic cinnamon rolls to savory pizzas or even tender pie crusts. This recipe is your new go-to for all things gluten-free baking.
Gluten-Free Crescent Rolls
By: Sabine Venier
Servings: 12 rolls
Prep: 20 mins | Cook: 15 mins | Rise Time: 1 hr 30 mins | Total: 2 hrs 5 mins
These light and flaky gluten-free crescent rolls are a delightful addition to any meal, especially during holidays. With a perfect balance of tenderness and chew, they are incredibly versatile and easy to make.
Pin Recipe
Share by Email
Print Recipe

Ingredients
- 2 cups Gluten-Free Flour with Xanthan Gum (Pillsbury or Better Batter Brand recommended for yeast baking)
- 1 tbsp psyllium husk powder
- 1 tsp instant dry yeast
- 1 tsp baking powder
- 1 tsp granulated sugar
- 1 tsp salt
- ¼ cup cold unsalted butter, cubed
- 1 large egg, room temperature, beaten
- ⅔ cup lukewarm milk
- 1 tbsp melted unsalted butter, for brushing
Toggle unit system: US Customary – Metric
Instructions
- In a large bowl, whisk together the gluten-free flour (ensure it includes xanthan gum, or add separately), psyllium husk powder, instant yeast, baking powder, sugar, and salt until well combined.
- Using a pastry cutter or your fingertips, incorporate the cold, cubed butter into the dry ingredients. Continue until the mixture resembles coarse crumbs, being careful to leave no large pieces of butter. This step is crucial for flakiness.
- In a separate medium bowl, thoroughly whisk together the beaten room-temperature egg and the lukewarm milk.
- Gradually add the wet ingredients into the dry ingredients, mixing gently until a soft, cohesive dough forms. Avoid overmixing, as this can develop toughness even in gluten-free dough.
- Cover the bowl with plastic wrap and let the dough rest in a warm, draft-free place for 30 minutes. This initial rest allows the ingredients to hydrate and the yeast to begin its work.
- On a lightly floured surface (using gluten-free flour), roll out the rested dough into a large circle, approximately ¼-inch thick. Using a pizza cutter or a sharp knife, cut the circle into equal triangles. Then, starting from the wide base, roll each triangle tightly towards the pointed end to form the classic crescent shape.
- Arrange the shaped crescents on a baking sheet lined with parchment paper, ensuring ample space between each roll for expansion. Allow them to rise for an additional 1 hour in a warm spot, until they appear visibly puffed and soft.
- While the rolls are on their second rise, preheat your oven to 375°F (190°C).
- Bake the rolls for 15-20 minutes, or until they achieve a beautiful golden-brown color on top and are cooked through.
- Remove the baked rolls from the oven and immediately brush them generously with 1 tablespoon of melted unsalted butter. Let them cool slightly on the baking sheet before serving. Serve warm and enjoy these homemade gluten-free delights!
Notes
- For the best flaky results, always use cold, unsalted butter for the dough. The melted butter brushing at the end adds flavor and a soft crust.
- A pizza cutter simplifies the process of cutting the dough into even triangles, making shaping much easier and faster.
- Consider adding 1/2 tsp of xanthan gum if your chosen gluten-free flour blend does not already contain it. This is vital for texture and structure in gluten-free yeast baking.
- Ensure your milk is lukewarm (about 105-115°F or 40-46°C) to properly activate the instant yeast without killing it.
Nutrition
Serving: 1 roll | Calories: 133kcal | Carbohydrates: 18g | Protein: 2g | Fat: 6g | Saturated Fat: 3g | Polyunsaturated Fat: 0.3g | Monounsaturated Fat: 2g | Trans Fat: 0.2g | Cholesterol: 30mg | Sodium: 249mg | Potassium: 38mg | Fiber: 1g | Sugar: 1g | Vitamin A: 192IU | Vitamin C: 0.003mg | Calcium: 40mg | Iron: 0.1mg
Nutrition information is automatically calculated and should be used as an approximation only.
Additional Info
- Course: Baking
- Cuisine: American
Mention @mamaknowsglutenfree or tag #mamaknowsglutenfree!
How To Make Gluten-Free Crescent Rolls Step by Step: A Visual Guide
Achieving perfectly puffy and golden gluten-free crescent rolls is easier than you think with this detailed step-by-step guide. Follow these instructions closely, and you’ll be enjoying warm, homemade rolls in no time!
1. Gather Your Ingredients for Success
Before you begin mixing, ensure all your ingredients are measured and ready. Having everything at hand will make the baking process smooth and enjoyable. Remember to use cold butter for the dough and lukewarm milk for activating the yeast properly.
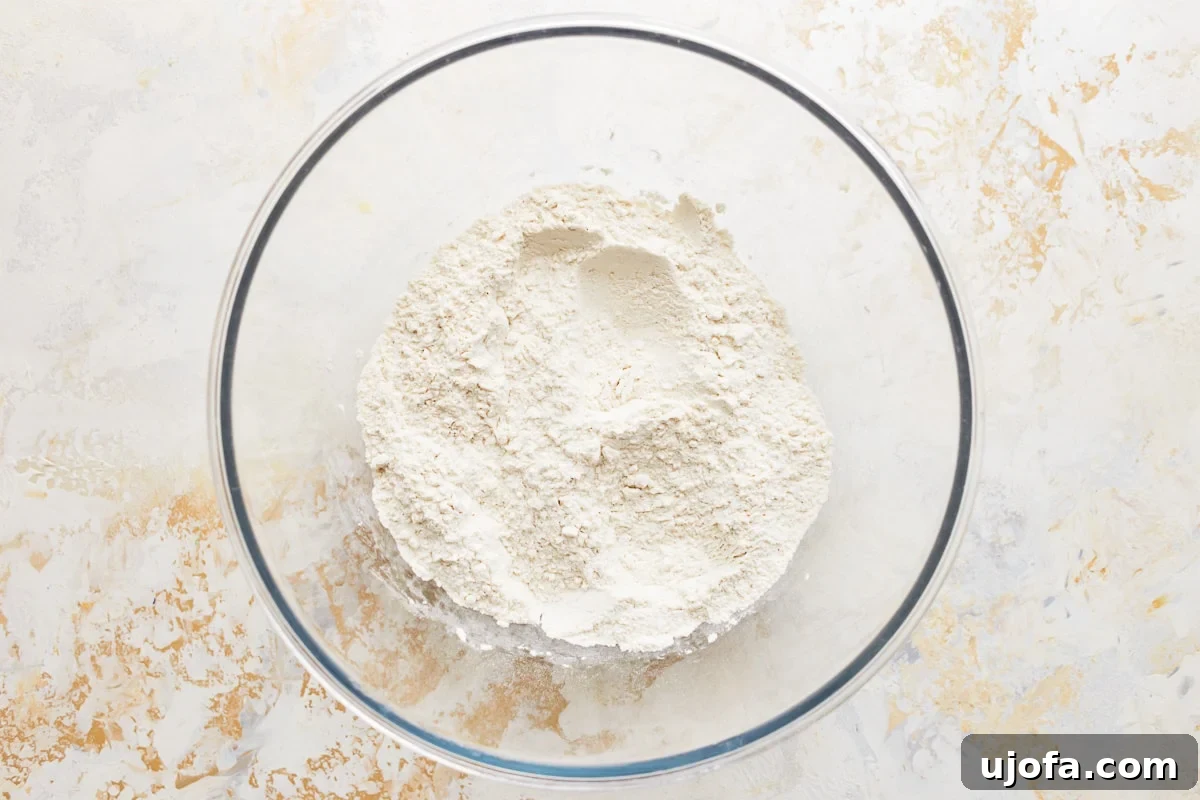
2. Combine the Dry Essentials
In a spacious mixing bowl, meticulously whisk together 2 cups of your chosen gluten-free flour blend (with xanthan gum), 1 tablespoon of psyllium husk powder, 1 teaspoon of instant dry yeast, 1 teaspoon of baking powder, 1 teaspoon of granulated sugar, and 1 teaspoon of salt. This initial whisking ensures all dry ingredients are evenly distributed, which is fundamental for consistent results.
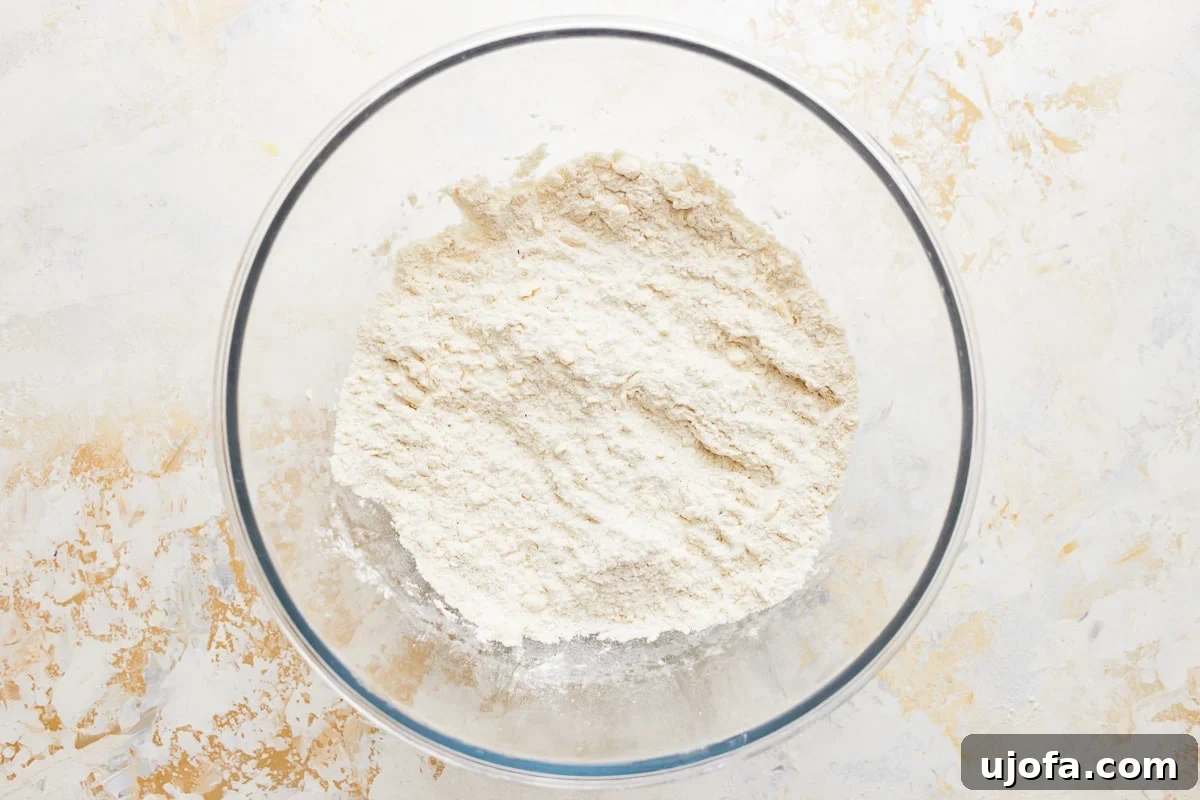
3. Cut in the Cold Butter
The secret to flaky layers lies in this step. Using either a pastry cutter or your clean fingertips, carefully work ¼ cup of cold, cubed unsalted butter into the dry flour mixture. Continue this process until the mixture transforms into fine, coarse crumbs, resembling wet sand. It’s crucial that no large chunks of butter remain, as these will melt too quickly and inhibit flakiness.

4. Prepare the Wet Ingredients
In a separate, smaller bowl, vigorously whisk together 1 large room-temperature egg, which has been lightly beaten, and ⅔ cup of lukewarm milk. Ensure the milk is not too hot, as extreme temperatures can harm the yeast’s activity.
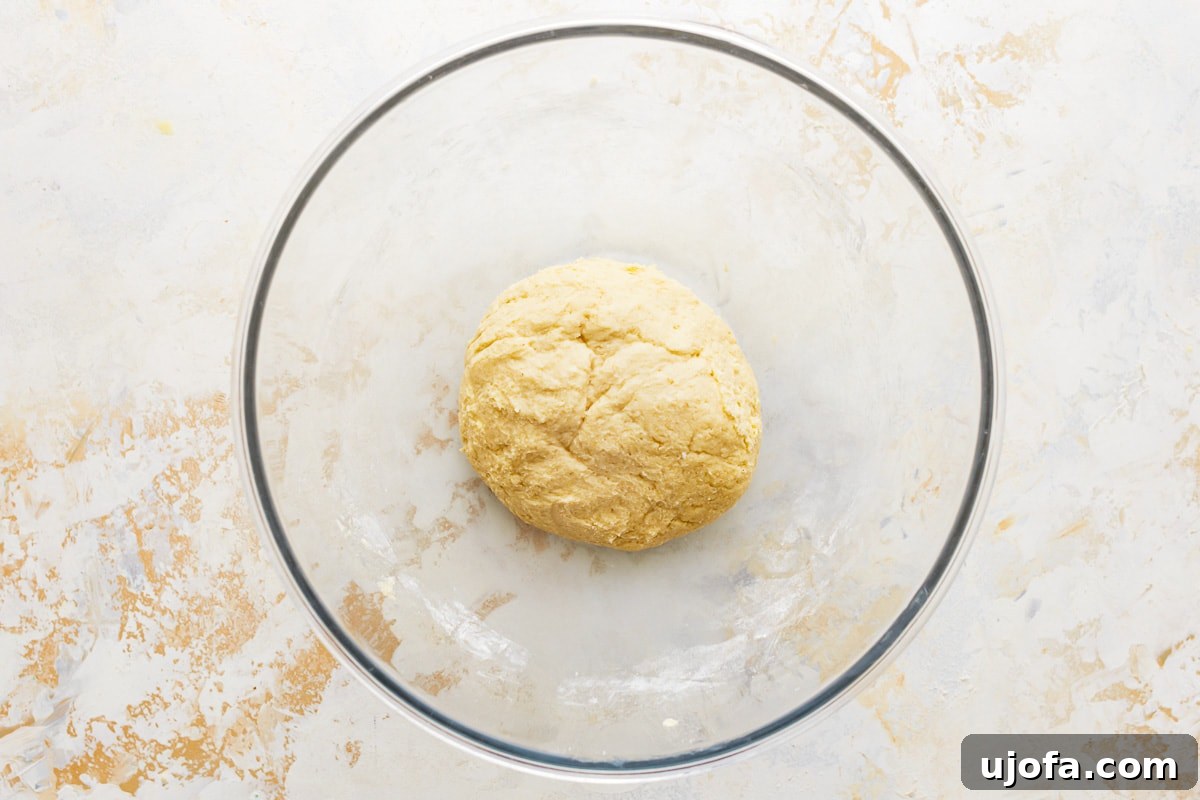
5. Combine and Rest the Dough
Slowly pour the whisked wet ingredients into the dry mixture, stirring gently until a soft and pliable dough begins to form. Be mindful not to overmix; excessive handling can lead to tougher rolls. Once combined, cover the bowl tightly with plastic wrap and allow the dough to rest in a warm environment for 30 minutes. This resting period is essential for hydration and initial yeast activation.
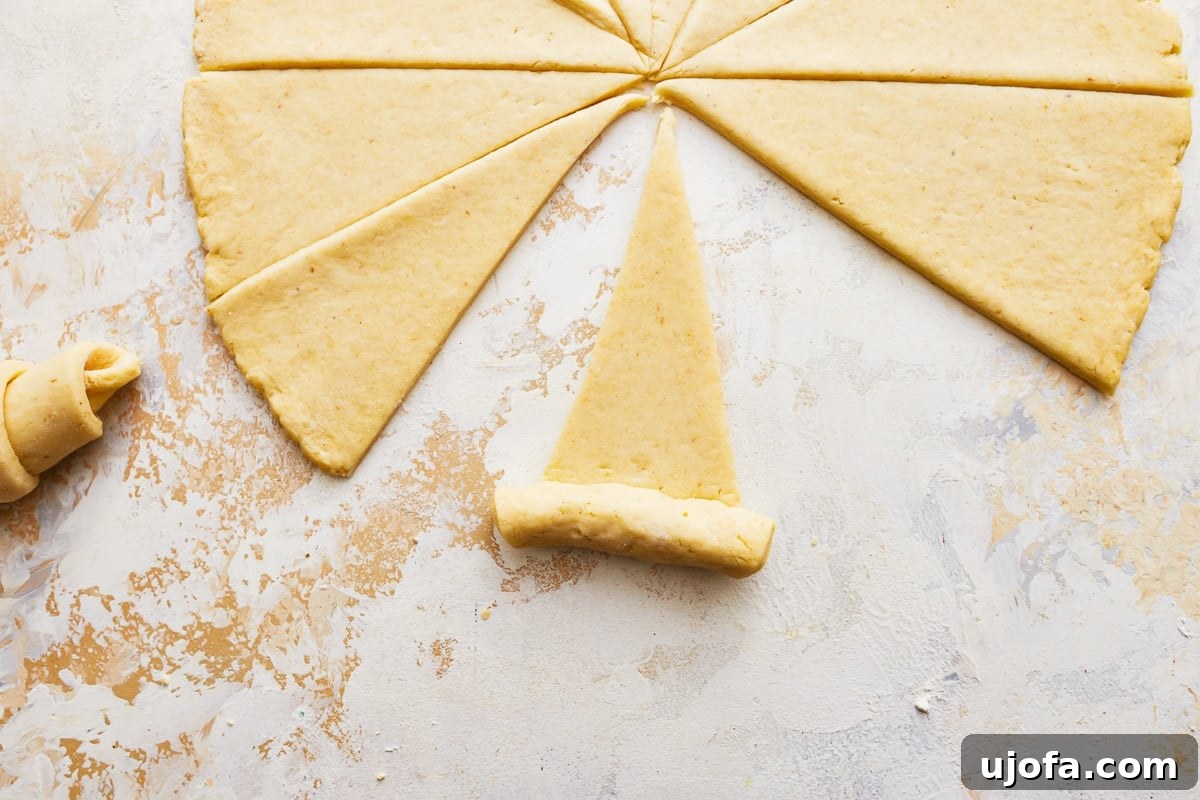
6. Roll, Cut, and Shape Your Crescents
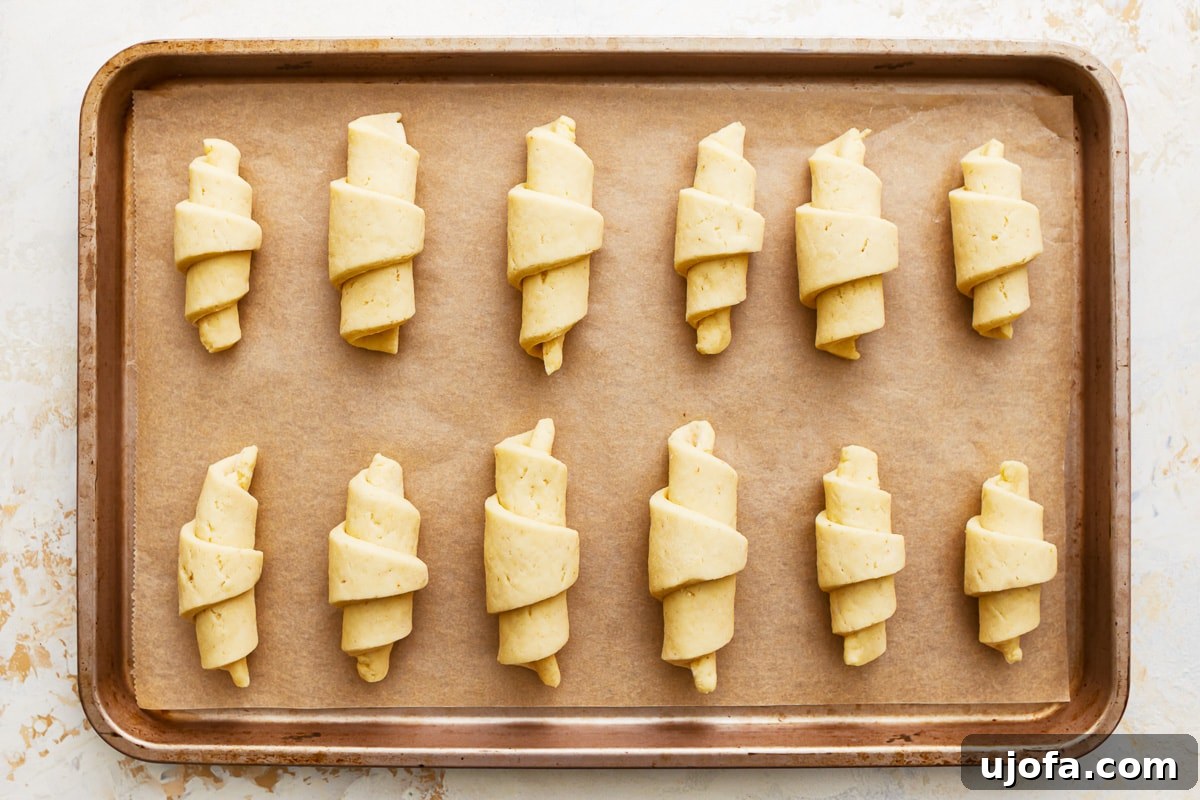
Lightly flour a clean work surface with gluten-free flour. Turn out the rested dough and roll it into a large, even circle, about ¼-inch thick. Using a pizza cutter or a sharp knife, divide the circle into equal triangles. Starting from the widest part of each triangle, gently roll it up towards the pointed tip to create the characteristic crescent shape. This action creates layers that will puff beautifully during baking.
7. Second Rise for Maximum Fluffiness
Place the newly shaped crescent rolls onto a baking sheet that has been lined with parchment paper. Ensure there’s adequate space between each roll, as they will expand during their second rise. Cover them loosely with plastic wrap or a damp kitchen towel and let them rise in a warm spot for approximately 1 hour, or until they have noticeably puffed up. This second rise contributes significantly to the rolls’ light and airy texture.
8. Bake to Golden Perfection and Serve
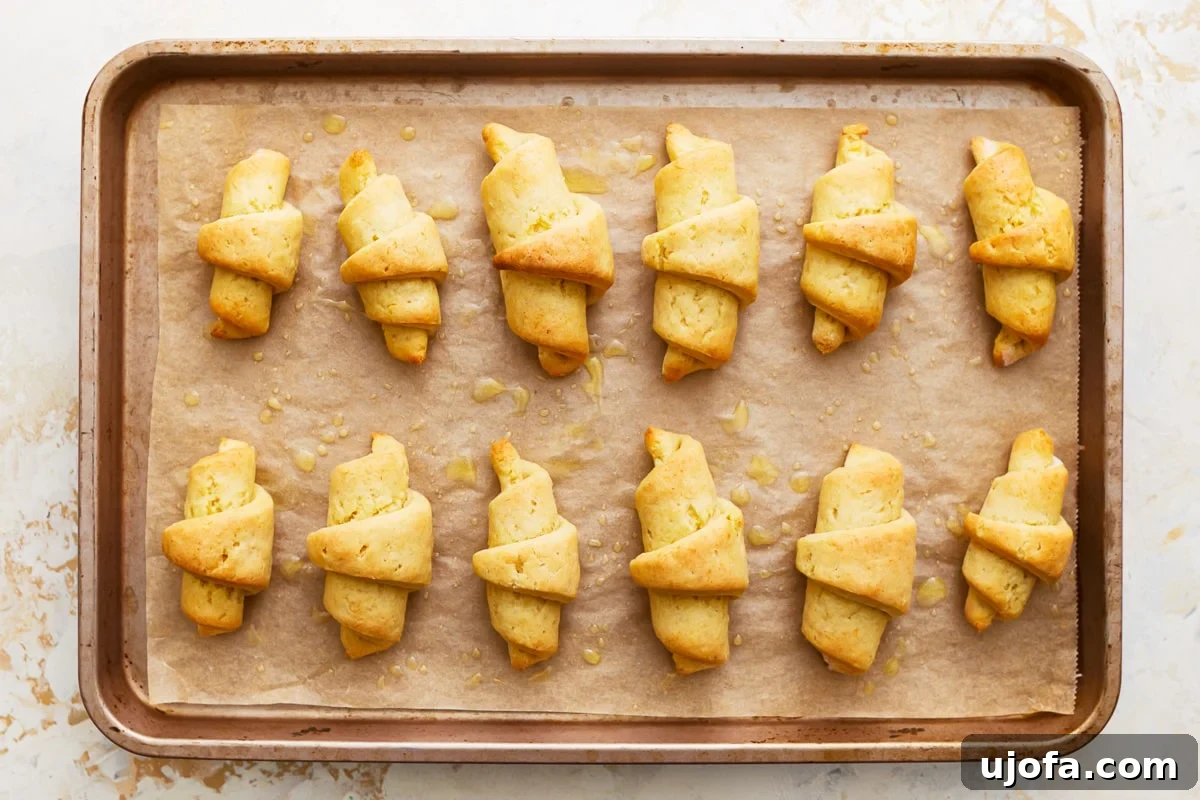
Preheat your oven to 375°F (190°C). Once preheated, bake the risen crescent rolls for 15-20 minutes. Keep a close eye on them; they are done when they turn a beautiful golden brown and sound hollow when lightly tapped on the bottom. Immediately upon removing them from the oven, brush the tops generously with 1 tablespoon of melted unsalted butter. This adds a lovely sheen and enhances their rich flavor. Allow them to cool slightly on the baking sheet before transferring to a serving plate. Enjoy these warm, tender, and utterly delicious gluten-free crescent rolls!

Elevate Your Meal with These Versatile Rolls
These gluten-free crescent rolls are incredibly versatile and can enhance almost any meal. I personally adore serving them straight from the oven, brushed generously with melted butter, which gives them a lovely sheen and keeps them wonderfully soft. They are an absolute must-have at my holiday table. During Easter, they beautifully complement a savory honey-glazed ham, soaking up every bit of flavor. For Christmas dinner, a warm crescent roll is the perfect companion to roast turkey and a hearty gluten-free stuffing, ideal for mopping up rich gravy or simply enjoying with herb-infused butter. Beyond the holidays, they make a fantastic side for weeknight dinners, a delightful addition to a soup and salad combo, or even split and filled for mini sandwiches. Whether it’s a grand festive feast or a simple family meal, these gluten-free crescents always feel like a special, comforting treat that I am immensely proud to share with loved ones.
Expert Tips for Gluten-Free Baking Success
Baking gluten-free can sometimes present unique challenges, but with a few expert tips, you can achieve perfect results every time. These insights will help ensure your gluten-free crescent rolls are nothing short of spectacular:
- **Overnight Dough Preparation:** To save time on baking day, you can prepare the dough through step 5 (after the first rest) and then chill it, covered tightly with plastic wrap, in the refrigerator overnight. The next day, simply bring it to room temperature for about 30 minutes, then proceed with shaping, proofing, and baking as directed.
- **Overnight Shaped Rolls:** Alternatively, shape the rolls after step 6, then arrange them on a baking sheet, cover them with plastic wrap, and refrigerate overnight. On baking day, allow them to come to room temperature for about an hour before baking. This gives the yeast a gentle, slow proof and can enhance flavor.
- **The Importance of the Second Rise:** While the recipe recommends a second rise for 1 hour, which certainly adds extra height and a wonderfully airy texture (and we highly recommend taking the time for it), it’s not strictly essential. The rolls will still be delicious and fluffy with just the first rise if you’re short on time. However, for that ultimate bakery-quality lightness, don’t skip it!
- **Adjusting for Dough Consistency:** Gluten-free flour blends can vary significantly in their absorption rates. If your dough feels too dry and crumbly, gradually add an extra tablespoon of lukewarm milk at a time until it reaches a soft, workable consistency. Conversely, if the dough is too sticky to handle, sprinkle in a teaspoon of additional gluten-free flour until it’s easier to manage without being dry. Trust your instincts and adjust as needed.
- **The Power of Dual Leavening:** This recipe uniquely combines both instant dry yeast and baking powder. Yeast provides a slower, more traditional rise, creating light, airy layers and contributing to a nuanced flavor profile. Baking powder, on the other hand, offers an immediate boost of leavening, ensuring extra flakiness and a tender crumb. This dual approach helps overcome common gluten-free baking hurdles.
- **Handling the Dough Gently:** Gluten-free dough lacks the elastic network of gluten, so it doesn’t tolerate overworking well. Mix until just combined and handle gently during rolling and shaping to maintain its delicate structure and prevent tough rolls.
How to Store Your Gluten-Free Crescent Rolls
Proper storage ensures your delicious gluten-free crescent rolls remain fresh and enjoyable for as long as possible. Here’s how to store them:
- **Room Temperature:** For immediate consumption, these rolls will stay wonderfully fresh for about 1-2 days when stored in an airtight container at room temperature. Make sure they are completely cooled before storing to prevent condensation.
- **Refrigerator:** To extend their freshness, place the cooled rolls in an airtight container or a resealable bag and refrigerate them for 4-5 days. Refrigeration helps maintain their texture longer than room temperature storage.
- **Freezer:** These rolls freeze beautifully! Once completely cooled, wrap individual rolls tightly in plastic wrap, then place them in a freezer-safe bag or container. They can be stored in the freezer for up to 3 months.
- **Reheating:** To reheat from the refrigerator, simply pop them into a preheated oven at 350°F (175°C) for 5-7 minutes, or microwave for 15-30 seconds until warm. From the freezer, thaw them overnight in the refrigerator first, then reheat as you would refrigerated rolls. This method ensures they regain their soft, fresh-baked quality.
More Irresistible Gluten-Free Pastries to Explore!
If you’ve loved making these gluten-free crescent rolls, you’ll be thrilled to discover other fantastic gluten-free pastry recipes that offer similar satisfaction without compromise. Expand your baking repertoire with these delicious options:
- Flaky Gluten-Free Croissants: Experience the joy of buttery, layered croissants, now made entirely gluten-free.
- Homemade Gluten-Free Puff Pastry: A versatile base for both sweet and savory creations, delivering incredible lightness and crispness.
- Delicious Gluten-Free Danish: Enjoy these classic European pastries with various fillings, perfect for breakfast or dessert.
- Tender Gluten-Free Blueberry Scones: A delightful morning treat, bursting with juicy blueberries and a tender crumb.
- Nostalgic Gluten-Free Pop Tarts: Recreate this beloved childhood snack at home, healthier and deliciously gluten-free.
Each of these recipes is designed to bring the joy of baking back to those following a gluten-free diet, proving that delicious and intricate pastries are entirely within reach.