
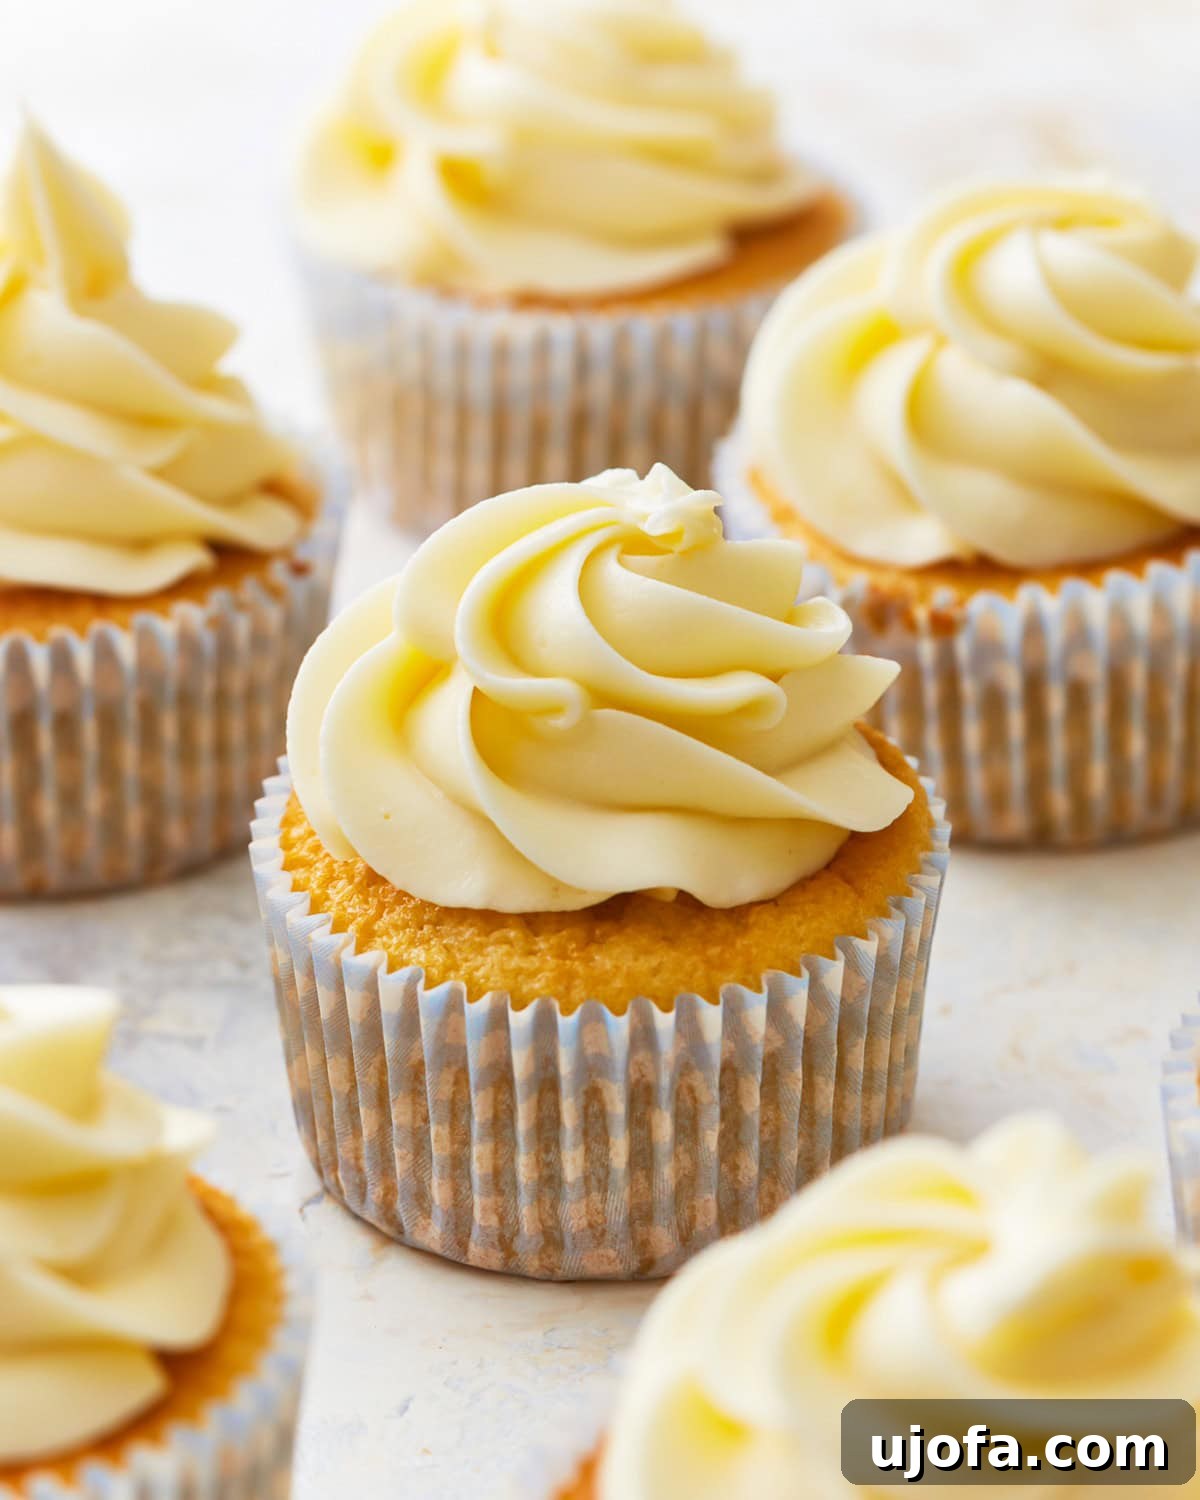
The Best Homemade Gluten-Free Vanilla Cupcakes with Dreamy Buttercream Frosting
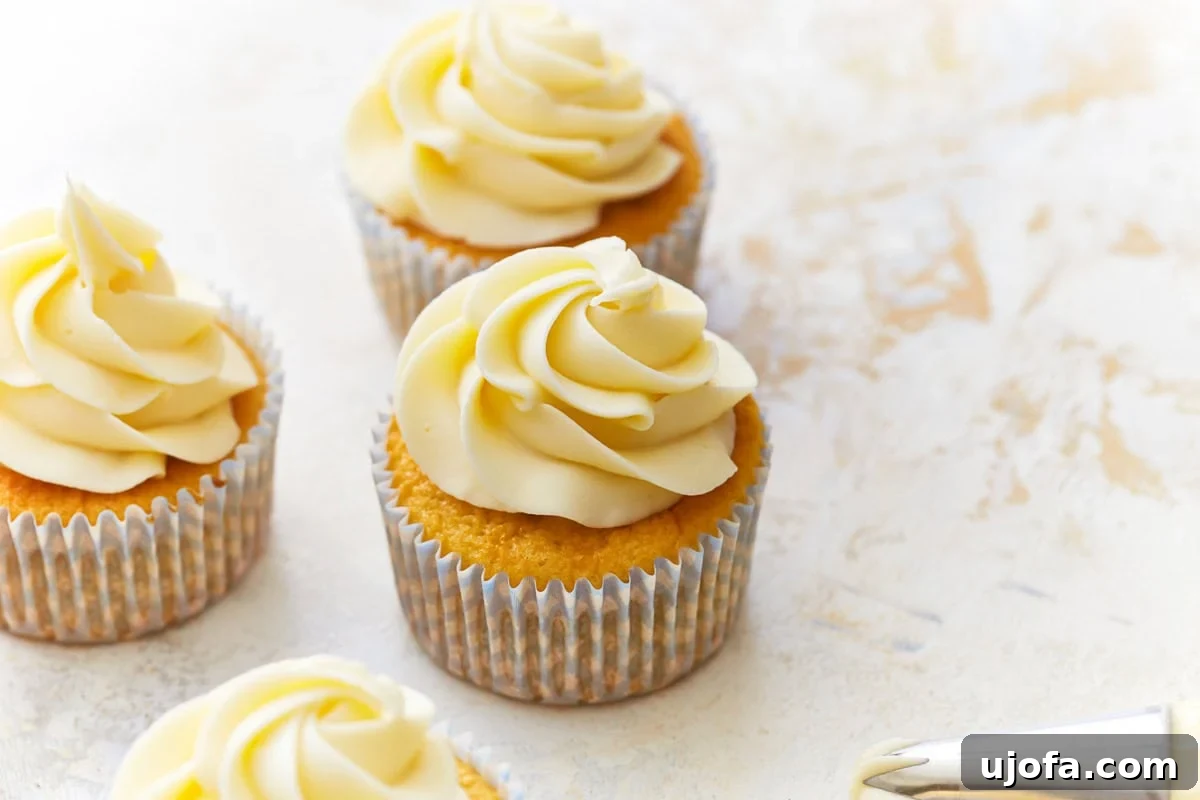
Forget the days of dry, crumbly gluten-free baked goods! It’s tempting to reach for a boxed gluten-free cake mix for convenience, especially when preparing for a special occasion. While reliable, these mixes often fall short on flavor and texture, leaving a lot to be desired. But what if you could easily whip up homemade gluten-free vanilla cupcakes that are so light, so fluffy, and so incredibly delicious, no one would ever guess they’re gluten-free? This recipe delivers exactly that – a truly irresistible treat topped with a rich, creamy, melt-in-your-mouth vanilla buttercream frosting that will satisfy every sweet tooth.
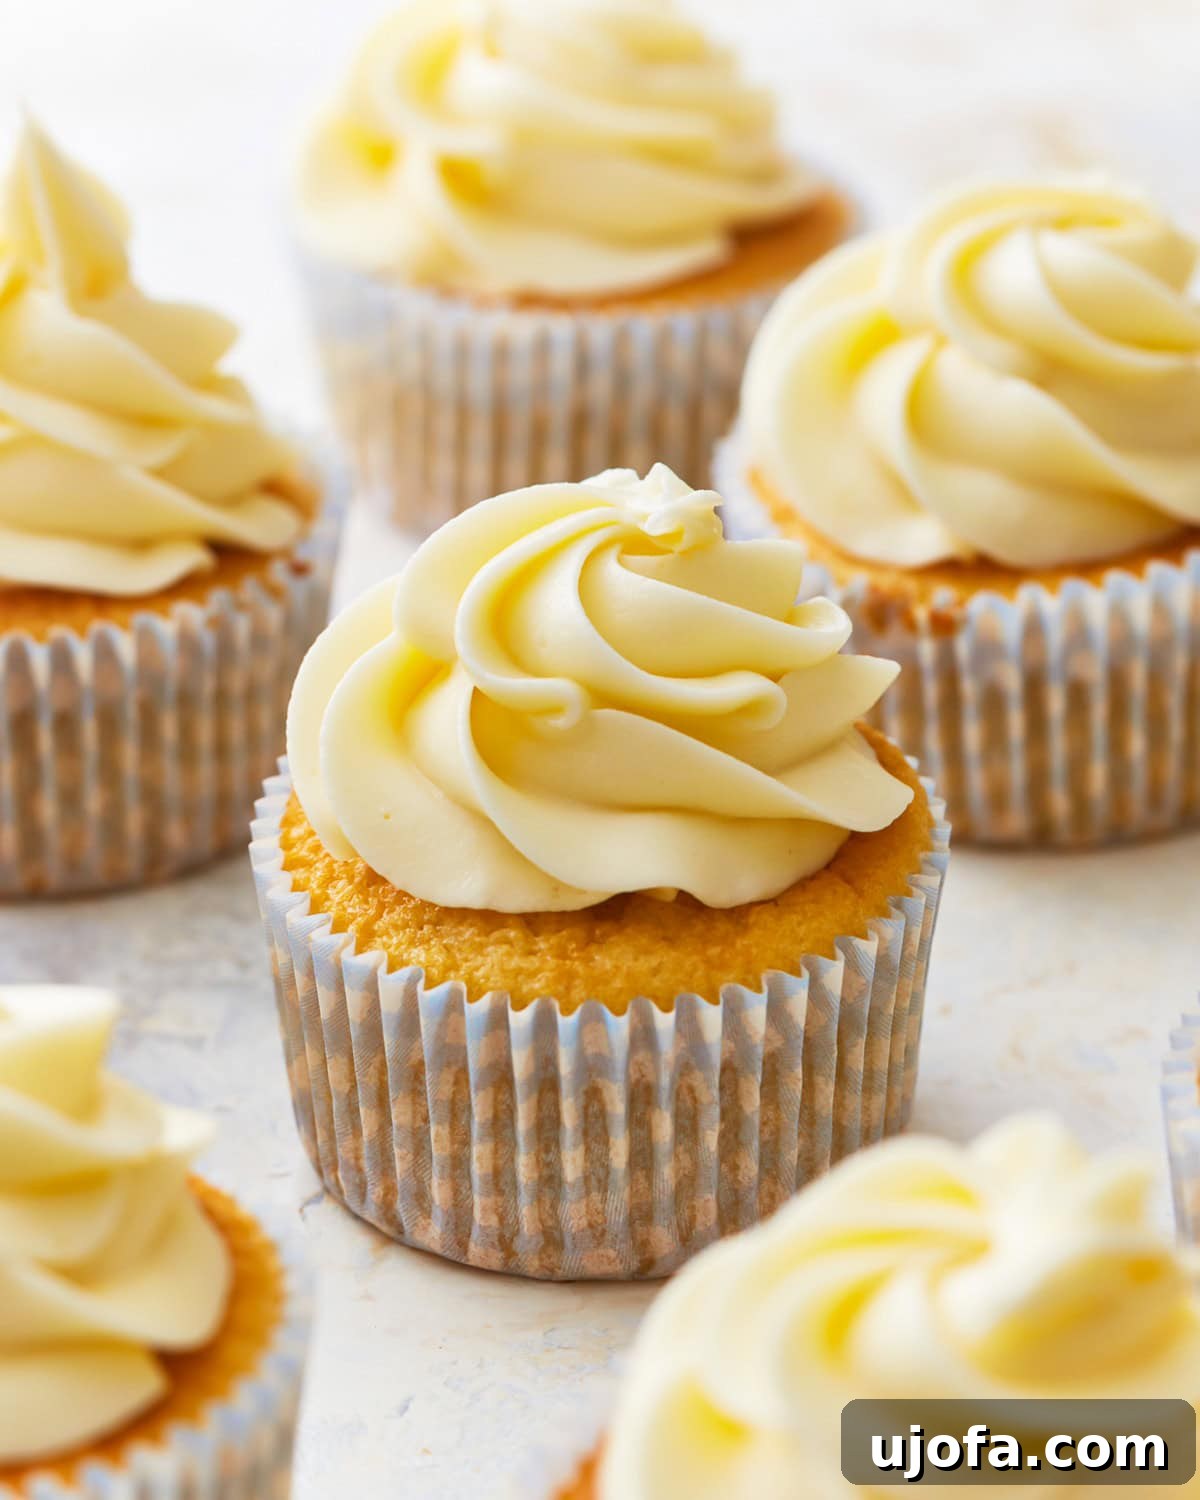
Why These Homemade Gluten-Free Vanilla Cupcakes Will Become Your Go-To Recipe
This isn’t just another gluten-free recipe; it’s a game-changer. These homemade gluten-free vanilla cupcakes are designed to be incredibly easy to make from scratch, yet they taste like they came straight from a gourmet bakery. The secret lies in a carefully balanced blend of ingredients and simple techniques that ensure a tender crumb and a moist, flavorful experience. Once you experience the superior taste and texture of these cupcakes, you’ll undoubtedly abandon those bland boxed mixes for good. Prepare to impress everyone with these delightful treats – they’re so good, you won’t even be able to tell they’re gluten-free!
Essential Ingredients for Flawless Gluten-Free Vanilla Cupcakes
Crafting the perfect cupcake starts with understanding the role each ingredient plays. Here’s a breakdown of what you’ll need and why it’s important, along with helpful dairy-free alternatives:
- Unsalted Butter: This is key for creating incredibly tender cupcakes and forms the luxurious base of our buttercream frosting. For those avoiding dairy, high-quality dairy-free butter alternatives like Smart Balance butter work beautifully, maintaining both flavor and texture. Ensure your butter is softened to room temperature for optimal creaming.
- Granulated Sugar: Provides the perfect level of sweetness to our vanilla cupcakes, ensuring they’re delightful without being overly rich. It also contributes to the cupcake’s moisture and tender crumb.
- Eggs: Essential for structure, eggs bind the ingredients together, adding richness and helping the cupcakes rise beautifully. Always use large eggs at room temperature for best results.
- Pure Vanilla Extract: The star of the show! High-quality pure vanilla extract infuses both the cupcakes and the buttercream with that classic, comforting vanilla flavor that everyone loves. Don’t skimp on good vanilla!
- Gluten-Free All-Purpose Rice Flour Blend with Xanthan Gum: The type of gluten-free flour blend you use is critical. I personally recommend Pillsbury gluten-free all-purpose flour for its consistent results. It’s important to note that not all gluten-free flours are created equal, and different brands can yield varying baking results due to their unique composition of starches and flours. A blend that already contains xanthan gum is ideal as it helps mimic the elasticity of gluten, preventing a dry or crumbly texture. If your blend doesn’t include it, you might need to add a small amount separately.
- Baking Powder: Our primary leavening agent, baking powder ensures these cupcakes achieve a light, airy, and fluffy texture, giving them that wonderful rise in the oven.
- Salt: A small but mighty ingredient! Salt doesn’t just add flavor; it balances the sweetness of the sugar and enhances all the other flavors in both the cupcakes and the buttercream, preventing them from tasting flat.
- Milk: Adds crucial moisture to the cupcake batter, contributing to its tender texture. In the buttercream, milk helps achieve the perfect smooth, spreadable consistency. For a dairy-free option, unsweetened almond, cashew, or coconut milk are excellent substitutes and won’t compromise the flavor.
- Confectioners’ Sugar (Powdered Sugar): This finely ground sugar is essential for achieving a silky-smooth buttercream frosting without any grittiness. Its delicate texture melts seamlessly into the butter.
Step-by-Step Guide to Baking Perfect Gluten-Free Vanilla Cupcakes
Follow these detailed instructions to bake delightful gluten-free vanilla cupcakes and a luscious buttercream frosting from scratch. Precision and patience are your best tools!
Crafting the Fluffy Vanilla Cupcakes
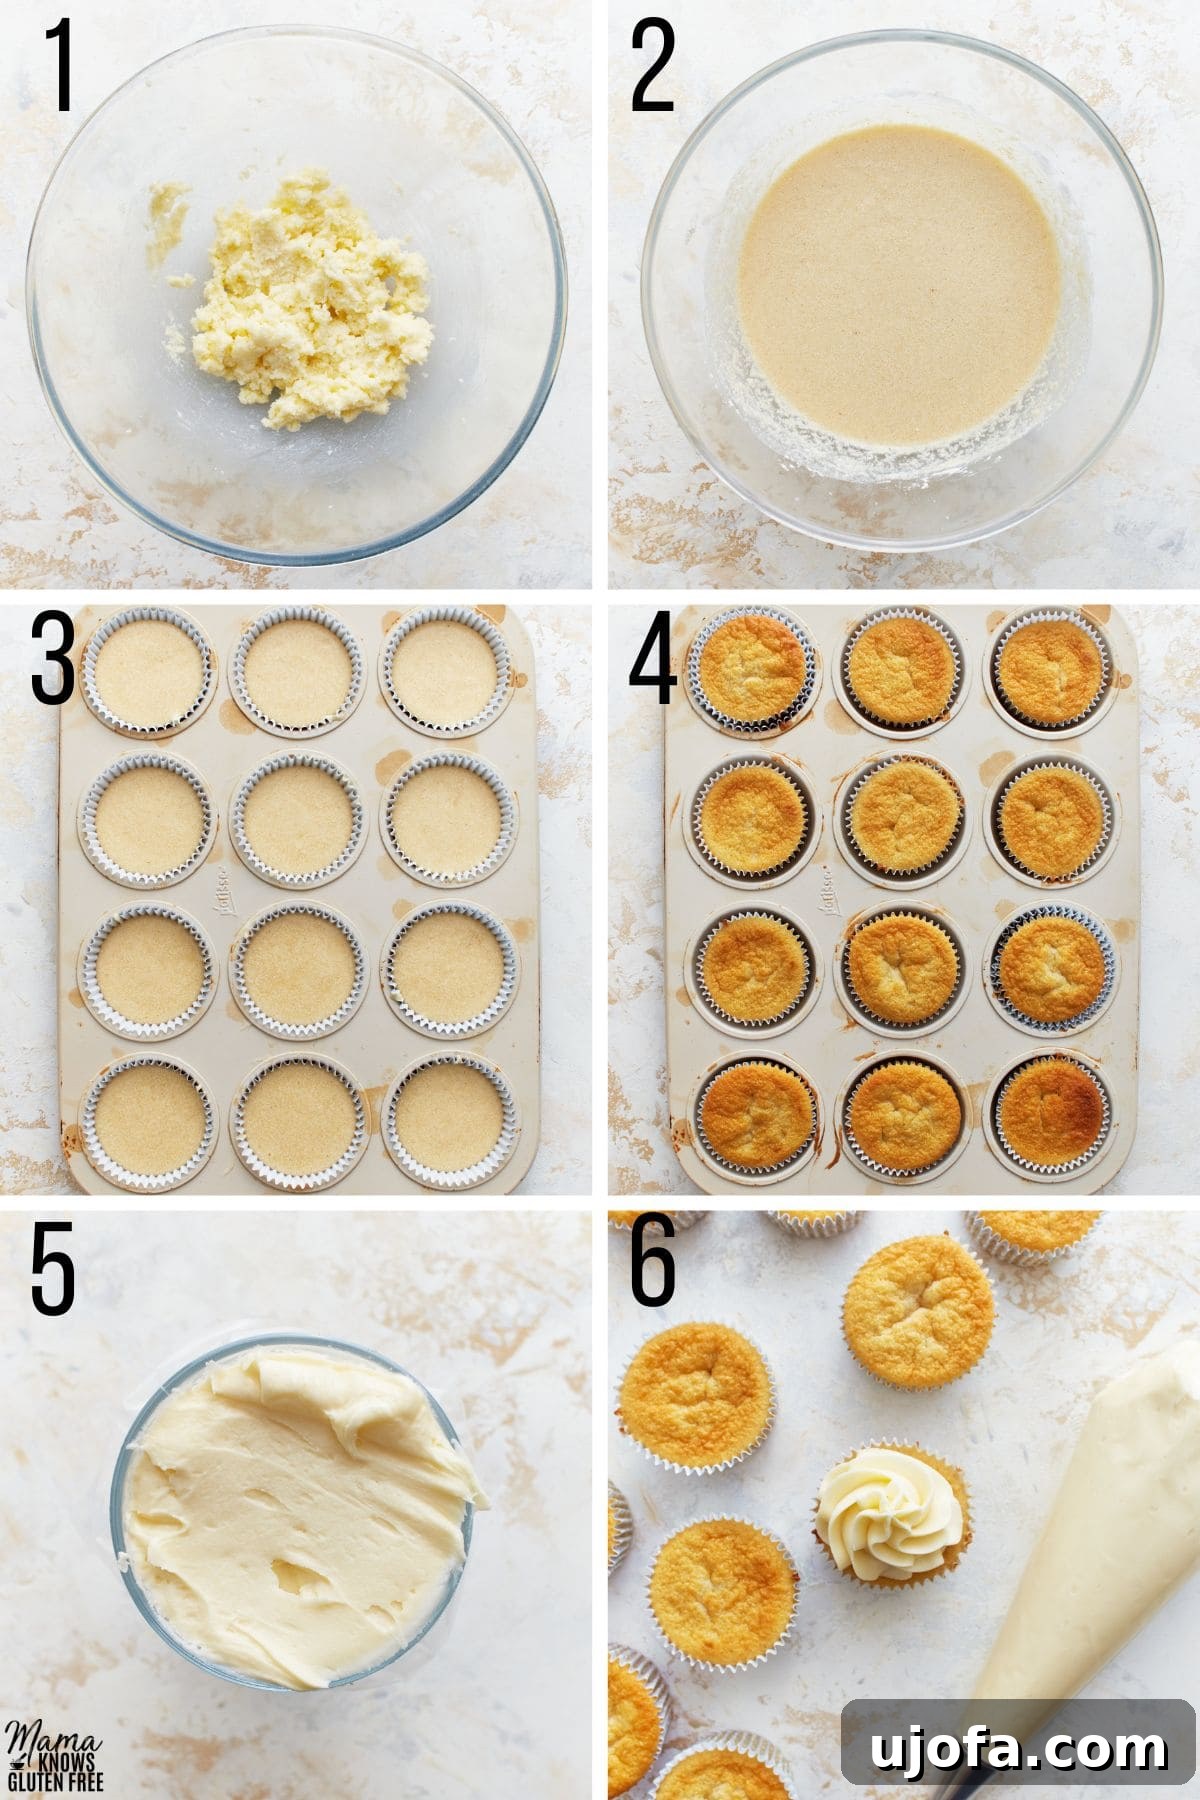
- Prepare Your Oven and Pan: Begin by preheating your oven to 350°F (175°C). Line a standard muffin pan with cupcake liners. Alternatively, if you don’t have liners, spray the wells generously with a gluten-free non-stick cooking spray to prevent sticking.
- Cream the Butter and Sugar: In a large mixing bowl, using an electric mixer, cream the softened unsalted butter until it’s light and smooth. Gradually add the granulated sugar and continue to beat on medium-high speed for 2-3 minutes until the mixture is light, fluffy, and pale in color. This step is crucial for incorporating air, which helps achieve a tender cupcake.
- Incorporate Eggs and Vanilla: Crack the eggs into the creamed butter and sugar mixture one at a time, beating well after each addition until fully combined. Scrape down the sides of the bowl as needed to ensure everything is incorporated. Finally, add the pure vanilla extract and mix until just combined and smooth.
- Add Dry Ingredients: In a separate bowl, whisk together your gluten-free all-purpose rice flour blend (with xanthan gum), baking powder, and salt. Gradually add these dry ingredients to the wet mixture, mixing on low speed until just combined. Be careful not to overmix at this stage; overmixing can lead to tough cupcakes.
- Introduce the Milk: Pour in the milk (dairy or dairy-free alternative) and mix on medium speed for exactly 2 minutes. The batter should become smooth and well-emulsified. Again, avoid excessive mixing once the milk is incorporated.
- Portion the Batter: Evenly scoop the cake batter into the prepared muffin pan wells. A greased ice cream scoop (typically a 1/4 cup size) is an excellent tool for this, as it ensures uniform cupcake sizes and a cleaner transfer of batter compared to using a spoon. Fill each well about two-thirds full to allow for proper rising.
- Bake to Golden Perfection: Place the muffin pan into the preheated oven and bake for approximately 25 minutes. Baking times can vary depending on your oven, so it’s essential to monitor your cupcakes. To check for doneness, insert a toothpick into the center of a cupcake; if it comes out clean, they are ready.
- Cool Completely: Once baked, remove the cupcakes from the oven and allow them to cool in the muffin pan for a few minutes before transferring them to a wire baking rack. It is absolutely crucial that the cupcakes cool completely on the rack before you even think about frosting them. This prevents the frosting from melting or sliding off.
Whipping Up the Dreamy Vanilla Buttercream
- Cream the Butter: In a large bowl, cream the softened unsalted butter (or dairy-free alternative) until it is perfectly smooth and creamy. This can take a few minutes on medium-high speed with an electric mixer.
- Add Vanilla Extract: Pour in the pure vanilla extract and mix until it is fully incorporated, infusing the butter with delightful flavor.
- Gradually Add Confectioners’ Sugar: Begin adding the confectioners’ sugar, one cup at a time, mixing thoroughly after each addition until fully combined. Start on low speed to avoid a cloud of sugar! Once incorporated, increase speed to medium-high.
- Achieve Desired Consistency with Milk: Gradually add the milk (dairy or dairy-free) one tablespoon at a time, beating until the frosting reaches a smooth, light, and spreadable consistency. You might need slightly more or less milk depending on your desired thickness. Beat for an additional 2-3 minutes on high speed to make it extra fluffy.
- Prepare for Piping (Optional): For easy and less messy frosting, line a piping bag with your preferred tip (like a Wilton 1M for beautiful swirls) inside a tall glass before spooning in the buttercream. This method makes filling the bag much simpler.
Pro Tips for Gluten-Free Baking Success and Perfect Cupcakes
Mastering gluten-free baking can be a journey, but these expert tips will help ensure your vanilla cupcakes turn out perfect every time:
- Accurate Gluten-Free Flour Measurement: The “spoon & level” method is paramount for measuring gluten-free flour. Instead of scooping directly from the bag, use a spoon to lightly fill your measuring cup, then use the flat back of a knife or a straight edge to level off the excess flour. This prevents compacting the flour, which can lead to dry, dense cupcakes.
- Achieving Uniform Cupcake Sizes: For beautifully consistent cupcakes, always use a greased ice cream scoop or a dedicated cookie scoop to portion out your batter. This not only ensures each cupcake bakes evenly but also makes the process much cleaner and more efficient.
- Preventing Sticking with Cupcake Liners: While greasing the pan is an option, using cupcake liners is highly recommended. They guarantee your cupcakes won’t stick, make cleanup a breeze, and add a decorative touch.
- Room Temperature Ingredients are Key: Ensure your butter, eggs, and milk are at room temperature before you start mixing. Room temperature ingredients emulsify better, creating a smoother, more uniform batter and a more tender final product. Cold ingredients can cause the batter to curdle and prevent proper rising.
- Don’t Overmix the Batter: Overmixing gluten-free batter can still lead to tough, dense cupcakes, even without gluten. Mix until just combined and smooth. A few lumps are better than an overmixed, gummy texture.
- Cooling Rack is Your Best Friend: As mentioned in the instructions, allowing cupcakes to cool completely on a wire rack is essential. This prevents condensation from forming on the bottom of the cupcakes, which can make them soggy, and ensures your frosting adheres perfectly without melting.
Troubleshooting Common Cupcake Calamities
Even experienced bakers can encounter issues. Here’s how to address common gluten-free cupcake problems:
Why Do My Gluten-Free Cupcakes Overflow?
Overflowing cupcakes are typically a sign of overfilling the muffin pan. To prevent this, never fill the wells higher than three-quarters of the way full. Leaving adequate space allows the batter to rise properly without spilling over the edges, ensuring beautifully domed tops.
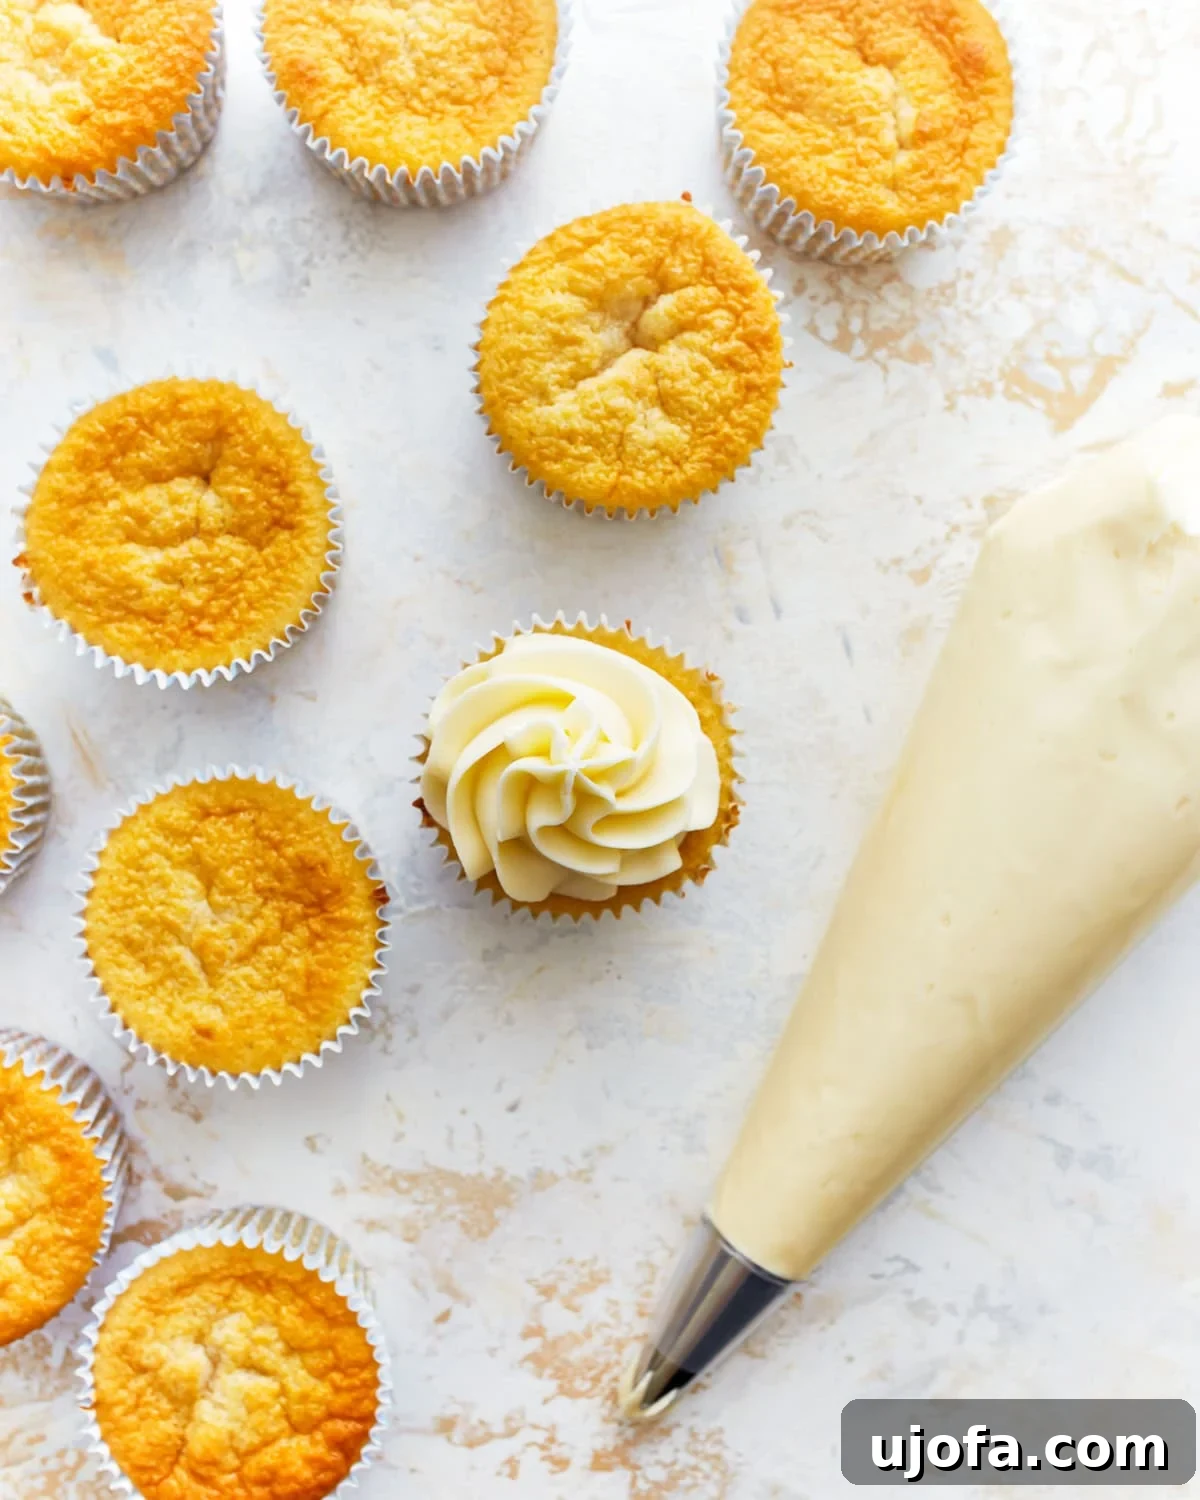
Why Did My Gluten-Free Cupcakes Sink?
Several factors can cause cupcakes to sink in the middle. The most common culprits are overmixing the batter or adding too much moisture. Overmixing develops any gluten-like proteins in the gluten-free flour blend and can incorporate too much air, causing the cupcakes to rise rapidly in the oven and then quickly collapse. Similarly, an excess of liquid can weaken the structure. It’s crucial to mix the batter with a light hand and to ensure all your ingredients are measured precisely.
Why Did The Frosting Melt Off Of My Cupcakes?
This is a common and easily avoidable mishap! It is critically important to allow your gluten-free vanilla cupcakes to cool completely, to room temperature or even slightly chilled, before you begin frosting them. If you attempt to frost warm cupcakes, the heat will cause the butter in the buttercream to melt and separate, resulting in a runny, messy frosting that will slide right off.
Storing Your Homemade Gluten-Free Vanilla Cupcakes for Freshness
Proper storage is essential to keep your delicious gluten-free vanilla cupcakes fresh and flavorful:
Short-Term Storage: Store your frosted gluten-free vanilla cupcakes in an airtight container at room temperature for up to 2 days. For extended freshness, especially if your kitchen is warm or humid, transfer them to the refrigerator where they will remain fresh for up to 4 days. Always bring them back to room temperature before serving for the best texture and flavor.
Freezing for Later Enjoyment: Having a stash of these delightful cupcakes in the freezer is incredibly convenient, especially when you need a safe gluten-free treat for parties, school events, or unexpected guests. Freezing is also a fantastic way to ensure you always have a delicious dessert on hand.
Once your cupcakes are completely cool, wrap each individual cupcake tightly with plastic wrap (press-and-seal wrap works exceptionally well for this). This prevents freezer burn and helps maintain moisture. Place the wrapped cupcakes into a freezer-safe bag or an airtight container. Frozen cupcakes can be stored for up to 3 months.
To defrost, simply remove the desired number of cupcakes from the freezer and let them thaw at room temperature for 2-3 hours. Alternatively, you can transfer them to the refrigerator overnight to thaw gradually. Once thawed, they will be just as soft, fluffy, and delicious as when they were freshly baked!
More Delicious Gluten-Free Dessert Recipes to Explore!
If you loved these vanilla cupcakes, you’re in for a treat! Discover more amazing gluten-free desserts that are just as easy and delicious:
- Gluten-Free Cinnamon Roll Cake {Dairy-Free Option}
- Gluten-Free Oatmeal Cookies {Dairy-Free Option}
- Easy Gluten-Free Brownies {Dairy-Free Option}
Gluten-Free Vanilla Cupcakes Recipe Card
An easy recipe for gluten-free vanilla cupcakes that are soft and fluffy, topped with a luscious vanilla buttercream frosting. This recipe also includes a dairy-free option for those with dietary restrictions.
By: Audrey Roberts
Yields: 12 servings
Prep time: 10 mins
Cook time: 25 mins
Total time: 35 mins
Ingredients for Vanilla Cupcakes
- 6 tablespoons unsalted butter, softened (for dairy-free, use Smart Balance butter)
- 3/4 cup granulated sugar
- 2 large eggs
- 1 tablespoon pure vanilla extract
- 1 1/4 cups gluten-free all-purpose rice flour blend with xanthan gum (Pillsbury gluten-free recommended. Note: baking results may vary with different flour blends.)
- 1 3/4 teaspoons gluten-free baking powder
- 1/4 teaspoon salt
- 1 cup milk (for dairy-free, use unsweetened almond, cashew, or coconut milk)
Ingredients for Vanilla Buttercream
- 3/4 cup unsalted butter, softened (for dairy-free, use Smart Balance Butter)
- 1 tablespoon pure vanilla extract
- 1/4 teaspoon salt
- 4 cups confectioners’ sugar
- 3 tablespoons milk (for dairy-free, use unsweetened almond, cashew, or coconut milk)
Instructions for Vanilla Cupcakes
- Preheat oven to 350°F (175°C) and line a muffin pan with cupcake liners or spray with gluten-free nonstick cooking spray.
- In a large bowl, cream the softened butter until smooth. Add the sugar and beat until light and fluffy.
- Add eggs and vanilla extract and mix until fully combined and smooth.
- In a separate bowl, whisk together gluten-free flour, baking powder, and salt. Gradually add to the wet ingredients and mix until just combined.
- Pour in milk and mix for 2 minutes on medium speed until the batter is smooth.
- Scoop the cake batter into the lined muffin pan, filling each well about two-thirds full. (Using a greased ice cream scoop helps create uniformed sizes and reduces mess.)
- Bake cupcakes for 25 minutes. Monitor your oven as baking times may vary. Check for doneness by inserting a toothpick into the center; it should come out clean.
- Allow cupcakes to cool completely on a wire rack before frosting.
Instructions for Vanilla Buttercream
- In a large bowl, cream the softened butter until smooth and fluffy.
- Add the pure vanilla extract and mix until fully combined.
- Add the confectioners’ sugar one cup at a time, mixing on low speed until combined after each addition, then increase to medium-high.
- Gradually add the milk, beating until the frosting is smooth, light, and spreadable. Beat for an additional 2-3 minutes for extra fluffiness.
- For easier frosting, line a piping bag with your favorite tip inside a tall glass before filling. The Wilton 1M tip is recommended for beautiful swirls.
Recipe Notes
- Always measure gluten-free flour using the “spoon & level” method to avoid dense baked goods.
- For consistent cupcake sizes, use a greased ice cream scoop to portion the batter.
- Cupcake liners are recommended to prevent sticking and for easy cleanup.
- Ensure cupcakes are completely cool before applying frosting to prevent melting. Use a cooling rack.
- Store in an airtight container at room temperature for up to 2 days, or in the refrigerator for up to 4 days.
- Cupcakes can be frozen for up to 3 months. Wrap individually in plastic wrap, then place in a freezer bag. Thaw at room temperature for 2-3 hours or overnight in the refrigerator.
- Always check all ingredient labels to ensure they are certified gluten-free.
Nutrition Information (per cupcake)
- Calories: 433 kcal
- Carbohydrates: 63 g
- Protein: 3 g
- Fat: 19 g
- Saturated Fat: 12 g
- Cholesterol: 83 mg
- Sodium: 125 mg
- Potassium: 107 mg
- Fiber: 1 g
- Sugar: 54 g
- Vitamin A: 620 IU
- Calcium: 71 mg
- Iron: 1 mg
Nutrition information is automatically calculated and should only be used as an approximation.
Additional Recipe Details
- Course: Dessert
- Cuisine: American