
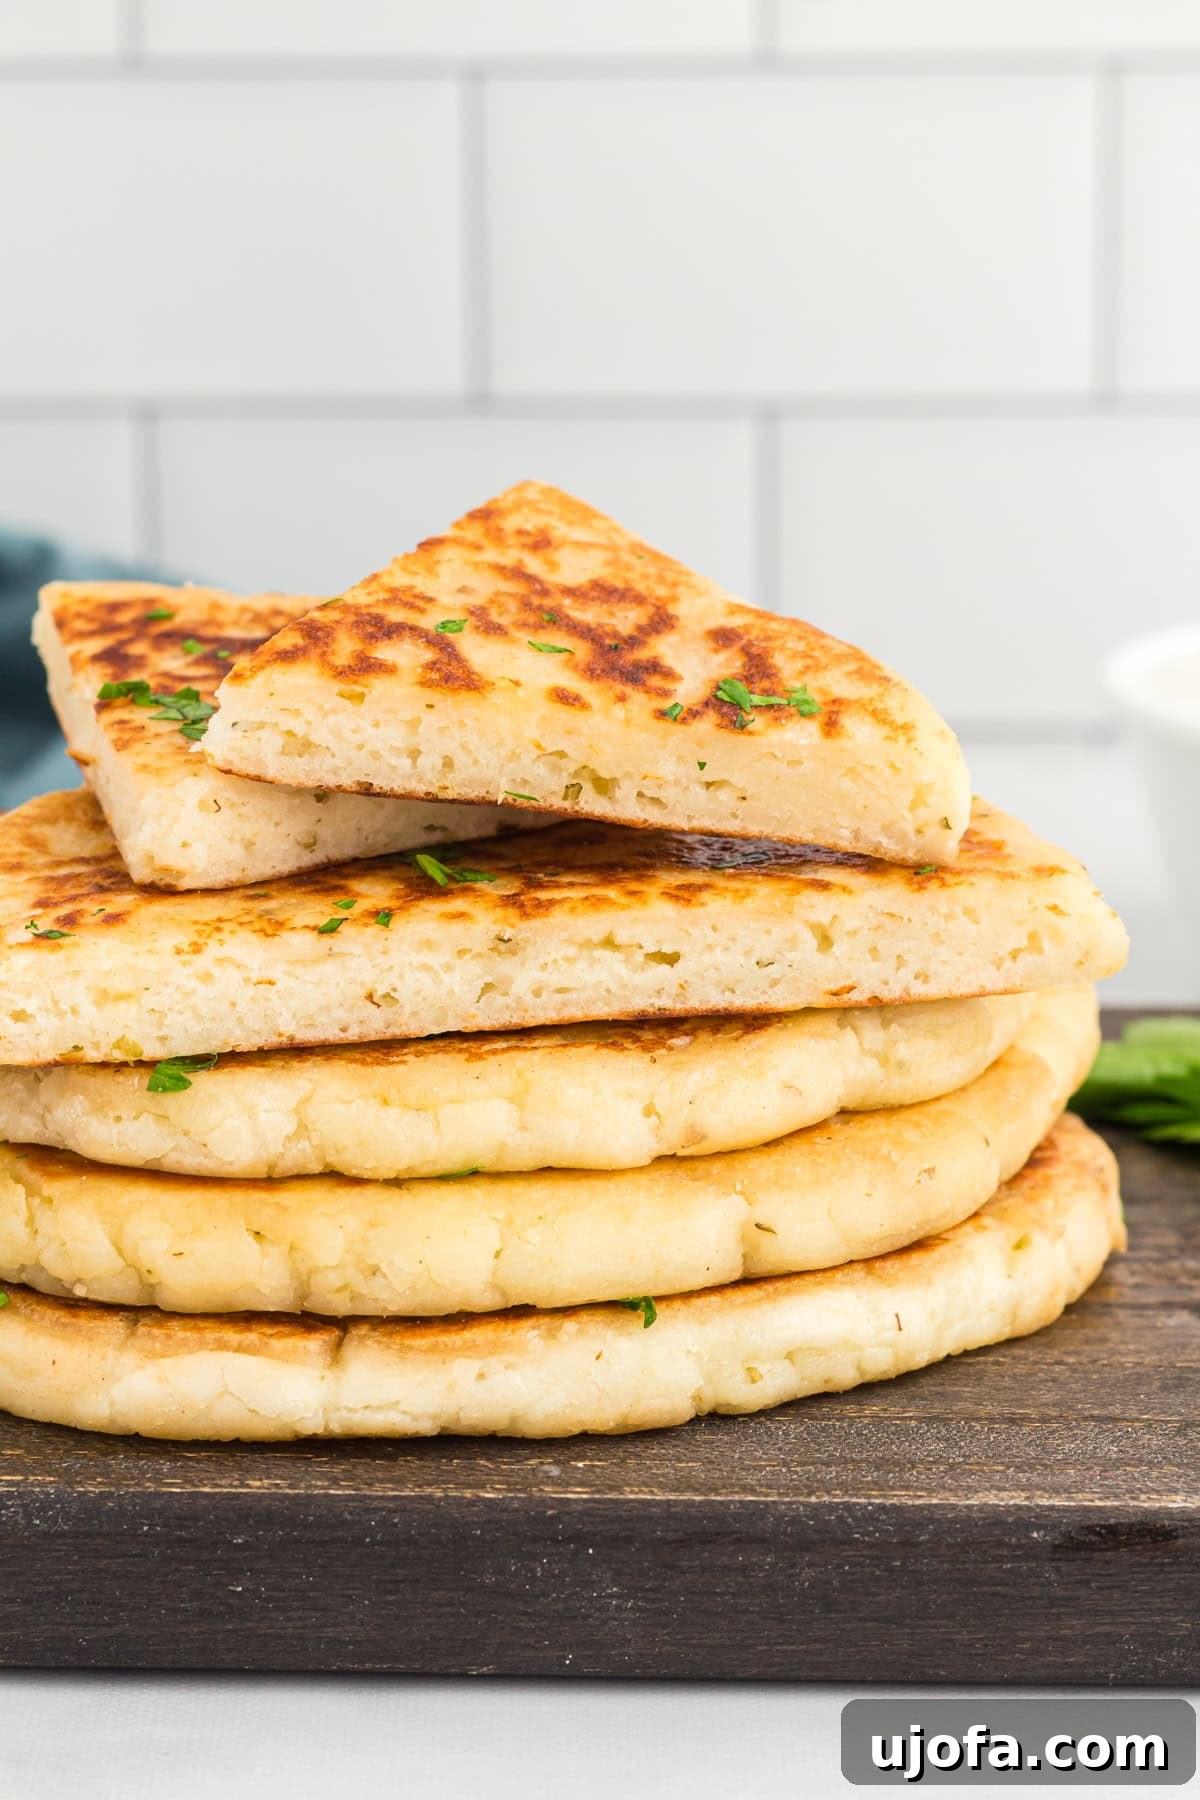
This gluten-free flatbread recipe is a culinary revelation – so quick, incredibly easy, and bursting with flavor, it will make you rethink ever buying flatbreads from the store again. Crafted with fewer than 10 pantry-friendly ingredients, these fresh, hot flatbreads can be on your table in just 35 minutes, making them a perfect addition to any meal, any day of the week. Their soft, pliable texture and savory notes make them ideal for dipping, wrapping, or simply enjoying on their own.
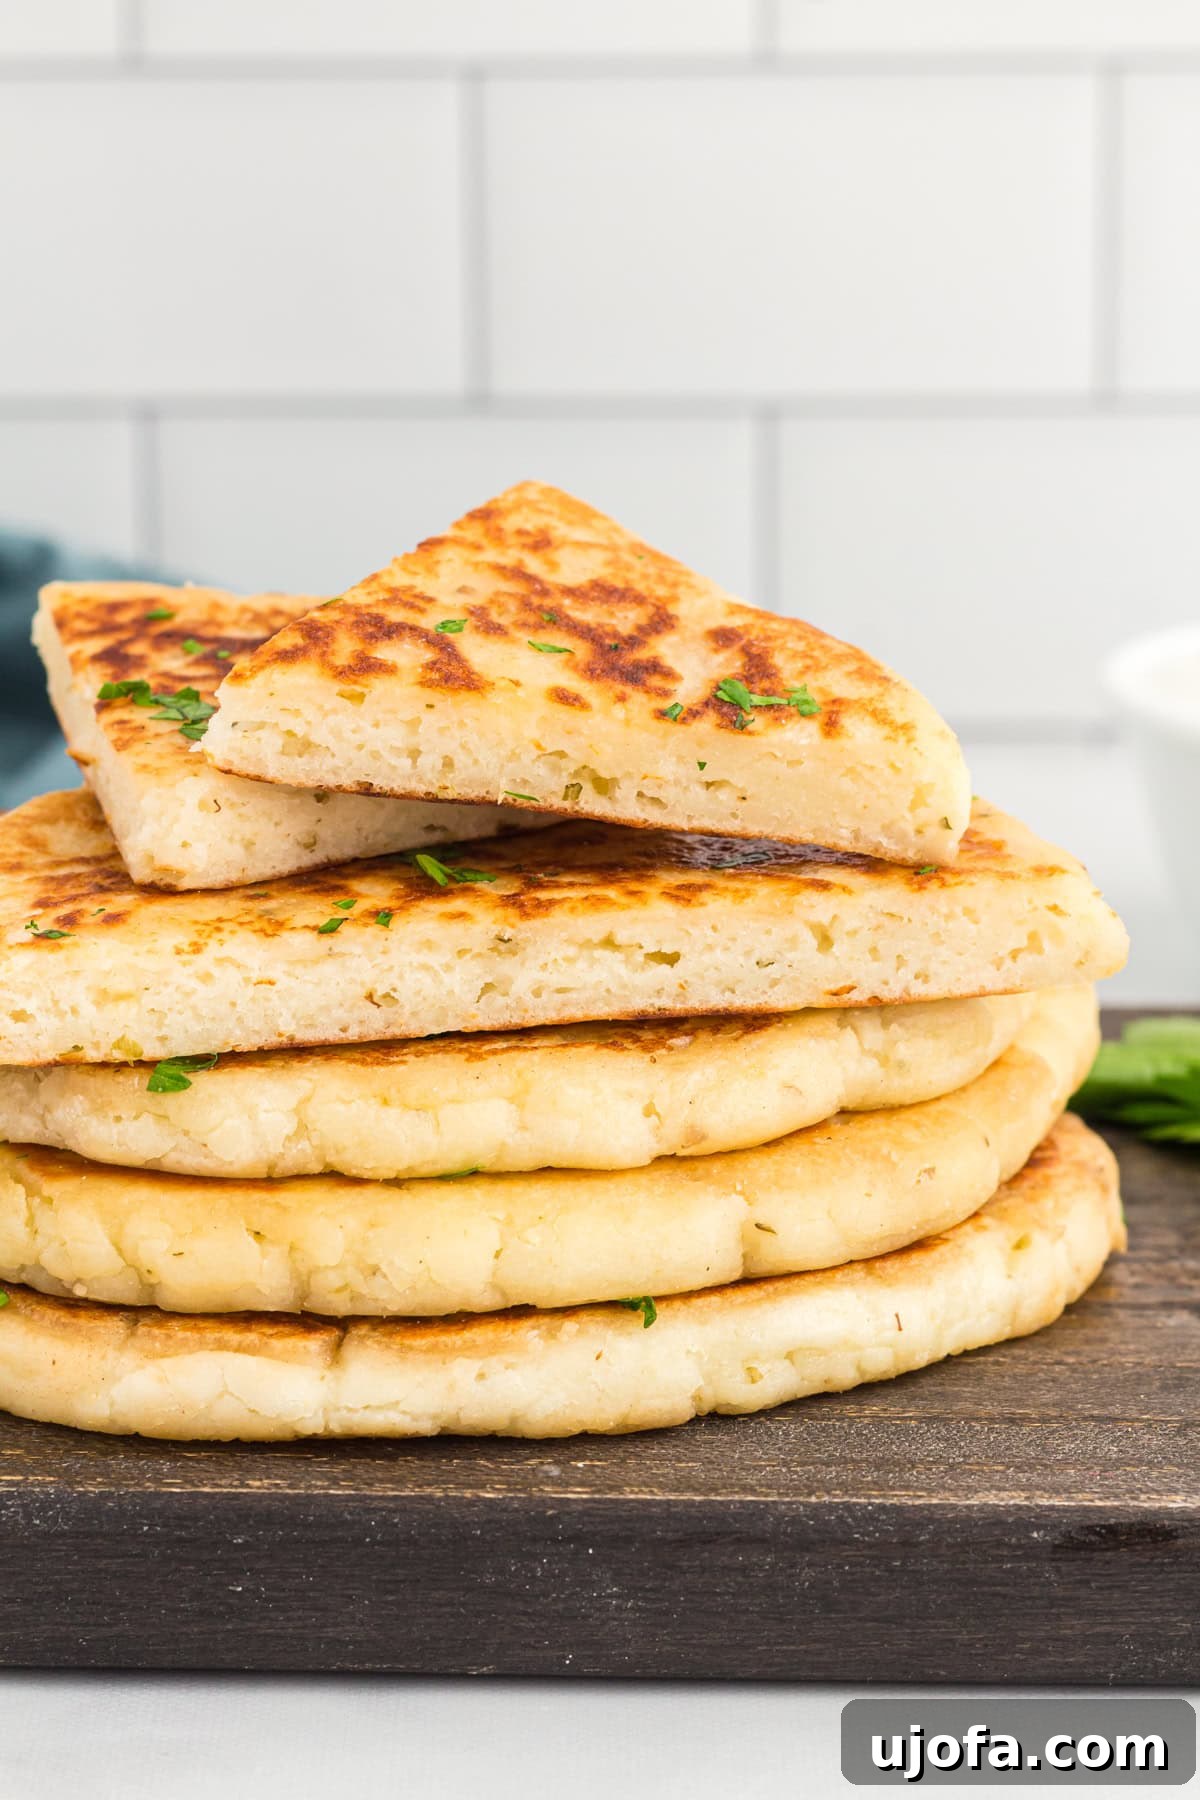
The Ultimate Easy Gluten-Free Flatbread Recipe
Discover the sheer simplicity of crafting homemade flatbread that rivals any bakery creation, all while being completely gluten-free. This versatile recipe offers a delightful alternative to store-bought options, bringing warmth and aroma to your kitchen. Much like our popular gluten-free focaccia and gluten-free naan bread, this flatbread seamlessly complements a wide array of dishes. What’s more, these delicious flatbreads are naturally egg-free, and with simple substitutions, they can easily be made dairy-free and vegan, catering to various dietary preferences without compromising on taste or texture.
Why Homemade Gluten-Free Flatbread is a Game-Changer
There’s an undeniable magic in homemade bread, and gluten-free flatbread is no exception. Beyond the satisfying aroma that fills your home, making your own flatbread offers numerous advantages over relying on supermarket versions. Firstly, you gain complete control over the ingredients, ensuring only the freshest and highest-quality components make it into your meal. This is especially crucial for those with gluten sensitivities or other dietary needs, as you can select certified gluten-free flours and dairy-free alternatives with confidence. Secondly, the flavor and texture of freshly made flatbread are simply unparalleled. Warm from the pan, with a perfectly soft interior and a subtle crisp edge, it’s a sensory experience that pre-packaged options simply cannot replicate. Lastly, it’s often more cost-effective in the long run, and the satisfaction of serving a delicious, wholesome bread you made yourself is truly rewarding. This recipe empowers you to enjoy fresh, hot bread anytime, without the fuss or lengthy preparation usually associated with baking.
Key Ingredients for Perfect Gluten-Free Flatbread
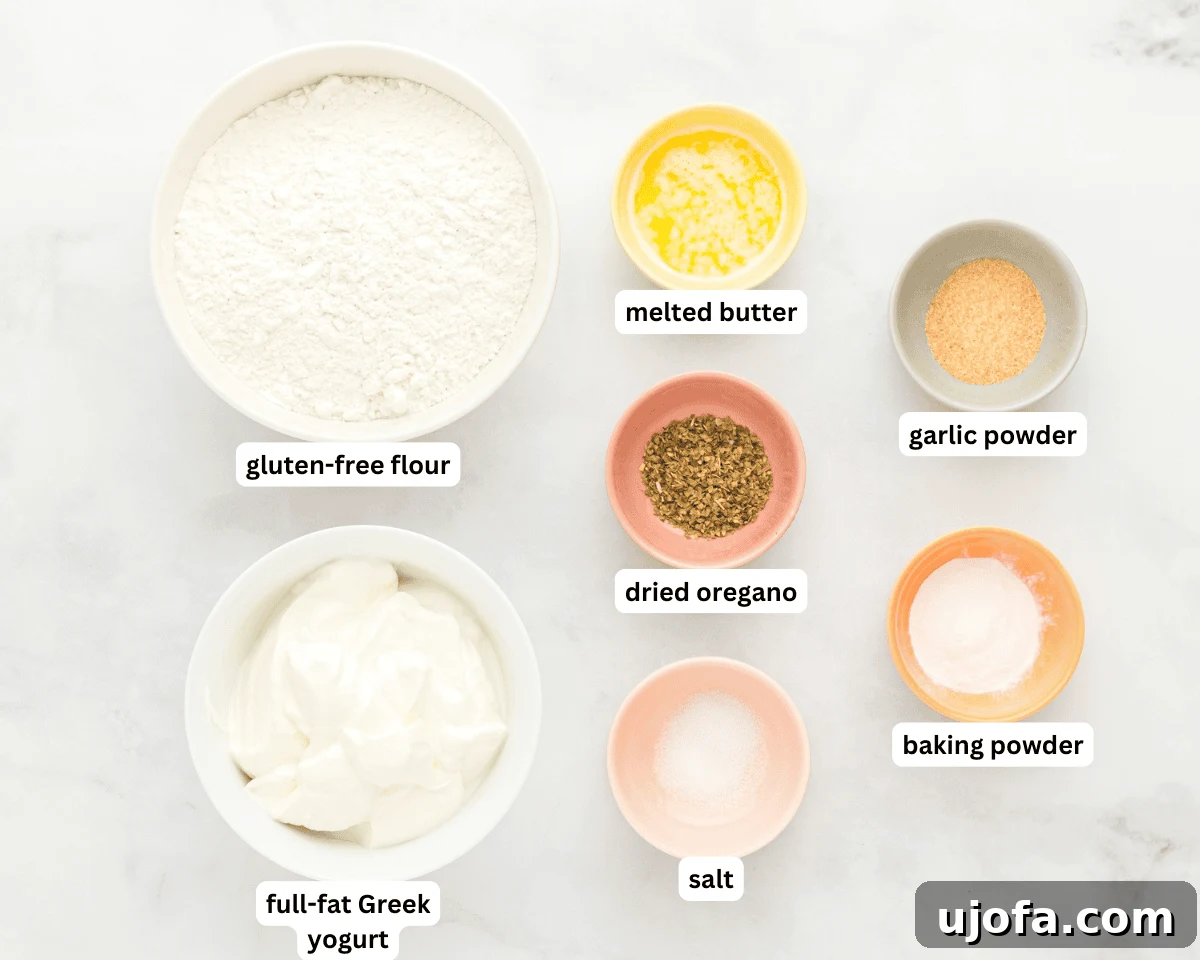
Creating this easy gluten-free flatbread relies on a harmonious blend of simple ingredients. Each component plays a crucial role in achieving the desired soft, pliable texture and rich flavor profile. Understanding their function will help you master this recipe and even experiment with variations.
- Gluten-Free All-Purpose Flour: The foundation of our flatbread. For best results, we highly recommend a high-quality, cup-for-cup gluten-free flour blend. Brands like Cup4Cup Multipurpose Flour Blend are known for their excellent texture in baking, closely mimicking traditional wheat flour. It’s important to note that not all gluten-free flours are created equal; some blends may absorb liquid differently, potentially affecting the dough’s consistency. Always check if your chosen blend already contains xanthan gum.
- Xanthan Gum: This essential ingredient acts as a binder, providing elasticity and structure to gluten-free dough, which naturally lacks the gluten network found in wheat flour. It prevents the flatbread from becoming crumbly and ensures a soft, pliable texture. Only add xanthan gum if your gluten-free flour blend does not already include it. Check the ingredient list of your flour blend carefully.
- Baking Powder: Our primary leavening agent, baking powder is crucial for giving these flatbreads their light and fluffy rise. It reacts with the moisture and acidity in the yogurt to create air pockets, resulting in a tender crumb.
- Garlic Powder: Infuses the flatbreads with an earthy, savory depth. This aromatic spice is a key contributor to the delicious overall flavor, making them irresistible for dipping or as a savory side.
- Dried Oregano: Adds a classic herbal note that complements the garlic beautifully. Oregano contributes a Mediterranean touch, enhancing the flatbread’s versatility with various cuisines. You can experiment with other dried herbs like rosemary, thyme, or an Italian seasoning blend.
- Salt: A fundamental flavor enhancer, salt balances all the ingredients, bringing out their individual characteristics and preventing the flatbread from tasting bland. Do not omit!
- Full-Fat Plain Greek Yogurt: This is the secret ingredient that makes these flatbreads incredibly tender, moist, and flavorful. The acidity in the yogurt reacts with the baking powder, and its richness adds a lovely depth. For a dairy-free version, simply substitute with an equal amount of plain, unsweetened full-fat dairy-free Greek yogurt (such as coconut or almond-based).
- Unsalted Butter: A touch of melted butter adds richness and a subtle buttery flavor to the dough, contributing to its tender texture. For a dairy-free and vegan option, use your favorite brand of vegan butter substitute. Ensure it’s melted but not boiling hot.
Expert Tips for Flawless Gluten-Free Flatbread
Achieving the perfect gluten-free flatbread is simple with these essential tips. Paying attention to these details will ensure your flatbreads are consistently soft, pliable, and delicious, making you a confident gluten-free baker.
- Use Certified Gluten-Free Flour: Always ensure your all-purpose gluten-free flour blend is certified gluten-free to avoid cross-contamination, especially if you have Celiac disease or severe gluten sensitivity.
- Measure Flour Accurately: Gluten-free baking is often more sensitive to precise measurements. Use a kitchen scale to measure flour in grams for the most accurate results. If you don’t have a scale, use the spoon-and-level method: spoon flour into your measuring cup and then level off the top with a straight edge, rather than scooping directly from the bag. This prevents over-packing the flour, which can lead to dry, dense flatbreads.
- Avoid Excess Flour on Work Surface: When rolling out your dough, resist the urge to heavily flour your work surface. Adding too much extra flour can dry out the dough, making it tough, crumbly, and difficult to stick together. Instead, use parchment paper, as described in the instructions, or very lightly dust your surface if absolutely necessary.
- Handle Sticky Dough with Damp Hands: If your dough feels a bit sticky while handling, lightly moisten your hands with water. This slight dampness will prevent the dough from adhering to your fingers without introducing too much extra liquid into the dough itself, which could alter the texture. Remember, just a touch of water is enough.
- Don’t Overmix the Dough: Gluten-free dough benefits from minimal mixing. Overmixing can lead to a tougher texture. Mix just until the ingredients are combined and a cohesive dough forms. A few dry spots are fine and can be incorporated with a spatula.
- Consistent Thickness is Key: Aim for a consistent ¼-inch thickness when rolling out your flatbreads. This ensures even cooking and a pleasant texture. Too thick, and they might be doughy; too thin, and they could become crispy or brittle.
- Maintain Low-Medium Heat: The cooking temperature is crucial. Cook the flatbreads over low-medium heat in your pan. This allows them to cook through evenly and develop a beautiful golden-brown color without burning the exterior before the interior is done. Patience is key here.
Troubleshooting Your Flatbread Dough
Even with the best intentions, dough can sometimes surprise you. Here’s what to do if your gluten-free flatbread dough isn’t quite right:
- My Dough Is Too Wet: If your dough seems excessively sticky and hard to handle, add gluten-free flour one tablespoon at a time. Mix gently after each addition until the dough reaches a more manageable, slightly tacky consistency. The goal is for it to be pliable and cohesive, not wet and gloopy.
- My Dough Is Too Dry: Conversely, if your dough feels crumbly, stiff, or won’t come together, add water (or a tiny bit more yogurt if you prefer) one tablespoon at a time. Mix until the dough becomes cohesive and slightly tacky. Avoid adding too much at once, as you can easily over-hydrate it. The ideal texture is soft, pliable, and just a little sticky to the touch.
Frequently Asked Questions About Gluten-Free Flatbread
Here are answers to some common questions you might have while making your gluten-free flatbread:
- Can I make this without a rolling pin? Absolutely! If you don’t have a rolling pin, or simply prefer a more rustic look, you can place each portion of dough between two pieces of parchment paper. Then, use your hands to gently press and flatten the dough into your desired flatbread shape and thickness. The parchment paper prevents sticking and makes handling much easier.
- What is the best pan to use to cook flatbreads? Both a cast iron skillet and a good quality nonstick pan are excellent choices for cooking these flatbreads. A cast iron skillet provides excellent heat retention and even cooking, often resulting in a beautifully browned crust. A nonstick pan offers convenience and easy release. Whichever you choose, ensure it’s large enough to comfortably fit one flatbread at a time without overcrowding, allowing for proper heat distribution.
- How long can I store gluten-free flatbread? Freshly cooked gluten-free flatbread can be stored in an airtight container at room temperature for up to 3 days. For longer storage, it freezes beautifully. Place parchment paper between individual flatbreads to prevent them from sticking together, then transfer them to an airtight freezer bag or container. They can be frozen for up to 3 months. Thaw overnight in the refrigerator or gently reheat from frozen in a pan or oven until warmed through.
- Can I make this dairy-free or vegan? Yes, this recipe is incredibly adaptable! For a dairy-free version, simply substitute the full-fat plain Greek yogurt with an equal amount of plain, unsweetened full-fat dairy-free Greek yogurt (such as coconut or almond-based). For vegan flatbread, use the dairy-free yogurt substitute and replace the unsalted butter with your favorite vegan butter alternative.
- Can I add extra flavors or toppings? Absolutely! This recipe is a fantastic base for customization. Before cooking, you can sprinkle the rolled-out dough with dried herbs, sesame seeds, everything bagel seasoning, or a pinch of red pepper flakes for a subtle kick. After cooking, brush with garlic butter, fresh chopped parsley, or a sprinkle of flaky sea salt.
Serving Suggestions: Pairing Your Homemade Flatbread
One of the best things about homemade flatbread is its incredible versatility. These savory gluten-free flatbreads are the perfect accompaniment to a wide range of meals and dips. Here are some delicious ways to enjoy them:
- Dips & Spreads: Serve warm with classic dips like hummus, baba ghanoush, or creamy tzatziki. They’re also fantastic with olive oil and balsamic vinegar, a spicy harissa dip, or even a simple pesto. For a rich treat, try them with homemade whipped feta.
- With Soups & Stews: These flatbreads are excellent for soaking up every last drop of your favorite hearty soups, stews, and chilis. Imagine dipping them into a warm lentil soup or a flavorful beef stew.
- Curries & Mediterranean Dishes: Their soft texture makes them an ideal companion for Indian curries, Middle Eastern tagines, or any Mediterranean-inspired meal. Use them to scoop up flavorful sauces and ingredients.
- Wraps & Sandwiches: Lightly warm them and use them as a gluten-free wrap for falafel, grilled chicken, fresh vegetables, or your favorite sandwich fillings. They are surprisingly sturdy yet flexible.
- Mini Pizzas: Turn them into quick and easy personal pizzas! Spread with tomato sauce, sprinkle with cheese and your favorite toppings, then bake until the cheese is melted and bubbly.
- Breakfast & Brunch: Believe it or not, these flatbreads can also be enjoyed for breakfast. Top with avocado and a fried egg, or serve alongside scrambled eggs and fresh salsa.
- As a Side Dish: Simply serve them alongside grilled meats, roasted vegetables, or a fresh salad to complete any meal.
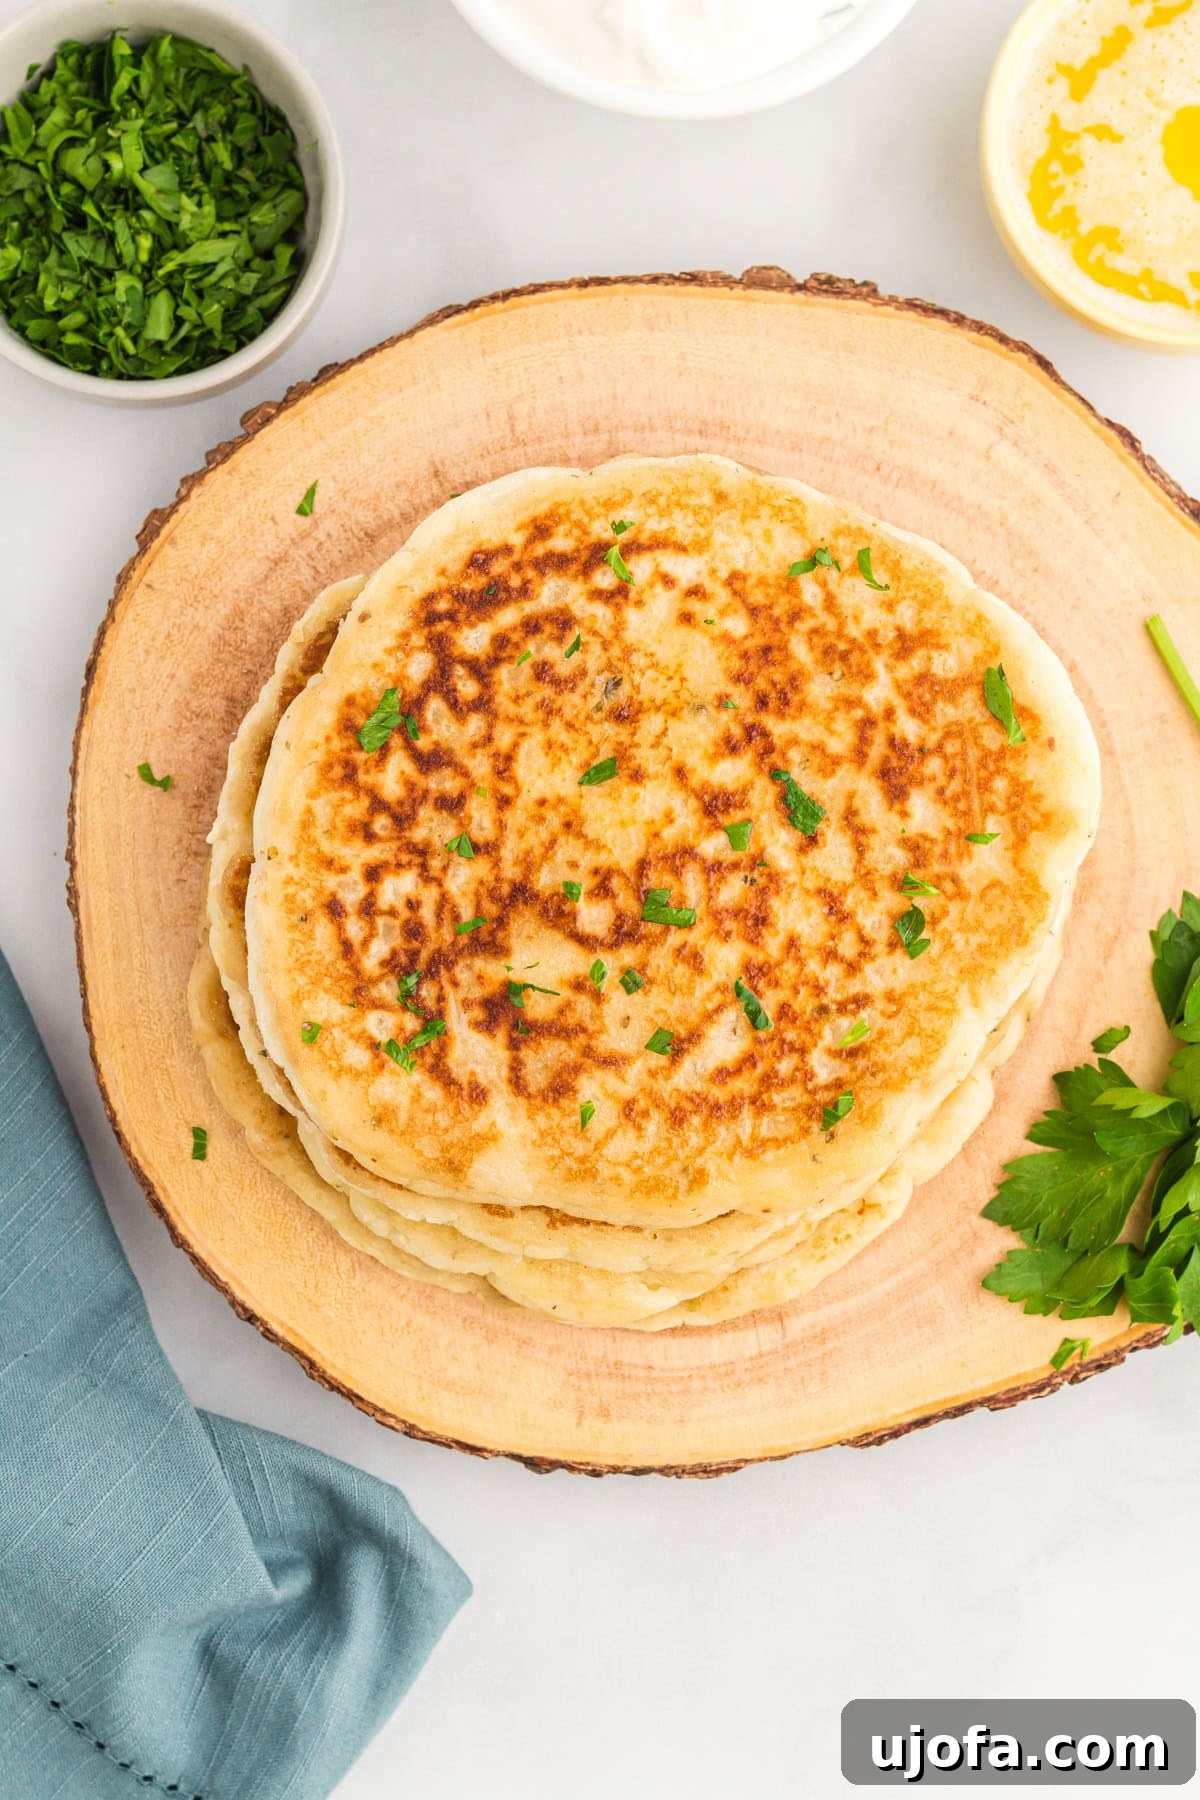
More Delicious Gluten-Free Flatbread Recipes to Explore!
If you’ve fallen in love with making your own gluten-free flatbread, you’ll be delighted to know there are many other incredible variations to discover. Each offers a unique flavor and texture profile, perfect for expanding your gluten-free baking repertoire:
- Farinata: A savory Italian chickpea flour pancake, naturally gluten-free and vegan, known for its crispy edges and tender interior.
- Socca: Hailing from Nice, France, this is another delightful chickpea flour crepe-like flatbread, often enjoyed as a street food.
- Arepas: Traditional South American corn cakes, naturally gluten-free, with a crisp exterior and soft, fluffy interior, perfect for stuffing.
Gluten-Free Flatbread Recipe
This gluten-free flatbread recipe is incredibly quick and easy to make! With less than 10 ingredients, you can enjoy fresh, hot flatbreads in just 35 minutes. Perfect for dipping, wraps, or as a delicious side for any meal.
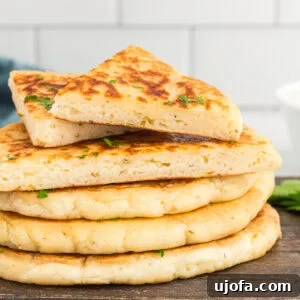
- By: Cheryl Johnson
- Yields: 4 flatbreads
- Prep Time: 10 minutes
- Cook Time: 25 minutes
- Total Time: 35 minutes
- Course: Baking
- Cuisine: American
Ingredients
- 2 cups gluten-free all-purpose flour (with xanthan gum, or add separately if your blend doesn’t include it)
- 2 teaspoons baking powder
- 1 teaspoon garlic powder
- 1 teaspoon dried oregano
- ½ teaspoon salt
- 2 cups full-fat plain Greek yogurt (use plain dairy-free Greek yogurt for a dairy-free/vegan option)
- 1 tablespoon unsalted butter, melted (use vegan butter for a dairy-free/vegan option, ensure it’s not too hot)
Instructions
- In a medium bowl, whisk together the gluten-free flour, baking powder, garlic powder, dried oregano, and salt until well combined.
- Using an electric mixer on low speed, gradually add the Greek yogurt and melted butter to the dry ingredients. Beat just until combined, about 1-2 minutes. Be careful not to overmix. Use a spatula to scrape down the sides and bottom of the bowl, ensuring any lingering dry flour is fully incorporated into the dough.
- Separate the dough into 4 equal parts. Each part should weigh approximately 165 grams for consistent size.
- Place each portion of dough between two sheets of parchment paper. Using a rolling pin, roll out each ball of dough to an approximate ¼-inch thickness. Don’t worry if they aren’t perfectly round; rustic shapes are charming! If you prefer smoother edges, you can gently shape them with a slightly damp finger.
- Heat a large frying pan (cast iron or nonstick works well) over low-medium heat on your stovetop. Once heated, lightly spray the pan with a non-stick cooking spray. It’s crucial to prevent the oil from burning; if it starts to brown or smoke excessively, carefully wipe it out with a paper towel and re-spray. Burnt oil can impart an unpleasant taste and color to your flatbreads and ensures a clean, appetizing golden-brown finish.
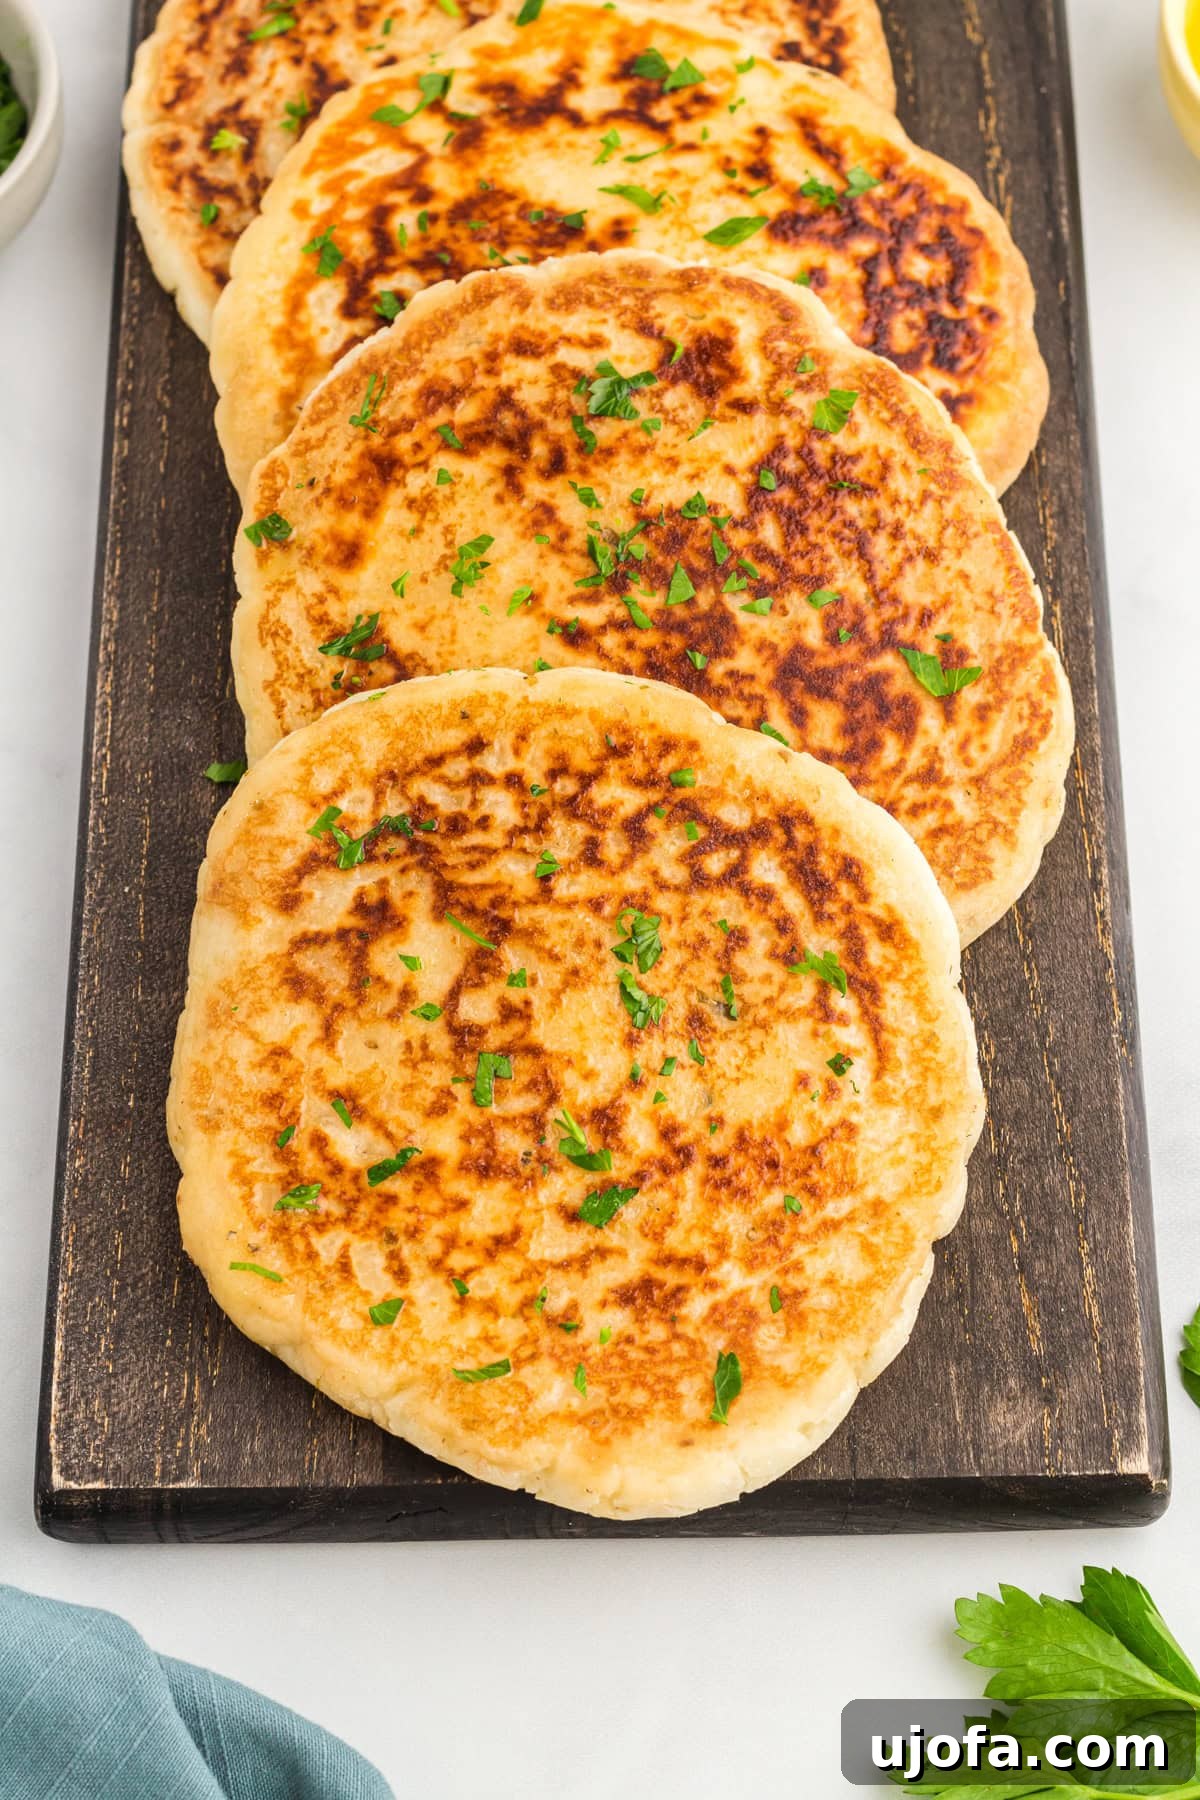
- Place one flattened flatbread dough into the heated frying pan. Cook over low-medium heat for about 2 to 3 minutes, or until the bread begins to puff slightly and the underside turning a light golden brown. Once adequately browned on the first side, use a spatula to gently flip the flatbread. Continue to cook on the second side for another 2 to 3 minutes, or until it achieves a beautiful golden-brown color and is cooked through. The key is to avoid high heat, which can burn the exterior before the interior is fully cooked. Cooked flatbreads should be pliable and uniformly colored, not charred.
Notes
- Always use certified gluten-free all-purpose flour for this recipe.
- Avoid sprinkling extra gluten-free flour on your work surface, as this can dry out the dough and make it less pliable. Use parchment paper for rolling.
- If the dough feels too sticky to handle, lightly dampen your hands with water instead of adding more flour.
- For accurate results and to prevent dry flatbreads, measure your flour using a kitchen scale in grams, or use the spoon-and-level method for measuring cups.
- Storage: Store cooled gluten-free flatbreads in an airtight container at room temperature for up to 3 days.
- Freezing: For longer storage, freeze individual flatbreads with parchment paper between them to prevent sticking. Place in an airtight freezer bag or container for up to 3 months. Thaw overnight in the refrigerator before reheating.
Nutrition Information (Approximation per 1 flatbread serving)
- Calories: 293 kcal
- Carbohydrates: 49g
- Protein: 17g
- Fat: 5g
- Saturated Fat: 2g
- Polyunsaturated Fat: 0.5g
- Monounsaturated Fat: 1g
- Trans Fat: 0.1g
- Cholesterol: 13mg
- Sodium: 556mg
- Potassium: 159mg
- Fiber: 7g
- Sugar: 5g
- Vitamin A: 100 IU
- Vitamin C: 0.02mg
- Calcium: 278mg
- Iron: 3mg
Step-by-Step Visual Guide to Making Gluten-Free Flatbread
Follow these detailed steps, complete with visual cues, to ensure your gluten-free flatbreads turn out perfectly every time. This section breaks down the process for clarity and confidence.
Step 1: Combine Dry Ingredients
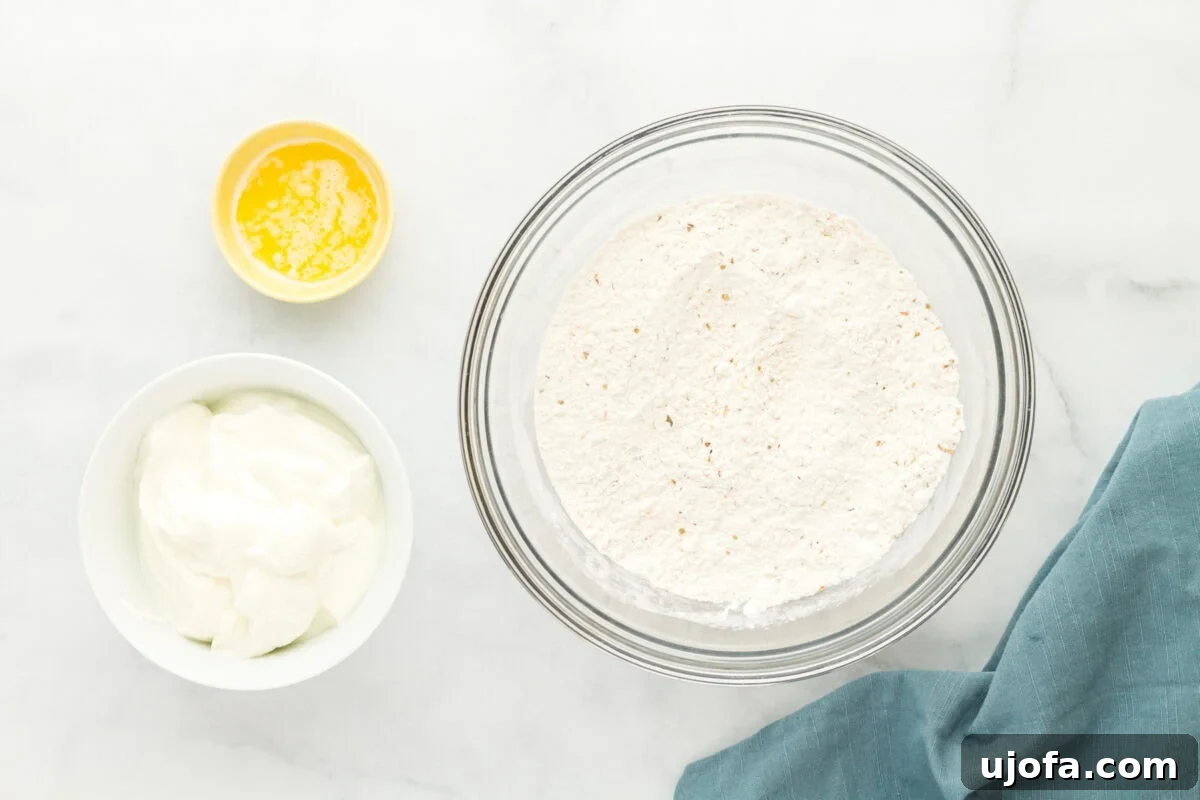
Begin by gathering all your dry ingredients. In a medium-sized mixing bowl, whisk together 2 cups of your chosen gluten-free all-purpose flour blend (ensuring it contains xanthan gum or adding it separately), 2 teaspoons of baking powder, 1 teaspoon of garlic powder, 1 teaspoon of dried oregano, and ½ teaspoon of salt. Whisk vigorously for about 30 seconds to a minute to ensure all ingredients are evenly distributed, which is crucial for uniform leavening and flavor throughout your flatbreads.
Step 2: Incorporate Wet Ingredients to Form Dough
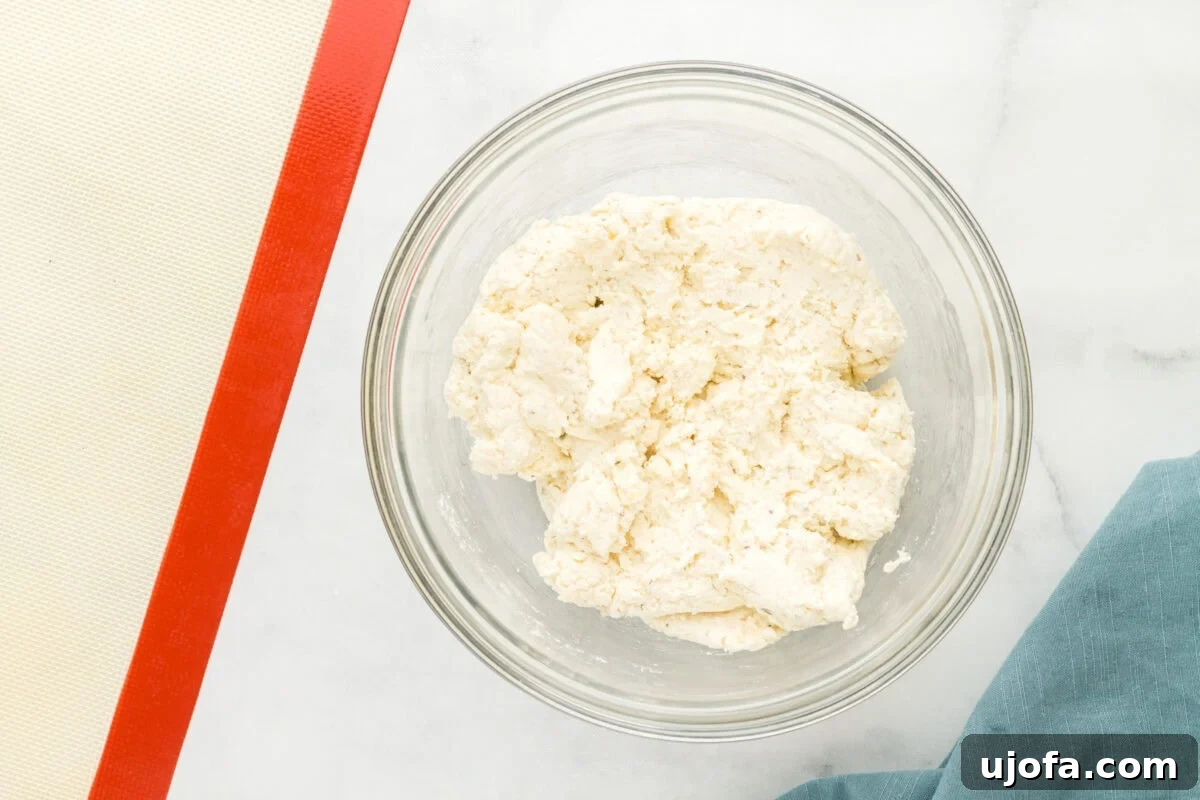
Once your dry ingredients are mixed, it’s time to add the wet components. With an electric hand mixer or a stand mixer fitted with a paddle attachment, start on low speed. Gradually add 2 cups of full-fat plain Greek yogurt and 1 tablespoon of melted (but not hot) unsalted butter to the dry mixture. Mix for approximately 1-2 minutes, just until all ingredients are combined and a soft, cohesive dough begins to form. Be mindful not to overmix, as this can develop toughness in gluten-free dough. Use a spatula to scrape down the sides and bottom of the bowl, ensuring any lingering dry flour is fully incorporated into the dough. The finished dough should be soft, pliable, and slightly tacky, but not overly sticky.
Step 3: Divide the Dough into Portions
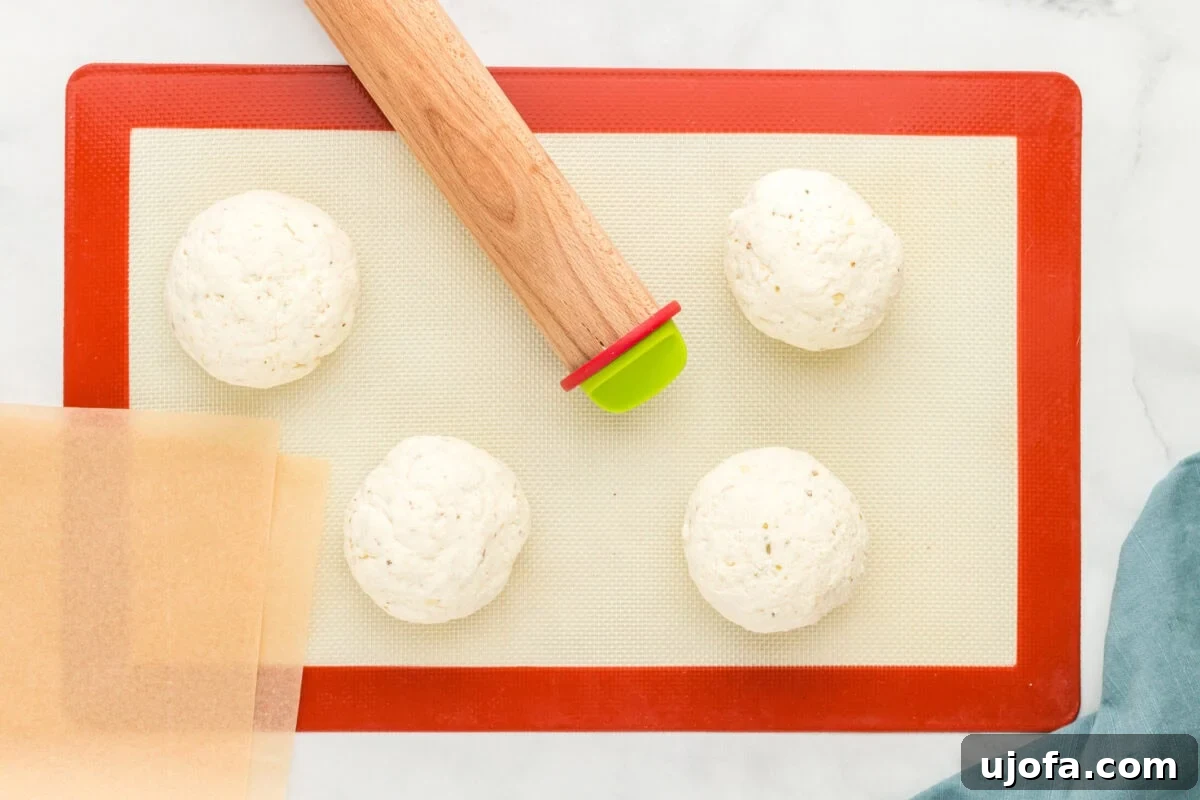
Carefully transfer the dough to a clean, very lightly floured work surface (or ideally, a silicone baking mat). Gently divide the dough into four equal parts. For precision, you can use a kitchen scale to ensure each portion weighs approximately 165 grams, which helps guarantee uniform cooking and size for each flatbread. Lightly form each portion into a smooth ball. This step ensures that all your flatbreads will cook evenly and have a consistent appearance.
Step 4: Roll Out the Flatbreads
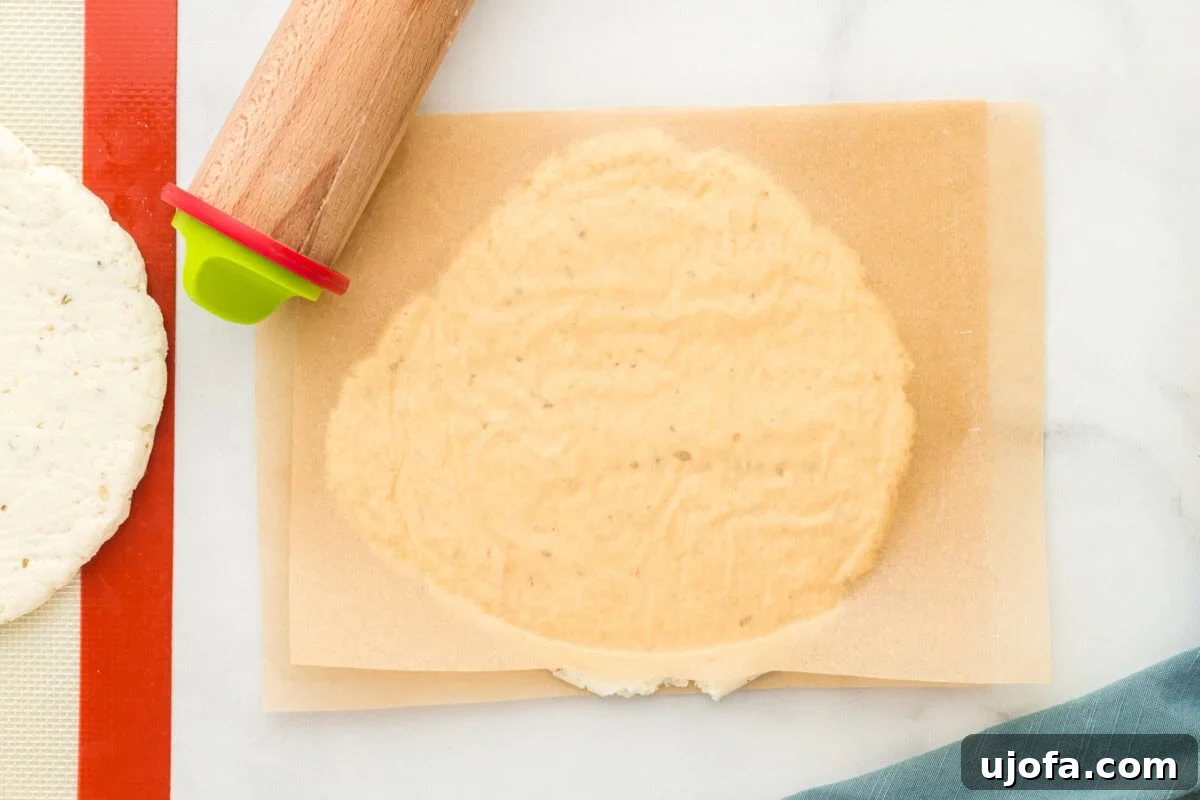
To prevent the dough from sticking and to make rolling easier, place each dough ball between two pieces of parchment paper. Using a rolling pin, roll out each piece of dough to an approximate ¼-inch thickness. Aim for a relatively consistent thickness across the entire surface to ensure even cooking. Don’t stress about achieving a perfect circle; rustic shapes are perfectly fine and add to the homemade charm. If you notice any jagged edges, you can gently smooth them out with a slightly damp finger.
Step 5: Prepare the Skillet for Cooking
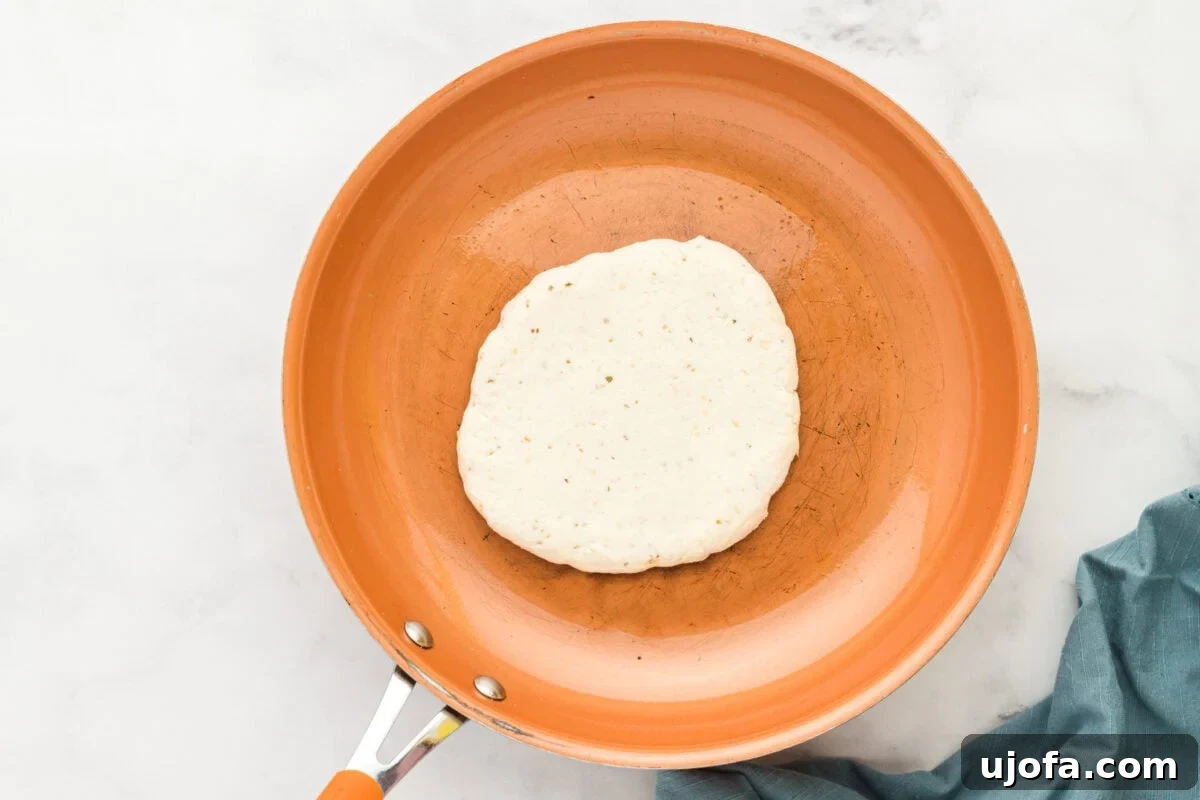
Place a large frying pan, preferably a cast iron skillet or a good quality non-stick pan, on your stovetop. Heat the pan over low-medium heat. It’s crucial not to rush this step; allowing the pan to heat gradually and evenly will provide the best cooking surface. Once heated, lightly spray the pan with a non-stick cooking spray. Keep a close eye on the oil; if it starts to brown or smoke excessively, carefully wipe it out with a paper towel and re-spray. This prevents any burnt oil flavor from transferring to your delicious flatbreads and ensures a clean, appetizing golden-brown finish.
Step 6: Cook to Golden Perfection
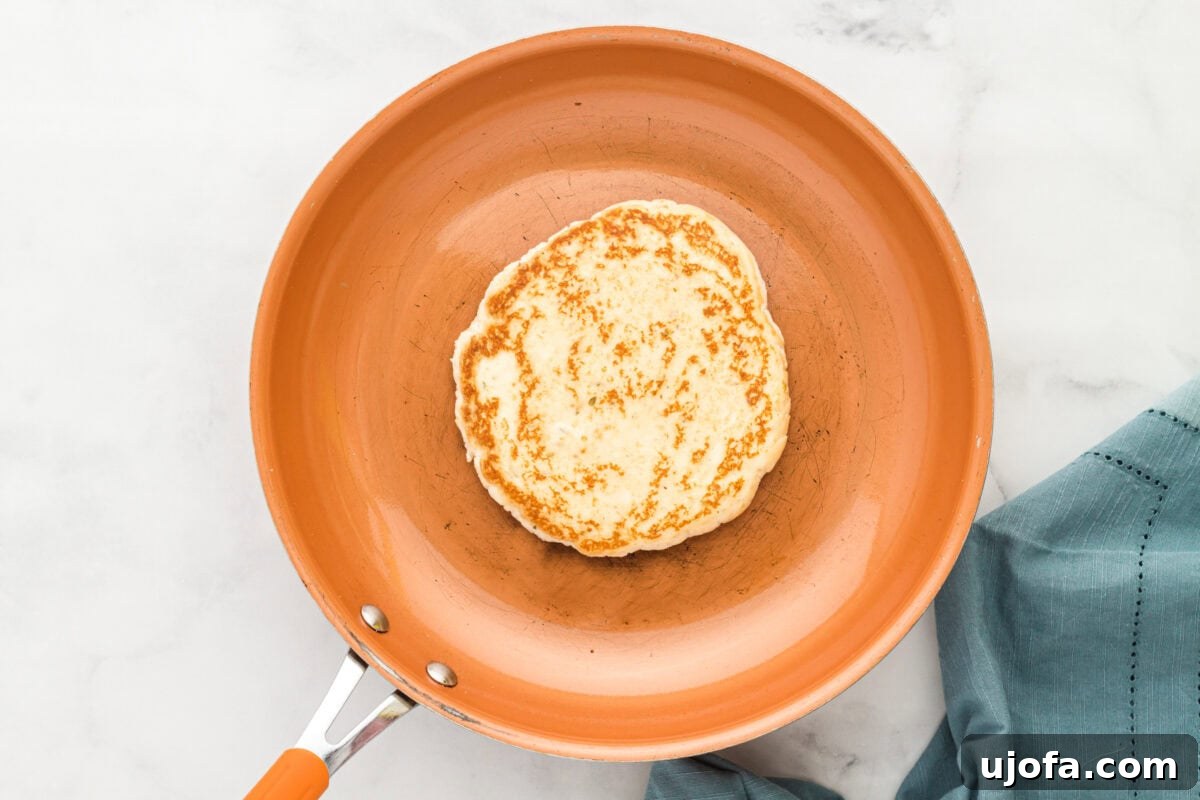
Carefully transfer one rolled-out flatbread dough into the preheated and lightly oiled frying pan. Cook over low-medium heat for about 2 to 3 minutes. During this time, you should observe the flatbread beginning to puff slightly and the underside turning a light golden brown. Once adequately browned on the first side, use a spatula to gently flip the flatbread. Continue to cook on the second side for another 2 to 3 minutes, or until it achieves a beautiful golden-brown color and is cooked through. The key is to avoid high heat, which can burn the exterior before the interior is fully cooked. Cooked flatbreads should be pliable and uniformly colored, not charred.
Step 7: Serve and Savor!
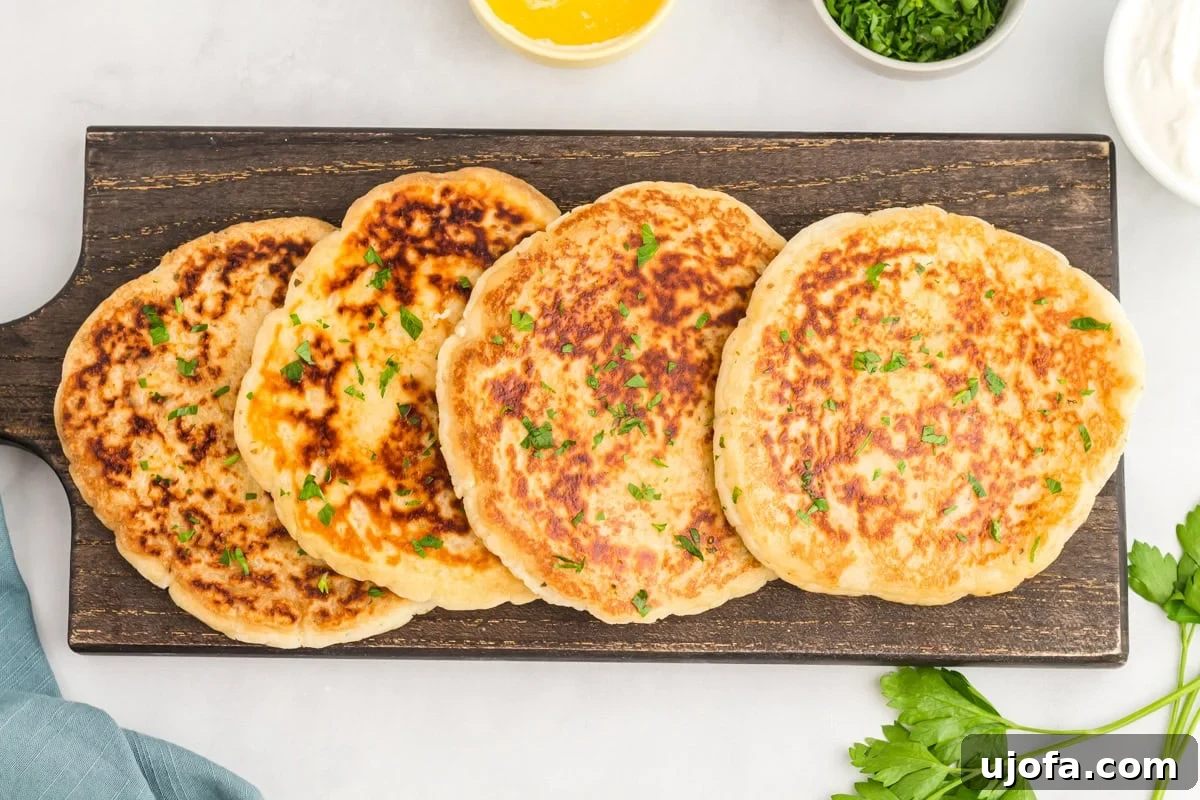
Once your gluten-free flatbreads are cooked to perfection, transfer them to a serving platter. You can keep them warm by covering them lightly with a clean kitchen towel or foil while you cook the remaining flatbreads. For an extra touch of flavor and visual appeal, consider brushing them with a little melted garlic butter or sprinkling with fresh chopped parsley or cilantro. Serve them immediately with your favorite dips, curries, or use them as wraps for a truly enjoyable homemade meal. Enjoy the incredible satisfaction of fresh, warm, and delicious gluten-free flatbread!
Conclusion: Your New Favorite Gluten-Free Staple
And there you have it! A simple, quick, and utterly delicious gluten-free flatbread recipe that promises to transform your mealtime experience. Gone are the days of searching for suitable store-bought options or feeling limited by dietary restrictions. With just a few ingredients and minimal effort, you can now enjoy warm, fresh, and versatile flatbreads that are perfect for any occasion. Whether you’re dipping them into hummus, scooping up a hearty curry, or creating a quick wrap, these homemade gluten-free flatbreads are bound to become a staple in your kitchen. So go ahead, give this recipe a try, and discover the joy of effortless gluten-free baking!