
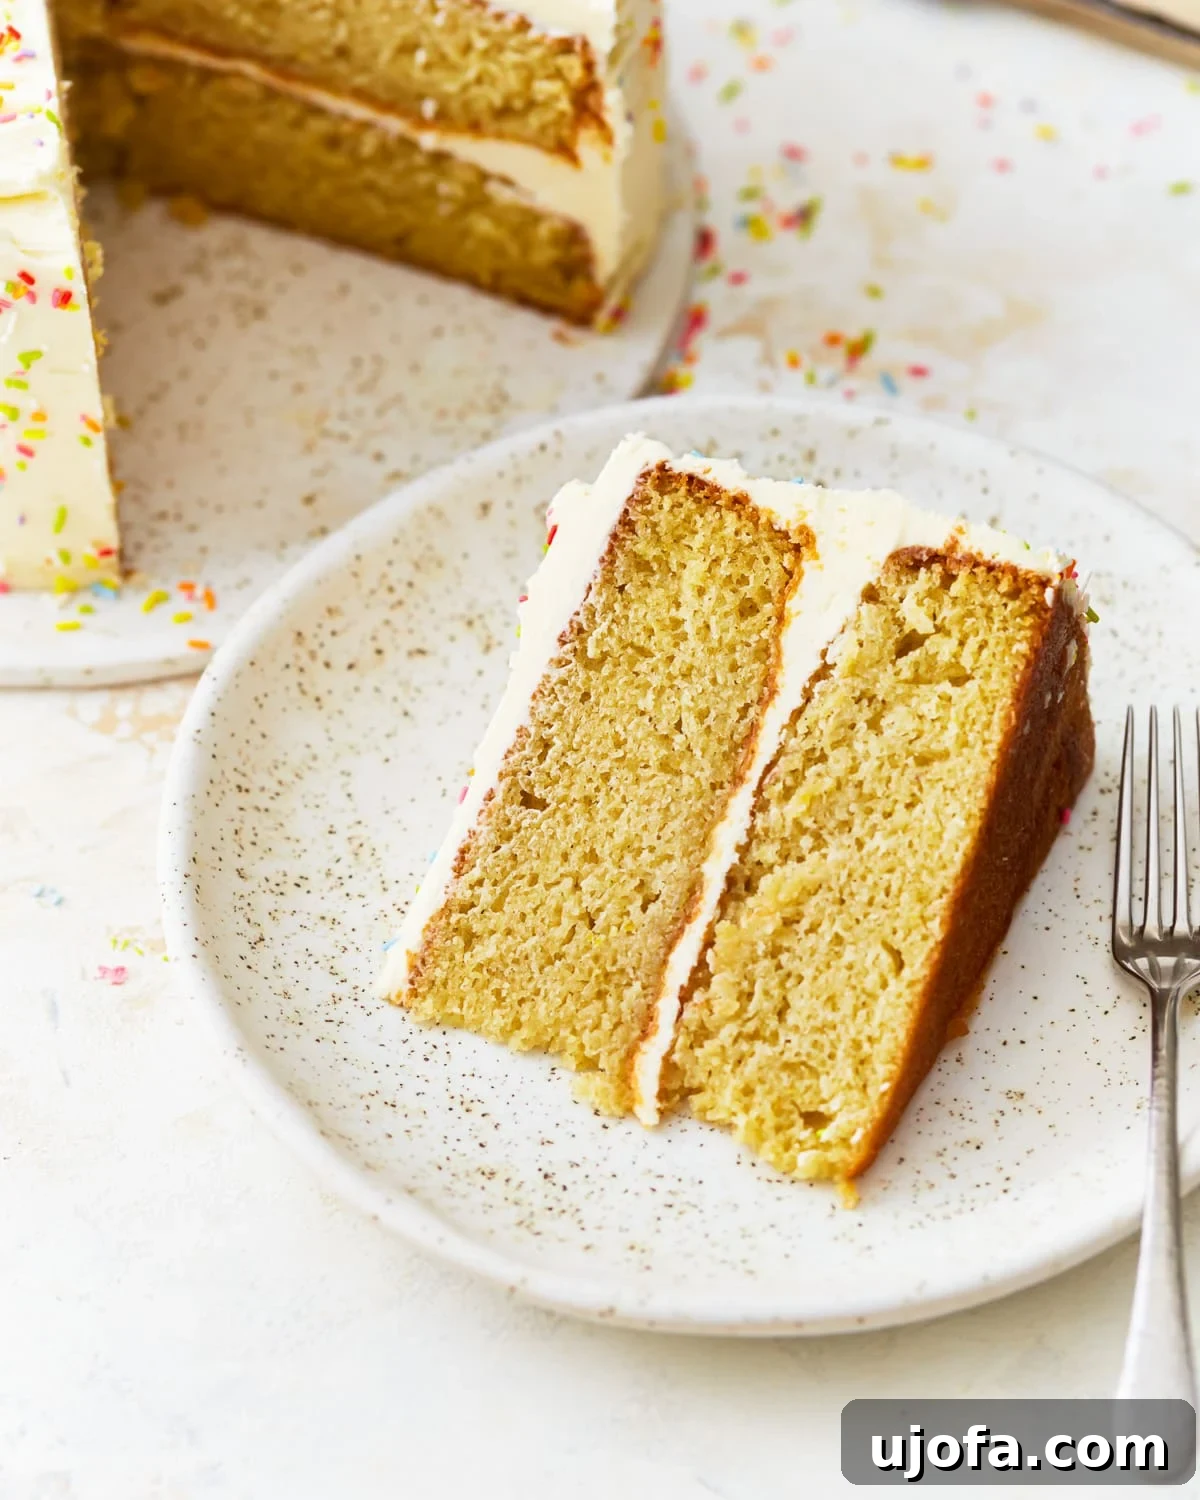
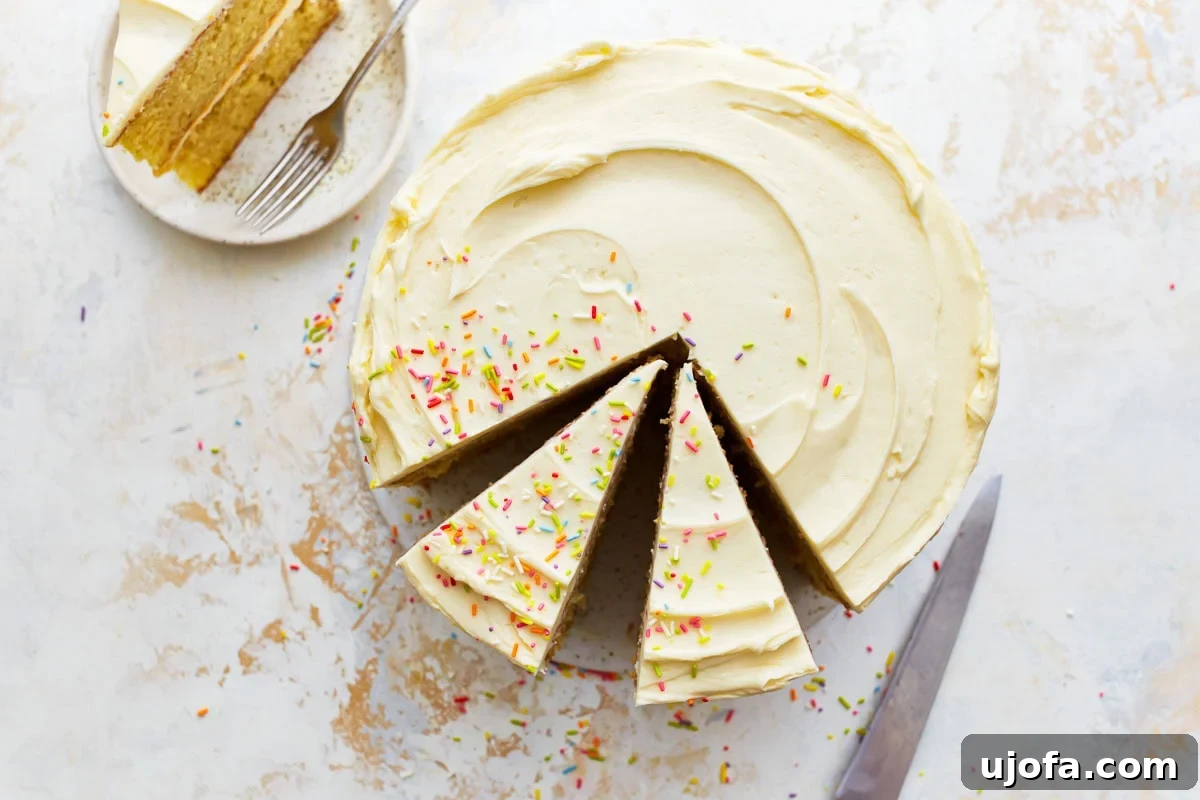
There’s nothing quite like a classic vanilla cake, and for those navigating a gluten-free diet, finding a recipe that truly delivers on taste and texture can be a game-changer. This gluten-free vanilla cake is more than just an alternative; it’s a celebration-worthy masterpiece that’s wonderfully soft, incredibly fluffy, and infused with the rich, sweet essence of vanilla. Whether you’re planning a birthday bash, a festive holiday gathering, or simply craving an easy yet elegant weekend dessert, this recipe is your perfect answer. Its straightforward preparation belies its special quality, and it forms an ideal canvas for any frosting or topping you desire, holding up beautifully under layers of creamy vanilla buttercream or a simple dusting of powdered sugar. Get ready to bake a cake that everyone, regardless of dietary needs, will absolutely adore.
“I made this gluten-free cake last night and used a 13×9 rectangular pan. The recipe is moist and delicious. For reference, I have a gas stove/oven, and it took 30 minutes to bake. I also made 1/2 a batch of the gluten-free frosting. Everyone enjoyed it! This is my go-to site for gluten-free baking recipes.”
– Jennifer B
The Ultimate Gluten-Free Vanilla Cake Recipe
What truly sets this gluten-free vanilla cake apart is its remarkable ability to mimic, and often surpass, the taste and texture of a traditional wheat-based vanilla cake. Many gluten-free recipes can fall short, resulting in dry or crumbly cakes, but this recipe consistently yields a moist, tender crumb that will have everyone reaching for a second slice – and no one will ever suspect it’s gluten-free! The secret lies in a carefully balanced combination of ingredients: eggs provide structure and richness, vegetable oil and melted butter contribute to unparalleled moisture, and buttermilk ensures a tender, fine crumb and subtle tang that enhances the vanilla flavor. These components work together to overcome the common texture challenges of gluten-free baking, creating a cake that’s both robust and delicate. Whether you choose to elaborate with a luscious gluten-free vanilla buttercream frosting, adorn it for a festive celebration, or keep it elegantly simple with a light dusting of powdered sugar, this cake is guaranteed to impress. We’d love to hear how your creation turns out in the comments below!
Gluten-Free Vanilla Cake Recipe
Sabine Venier
12 slices
1 hr
20 mins
1 hr 20 mins
Share by Email
Print Recipe
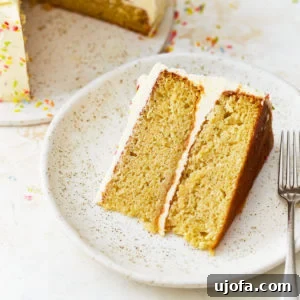
When you’re craving a timeless dessert, this gluten-free vanilla cake stands out as the perfect choice. Its tender, airy crumb and rich vanilla essence make it ideal for any occasion, from festive birthdays to simple weekend treats. This recipe is wonderfully easy to prepare yet feels incredibly luxurious, offering a robust structure that beautifully supports any frosting or decorative flourishes you wish to add. Below, you’ll find comprehensive step-by-step photos to guide you through the baking process, ensuring your success.
Ingredients
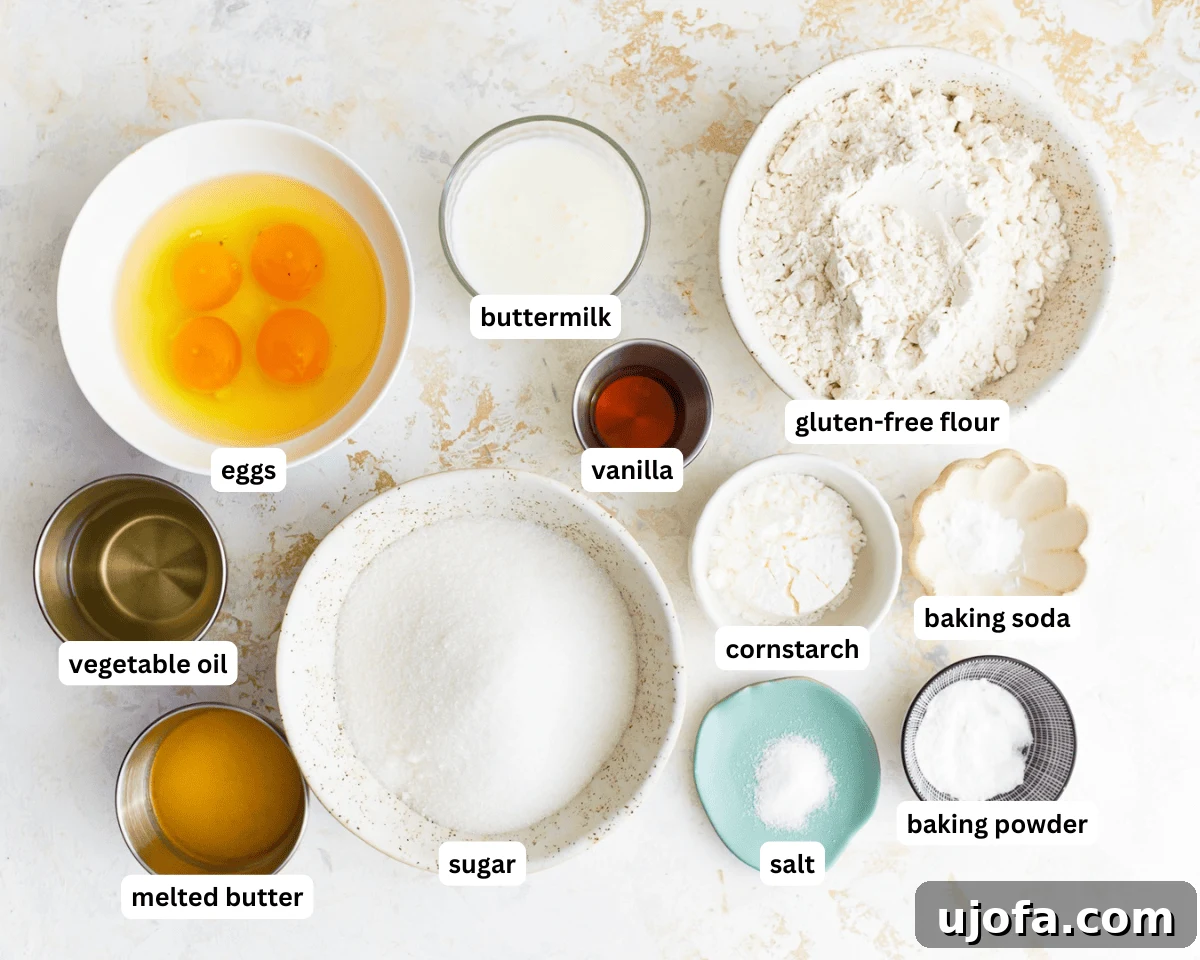
- 2¼ cups gluten-free all-purpose flour with xanthan gum (such as Pillsbury or Cup4Cup for best results)
- ¼ cup cornstarch
- 2 tsp gluten-free baking powder
- ½ tsp baking soda
- ½ tsp salt
- 4 large eggs (for an egg-free option, use a reliable egg replacer like Bob’s Red Mill, following package directions)
- 2 cups granulated sugar
- ½ cup vegetable oil
- ½ cup unsalted butter, melted
- 1 cup buttermilk (use dairy or a non-dairy alternative for a dairy-free option)
- 2 tsp pure vanilla extract
- gluten-free vanilla frosting (click for recipe)
Instructions
-
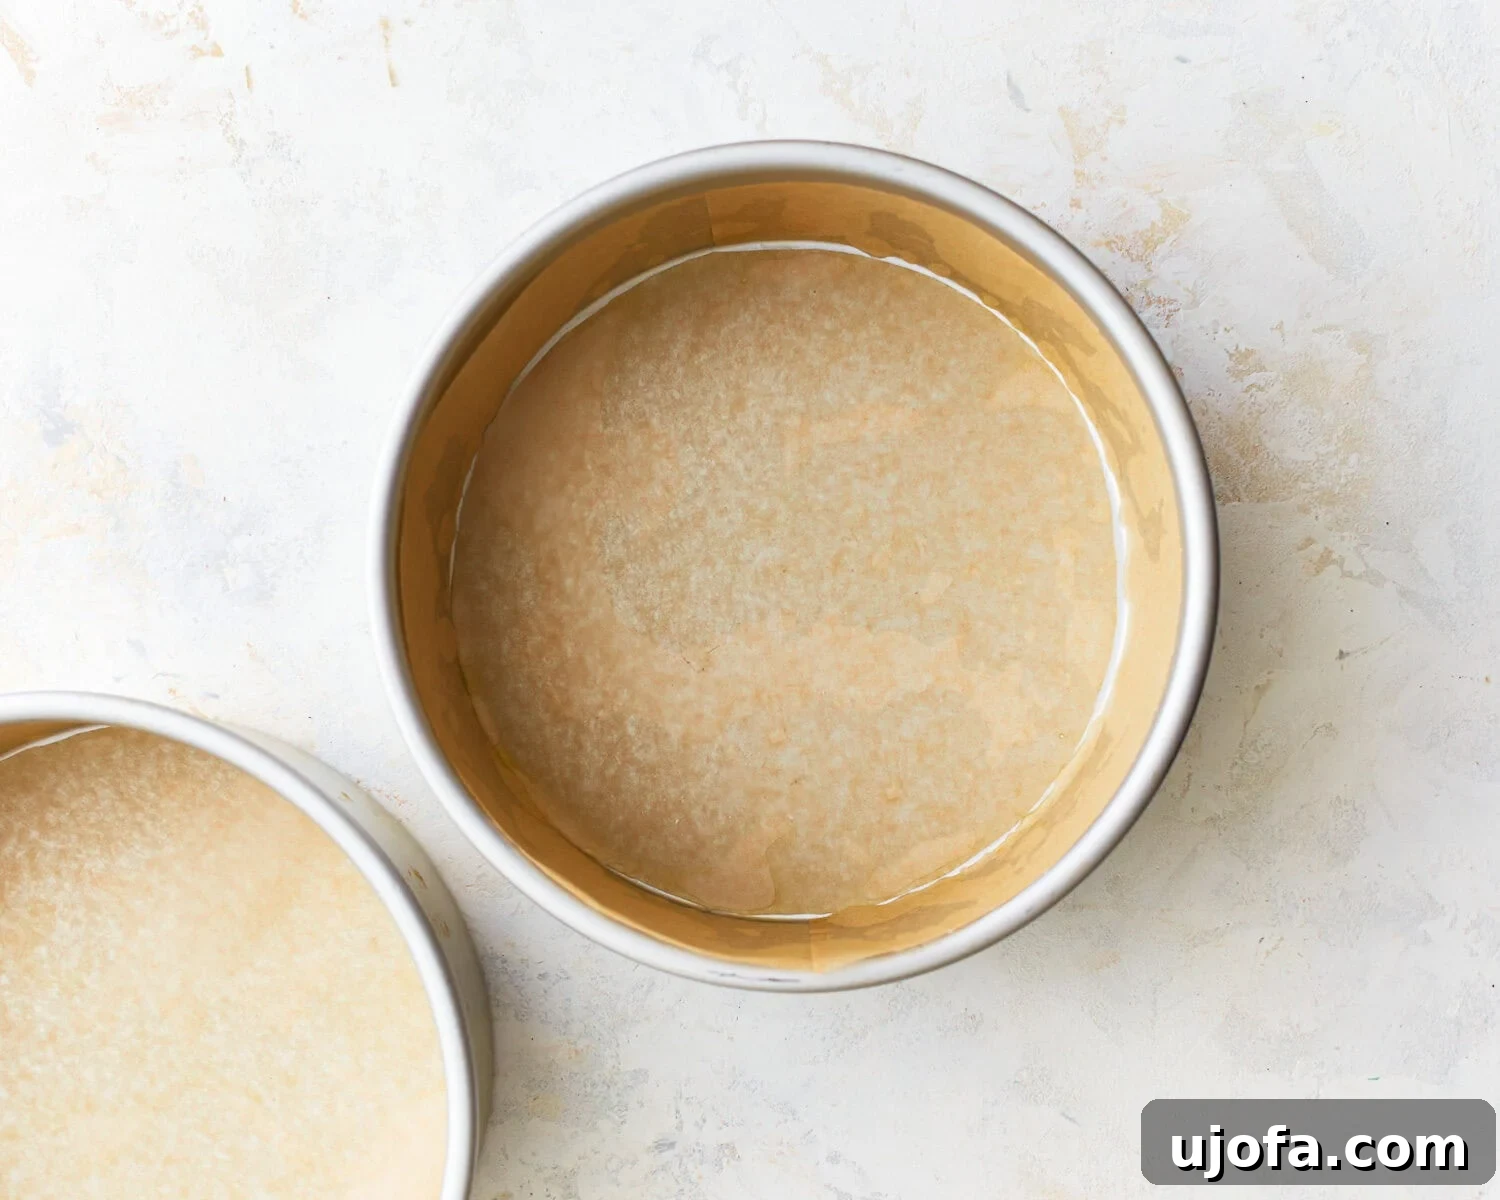
Prepare Oven and Pans: Preheat your oven to 350°F (177°C). For the most even baking, position your oven racks in the middle. Generously grease and flour two 8-inch round cake pans, then line the bottoms with parchment paper. This step is crucial for preventing sticking and ensuring easy release of your delicate gluten-free layers.
-
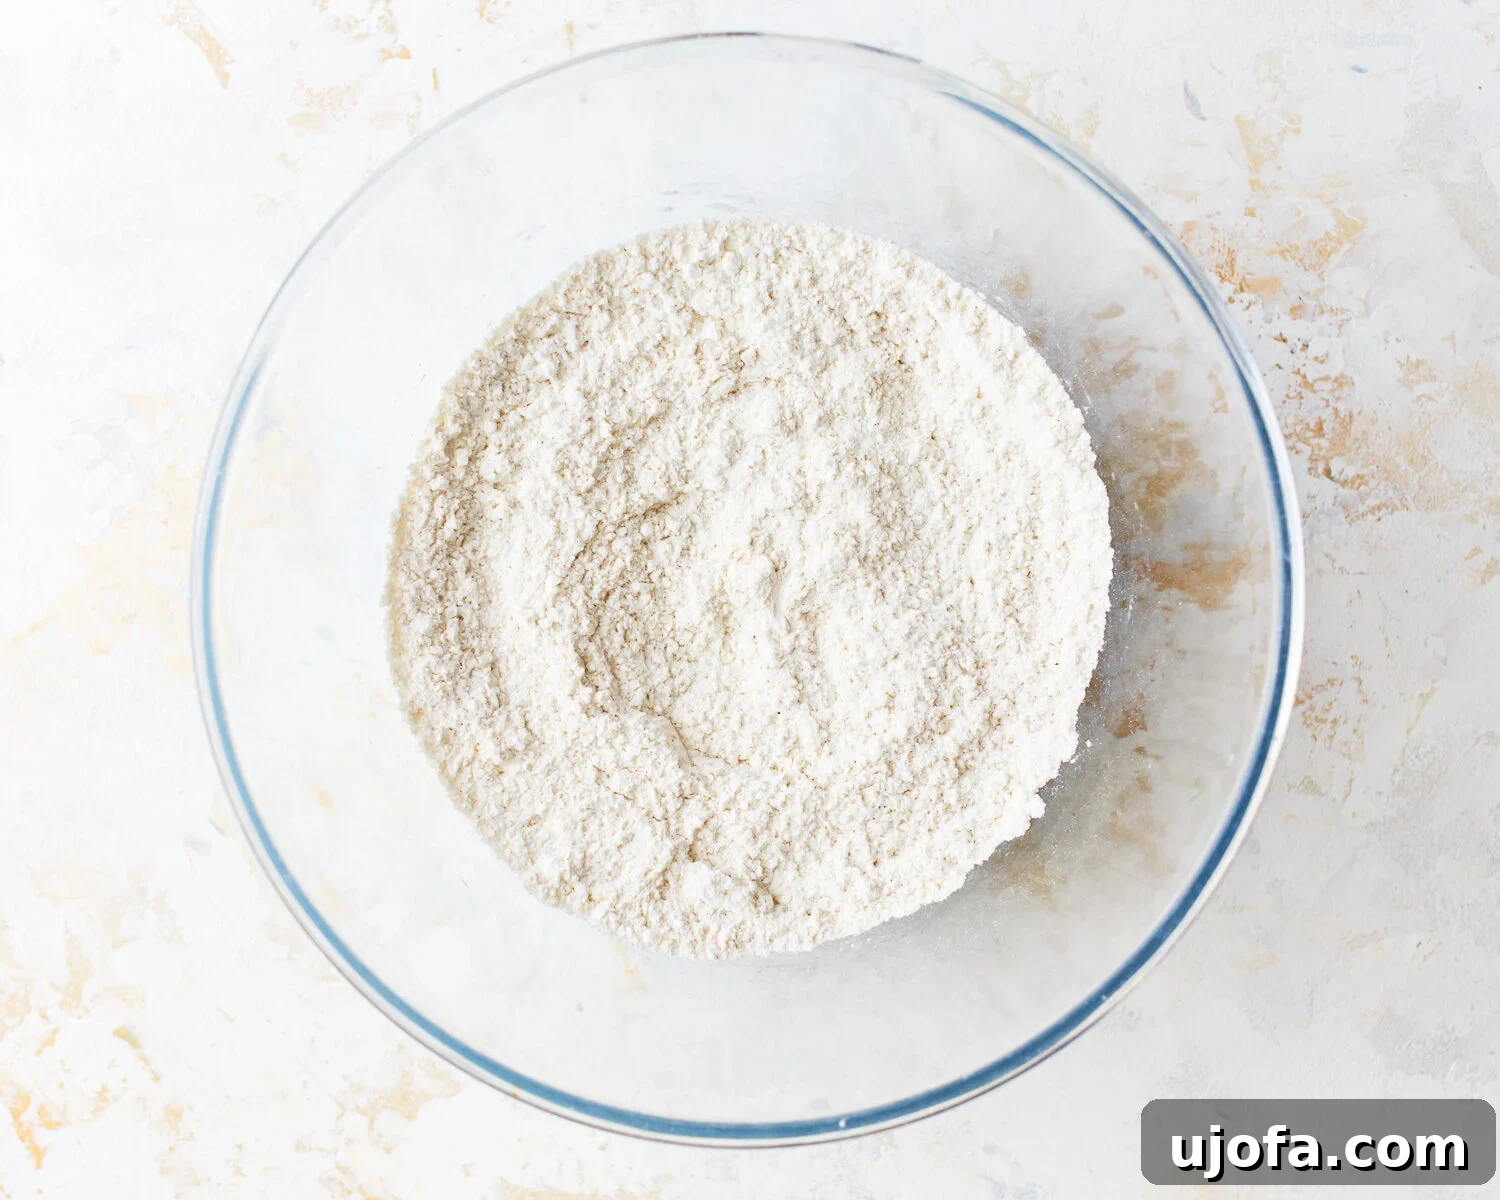
Combine Dry Ingredients: In a large mixing bowl, thoroughly whisk together the gluten-free all-purpose flour blend (ensure it contains xanthan gum), cornstarch, gluten-free baking powder, baking soda, and salt. Whisking ensures these leavening agents and spices are evenly distributed, which is key for a consistent rise and flavor in your moist gluten-free cake.
-
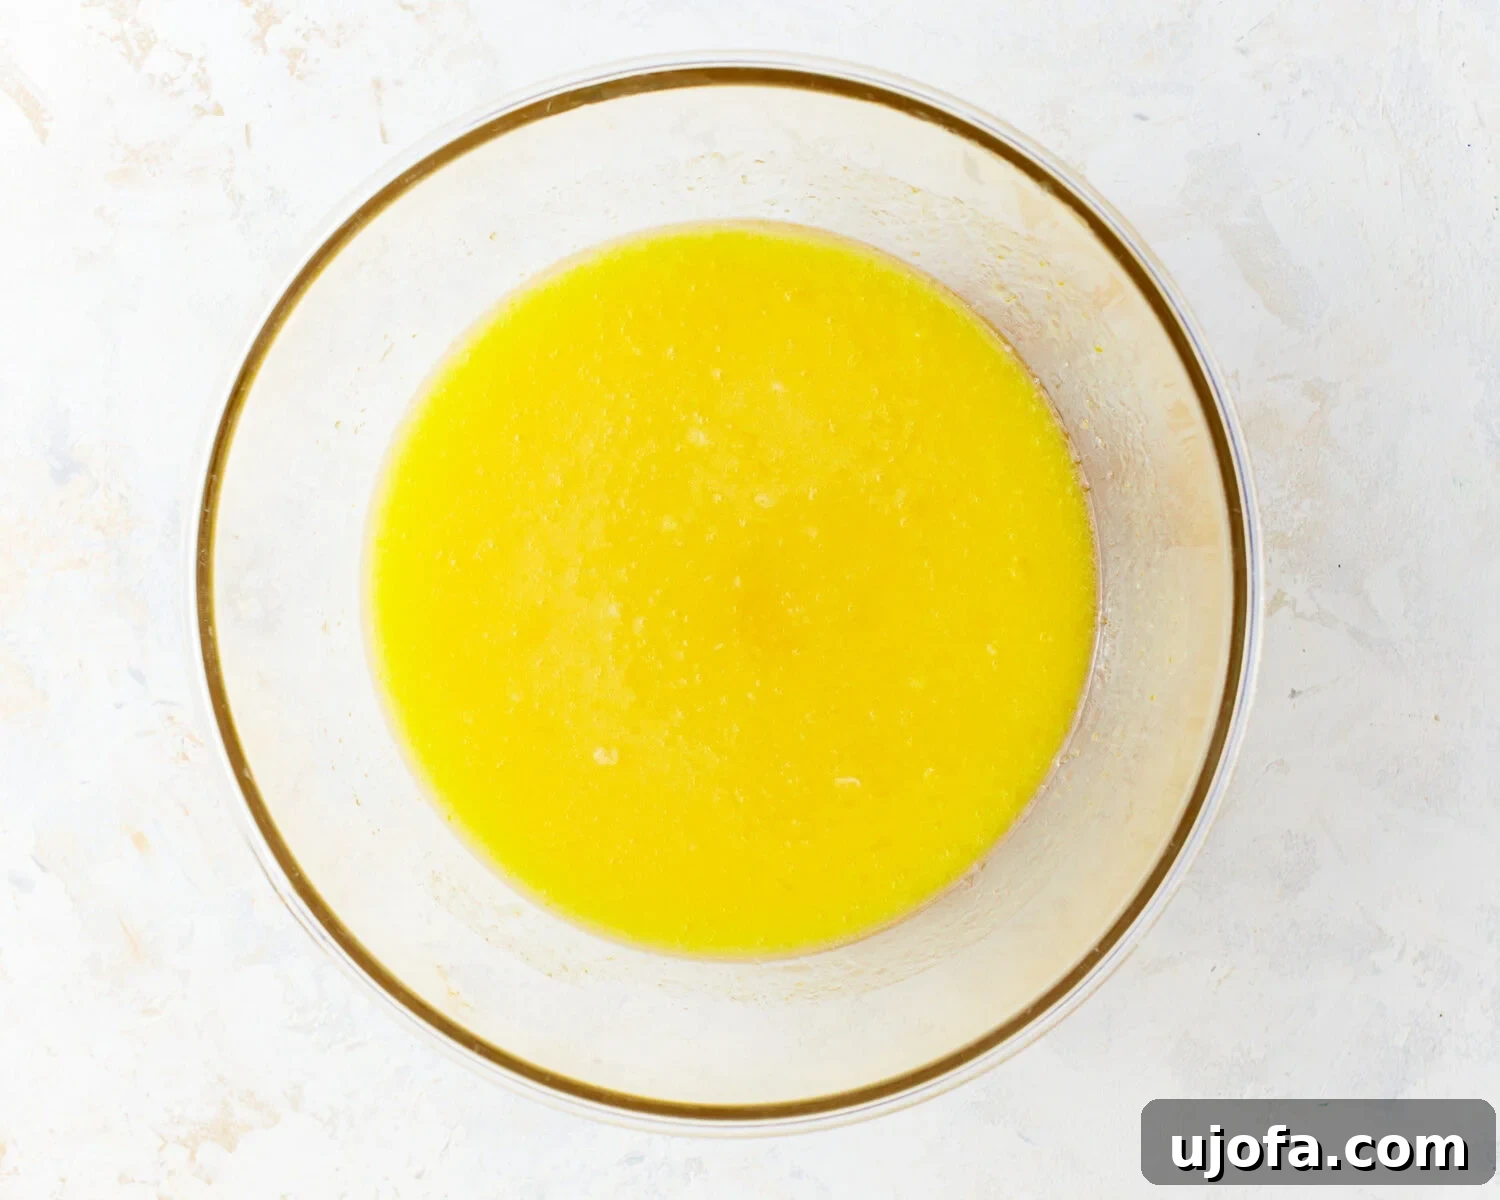
Mix Wet Ingredients: In a separate, medium-sized bowl, combine the large eggs, granulated sugar, vegetable oil, melted unsalted butter, buttermilk, and pure vanilla extract. Whisk these ingredients vigorously until they are completely smooth and well-incorporated. This step creates the rich, liquid base that will hydrate your dry ingredients perfectly.
-
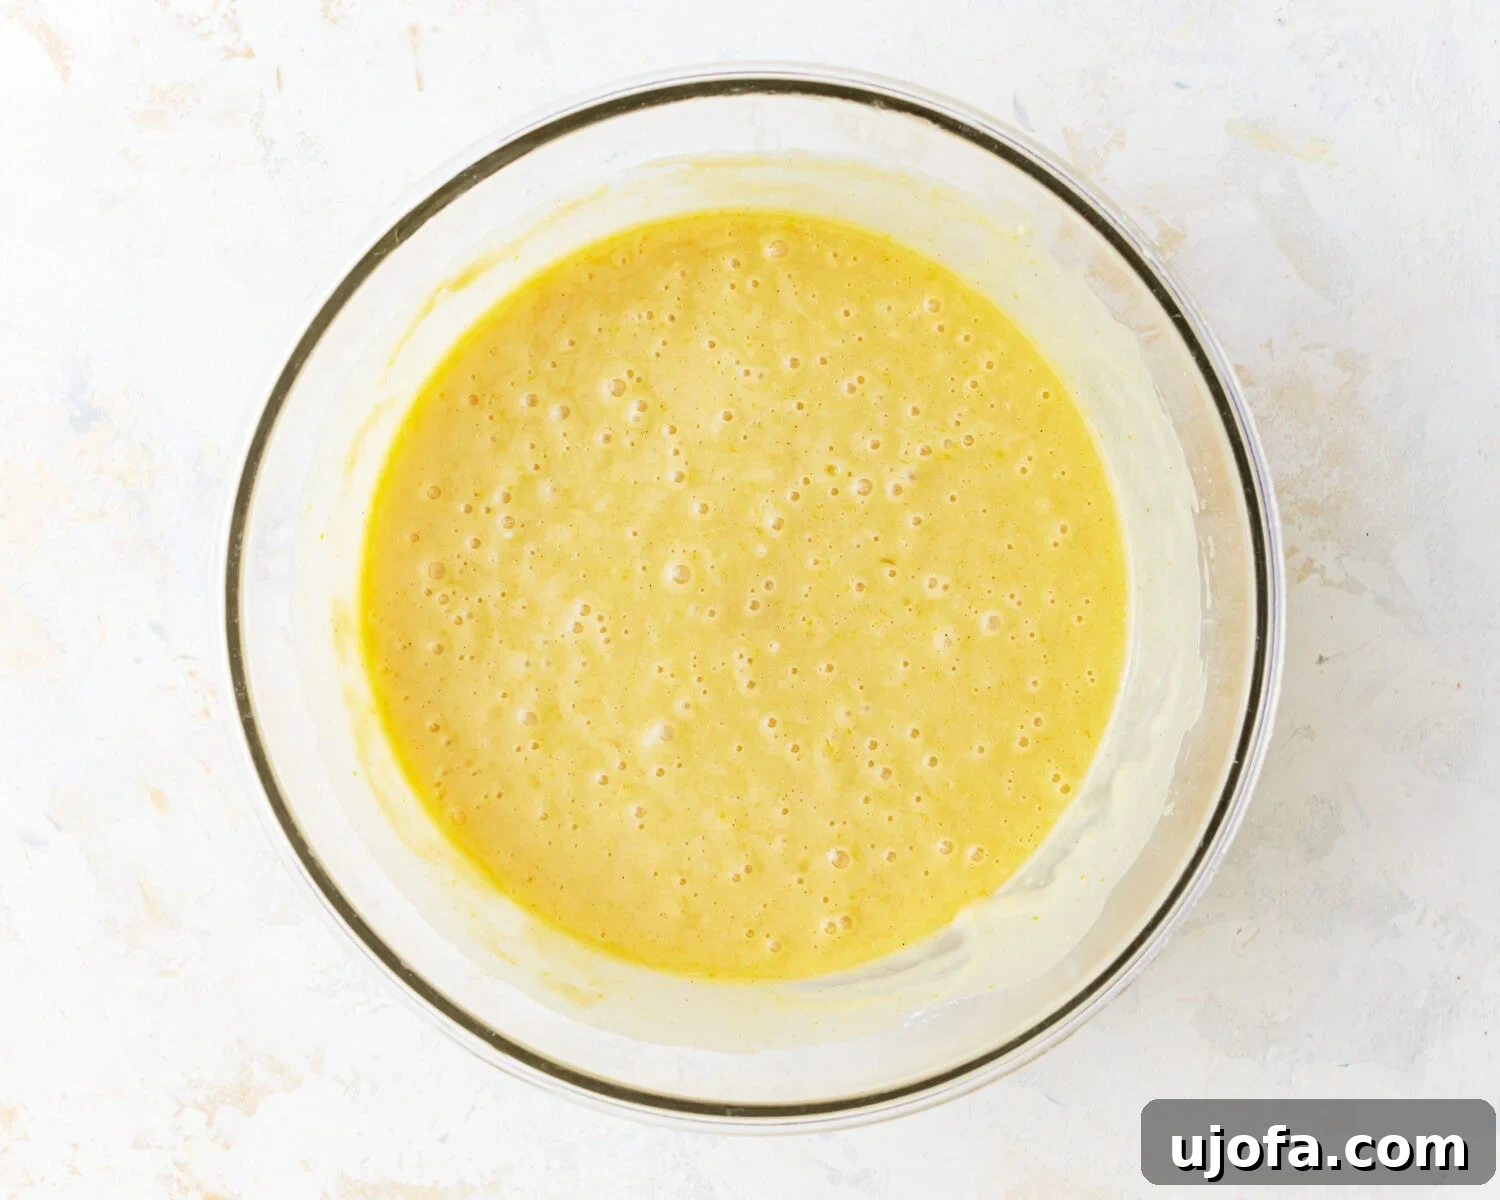
Combine Wet and Dry: Gradually add the whisked dry ingredients into the wet ingredients. Mix on low speed, or stir gently by hand, until the batter is just smooth and no dry streaks of flour remain. Be careful not to overmix, as this can develop any starches in the gluten-free flour, potentially leading to a tougher cake texture. Gentle mixing keeps your fluffy gluten-free cake light and tender.
-
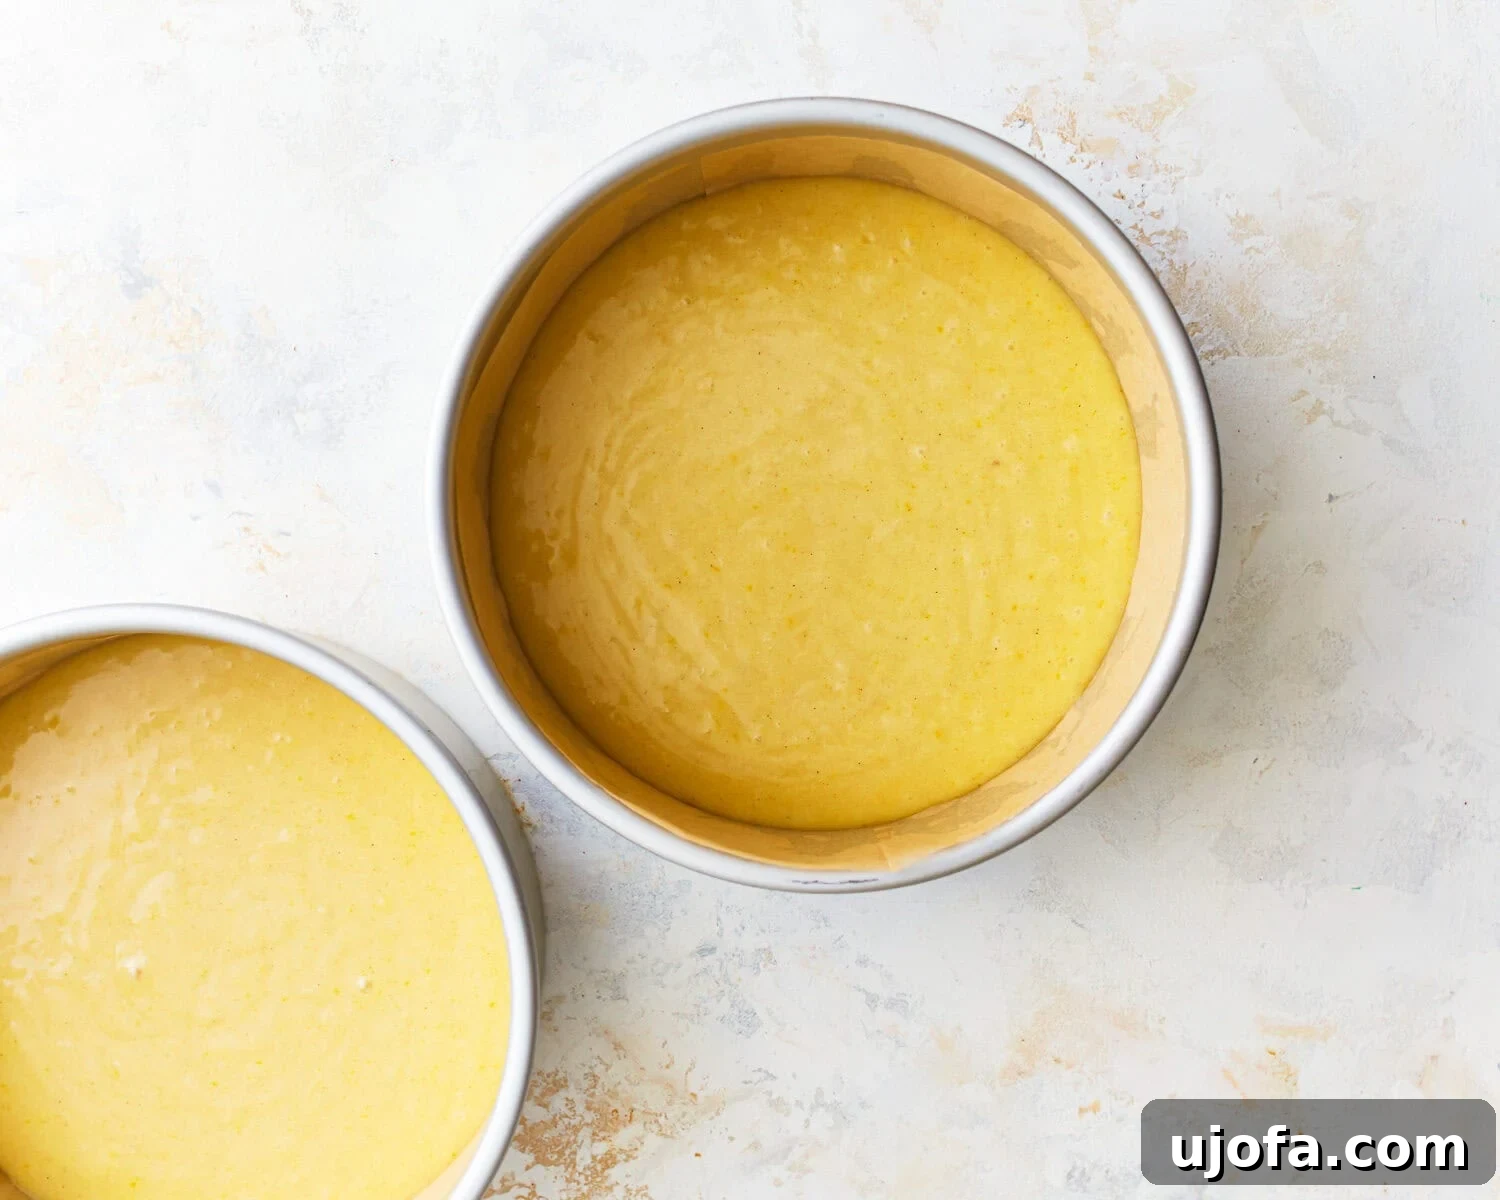
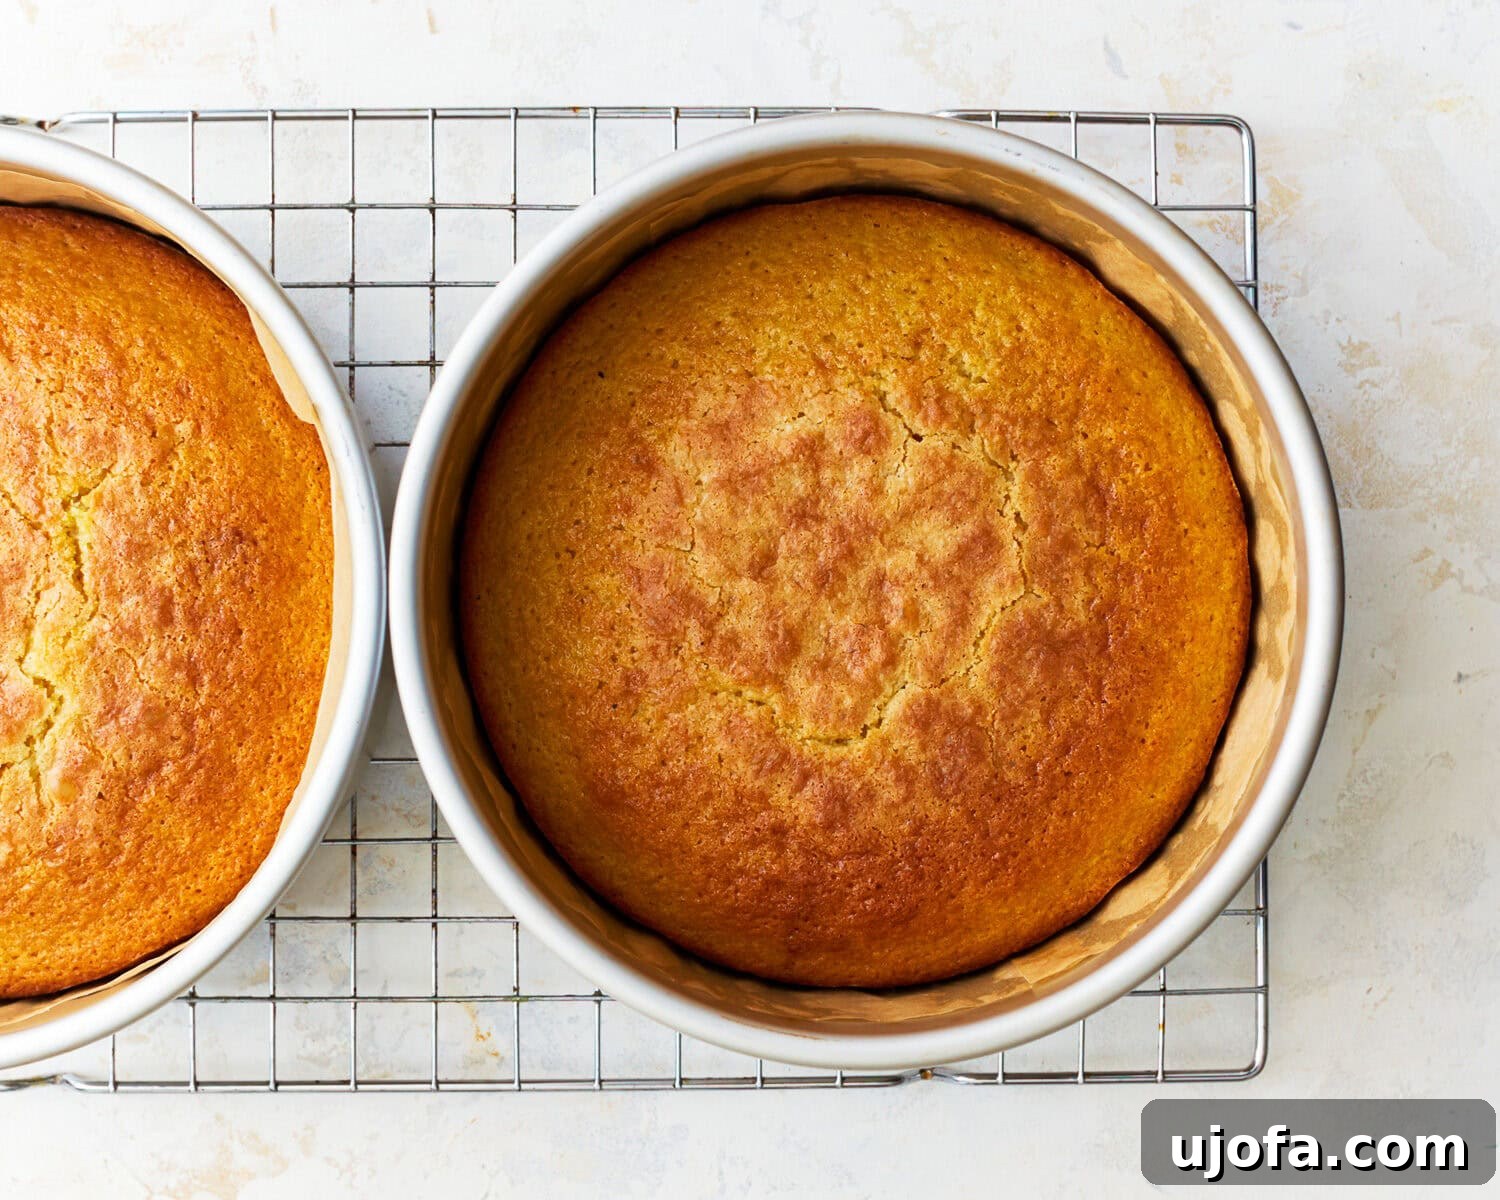
Fill Pans and Bake: Divide the batter evenly between the two prepared cake pans (approximately 671g of batter per pan for accurate distribution). Place the pans in the preheated oven and bake for 25-30 minutes. Baking time can vary slightly depending on your oven, so check for doneness by inserting a toothpick into the center of the cake; it should come out clean.
-
Initial Cooling: Once baked, remove the cakes from the oven and allow them to cool in their pans on a wire rack for about 10 minutes. This crucial resting period allows the cake to firm up slightly, preventing it from breaking when you invert it.
-
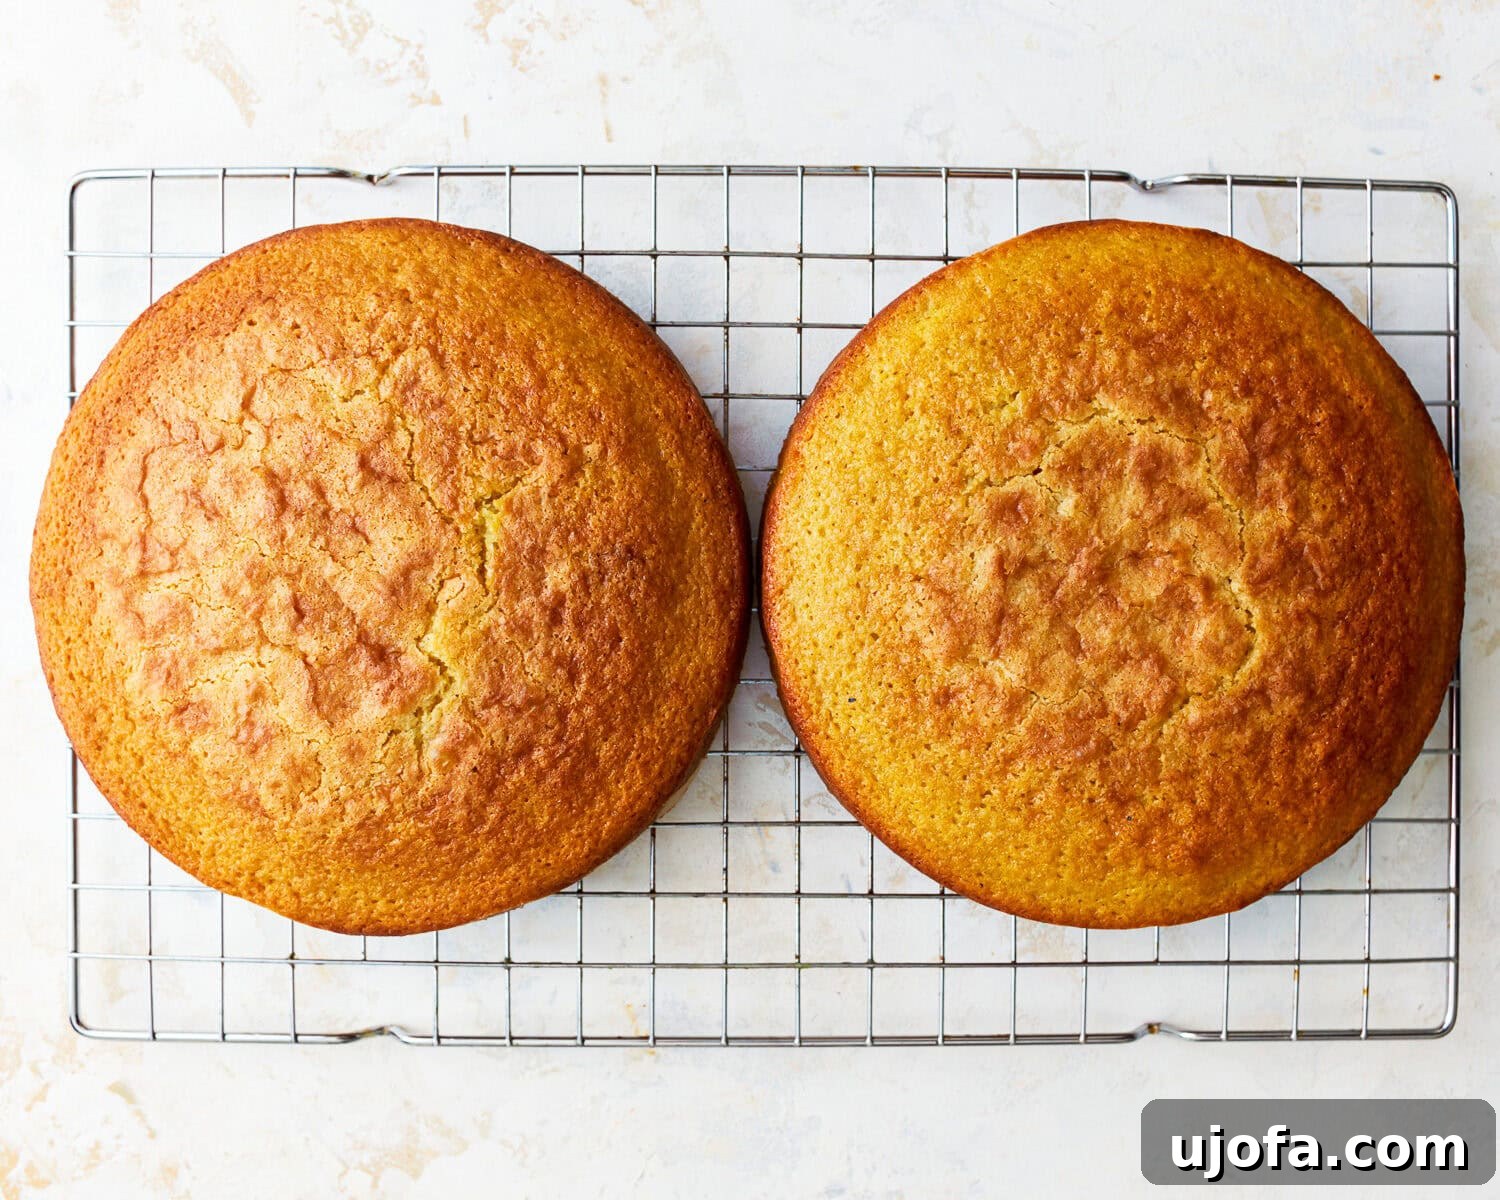
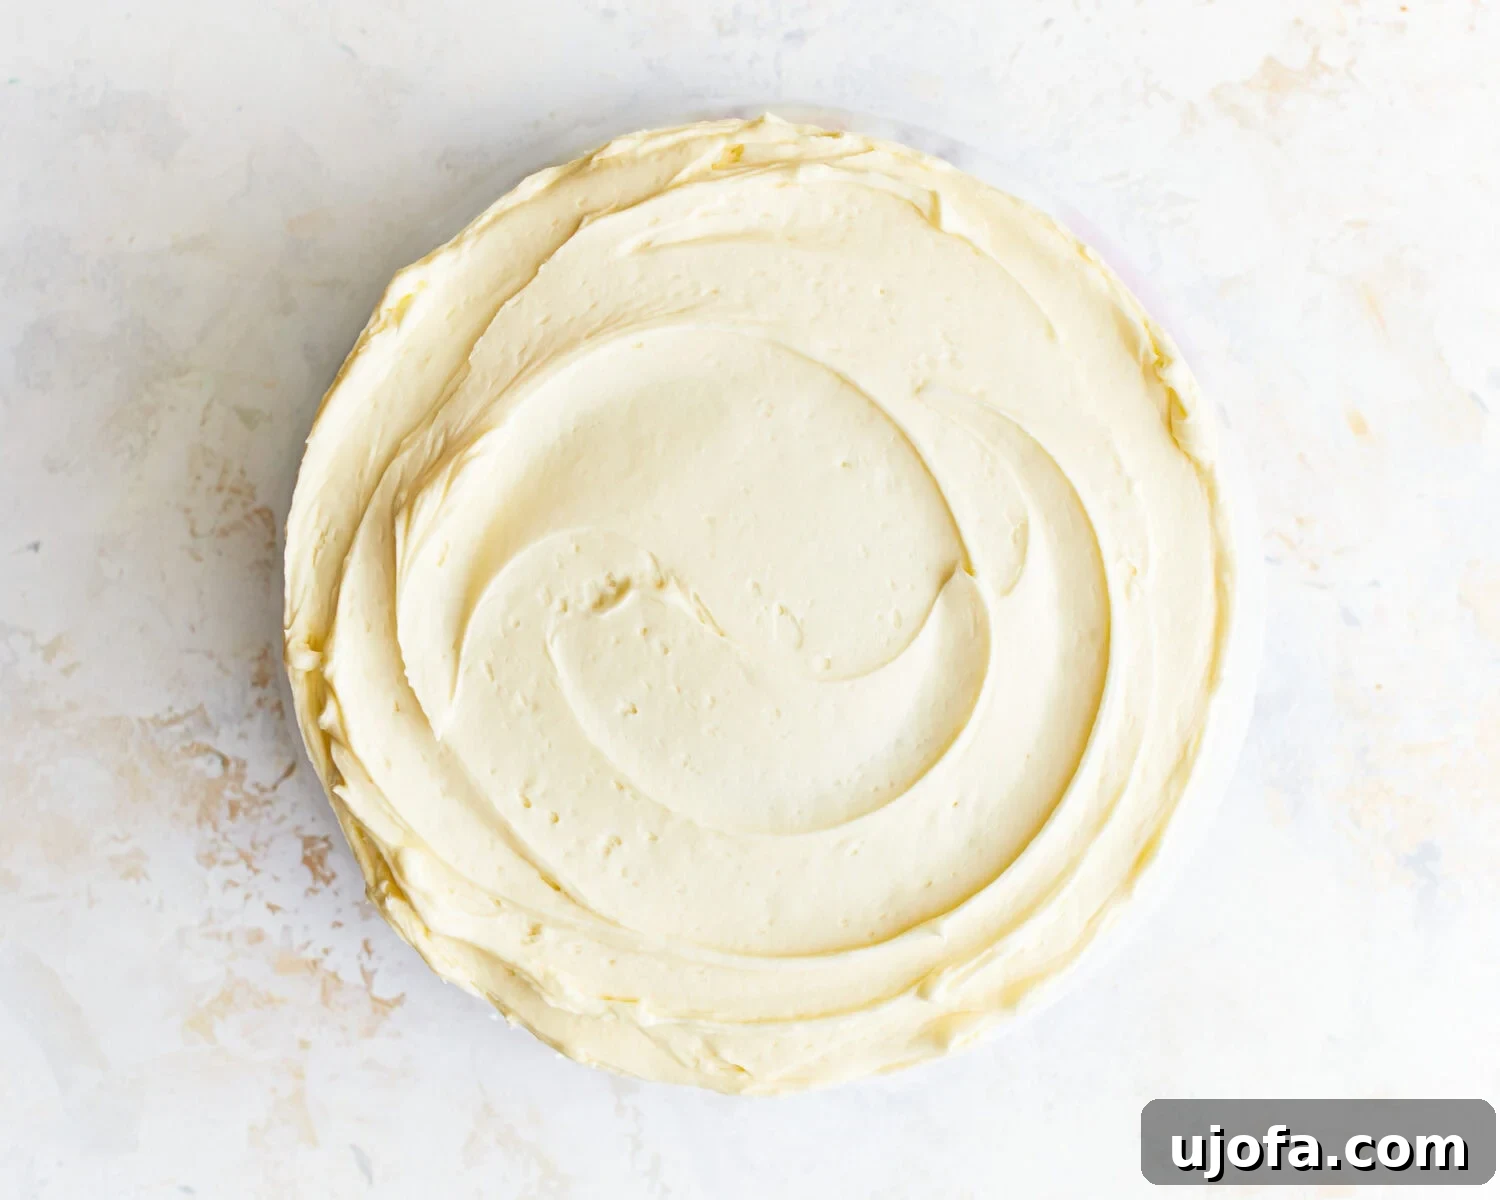
Complete Cooling, Frost, and Serve: After the initial cooling period, carefully invert the cakes onto the wire rack to cool completely. It is essential for the cakes to be entirely cool before frosting; otherwise, your chosen frosting will melt and slide off. Once cooled, frost your delicious homemade gluten-free vanilla cake with your favorite frosting – our vanilla buttercream is highly recommended – and decorate as desired. Slice, serve, and enjoy this delightful celiac-friendly cake!
Notes & Expert Tips
- Homemade Buttermilk: If you don’t have buttermilk on hand, it’s easy to make your own! Simply add 1 tablespoon of white vinegar or lemon juice to 1 cup of regular milk. Stir it gently and let it rest for 5 minutes. The milk will curdle slightly, creating a perfect buttermilk substitute that adds moisture and tenderizes the cake.
- Cupcake Conversion: This versatile batter can easily be adapted for cupcakes. Divide the batter into a muffin tin lined with paper liners and bake for 18–20 minutes. The baking time is shorter for cupcakes, so keep a close eye on them and test for doneness with a toothpick.
- Preventing Dry Cake: Gluten-free cakes can sometimes be prone to dryness. If your cake turns out a bit dry, consider adding an extra tablespoon of milk to the wet ingredients the next time you bake. Alternatively, try using a gluten-free flour blend that has a higher starch content, as starches help retain moisture and create a softer crumb.
- Flour Blend Consistency: Not all gluten-free flour blends are created equal. For best results with this easy gluten-free vanilla cake, we recommend using a blend specifically designed for baking that already contains xanthan gum. If your blend does not contain xanthan gum, add ½ to 1 teaspoon per cup of flour.
- Room Temperature Ingredients: Ensure your eggs and buttermilk are at room temperature. This helps them emulsify better with the other ingredients, creating a smoother batter and a more uniform, tender cake texture.
Nutrition Information
Calories: 367 kcal
Carbohydrates: 54g
Protein: 5g
Fat: 16g
Saturated Fat: 5g
Polyunsaturated Fat: 6g
Monounsaturated Fat: 4g
Trans Fat: 0.2g
Cholesterol: 74mg
Sodium: 266mg
Potassium: 54mg
Fiber: 3g
Sugar: 35g
Vitamin A: 241 IU
Calcium: 88 mg
Iron: 1 mg
Nutrition information is automatically calculated and should be used as an approximation. Actual values may vary based on specific ingredients and preparation methods.
Additional Recipe Information
Dessert
American
Tried this recipe? We love seeing your creations! Mention @mamaknowsglutenfree or tag #mamaknowsglutenfree on Instagram!
How to Make the Best Gluten-Free Vanilla Cake: Step-by-Step Visual Guide
For those who prefer a visual guide, follow along with these detailed step-by-step photos and descriptions to ensure your easy gluten-free vanilla cake turns out perfectly every time. From preparing your ingredients to the final frosting, we’ll walk you through each stage of baking this delicious moist gluten-free cake.
Essential Gluten-Free Baking Tips for Success
Baking gluten-free requires a slightly different approach than traditional baking, but with a few key tips, you can achieve consistently perfect results. These pointers will help you master this gluten-free vanilla cake and confidently tackle other gluten-free recipes:
- Measure Flour Accurately: This is perhaps the most critical tip for gluten-free baking. Using too much flour is a common pitfall that can lead to dense, dry, or crumbly cakes. Always use the “spoon and level” method: gently spoon your gluten-free flour blend into your measuring cup until it overflows, then level off the excess with a straight edge (like the back of a knife) without packing it down. For ultimate precision, consider using a kitchen scale to measure flour by weight if the recipe provides gram measurements.
- Avoid Opening the Oven Door Too Early: Gluten-free cakes, much like their traditional counterparts, are sensitive to temperature fluctuations, especially during the initial stages of baking. Prematurely opening the oven door can cause the cake to sink in the middle due to a sudden drop in temperature. Resist the urge to peek until at least two-thirds of the estimated baking time has passed.
- Check Leavening Agents for Freshness: Baking powder and baking soda are crucial for giving your fluffy gluten-free cake its rise. Ensure they are fresh by testing them. To test baking powder, add a teaspoon to half a cup of hot water; it should vigorously fizz. For baking soda, add a quarter teaspoon to two tablespoons of vinegar; it should also bubble rapidly. If they don’t react, it’s time for new ones.
- Test for Doneness with a Toothpick: Over-baking can quickly turn a moist gluten-free cake into a dry one, while under-baking can result in a gummy or rubbery texture. To check for doneness, insert a clean toothpick into the center of the cake. It should come out clean or with a few moist crumbs attached, but no wet batter. Additionally, a finished cake will often start to pull away slightly from the sides of the pan.
- Allow Cakes to Cool Completely: Patience is a virtue in baking, especially when it comes to cooling. Let your gluten-free vanilla cake layers cool in their pans on a wire rack for about 10-15 minutes immediately after baking. This allows them to set and become sturdy. After this initial cooling, carefully invert them onto a wire rack to cool completely to room temperature. This step is essential before applying any frosting; otherwise, your beautiful buttercream will melt and slide right off.
- Understand Your Gluten-Free Flour Blend: Different gluten-free flour blends have varying compositions of starches and flours. Some may absorb more liquid than others. If you’re consistently finding your cakes too dry or too wet, you might need to slightly adjust the liquid content or try a different blend that suits your baking style. Blends containing a good balance of rice flour, tapioca starch, and potato starch often yield excellent results for best gluten-free vanilla cake recipes.
Delightful Serving Suggestions for Your Gluten-Free Vanilla Cake
The beauty of this gluten-free vanilla cake lies in its incredible versatility. Its delicate flavor and moist texture make it a perfect base for a wide array of accompaniments, allowing you to customize it for any occasion or taste preference. Here are some delightful ways to serve your culinary creation:
- Classic Celebration Cake: Go all out with a generous layer of our signature gluten-free vanilla buttercream frosting. Add colorful sprinkles, edible glitter, or fresh flowers for a stunning birthday centerpiece or holiday showstopper. You could also try a rich chocolate frosting for a delicious flavor contrast.
- Simple Snack Cake: For an effortless yet elegant treat, simply dust the cooled cake with a fine layer of powdered sugar. This minimalistic approach allows the pure vanilla flavor to shine and makes for a perfect pairing with an afternoon coffee or tea.
- Seasonal Fruit Pairing: During warmer months, elevate your vanilla cake by serving it alongside a medley of fresh, ripe berries (strawberries, blueberries, raspberries) and a dollop of homemade whipped cream. The natural sweetness and slight tartness of the fruit complement the vanilla beautifully, creating a light and refreshing dessert.
- Layered Trifle: Transform leftover cake or create a grand dessert by cubing the moist gluten-free cake and layering it with custard, fresh fruit, and whipped cream in a trifle bowl. It’s an impressive presentation that’s surprisingly easy to assemble.
- Gluten-Free Ice Cream Cake: Take your dessert to the next level by using this vanilla cake as the base for a homemade gluten-free ice cream cake. Layer with your favorite gluten-free ice cream flavor and additional toppings for an irresistible frozen treat, ideal for summer parties.
- With a Drizzle: A warm caramel sauce, chocolate ganache, or a fruit coulis can add an extra layer of flavor and elegance. Serve a slice with a generous drizzle just before eating.
Storage Instructions for Optimal Freshness of Your Gluten-Free Vanilla Cake
Proper storage is key to maintaining the incredible taste and texture of your gluten-free vanilla cake. While it’s tempting to devour it all at once, knowing how to store it correctly ensures you can enjoy its deliciousness for days to come, or even months!
- Room Temperature Storage: For the freshest taste and texture, store your unfrosted homemade gluten-free vanilla cake in an airtight container at room temperature for up to 2 days. If frosted, it’s generally best to keep it refrigerated.
- Refrigerated Storage: A frosted gluten-free vanilla cake will last beautifully in an airtight container in the refrigerator for up to 5 days. Be sure to cover it well to prevent it from drying out or absorbing other odors from your fridge. When ready to serve, allow slices to come to room temperature for about 15-20 minutes for the best flavor and texture.
- Freezing for Longer Storage (Unfrosted): If you plan to bake ahead or have extra unfrosted cake layers, wrap each cooled layer tightly in plastic wrap, then a layer of aluminum foil. Place them in a freezer-safe bag or container. Unfrosted cake layers can be frozen for up to 3 months. Thaw overnight in the refrigerator before frosting and serving.
- Freezing for Longer Storage (Frosted): Yes, you can freeze a frosted gluten-free vanilla cake! For best results, first place the frosted cake (uncovered) in the freezer for about two hours. This step hardens the frosting, preventing it from getting smudged or sticking to wrapping materials. Once the frosting is firm, carefully wrap the entire cake in several layers of plastic wrap, followed by a layer of aluminum foil. If possible, place the wrapped cake in a sturdy cake box, then inside a large freezer-safe bag or container to protect it further. This method helps maintain the cake’s decoration and prevents freezer burn. Frozen frosted cakes can be stored for up to 3 months.
- Thawing Frozen Cake: To thaw a frozen cake, transfer it to the refrigerator overnight. Once thawed, you can leave it on the counter for about 30 minutes to an hour before serving to bring it to room temperature, which enhances its flavor and moist texture.
More Must-Try Gluten-Free Cake Recipes!
If you loved this gluten-free vanilla cake, you’re in for a treat! Our collection of gluten-free cake recipes offers a variety of flavors and styles to satisfy every craving. Explore these other delicious options:
- Gluten-Free Chocolate Cake: A rich, decadent classic that’s surprisingly easy to make.
- Gluten-Free Yellow Cake: Another timeless favorite, perfect for any occasion.
- Gluten-Free Funfetti Cake: Bright, colorful, and fun – ideal for parties!
- Gluten-Free Birthday Cake: The ultimate festive cake to celebrate special moments.
- Gluten-Free Carrot Cake: Moist, spiced, and topped with luscious cream cheese frosting.
Happy baking, and enjoy your delicious gluten-free adventures!