
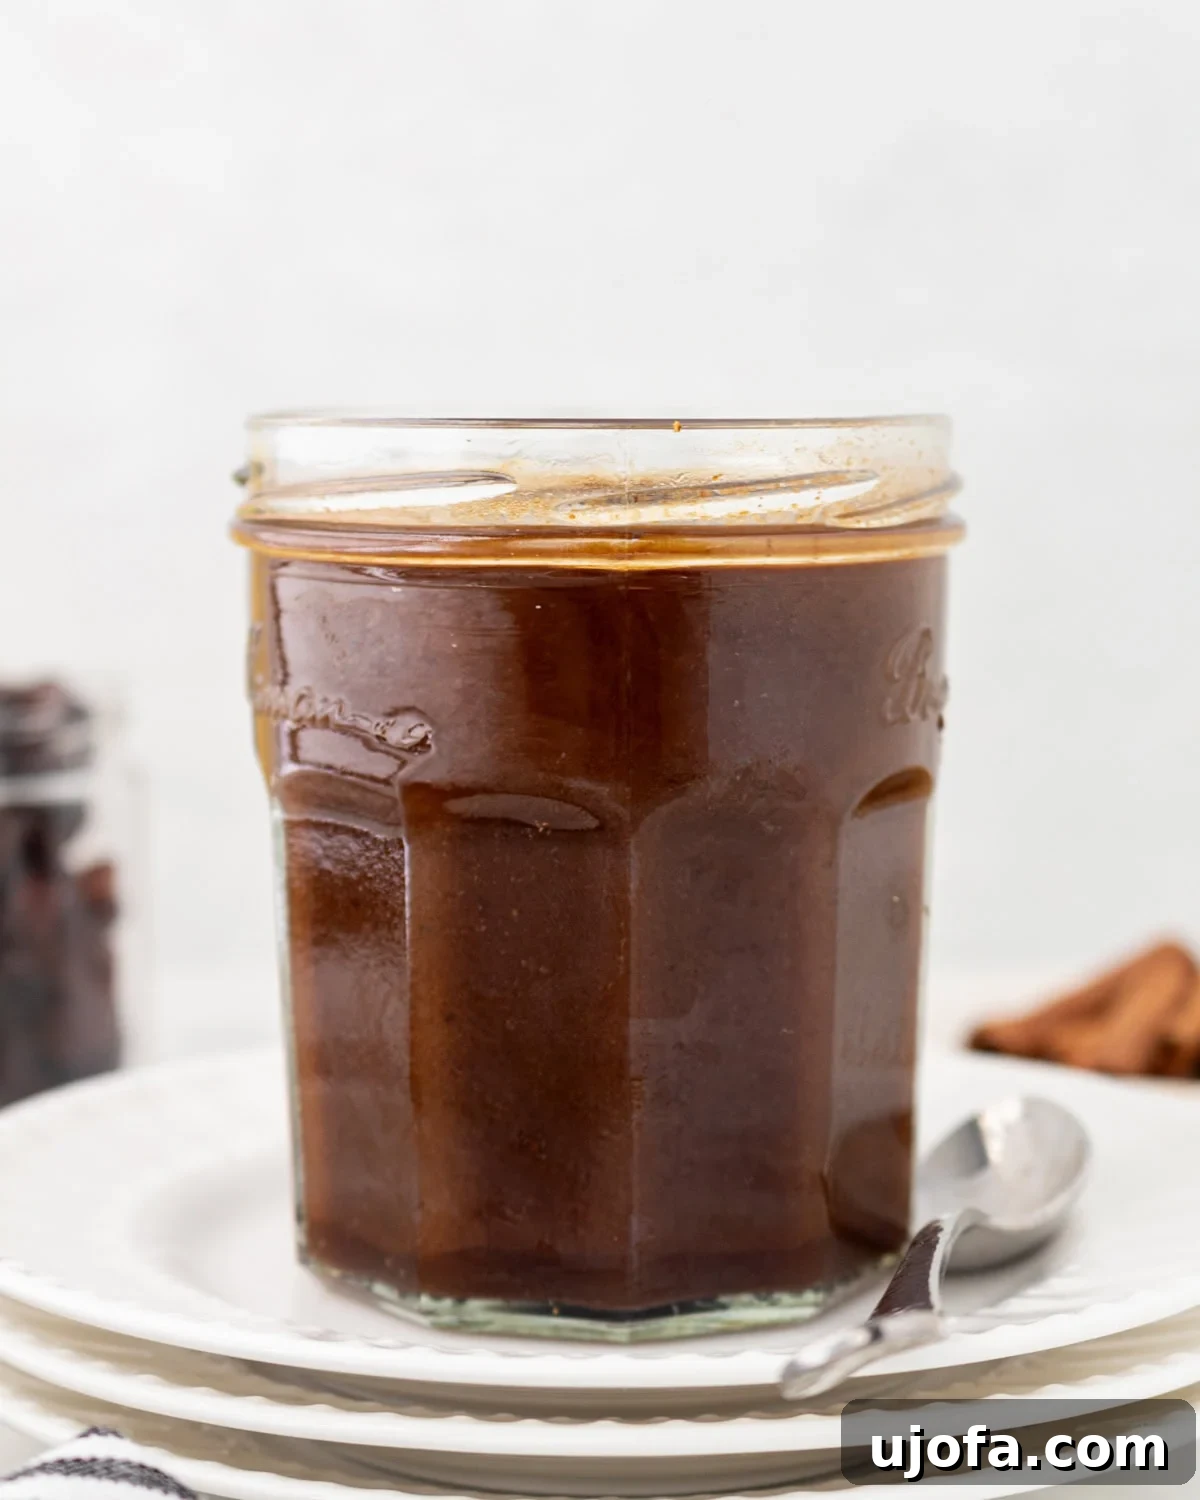
Homemade Gluten-Free Worcestershire Sauce: Your Ultimate DIY Guide
Worcestershire sauce is an undeniable kitchen hero, a secret weapon that elevates countless dishes from humble weeknight meals to gourmet creations. It’s a staple in my pantry, adding a burst of rich, savory, tangy, and subtly sweet flavor to everything it touches. But if you’re like me and prefer to keep an eye on ingredients, or if you follow a gluten-free diet, finding a clean, store-bought version can be a challenge.
That’s where this homemade gluten-free Worcestershire sauce recipe comes in. It offers all the bold, complex flavors you love from the classic condiment, but with a transparent ingredient list, naturally gluten-free components, and the flexibility to adjust the taste to your exact preference. Best of all, it’s surprisingly easy to make in minutes and will last for months in your refrigerator, ready to infuse your cooking with unparalleled depth.
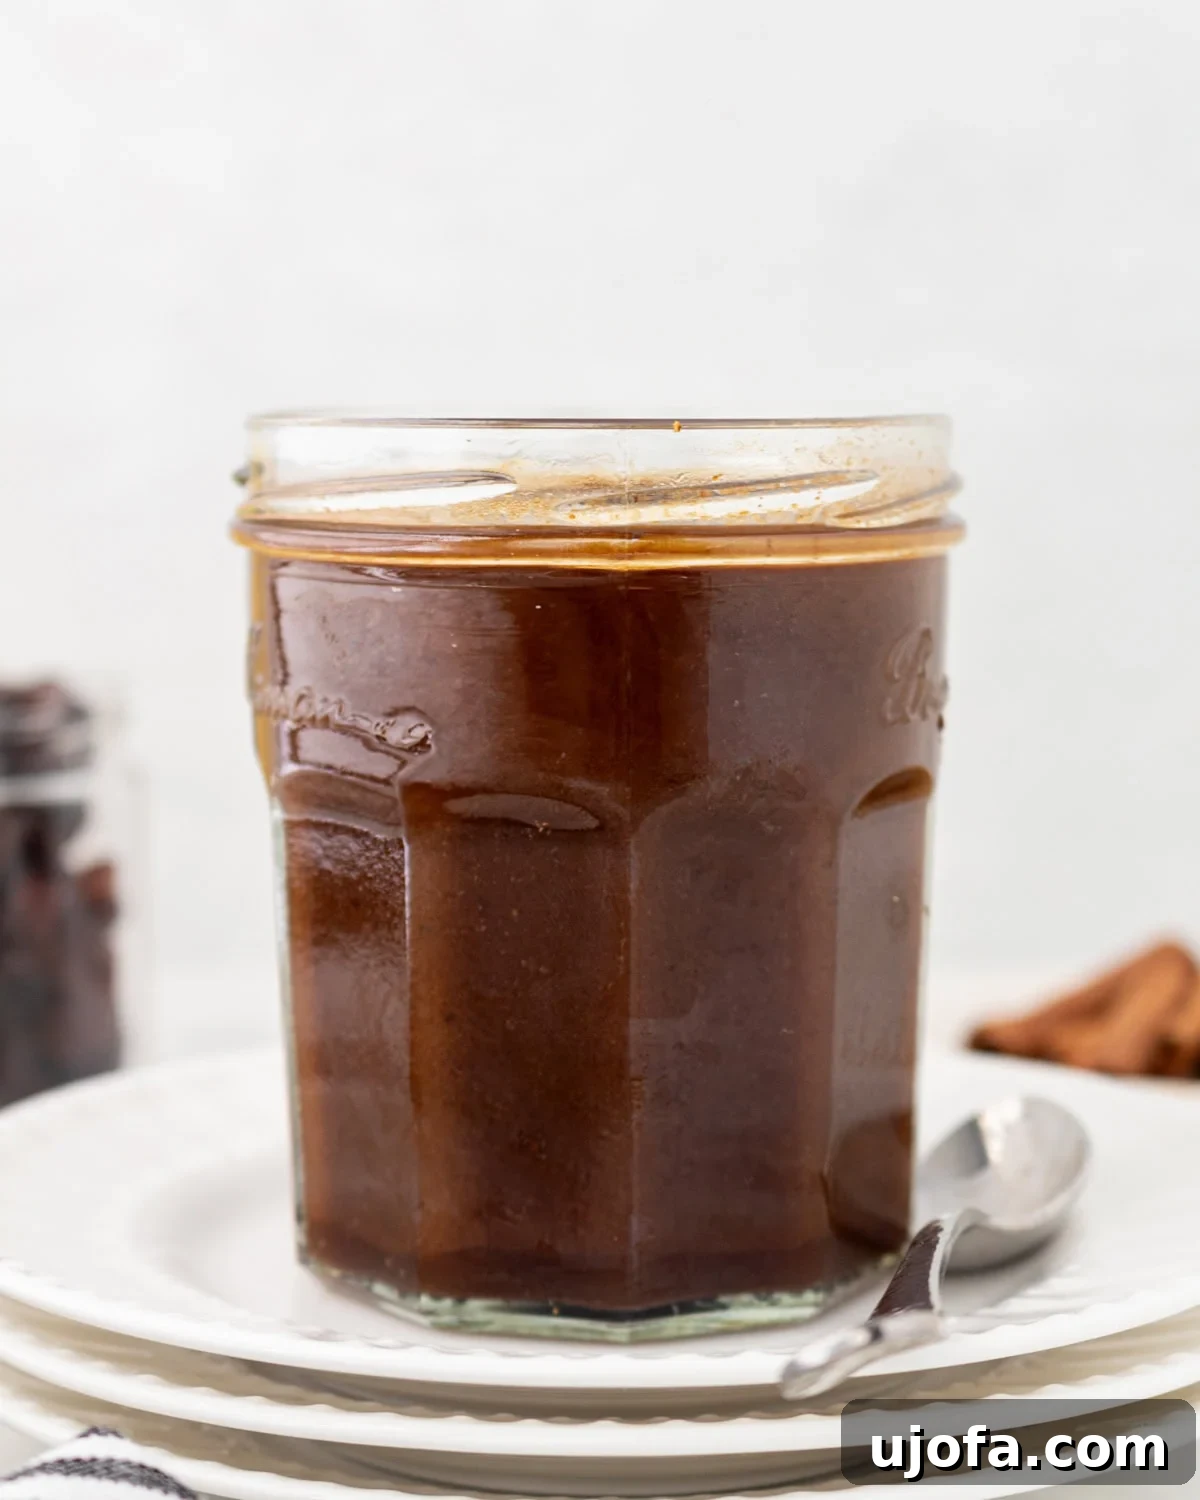
Why Make Your Own Worcestershire Sauce?
There are numerous compelling reasons to venture into making your own Worcestershire sauce, especially when considering dietary needs and flavor control:
- Cleaner Ingredients: Many commercial Worcestershire sauces contain high-fructose corn syrup, artificial colors, preservatives, and sometimes even gluten. By making it yourself, you control every single ingredient, ensuring a wholesome and natural product free from unwanted additives.
- Naturally Gluten-Free: Traditional Worcestershire sauce often uses malt vinegar, which contains gluten. This homemade recipe uses apple cider vinegar and gluten-free soy sauce (or tamari), making it perfectly safe for those with celiac disease or gluten sensitivity.
- Customizable Flavor Profile: Do you prefer a little more tang, a touch more spice, or a deeper umami punch? Making your own allows you to fine-tune the ratios of ingredients to match your palate perfectly.
- Cost-Effective: While the initial investment in spices might seem like a lot, a batch of homemade Worcestershire sauce is often more economical than repeatedly buying high-quality, specialty store versions.
- Freshness You Can Taste: Freshly made sauces always have a vibrancy that store-bought versions can’t quite match. The aromatic blend of fresh garlic, ginger, and spices truly shines.
This recipe transforms a few simple steps—a quick sauté of aromatics, a whirl in the blender, and a gentle simmer—into a liquid gold that quietly enhances everything it touches. It’s a pantry staple that you’ll be proud to have on hand.
Homemade Gluten-Free Worcestershire Sauce
Ashley Barbey
32 tbsp (2 cups)
20 mins
1 hr
1 hr 20 mins
Print Recipe

Step-by-step photos can be seen below the recipe card.
Ingredients
- 1/4 cup raisins
- 3/4 cup water, divided
- 2 tsp olive oil
- ½ cup onion or shallot, chopped
- 4 garlic cloves, minced
- 1 tsp fresh grated ginger or ginger paste
- 1 tbsp anchovy paste
- Scant 1 cup apple cider vinegar (just under a full cup)
- 1/2 cup molasses
- 2 tbsp tamarind paste
- 1 tbsp fish sauce
- 1 tbsp gluten-free soy sauce or tamari
- ¾ tsp black pepper
- ¾ tsp dry mustard
- ¼ tsp cardamom
- ¼ tsp cinnamon
- ¼ tsp cloves (ground)
- ¼ tsp cayenne pepper
Instructions
-
Combine the raisins and ¼ cup water in a small bowl. Set aside and let the raisins soak for 15 minutes to soften.
-
Heat the olive oil in a small skillet over medium-low heat. Add the chopped onion or shallot and cook for 3-5 minutes until it becomes tender and translucent. Stir in the minced garlic, ginger paste (or fresh grated ginger), and anchovy paste. Continue to cook for 1 minute until fragrant.
-
Carefully transfer the sautéed onion mixture to a blender. Add the soaked raisins along with their soaking water, and the scant 1 cup of apple cider vinegar. Blend until the mixture is completely smooth and no large pieces remain.
-
Pour the blended mixture into a medium saucepan. Whisk in the remaining ½ cup water, molasses, tamarind paste, fish sauce, gluten-free soy sauce or tamari, black pepper, dry mustard, cardamom, cinnamon, ground cloves, and cayenne pepper. Stir well to combine all ingredients.
-
Bring the mixture to a gentle simmer over medium-low heat. Let it simmer, stirring occasionally, for 5-8 minutes. This allows the flavors to meld and deepen.
-
Remove the saucepan from the heat. Place a lid onto the saucepan and allow the sauce to steep and cool for 1 hour. This resting period is crucial for the flavors to fully develop.
-
Once cooled, strain the mixture through a fine-mesh sieve into a clean, airtight glass jar or bottle. Press down on the solids in the sieve with a spoon or spatula to extract as much liquid as possible. Discard the solids. Store the finished Worcestershire sauce in the refrigerator for up to 3 months.
Notes
- If you prefer a perfectly smooth, sediment-free sauce, you can strain the mixture through a cheesecloth-lined sieve. This extra step will remove even the finest particles.
- For a vegetarian or vegan version, omit the anchovy paste and fish sauce. You might need to add a bit more gluten-free soy sauce or a pinch of mushroom powder to compensate for the lost umami, and a touch more salt.
Nutrition
Calories: 30kcal
Carbohydrates: 6g
Protein: 0.4g
Fat: 0.3g
Saturated Fat: 0.1g
Polyunsaturated Fat: 0.1g
Monounsaturated Fat: 0.2g
Cholesterol: 0.4mg
Sodium: 98mg
Potassium: 119mg
Fiber: 0.3g
Sugar: 5g
Vitamin A: 8IU
Vitamin C: 1mg
Calcium: 17mg
Iron: 0.4mg
Nutrition information is automatically calculated, so should only be used as an approximation.
Additional Information
Sauce, Condiment
English, American
Gluten-Free
Unveiling the Key Ingredients: What Makes Worcestershire So Special?
The magic of Worcestershire sauce lies in its complex blend of savory, sweet, tangy, and spicy notes, achieved through a diverse array of ingredients. Understanding each component can help you appreciate this homemade version even more:
- Raisins: While not immediately obvious, raisins provide a natural sweetness and depth, acting as a background fruitiness that rounds out the stronger flavors. Soaking them softens them and allows their natural sugars to release more easily during blending.
- Onion & Garlic: These aromatic powerhouses form the savory backbone of the sauce, providing fundamental layers of flavor that are gently mellowed through sautéing.
- Ginger: Fresh ginger adds a pungent, spicy, and warming note, contributing to the overall complexity and vibrancy of the sauce.
- Anchovy Paste & Fish Sauce: These might seem intimidating, but they are crucial for Worcestershire sauce’s signature umami (savory) depth. They don’t make the sauce taste “fishy”; rather, they provide an irreplaceable savory foundation that enhances all other flavors.
- Apple Cider Vinegar: This is the source of Worcestershire sauce’s characteristic tang and brightness. Its fruity, acidic profile is perfect for cutting through the richness of other ingredients.
- Molasses: For a deep, rich sweetness and a slightly smoky, earthy undertone, molasses is essential. It contributes to the sauce’s dark color and robust body.
- Tamarind Paste: A key ingredient for authenticity, tamarind paste delivers a unique sour, fruity tang that differentiates Worcestershire from other condiments. It adds a lovely tartness and a touch of sweetness.
- Gluten-Free Soy Sauce or Tamari: This provides another layer of umami and saltiness. Ensure you use a certified gluten-free brand if you have dietary restrictions.
- Spices (Black Pepper, Dry Mustard, Cardamom, Cinnamon, Cloves, Cayenne): This carefully selected blend of spices adds warmth, subtle heat, and a nuanced aromatic complexity that defines Worcestershire sauce. Each spice plays a small but significant role in creating the layered flavor profile.
How to Make Homemade Worcestershire Sauce: A Visual Guide
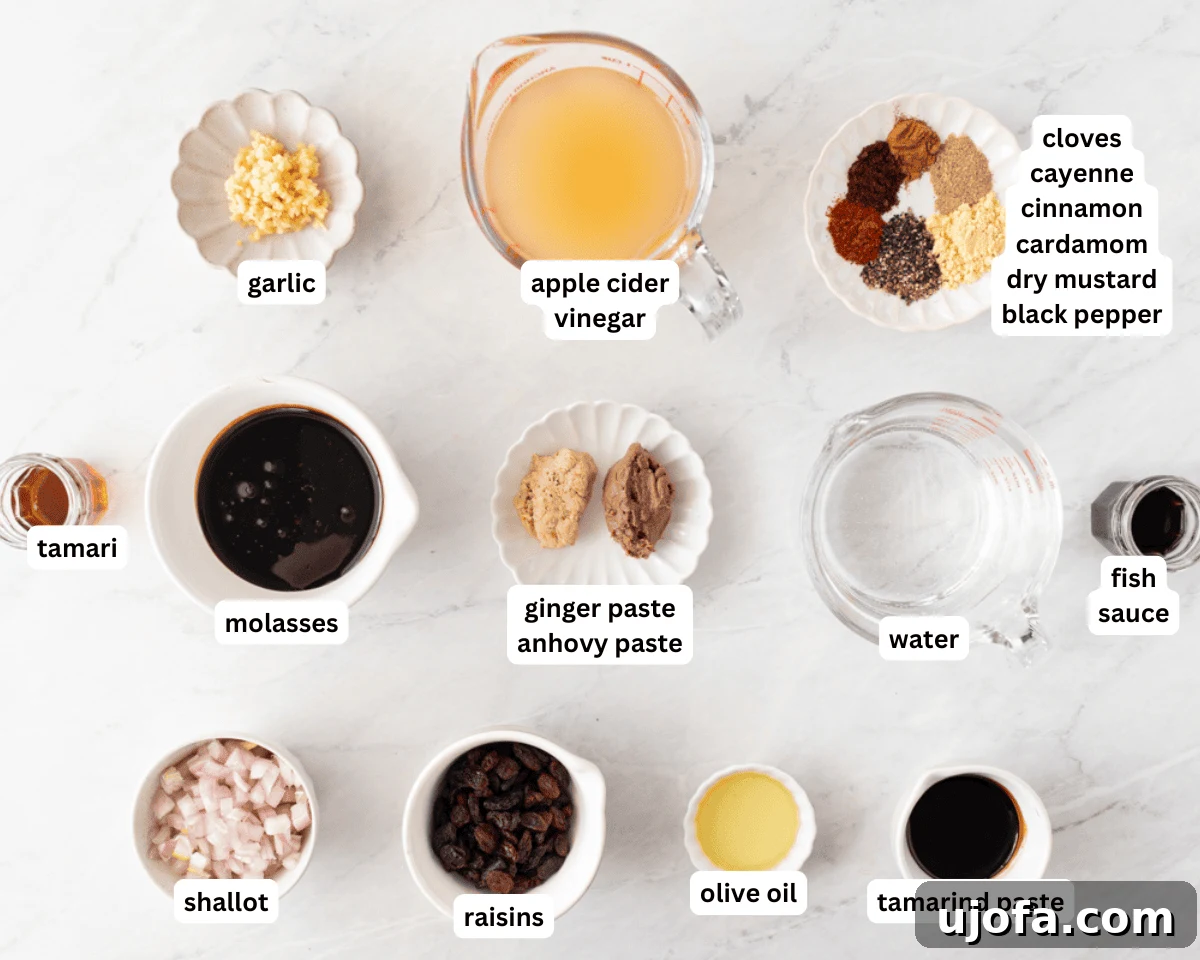
Before you begin, ensure all your ingredients are measured and ready. This “mise en place” approach makes the process even quicker and more enjoyable.
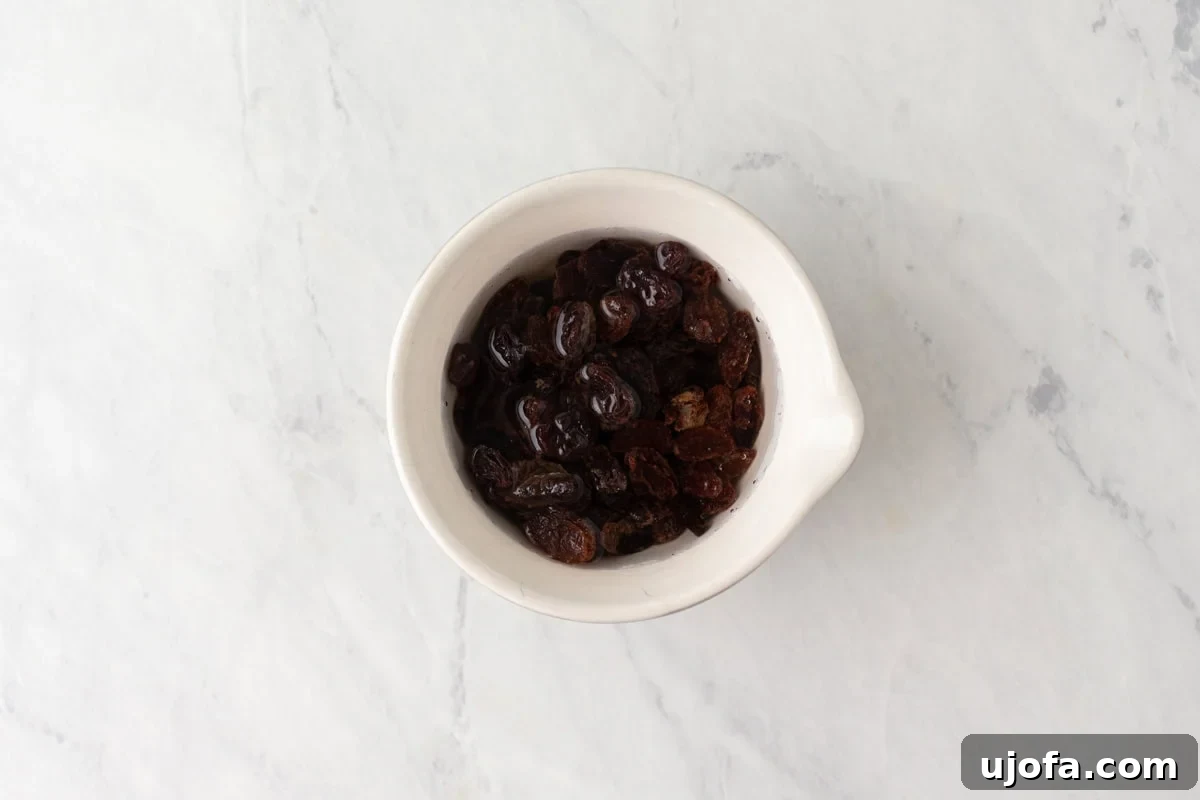
Step 1: Soak the Raisins. In a small bowl, combine 1/4 cup of raisins with 1/4 cup of water. Allow them to soak for approximately 15 minutes. This step is important for softening the raisins, which helps them blend smoothly and release their natural sweetness and fruity notes into the sauce.
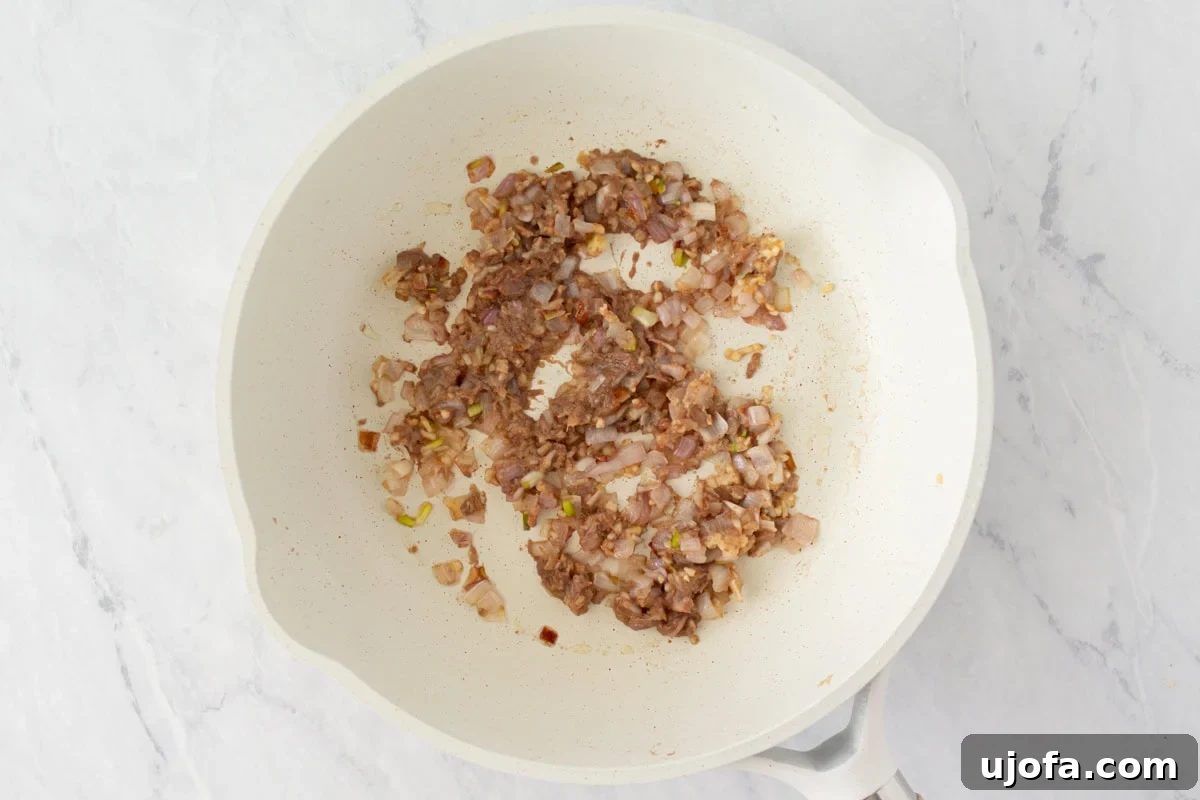
Step 2: Sauté the Aromatics. While the raisins are soaking, heat 2 teaspoons of olive oil in a small skillet over medium-low heat. Add 1/2 cup of chopped onion or shallot and cook gently for 3-5 minutes until they become soft and translucent, not browned. Next, stir in 4 minced garlic cloves, 1 teaspoon of fresh grated ginger (or ginger paste), and 1 tablespoon of anchovy paste. Continue cooking for just 1 minute more, allowing the flavors to meld and become fragrant. Be careful not to burn the garlic.

Step 3: Blend the Base. Carefully transfer the sautéed onion mixture from the skillet into a blender. Add the soaked raisins along with all their liquid from the bowl. Pour in a scant 1 cup of apple cider vinegar (meaning just under a full cup). Blend on high speed until the mixture is completely smooth. You want no discernible chunks of onion, garlic, or raisins remaining. This creates the essential base for your sauce.
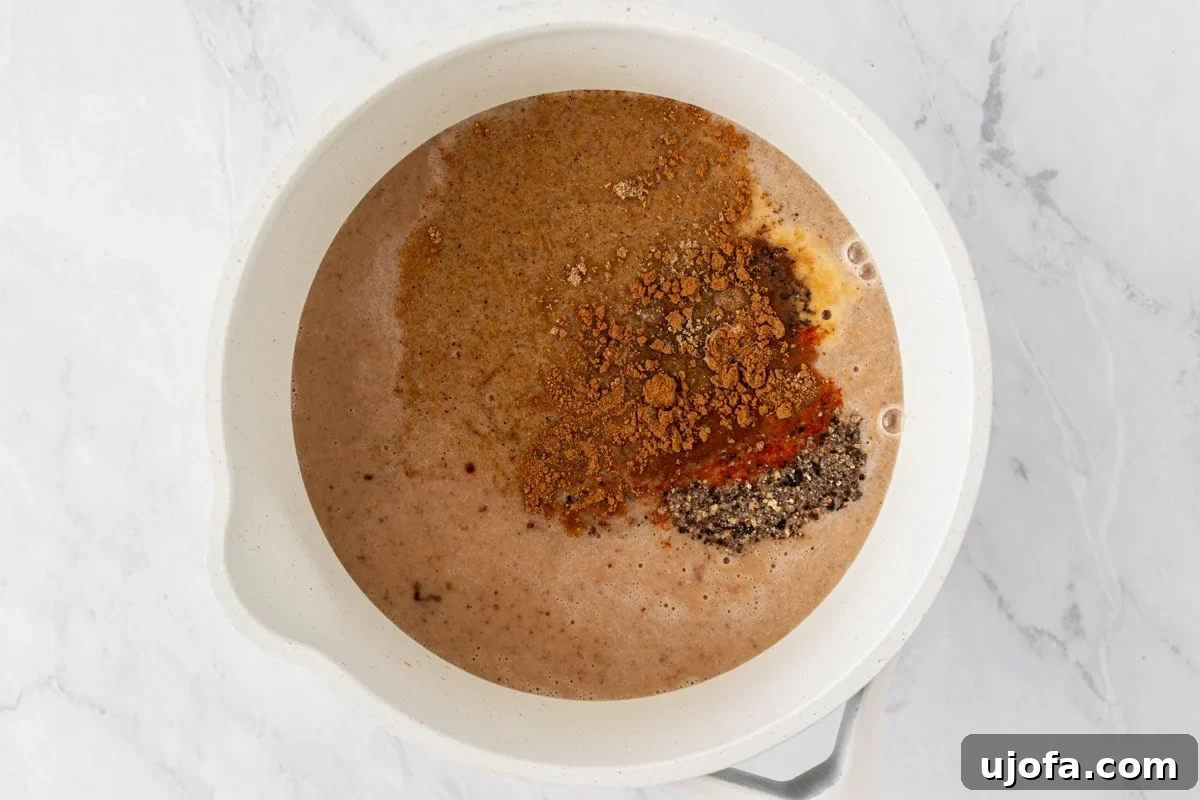
Step 4: Add the Flavorings. Pour the smooth, blended mixture into a medium-sized saucepan. Now, it’s time to introduce the rest of the key ingredients that give Worcestershire sauce its distinctive character. Whisk in the remaining 1/2 cup of water, 1/2 cup of molasses, 2 tablespoons of tamarind paste, 1 tablespoon of fish sauce, 1 tablespoon of gluten-free soy sauce or tamari, 3/4 teaspoon of black pepper, 3/4 teaspoon of dry mustard, 1/4 teaspoon of cardamom, 1/4 teaspoon of cinnamon, 1/4 teaspoon of ground cloves, and 1/4 teaspoon of cayenne pepper. Stir thoroughly until all ingredients are well combined.
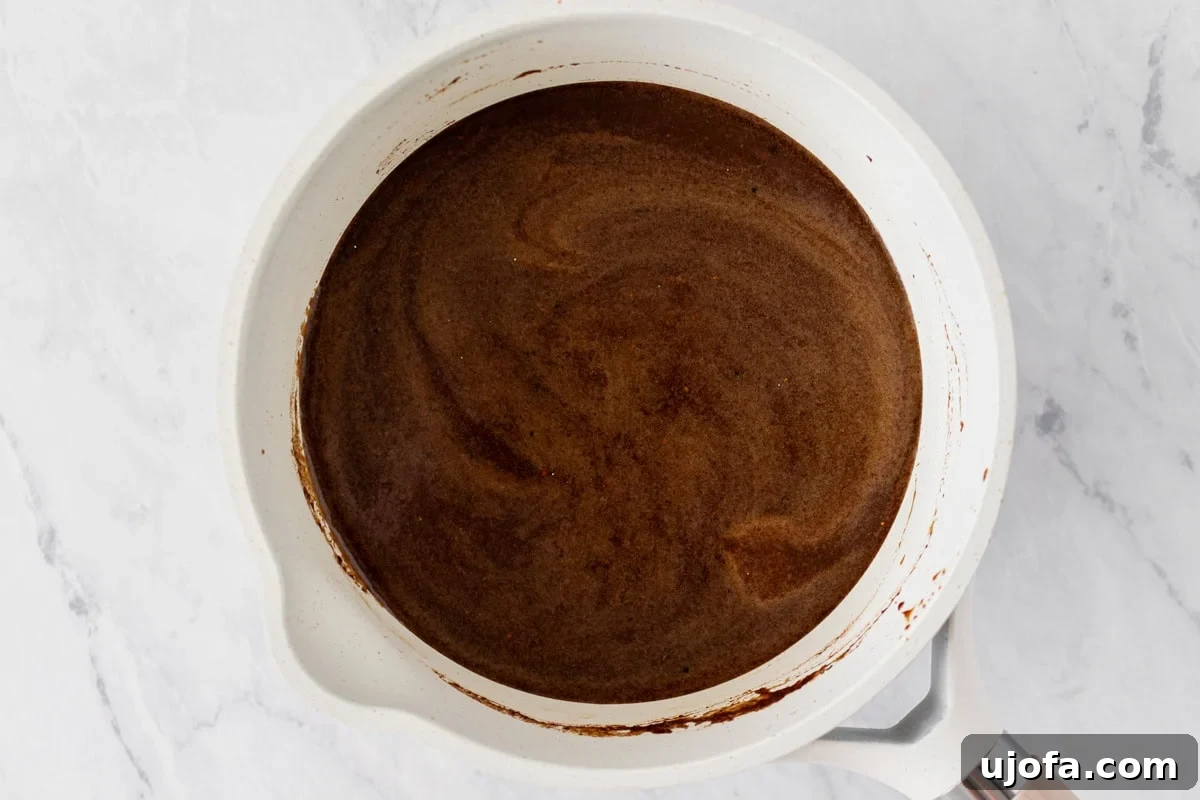
Step 5: Simmer the Sauce. Place the saucepan over medium-low heat and bring the mixture to a gentle simmer. Do not let it boil vigorously. Allow it to simmer for 5-8 minutes, stirring occasionally to prevent anything from sticking to the bottom. This simmering period is crucial for developing the depth of flavor and allowing all the different notes to harmonize.
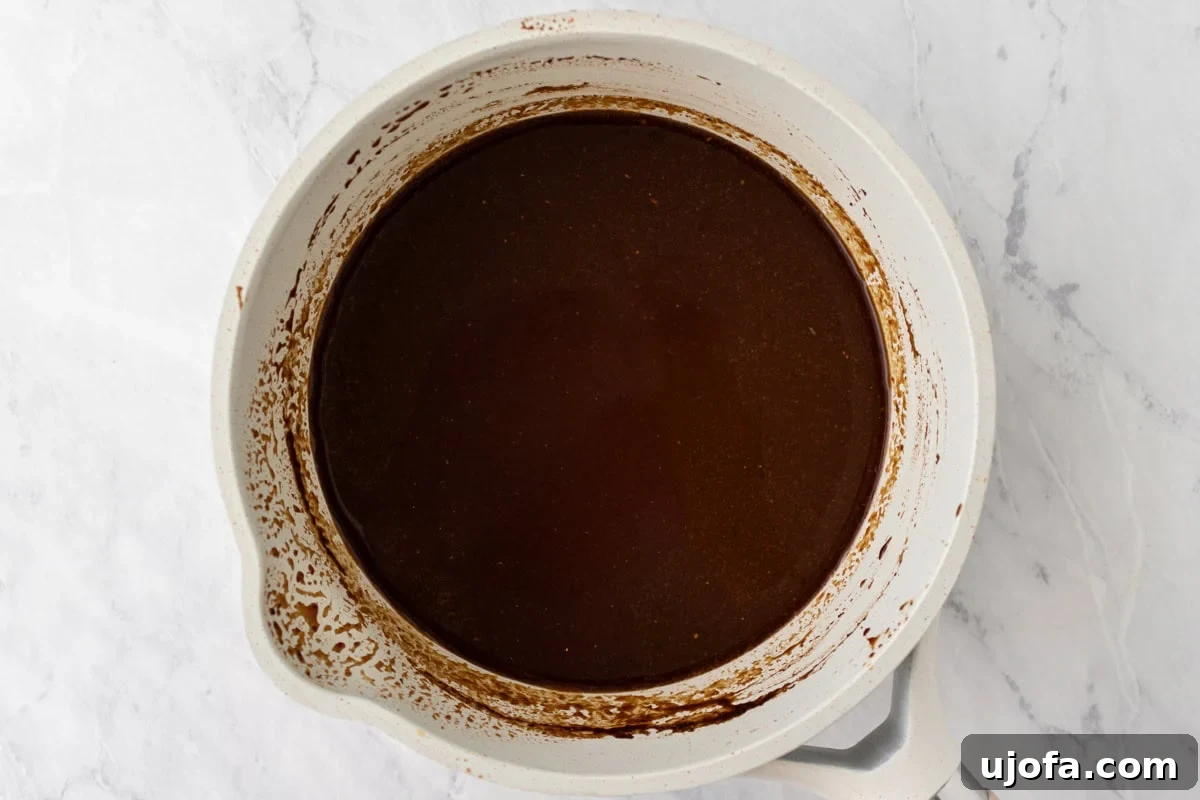
Step 6: Steep and Cool. Once the simmering is complete, remove the saucepan from the heat. Cover it with a lid and let the sauce steep and cool undisturbed for at least 1 hour. This resting time is vital; it allows the flavors to deepen and mature, creating a more robust and complex Worcestershire sauce. You can even let it steep longer if time permits for an even richer result.
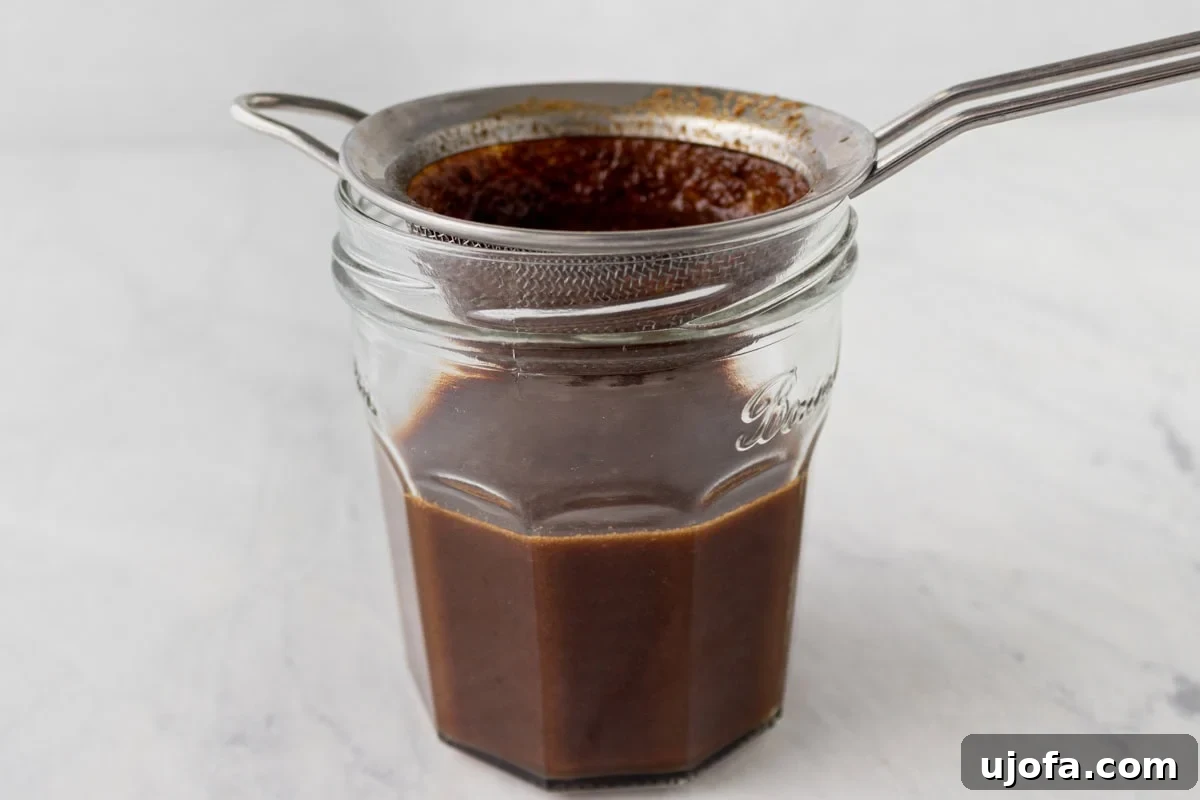
Step 7: Strain and Store. After the sauce has steeped and cooled, it’s time to refine its texture. Pour the entire mixture through a fine-mesh sieve into a clean glass jar or bottle. Use a spoon or spatula to press down on any solids collected in the sieve, extracting as much liquid as possible. Discard the remaining solids. Your homemade Worcestershire sauce is now ready! Securely seal the jar and store it in the refrigerator. It will keep beautifully for up to 3 months.

Serving Suggestions: Unlock the Versatility of Homemade Worcestershire
Once you have a batch of this magnificent homemade Worcestershire sauce, you’ll find yourself reaching for it constantly. Its rich, savory depth and tangy kick make it incredibly versatile. Here are some of my favorite ways to incorporate it into everyday cooking:
- Marinades: It’s a game-changer for marinades. Use it for chicken, steak, pork, lamb, or even firm tofu to add an incredible depth of flavor. A simple marinade with Worcestershire, olive oil, garlic, and herbs can transform any protein.
- Stews & Soups: A splash or two stirred into hearty dishes like beef stew, chili, French onion soup, or any savory soup adds a layer of umami that makes the dish taste like it simmered all day.
- Meatloaf & Burgers: For unbeatable flavor, mix a generous amount into your gluten-free meatloaf mixture or burger patties. It helps to tenderize the meat and imbues it with that classic savory punch.
- Sauces & Dressings: Whisk it into homemade barbecue sauces, gravies, or even your dairy-free Caesar dressing. It adds a nuanced complexity that’s hard to achieve with other ingredients.
- Bloody Marys: For a truly exceptional Bloody Mary, a dash of this homemade Worcestershire sauce is essential. It provides that perfect balance of savory and spicy notes.
- Snack Mixes: Elevate your snack game by adding it to savory mixes like my homemade Chex mix. The sauce coats the ingredients beautifully, creating an addictive flavor.
- Roasted Vegetables: Drizzle a little over roasted root vegetables like carrots, potatoes, or Brussels sprouts before baking for an extra layer of caramelized, savory goodness.
- Eggs: A tiny splash over scrambled eggs or an omelet can brighten and deepen their flavor profile.
Storage Instructions for Optimal Freshness
Proper storage is key to enjoying your homemade Worcestershire sauce for as long as possible. I recommend storing it in a clean, airtight glass jar or bottle in the refrigerator. The acidity of the vinegar, along with the other ingredients, acts as a natural preservative, allowing it to keep beautifully for up to 3 months.
Before each use, give the jar a good shake. It’s natural for some of the ingredients to settle at the bottom over time, and a quick shake will redistribute the flavors evenly. Always ensure the lid is tightly sealed after use to maintain freshness and prevent any contamination. Knowing exactly what goes into this homemade condiment gives me peace of mind, and having it readily available anytime I need a splash of umami is incredibly convenient.
Frequently Asked Questions (FAQs) About Homemade Worcestershire Sauce
Can I make this Worcestershire sauce vegan?
Yes, you can! To make this recipe vegan, simply omit the anchovy paste and fish sauce. You can replace the lost umami by adding an extra tablespoon of gluten-free soy sauce (or tamari), a teaspoon of dried mushroom powder, or a dash of liquid smoke for a deeper, savory flavor without animal products.
What can I use if I don’t have tamarind paste?
Tamarind paste provides a unique sweet-sour tang. If you can’t find it, a good substitute can be a mixture of equal parts lime juice and brown sugar, or a small amount of date paste with a splash of extra apple cider vinegar. However, for the most authentic flavor, I highly recommend seeking out tamarind paste.
How long does homemade Worcestershire sauce last?
Stored in a clean, airtight container in the refrigerator, your homemade Worcestershire sauce will last for up to 3 months. The vinegar and other ingredients act as natural preservatives.
Can I scale this recipe up or down?
Absolutely! This recipe can be easily scaled up if you want to make a larger batch for gifting or extended use, or scaled down if you only need a small amount. Just maintain the ingredient ratios.
Do I need to sterilize the storage jar?
While not strictly necessary for a sauce with a high acid content like this, sterilizing your jar is good practice, especially if you want to maximize its shelf life. You can sterilize jars by washing them thoroughly in hot, soapy water, rinsing, and then placing them in an oven at 275°F (135°C) for 10-15 minutes, or running them through a hot cycle in your dishwasher.
More Homemade Sauce Recipes You’ll Love
If you’ve enjoyed making your own Worcestershire sauce, you’ll love exploring other homemade condiment recipes. Making sauces from scratch often results in cleaner ingredients and superior flavor. Here are some of my other favorites:
- Homemade Gluten-Free Teriyaki Sauce
- Easy Gluten-Free BBQ Sauce
- Wholesome Gluten-Free Stir Fry Sauce
- Authentic Gluten-Free Hoisin Sauce
- Creamy Dairy-Free Caesar Dressing
Making your own Worcestershire sauce is a rewarding culinary endeavor that brings incredible flavor and control to your kitchen. Say goodbye to guesswork about ingredients and hello to a vibrant, customizable condiment that will become a new favorite. Enjoy!