
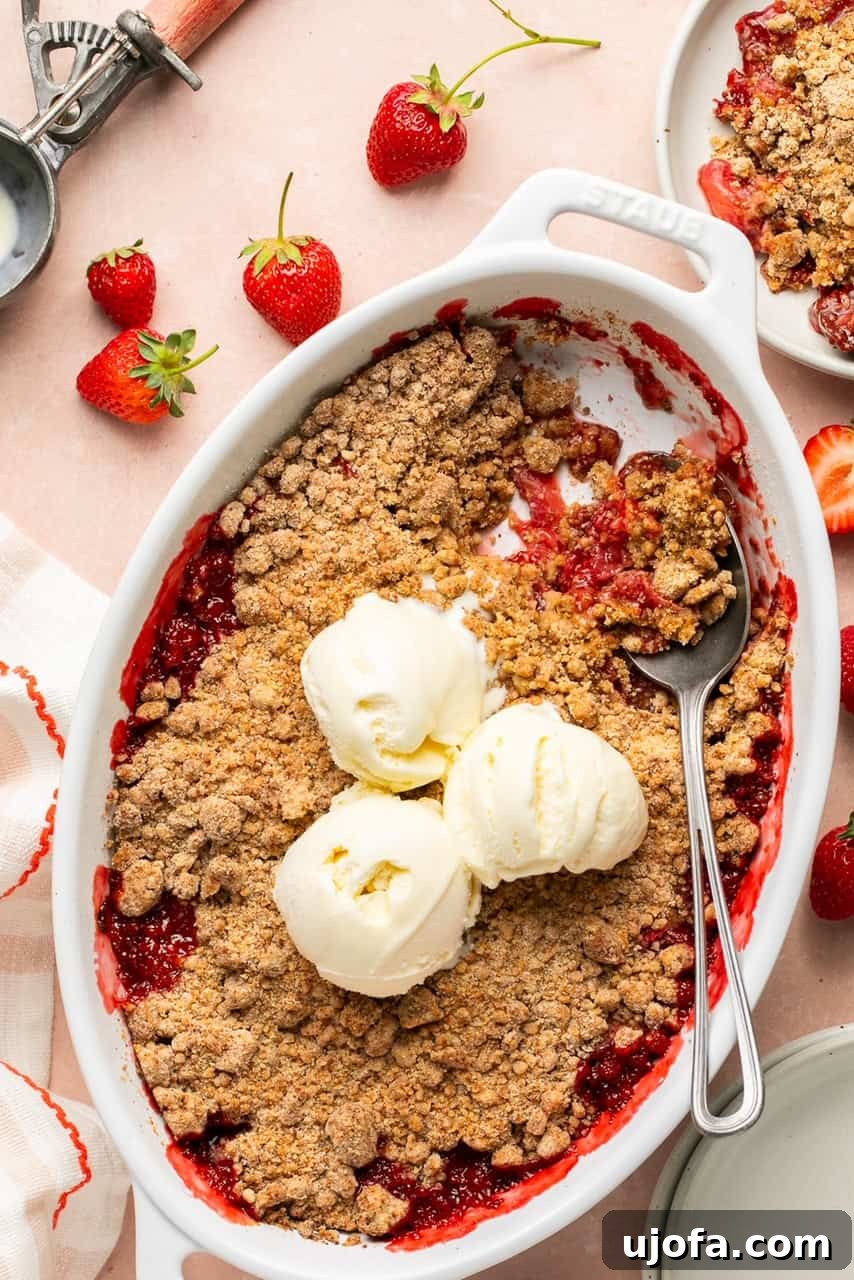
Welcome to the ultimate guide for creating the most delightful and easy-to-make Gluten-Free Strawberry Crumble! As the days grow longer and the sun shines brighter, there’s nothing quite like a warm, comforting dessert bursting with fresh, seasonal flavors. This recipe delivers just that: a luscious, naturally sweetened strawberry filling crowned with an incredibly crunchy, golden-brown crumble topping, baked to absolute perfection. It’s not just a dessert; it’s a celebration of summer’s bounty, designed to be enjoyed by everyone, regardless of dietary preferences. Whether you’re gluten-free, oat-free, egg-free, or nut-free, this adaptable recipe also offers a simple dairy-free option, making it a truly inclusive treat for any gathering.
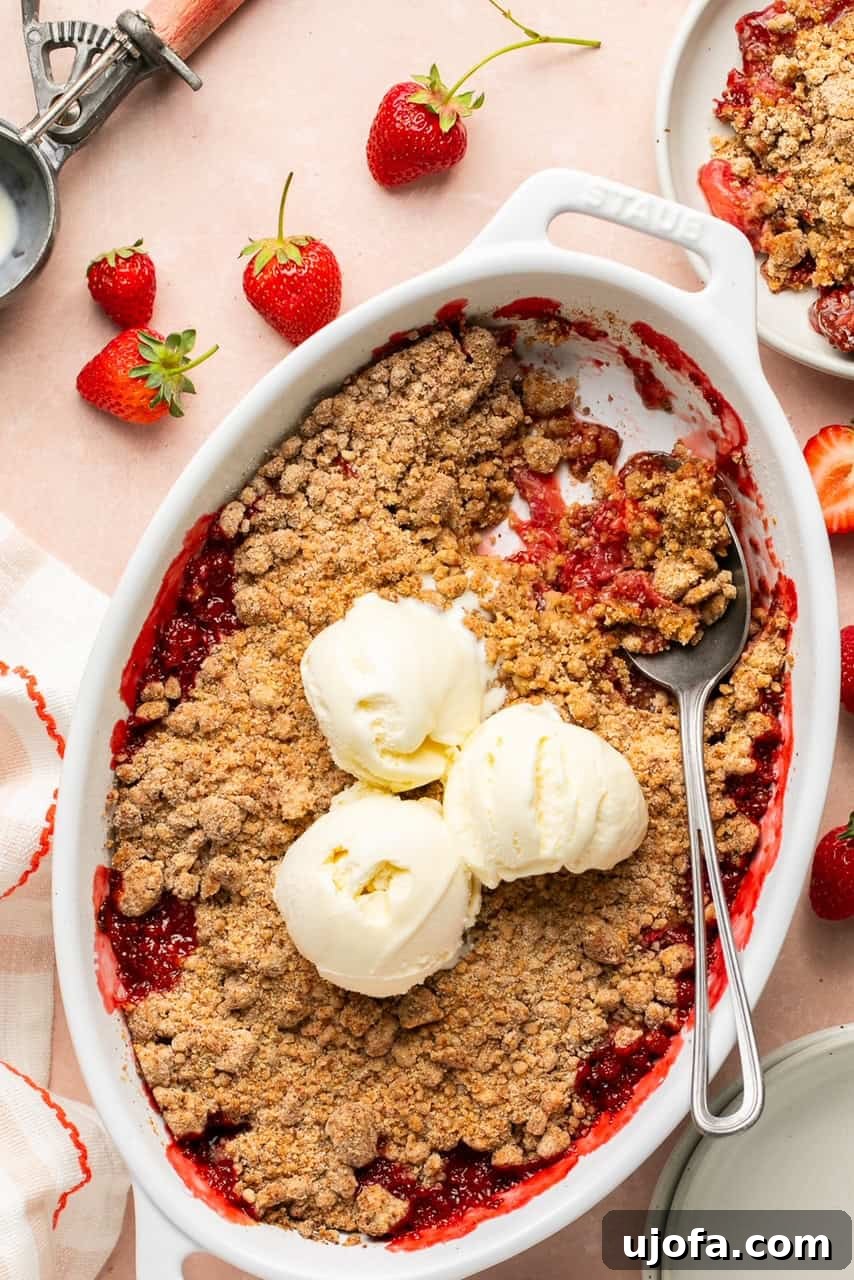
Understanding Your Dessert: Crumble vs. Crisp vs. Cobbler
In the delightful world of fruit-filled desserts, terms like crumble, crisp, and cobbler are often used interchangeably, yet each boasts a unique characteristic that sets it apart. Knowing the distinctions can help you appreciate the specific charm of our strawberry crumble.
A fruit crumble, like the one we’re crafting today, is defined by its streusel-like topping. This rich, buttery mixture is typically made from flour, sugar, and cold butter, rubbed together to create distinct, irregular crumbs. When baked, these crumbs transform into a wonderfully golden and tender yet crumbly layer that offers a perfect textural contrast to the soft fruit underneath.
A fruit crisp, on the other hand, often incorporates rolled oats and sometimes nuts into its topping. This addition gives the crisp a heartier, chewier, and distinctly crunchier texture compared to a crumble. The oats toast beautifully in the oven, lending a rustic, wholesome appeal.
Finally, a fruit cobbler stands in its own category with a topping made from biscuit dough or a cake-like batter. These toppings are often dropped in dollops over the fruit, which puff up during baking, creating a cobblestone effect (hence the name). The result is a softer, bread-like topping that melts into the fruit filling.
Today’s focus is on the classic Strawberry Crumble, chosen for its appealing blend of sweet, juicy strawberries with a buttery, crumbly topping that achieves a golden-brown finish and a satisfying texture—crunchy enough to impress, but with a more tender bite than a crisp. It’s a timeless dessert that promises comfort and joy in every spoonful.
What Makes This Easy Strawberry Crumble Recipe Unforgettable
This Gluten-Free Strawberry Crumble isn’t just another dessert; it’s a culinary masterpiece designed to capture the essence of summer and bring smiles to every face. Here’s why this recipe deserves a prime spot in your kitchen:
- Perfect Summer Indulgence: Fresh strawberries are the undisputed stars of summer, and this crumble truly lets their vibrant flavor shine. The natural sweetness and slight tartness of the berries are perfectly balanced by the buttery, golden crumble, creating a symphony of taste that is both refreshing and deeply satisfying. It’s the ideal dessert for those warm evenings or festive summer gatherings.
- Effortless Preparation: Don’t let its gourmet taste fool you; this recipe is incredibly straightforward and requires minimal effort. With simple ingredients and clear, easy-to-follow steps, you can whip up this crowd-pleasing dessert in no time, making it perfect for both planned occasions and last-minute cravings. It’s a fantastic option for busy home cooks who want maximum flavor with minimal fuss.
- Allergy-Friendly & Inclusive: One of the standout features of this strawberry crumble is its commitment to inclusivity. It is naturally gluten-free, using a 1:1 gluten-free flour blend, ensuring that those with gluten sensitivities can enjoy it without worry. Furthermore, it is completely oat-free, nut-free, and egg-free, addressing common allergies and making it a safe and delicious option for almost everyone. For those seeking a fully plant-based treat, a simple swap to vegan butter makes this recipe entirely dairy-free and vegan-friendly.
- Incredible Versatility: While fresh strawberries are divine, this crumble base is wonderfully versatile. Feel free to experiment with other seasonal fruits like blueberries, raspberries, peaches, apples, or a delightful mix of berries. Each variation offers a unique flavor profile, allowing you to adapt the recipe to whatever fresh produce is available or to your personal preferences. This adaptability ensures that the crumble never gets old and can be enjoyed throughout the year.
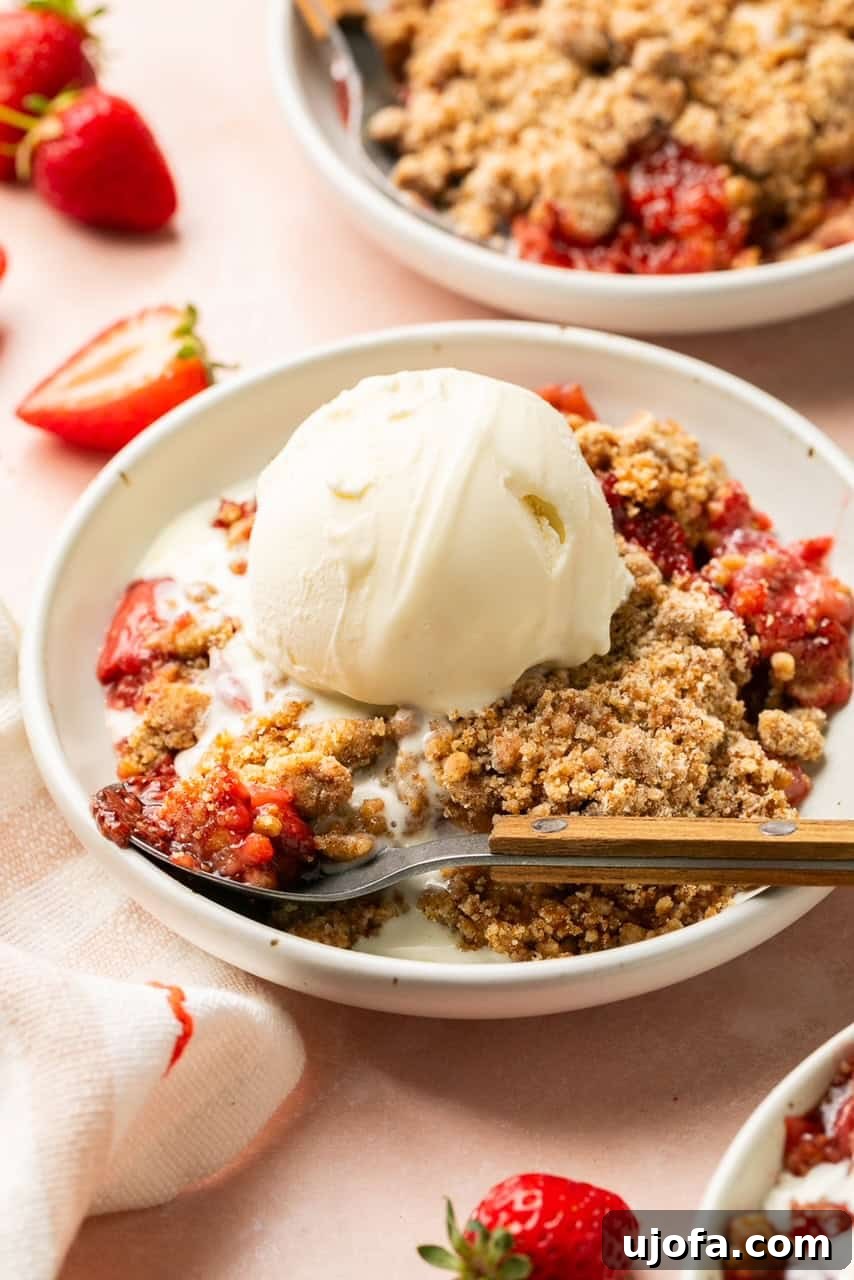
- Irresistible Texture Contrast: The magic of a great crumble lies in its textures. Here, the warm, soft, and slightly gooey strawberry filling beautifully contrasts with the crunchy, crumbly topping. Each bite offers a delightful interplay of textures that keeps you coming back for more.
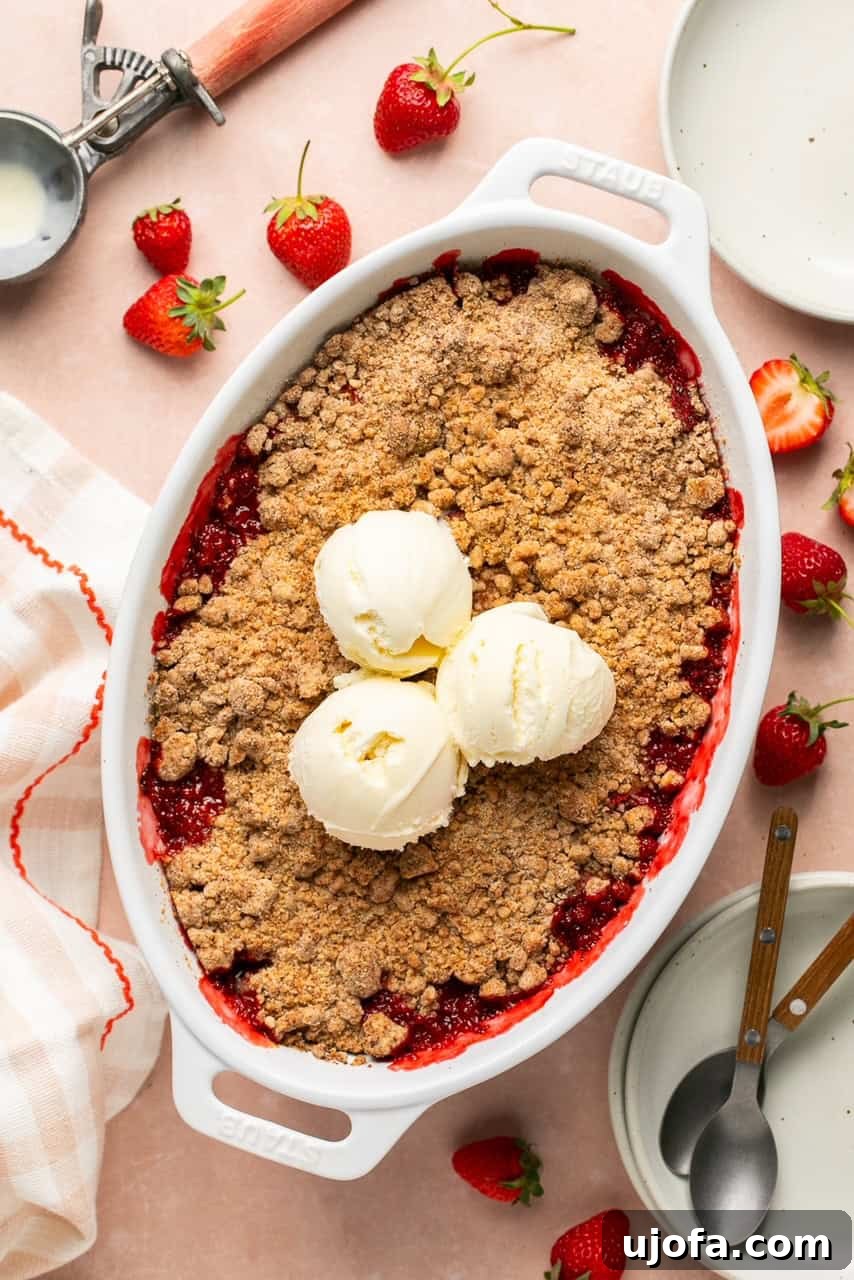
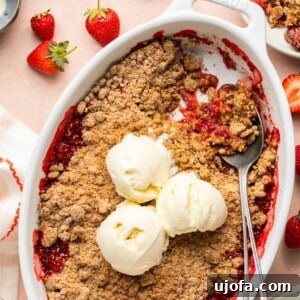
- A Crowd-Pleasing Delight: Whether served warm from the oven with a generous scoop of creamy vanilla ice cream, a dollop of fresh whipped cream, or simply on its own, this strawberry crumble is guaranteed to be a hit. Its comforting aroma and vibrant appearance make it an inviting centerpiece, and its delicious flavor profile ensures it will be devoured with enthusiasm at any summer party, BBQ, or family dinner. It truly captures the essence of homemade goodness.
Essential Ingredient Notes for Your Perfect Crumble
Crafting an exceptional strawberry crumble begins with understanding the role of each ingredient. Here’s a closer look at what you’ll need and why:
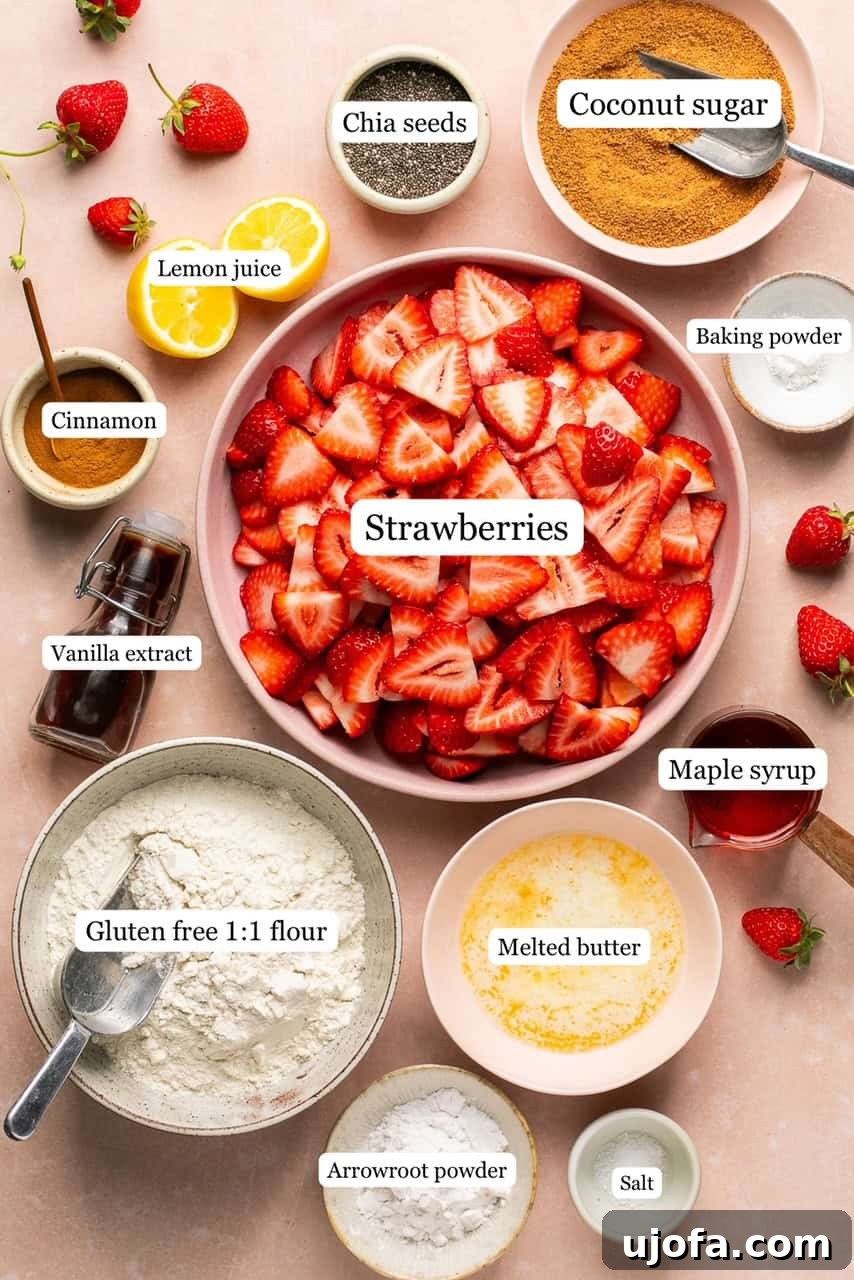
For the Crunchy Crumble Topping
- Gluten-Free 1:1 Flour Blend: This is the foundation of our oat-free crumble. We highly recommend a high-quality 1:1 gluten-free baking flour blend, such as King Arthur Baking’s measure-for-measure flour, which is formulated to substitute traditional all-purpose flour cup-for-cup. This ensures the perfect texture without any gluten. If gluten is not a concern for you, regular all-purpose flour can be used as a direct substitute.
- Coconut Sugar: A wonderful natural sweetener that contributes a subtle caramel-like note and a rich, golden color to the topping. Coconut sugar is less processed than refined white sugar and has a slightly lower glycemic index. Brown sugar can be used as an alternative if coconut sugar is not available, offering a similar depth of flavor.
- Maple Syrup: Adding a touch of pure maple syrup to the crumble mixture helps bind the dry ingredients, ensuring those delightful clumps and enhancing the overall sweetness with its distinct, warm flavor. It also helps achieve a beautiful glaze as it bakes.
- Baking Powder: A small amount of baking powder helps to create a slightly lighter, more tender crumb, contributing to the overall desirable texture of the topping.
- Ground Cinnamon: This warm spice beautifully complements the sweet strawberries and adds a cozy, aromatic depth to the crumble. It’s a classic pairing that elevates the entire dessert.
- Fine Sea Salt: A pinch of sea salt is crucial for balancing the sweetness and enhancing all the other flavors in the crumble. It brings out the best in both the fruit and the topping, preventing the dessert from tasting flat.
- Melted Butter: Melted butter is key to creating that signature crumbly texture. It coats the flour mixture evenly, resulting in wonderfully irregular clumps that crisp up when baked. For a dairy-free and vegan option, simply substitute an equal amount of your favorite high-quality vegan butter. Ensure it’s melted before incorporating.
For the Juicy Strawberry Filling
- Fresh Strawberries: The heart of this crumble! For the best flavor and texture, prioritize using fresh, ripe strawberries, especially when they are in season. Look for berries that are bright red, plump, and fragrant. If fresh strawberries are not available, frozen strawberries can be used; however, be sure to thaw them first and drain any excess liquid to prevent a watery filling.
- Chia Seeds: These tiny powerhouses act as a natural thickener for the strawberry filling, helping to create a beautifully jammy consistency without being overly gummy. They also add a subtle nutritional boost, including fiber and omega-3s.
- Arrowroot Starch/Powder: Another excellent thickening agent, arrowroot starch helps to bind the strawberry juices, ensuring a perfectly set and luscious filling. It provides a clearer finish than cornstarch, which can be substituted if arrowroot is unavailable.
- Maple Syrup: Used again in the filling, maple syrup provides natural sweetness, allowing the natural sugars of the strawberries to shine while complementing their flavor. This keeps the dessert free from refined sugars.
- Fresh Lemon Juice: A squeeze of fresh lemon juice is essential. It brightens the flavor of the strawberries, adds a hint of tangy counterpoint to the sweetness, and helps to balance the overall taste profile of the filling.
- Pure Vanilla Extract: A touch of pure vanilla extract enhances the berry flavors and adds a warm, inviting aroma, completing the sophisticated flavor of the strawberry filling.
Step-by-Step Guide: How to Bake Your Own Strawberry Crumble
Creating this delightful gluten-free strawberry crumble is a straightforward process, broken down into simple, manageable steps. Follow along to bake your own perfect summer dessert:
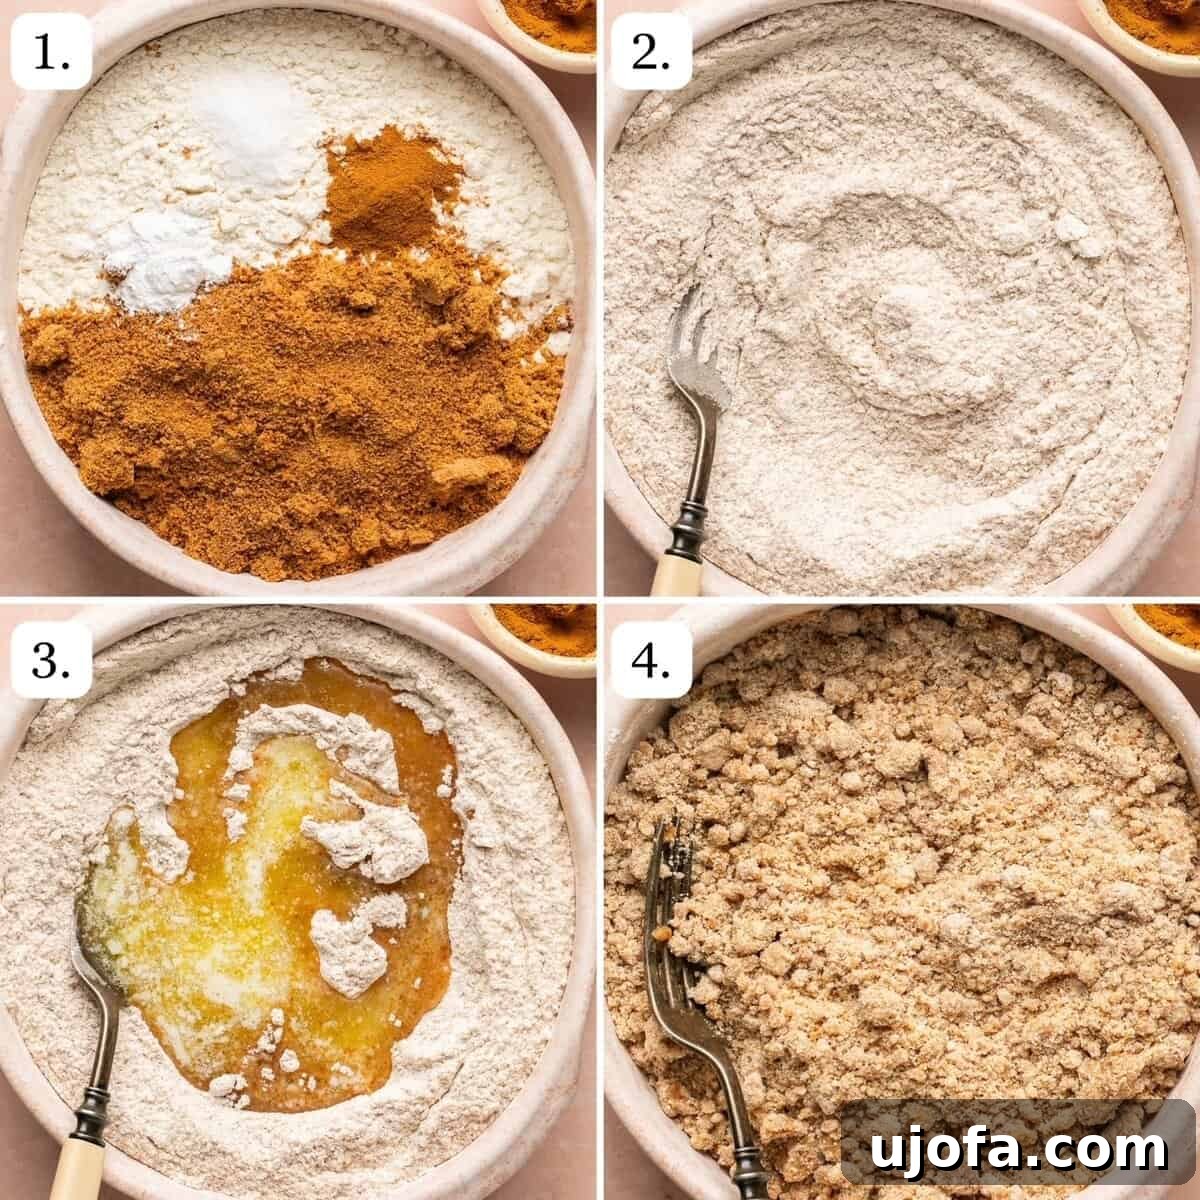
Step 1: Prepare Your Oven and Dry Crumble Ingredients
Begin by preheating your oven to 350 degrees Fahrenheit (175 degrees Celsius). This ensures the oven is at the correct temperature for even baking from the moment your crumble goes in. In a large mixing bowl, combine all the dry crumble topping ingredients: gluten-free flour, coconut sugar, baking powder, cinnamon, and sea salt. Whisk them together thoroughly to ensure all ingredients are well distributed.
Step 2: Incorporate Maple Syrup into the Dry Mixture
Add the maple syrup to the dry ingredients in the bowl. Stir well until the maple syrup is fully incorporated, creating a somewhat clumpy and slightly sticky mixture. This liquid sweetener helps to initiate the crumble formation and adds an extra layer of flavor.
Step 3: Introduce the Melted Butter
Pour the melted butter (or vegan butter for a dairy-free option) over the flour and syrup mixture. Ensure the butter is fully melted but not overly hot, which could cook the flour. The butter is crucial for achieving that characteristic crumbly texture.
Step 4: Achieve the Perfect Crumble Texture
Using a fork or your fingertips, gently stir and work the melted butter into the flour mixture until it forms distinct, coarse crumbs. The goal is to have a range of small and large chunks, rather than a uniform dough. Avoid over-mixing; a light touch will help maintain the desired crumbly consistency that crisps up beautifully during baking.
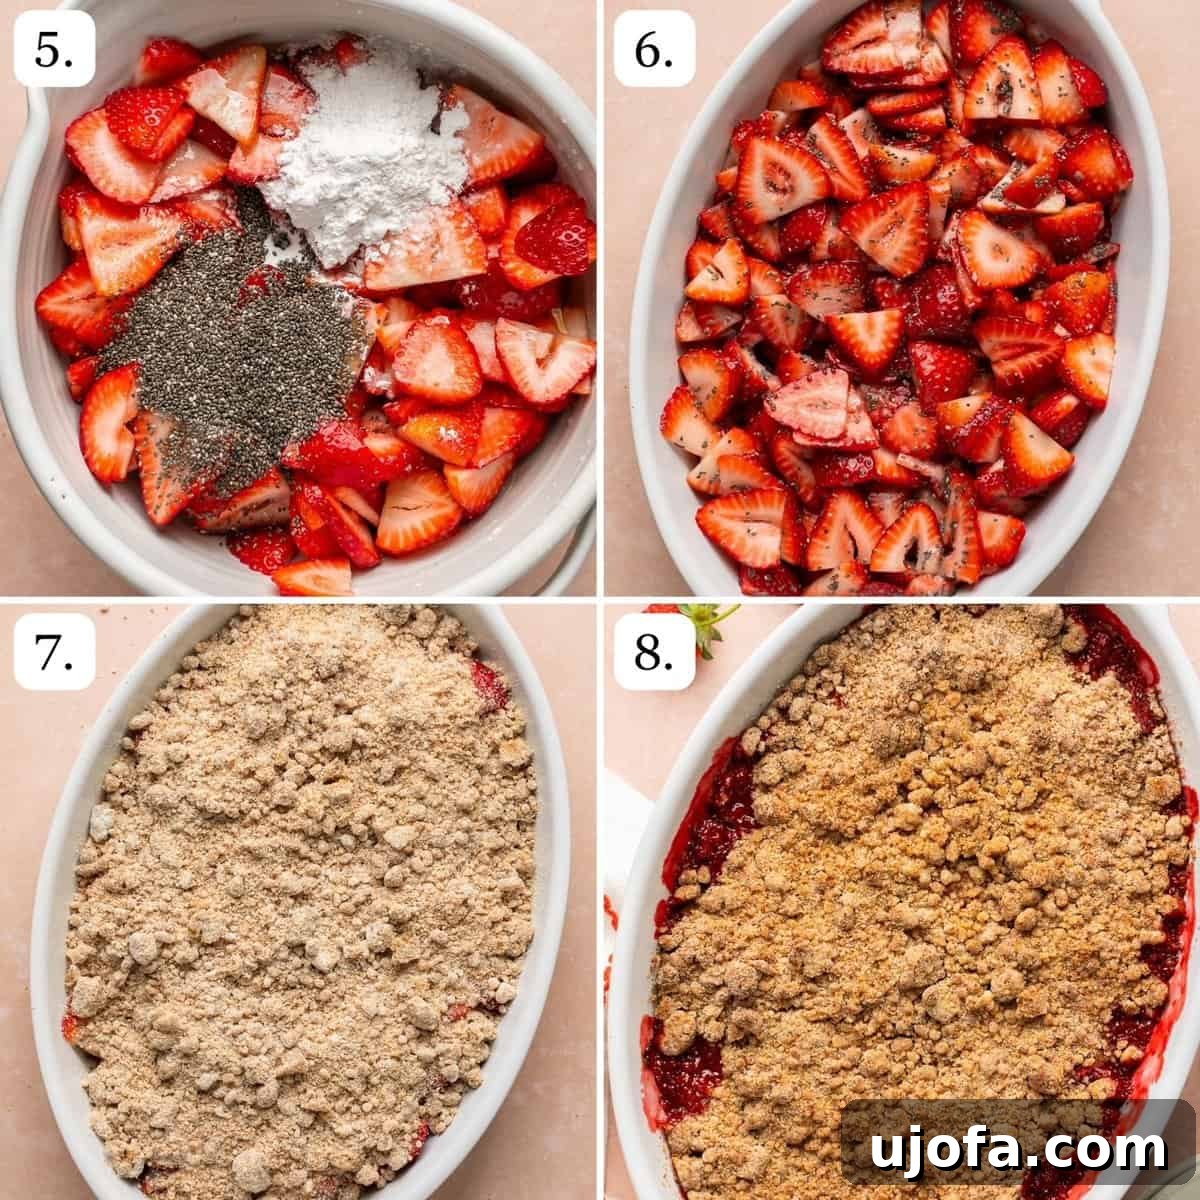
Step 5: Prepare the Luscious Strawberry Filling
In a separate medium-sized bowl, combine your sliced fresh strawberries. Add the arrowroot powder (or cornstarch), maple syrup, fresh lemon juice, and pure vanilla extract. These ingredients will create a glossy, thick, and flavorful base for your crumble.
Step 6: Gently Mix the Filling and Transfer to Baking Dish
Gently stir the strawberry mixture until all the berries are evenly coated with the thickening agents and sweeteners. Transfer this vibrant strawberry filling to the bottom of your chosen baking dish. A 7×10-inch baking dish or a 9-inch (large) pie dish works perfectly, providing enough surface area for both the fruit and the topping to cook evenly.
Step 7: Apply the Crumble Topping and Prepare for Baking
Evenly sprinkle the prepared crumble mixture over the top of the strawberry layer. Ensure there’s a good distribution of both small and larger chunks of crumble for varied texture. For an extra golden-brown and crispy finish, lightly spray the surface of the crumble with a bit of avocado oil, coconut oil, or another preferred cooking oil. This step helps the topping achieve that perfect crunch and appealing color.
Step 8: Bake to Golden Perfection and Serve
Place the baking dish into your preheated oven and bake for approximately 35-40 minutes. You’ll know it’s ready when the crumble topping is beautifully golden brown and the strawberry mixture around the edges is visibly bubbling, indicating it’s cooked through and wonderfully jammy. Carefully remove the crumble from the oven. Let it cool for a few minutes before serving warm, ideally topped with a generous scoop of vanilla ice cream or a dollop of fresh whipped cream. Enjoy every glorious bite!
Expert Tips for the Best Strawberry Crumble
Achieve crumble perfection with these insider tips and tricks:
- Prioritize Fresh Strawberries: While frozen strawberries can be used in a pinch, fresh, ripe strawberries will always yield the best flavor and texture for your filling. If using frozen berries, thaw them completely and thoroughly drain any excess liquid before mixing with the other filling ingredients. This prevents a watery filling and ensures a rich, jammy consistency. You might also consider increasing the arrowroot powder by an extra teaspoon if using frozen fruit, just to be safe.
- Dairy-Free and Vegan Adaptation: This recipe is incredibly versatile for various dietary needs. To make it completely dairy-free, simply swap the regular butter in the crumble topping for your favorite high-quality vegan butter. As the recipe already omits eggs and other animal-based ingredients, making this simple substitution transforms it into a delightful vegan strawberry crumble that everyone can enjoy.
- Prepare Ahead for Convenience: This delicious dessert is perfect for making in advance, saving you time when you need it most. Follow steps 1-7 to assemble the crumble in your baking dish. Once assembled, cover the dish tightly with plastic wrap and refrigerate for up to 24 hours. When you’re ready to bake, let the dish sit at room temperature for 10-15 minutes before placing it in the preheated oven and baking according to Step 8. This ensures a consistent bake and a perfect, warm dessert ready when you are.
- Don’t Over-Mix the Topping: For the ultimate crumbly texture, resist the urge to over-mix the crumble topping. You want distinct chunks and crumbs, not a smooth paste. Over-mixing can develop gluten in the flour (even gluten-free flour can become gummy) and create a tougher, less desirable topping. Mix just enough until the butter is incorporated and the mixture resembles coarse crumbs.
- Achieve Maximum Crispness: The secret to an extra-crispy, golden-brown topping lies in the light spray of cooking oil before baking. Avocado oil, coconut oil, or even a neutral vegetable oil works wonderfully. This helps the crumbs toast beautifully and prevents them from drying out.
Delightful Serving Suggestions
While scrumptious on its own, this strawberry crumble truly shines when paired with certain accompaniments. Serve it warm for the ultimate experience:
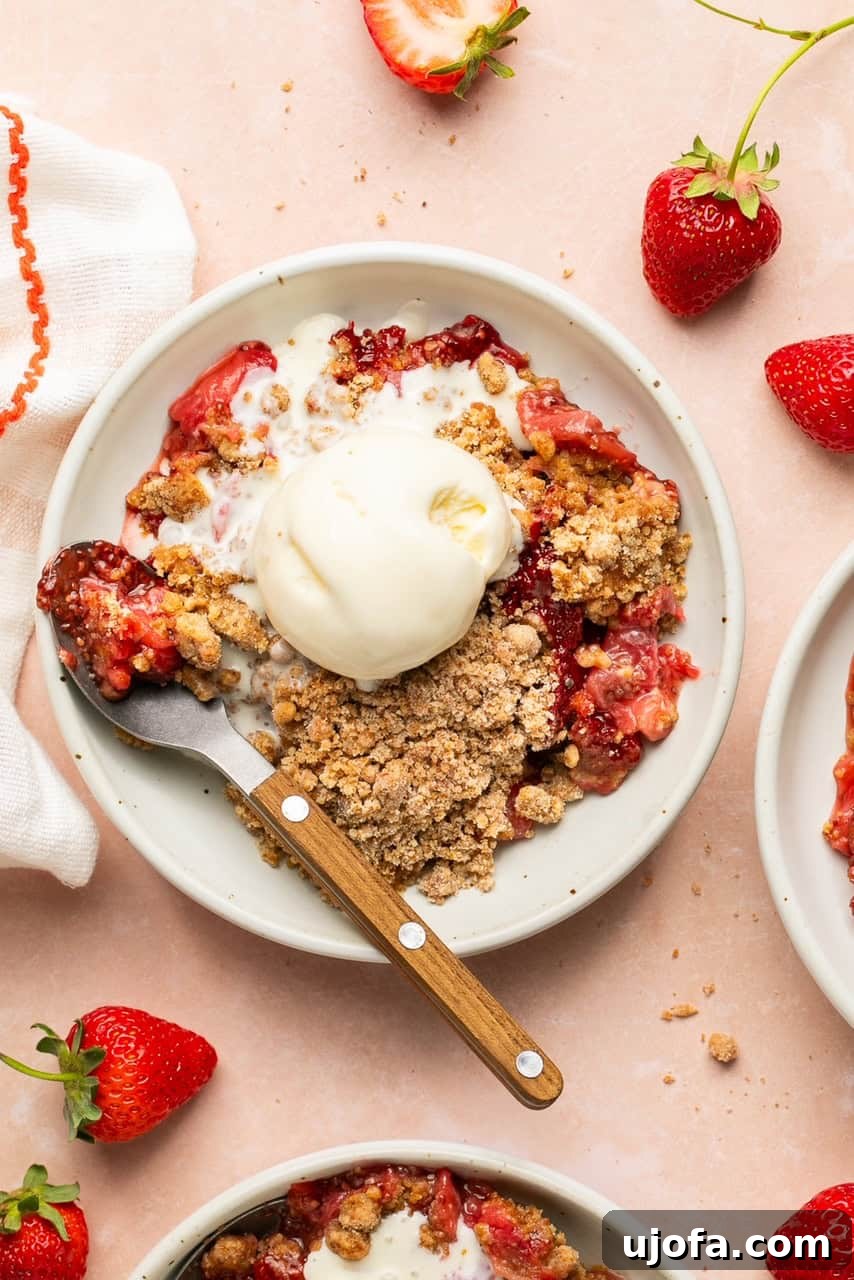
- Classic Vanilla Ice Cream: A generous scoop of cold, creamy vanilla ice cream melting over the warm crumble is a match made in heaven. The contrast in temperature and texture is simply irresistible.
- Whipped Cream Dream: A dollop of freshly whipped cream adds a light, airy, and luxurious touch. You can even infuse it with a hint of vanilla or a dash of cinnamon for extra flavor.
- Customized Toppings: For an extra flourish, consider a sprinkle of powdered sugar, a scattering of fresh mint leaves, or a drizzle of balsamic glaze over the strawberries before serving.
- Breakfast Treat: Believe it or not, leftover crumble (if there is any!) can be a delightful breakfast. Serve it with a dollop of Greek yogurt or a side of fresh fruit for a decadent morning indulgence.
Storage & Reheating for Lasting Enjoyment
Ensure your delicious strawberry crumble stays fresh and enjoyable with these storage and reheating tips:
Store any leftover strawberry crumble in an airtight container in the refrigerator for up to 4-5 days. This will help maintain its freshness and flavor. To reheat, simply scoop a portion onto a microwave-safe plate and warm gently in the microwave until heated through. Alternatively, for a crispier topping, you can reheat individual servings in a toaster oven or the main dish in a conventional oven at 300°F (150°C) for about 10-15 minutes, or until warm and the topping has regained some of its crunch. Always serve reheated crumble topped with a fresh scoop of ice cream for the best experience.
Frequently Asked Questions (FAQ)
Achieving that perfect crunch depends on a few factors. First, avoid over-mixing the crumble topping; you want distinct, coarse crumbs, not a smooth dough. Second, ensure you don’t skip the step of lightly spraying the top of the crumble with a bit of cooking oil (like avocado or coconut oil) before baking. This helps the crumbs toast and crisp up beautifully in the oven. Also, make sure your oven temperature is accurate and that you bake it long enough for the topping to turn a rich golden brown.
Yes, you can absolutely use frozen strawberries if fresh ones are out of season or unavailable. However, it’s crucial to thaw them completely before use and drain any excess liquid. Frozen berries tend to release more water, which could result in a runny filling. You might also want to add an extra teaspoon of arrowroot powder or cornstarch to the filling to ensure it thickens properly.
Absolutely! This crumble recipe is incredibly versatile. You can easily swap strawberries for other fruits like blueberries, raspberries, peaches, apples, or a mix of seasonal berries. Adjust the sweetness based on the natural sweetness of the fruit you choose. For firmer fruits like apples or peaches, you might want to slice them thinner or pre-cook them slightly to ensure they soften properly during baking.
This recipe is already nearly vegan! To make it completely dairy-free and vegan, simply substitute the melted butter in the crumble topping with an equal amount of your preferred vegan butter. Since the recipe is already oat-free, egg-free, and nut-free, this single substitution makes it suitable for a plant-based diet without compromising on taste or texture.
A runny filling can happen if the fruit released too much liquid or if not enough thickener was used. If using frozen fruit, ensure it’s thoroughly drained. You can also try adding an extra tablespoon of arrowroot powder (or cornstarch) to the fruit mixture next time. If it’s already baked and still too runny, don’t worry! It will likely firm up more as it cools. For immediate enjoyment, simply serve it in a bowl with plenty of ice cream to soak up the delicious juices.
More Delicious Strawberry Desserts & Recipes to Explore
If you loved this strawberry crumble, you’ll surely enjoy these other delightful recipes featuring fresh strawberries:
Gluten-Free Strawberry Angel Food Cake Trifle
Paleo Strawberry Shortcake (Gluten-Free)
No Bake Strawberry Cheesecake Jars
Paleo Vegan Berry Crisp
Love this recipe? Please leave a 5-star ★★★★★ rating in the recipe card below & a review in the comment section. Or, follow me on Facebook, Pinterest or Instagram today!
Rated 5 out of 5 stars by 6 users.
Easy Strawberry Crumble Recipe (Gluten Free)
Equipment
- 7×10 inch baking dish or 9-inch pie dish
Ingredients
Crumble
- 1.5 cups gluten free 1:1 flour (King Arthur Baking brand recommended)
- ½ cup coconut sugar
- 2 tbsp maple syrup
- ½ tsp baking powder
- 1 tsp cinnamon
- ¼ tsp salt
- 6 tbsp butter, melted (use vegan butter for dairy-free)
Strawberry Filling
- 2 lbs strawberries, sliced
- 2 tbsp chia seeds
- 2 tbsp arrowroot powder
- ⅓ cup maple syrup
- 2 tbsp lemon juice
- 1 tsp vanilla extract
Instructions
-
Preheat oven to 350 degrees F (175 C).
-
In a large bowl, combine gluten-free flour, coconut sugar, baking powder, cinnamon, and salt. Add maple syrup and mix well. Then, add the melted butter and stir until the mixture forms coarse, distinct crumbs. Avoid overmixing to maintain a crumbly texture.
-
In a separate bowl, gently combine sliced strawberries, chia seeds, arrowroot powder, maple syrup, lemon juice, and vanilla extract until the berries are evenly coated.
-
Pour the strawberry mixture into a 7×10-inch baking dish or a 9-inch pie dish. Evenly sprinkle the crumble topping over the strawberries, ensuring both small and large chunks are distributed. Lightly spray the topping with a bit of avocado oil or other cooking oil for a golden, crispy finish.
-
Bake for 35-40 minutes, or until the crumble topping is golden brown and the strawberry filling is bubbling around the edges. Serve warm, preferably with a scoop of vanilla ice cream or a dollop of whipped cream. Enjoy!
Notes
Expert Tips
- This recipe works best using fresh strawberries. Frozen will work, but the consistency of the filling may be a bit more runny. Thaw and drain excess liquid if using frozen.
- To make this recipe dairy-free, substitute the butter for vegan butter. As there are no eggs or other animal-based ingredients, if you use vegan butter this recipe will be fully vegan.
- Make this delicious dessert ahead of time if needed. Simply follow the assembly steps (Steps 1-7), then cover in plastic wrap and refrigerate until ready to bake. Let sit at room temperature for 10-15 minutes before baking according to Step 8.
Serving Tips
Serve warm in a dish with a big scoop of vanilla ice cream, a dollop of whipped cream, or by itself!
Storage Tips
Store leftover strawberry crumble in an airtight container in the refrigerator for up to 4-5 days. Reheat in the microwave or oven and serve topped with ice cream.
Nutrition
All nutrition facts are an estimate and automatically calculated. While efforts are made to ensure accuracy, please note that they may not always be 100% accurate and can vary based on specific ingredients used. For the most precise grams per serving size, it is recommended to weigh your total yield and divide by the number of servings.