
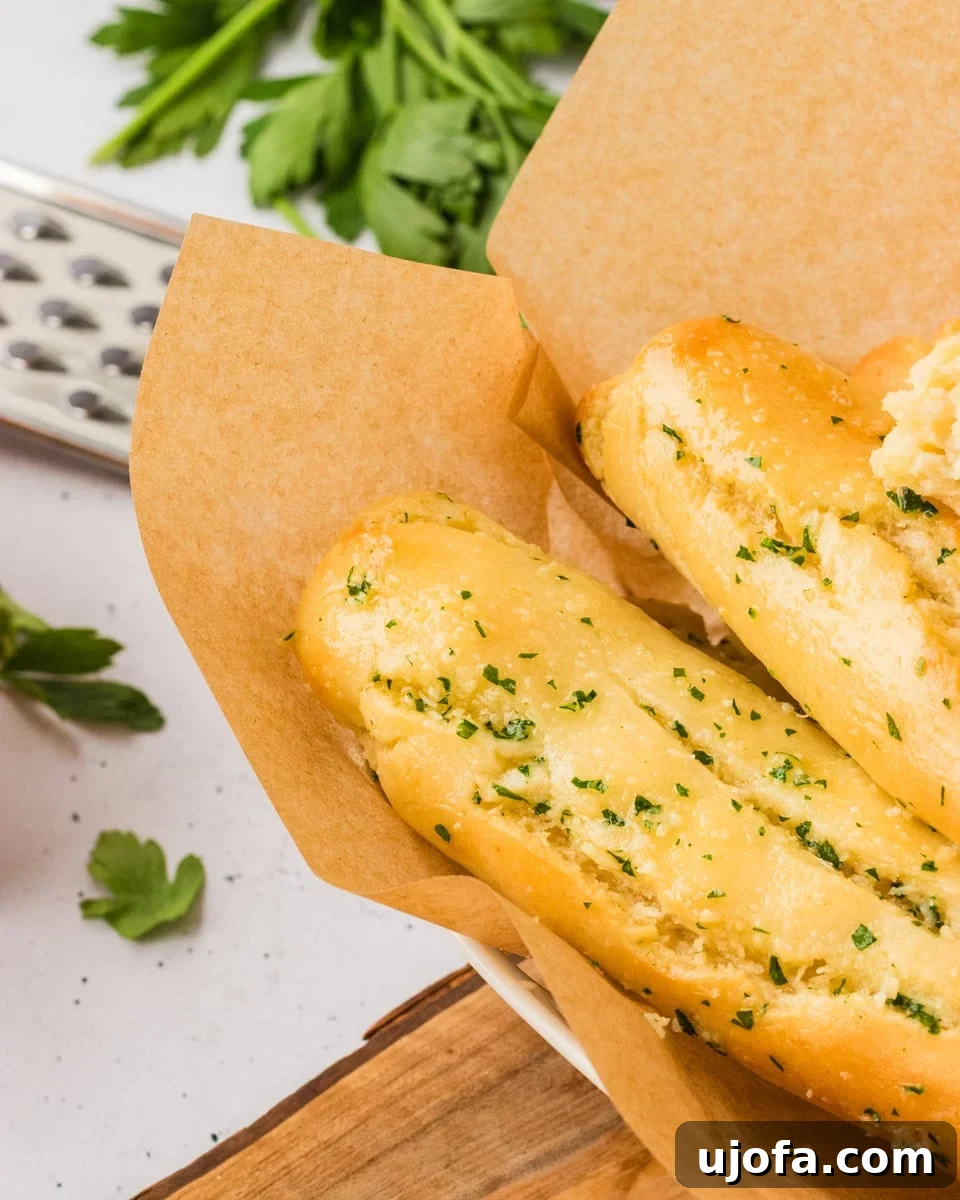
One of the true joys of a hearty meal is often found in the simplest accompaniments: a warm, crusty bread. For many navigating a gluten-free lifestyle, this simple pleasure can feel like a distant memory. The quest for that perfect warm, buttery breadstick, ideal for dipping into rich marinara sauce or soaking up the last delicious drops of a comforting soup, can be a real challenge. While store-bought gluten-free options have improved, they often fall short of the homemade standard, lacking that essential soft texture, golden crisp exterior, and satisfying flavor. This quest led me to experiment in my own kitchen, and what I discovered was nothing short of a revelation: making a fresh batch of homemade gluten-free breadsticks from scratch is not only surprisingly fun but incredibly rewarding.
I’m thrilled to share a recipe that truly delivers. These easy gluten-free breadsticks are a game-changer, offering a soft, flavorful interior and a beautifully golden outside, all without the need for long rise times or overly complicated steps. They’ve become a reliable staple in my kitchen, perfect for pasta nights, alongside cozy soups, or simply slathered in butter as a quick and satisfying snack. The best part? No laborious proofing or endless kneading required. Just a simple mix, shape, and bake, and you’ll have warm, homemade breadsticks on your table in about 30 minutes. This recipe empowers you to reclaim the delight of fresh bread, making it accessible and enjoyable for everyone, regardless of dietary restrictions.
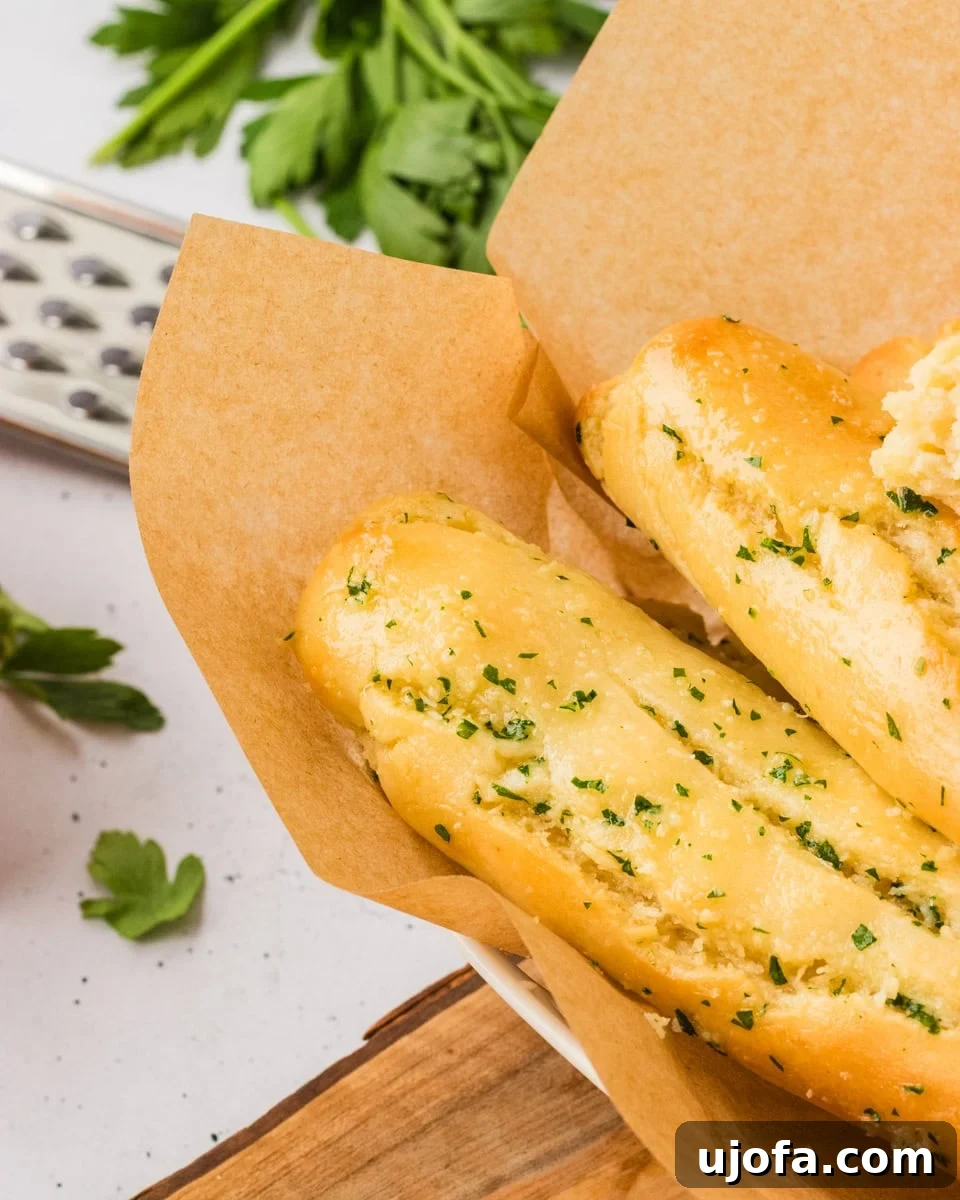
These quick gluten-free breadsticks are an absolute revelation for busy households and a total game-changer in my kitchen. What truly sets them apart is their incredible softness and buttery richness, coupled with those irresistible crisp, golden edges. The magic ingredient is instant yeast, which allows them to rise beautifully right in the oven – eliminating the usual waiting, kneading, and fuss that comes with traditional bread recipes. Imagine having a warm batch ready to serve in just 30 minutes! This makes them absolutely perfect for those last-minute pasta dinners, an impromptu dipping companion for soup, or even as a delightful appetizer when unexpected guests arrive.
My kids can’t get enough of these, especially when I brush them generously with a savory garlic butter or sprinkle them with a little cheese and fresh herbs right out of the oven. They vanish almost as quickly as they’re made! I often bake extra batches to freeze, ensuring I always have an easy, delicious side ready for any weeknight meal. If you’re searching for more incredibly simple and delicious gluten-free bread ideas, our gluten-free garlic bread is another family favorite that’s just as quick to prepare and equally satisfying. Get ready to transform your gluten-free baking experience with these utterly delightful breadsticks that bring comfort and flavor back to your table.
Gluten-Free Breadsticks
Find detailed step-by-step photos located directly below the recipe card for a visual guide.
Ingredients
Breadsticks
- 3½ cups gluten-free all-purpose flour blend (containing xanthan gum)
- 1 packet instant yeast, (approximately 2 ¼ teaspoons)
- 3 tbsp granulated sugar
- 1 tsp salt
- 2 large eggs, beaten and brought to room temperature
- 1¼ cup warm water (around 105-115°F, not hot)
- ⅓ cup unsalted butter, melted and slightly cooled
Garlic Butter Topping
- 3 tbsp unsalted butter, melted
- 1½ tbsp Parmesan cheese, freshly grated for best flavor
- ½ tsp garlic powder
- ¼ tsp salt
- 2 tsp fresh parsley, finely chopped, for garnish and flavor
Instructions
-
Prepare Baking Trays: Begin by lining two standard baking trays with parchment paper. This simple step prevents sticking and makes cleanup a breeze. Set them aside as you prepare your dough.
-
Combine Dry Ingredients: In a medium-sized mixing bowl, or the bowl of your stand mixer fitted with a paddle attachment, thoroughly stir together the gluten-free flour, salt, sugar, and instant yeast. Ensure these dry ingredients are well combined before adding any wet components.
-
Incorporate Wet Ingredients: Next, add the warm water (ensure it’s not too hot, typically between 105-115°F to activate the yeast without killing it), the slightly cooled melted butter, and the room temperature beaten eggs to the dry mixture. Mix on low speed, or by hand, until all ingredients are mostly incorporated and a soft, shaggy dough begins to form. At this stage, I find it incredibly helpful to switch to mixing with my hands. This allows you to accurately gauge the dough’s stickiness. The ideal dough should feel a little sticky to the touch but still manageable and easy to handle without excessive residue. If the dough is overly sticky and challenging to work with, add additional gluten-free flour one tablespoon at a time, mixing until it reaches a more workable consistency. Remember, adding too much flour can lead to denser breadsticks, so use it sparingly and aim for that slightly tacky but shapable texture.
-
Prepare for Shaping: Transfer your prepared dough to a clean work surface. If the dough still feels a bit too sticky for comfortable handling, you can lightly dust your work surface with a small amount of gluten-free flour. Gently shape the entire dough mass into a round. Using a sharp knife or a dough cutter, carefully cut the dough in half. As you work with one half of the dough, be sure to cover the other half with a clean kitchen towel or plastic wrap. This prevents it from drying out, ensuring it remains pliable and easy to shape when its turn comes.
-
Shape the Breadsticks: Take one half of your dough and divide it into 5 equal pieces. For each piece, gently roll it on your clean, lightly floured counter into a log shape, forming individual breadsticks. Aim for a consistent thickness, roughly ¾-inch to 1-inch in diameter, and about 6-8 inches long. Carefully transfer each shaped breadstick to one of your parchment-lined baking trays. Repeat this process with the remaining dough pieces from the first half, placing them evenly spaced on the tray. Then, uncover the second half of the dough, divide it into 5 pieces, and repeat the shaping and placement process on the second parchment-lined baking tray. You should end up with a total of 10 breadsticks, with five breadsticks on each tray to allow for proper airflow and even baking.
-
Rest and Bake: Allow your shaped breadsticks to rest briefly while your oven preheats. Preheat your oven to 375°F (190°C). Once the oven reaches the correct temperature, carefully place the baking trays with the breadsticks into the hot oven. Bake for approximately 10-15 minutes, or until the breadsticks achieve a beautiful, light golden color on top. Keep a close eye on them to prevent overbaking, which can result in dry breadsticks. The light golden hue indicates they are perfectly baked, with a soft interior.
-
Prepare the Garlic Butter: While your breadsticks are baking and filling your kitchen with an enticing aroma, it’s time to prepare the flavorful garlic butter topping. In a small bowl, combine all the ingredients for the garlic butter: the melted butter, grated Parmesan cheese, garlic powder, salt, and finely chopped fresh parsley. Stir everything together until it’s well mixed and fragrant.
-
Brush and Serve: As soon as the golden-brown breadsticks emerge from the oven, immediately and generously brush their tops with the prepared garlic butter mixture. The warmth of the breadsticks will help the butter melt and infuse every bite with savory garlic and herb flavor. Serve these irresistible homemade gluten-free breadsticks hot with your favorite Italian dishes, hearty soups, or as a delightful snack on their own. Enjoy every soft, buttery bite!
Notes
- For the most vibrant flavor and a truly irresistible finish, make sure to brush your gluten-free breadsticks with the homemade garlic butter immediately after they come out of the oven. The heat helps the butter soak in beautifully.
- Using fresh parsley not only adds a burst of vibrant color but also contributes a fresh, herbaceous note that elevates the overall flavor profile of these breadsticks. Don’t skip it!
- I achieve fantastic results using Pillsbury’s gluten-free all-purpose flour blend for this recipe. Generally, most high-quality gluten-free bread or all-purpose flour blends should work well. The key is to rely on the dough’s texture rather than strictly adhering to the flour amount, as different blends absorb liquid differently. However, it is absolutely crucial to ensure that your chosen gluten-free flour blend contains xanthan gum. Xanthan gum acts as a binder, mimicking the elasticity of gluten, which is essential for the structure and soft texture of these breadsticks. Without it, your breadsticks may be crumbly.
Nutrition
Nutrition information is automatically calculated, so should only be used as an approximation and may vary based on specific ingredients and brands used.
Additional Info
How to Make Gluten-Free Breadsticks Step-by-Step
Creating these delightful homemade gluten-free breadsticks is surprisingly straightforward, and with these visual steps, you’ll feel confident in no time. Follow along to achieve perfectly soft, golden breadsticks every time!
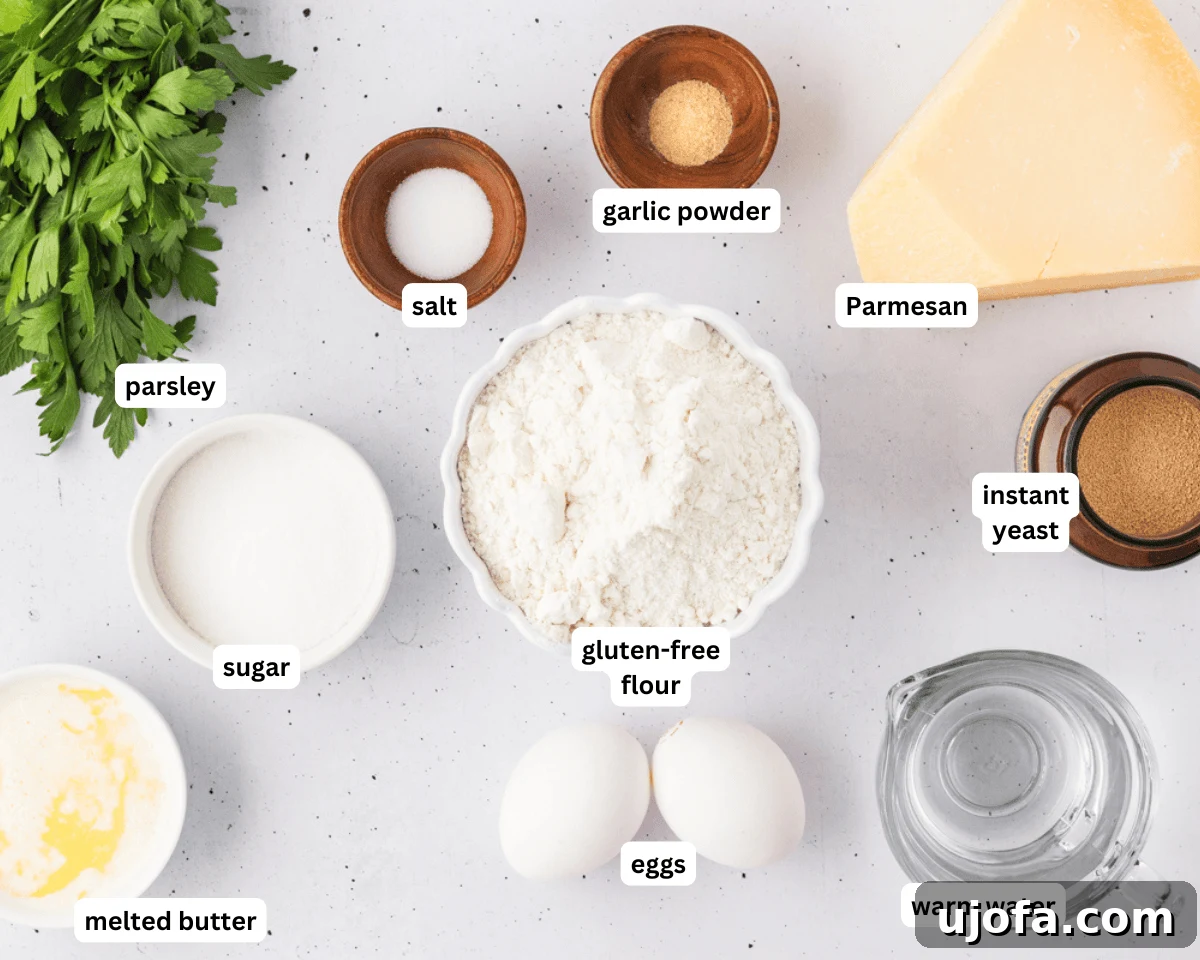
Step 1: Gather and Prepare Your Ingredients. The first crucial step to successful baking is to have all your ingredients measured and ready. This mise en place approach ensures a smooth baking process. Lay out your gluten-free flour, instant yeast, sugar, salt, room temperature eggs, warm water, and melted butter. Don’t forget to line two baking trays with parchment paper in advance; this will save you time later and prevent your breadsticks from sticking.
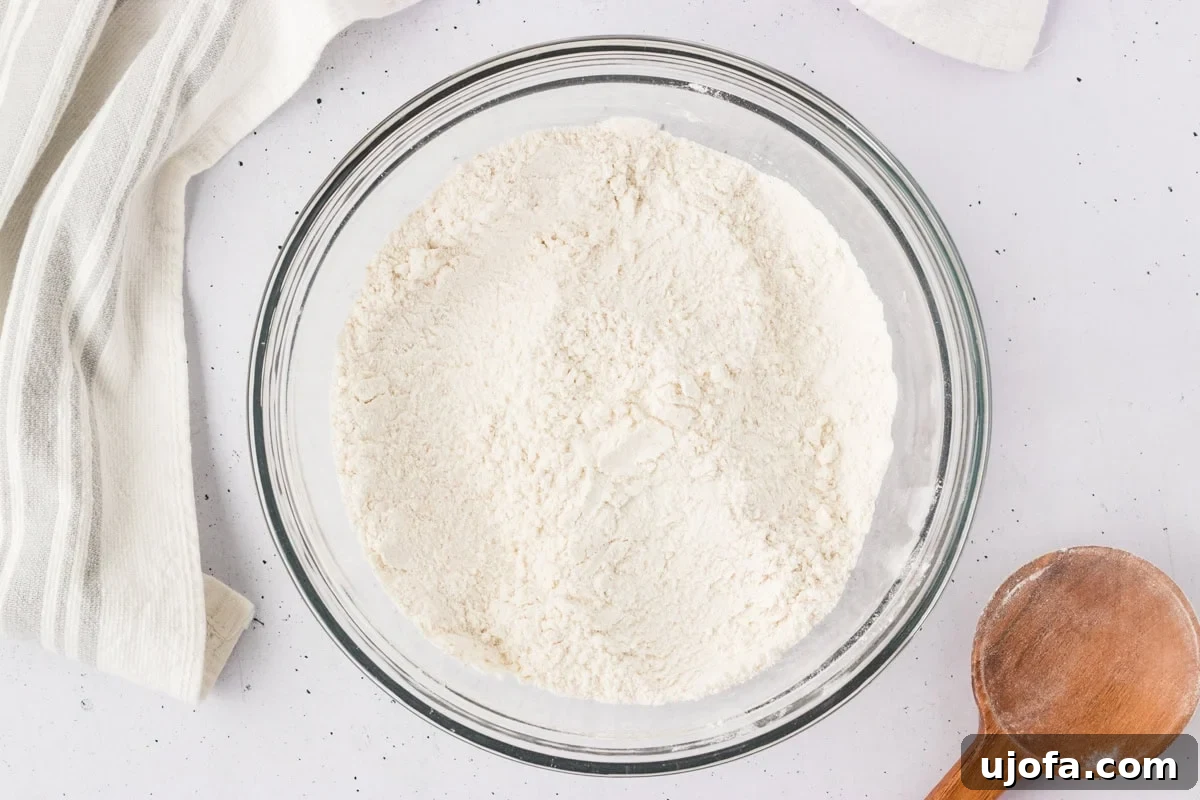
Step 2: Mix the Dry Ingredients. In a sizable mixing bowl, or the bowl of your trusty stand mixer, begin by combining your dry ingredients. Carefully measure and stir together 3 ½ cups of your preferred gluten-free all-purpose flour blend (remembering to check for xanthan gum!), 1 packet (which is about 2 ¼ teaspoons) of instant yeast, 3 tablespoons of sugar, and 1 teaspoon of salt. A thorough mix at this stage ensures even distribution of the yeast and seasonings, which is essential for uniform flavor and rise.
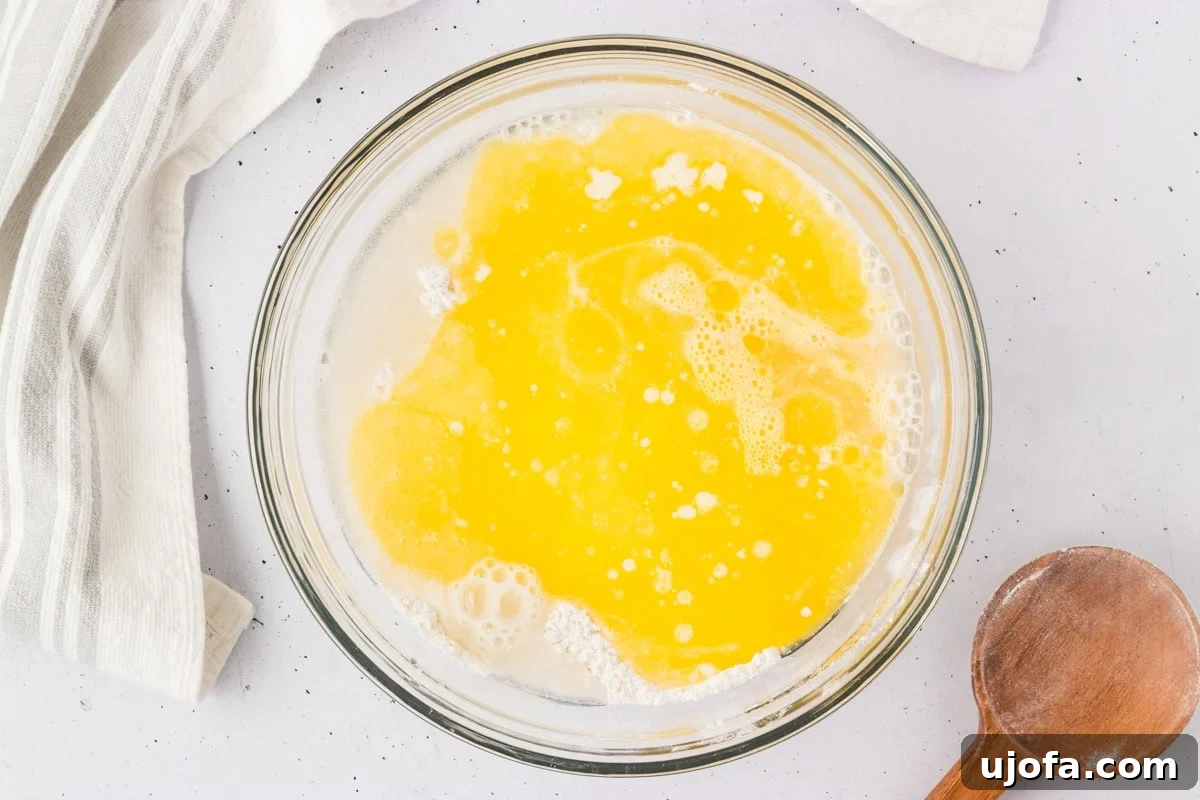
Step 3: Add the Wet Ingredients. Now it’s time to bring the dough to life! Into your bowl of dry ingredients, carefully add 2 beaten room temperature eggs, 1 ¼ cups of warm water (ensure it’s warm, not hot, to activate the yeast perfectly), and ⅓ cup of melted butter that has cooled slightly. It’s important that the butter isn’t scalding hot, as this could negatively impact the yeast’s activity and the dough’s texture.
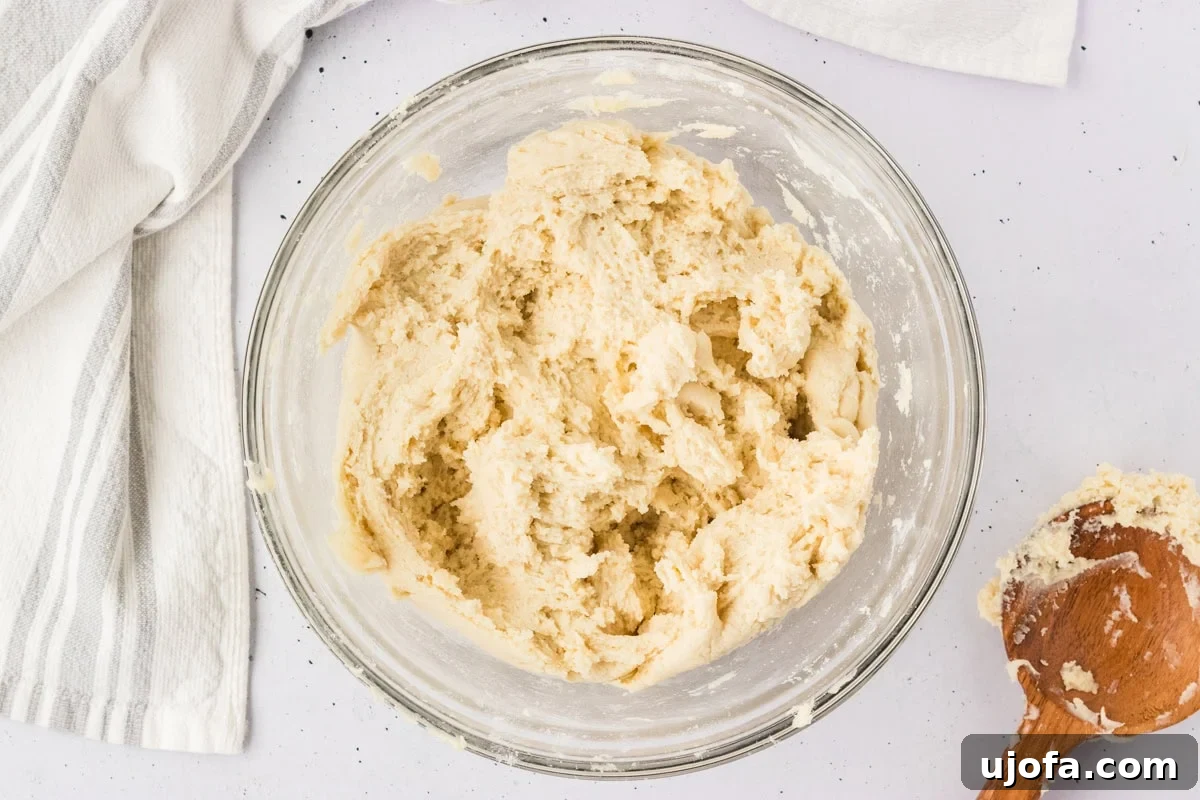
Step 4: Mix the Dough to the Right Consistency. Mix all the ingredients until they begin to come together and a cohesive dough starts to form. For gluten-free baking, the feel of the dough is often more important than its appearance. I recommend switching from a mixer to your hands at this point. This hands-on approach allows you to truly feel the dough’s consistency. It should be noticeably sticky but still easy enough to handle and shape without excessive residue clinging to your hands. If it’s too sticky, incorporate more gluten-free flour, a single tablespoon at a time, until you reach that ideal pliable, slightly tacky texture. Remember, a slightly wetter dough generally yields softer, fluffier breadsticks, so resist the urge to add too much extra flour.
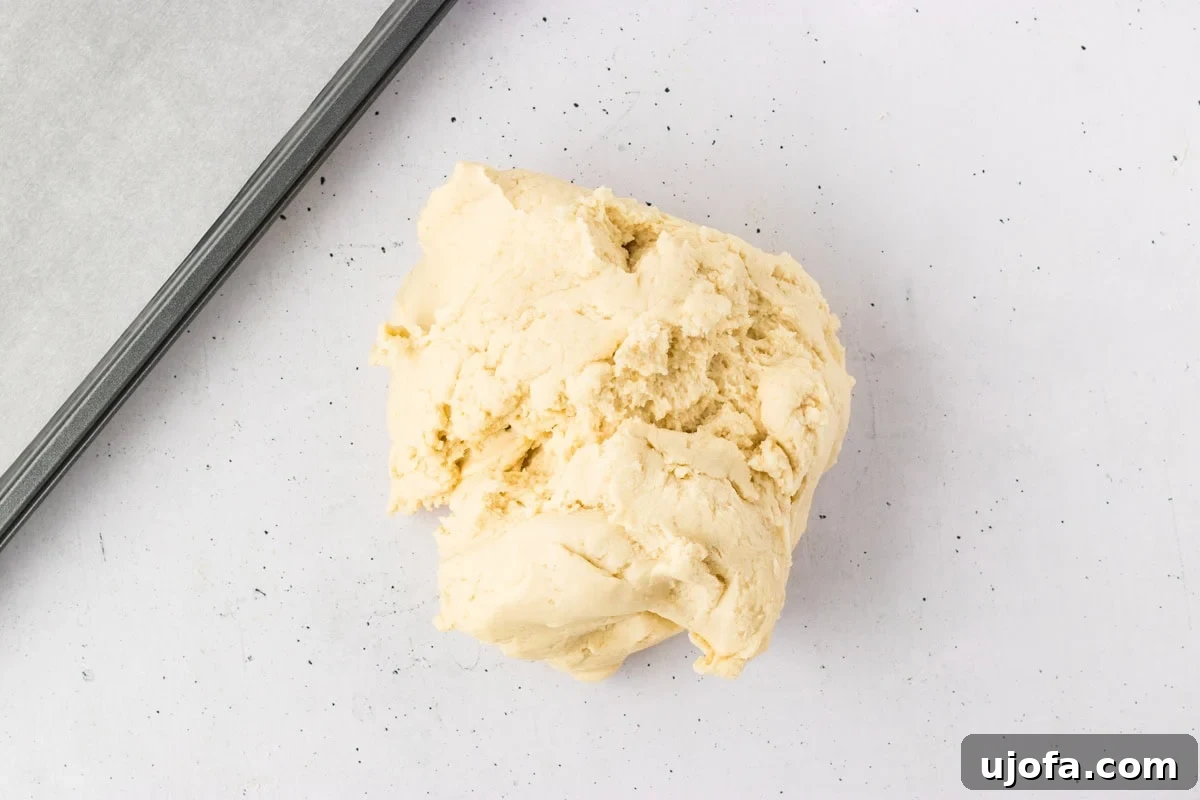
Step 5: Turn the Dough Out and Prepare for Division. Once your dough has reached the right consistency, turn it out onto a clean work surface. If you find the dough is still a little too sticky, a very light dusting of gluten-free flour on your surface can make handling much easier. This step gets the dough ready for the next phase: portioning and shaping into individual breadsticks.
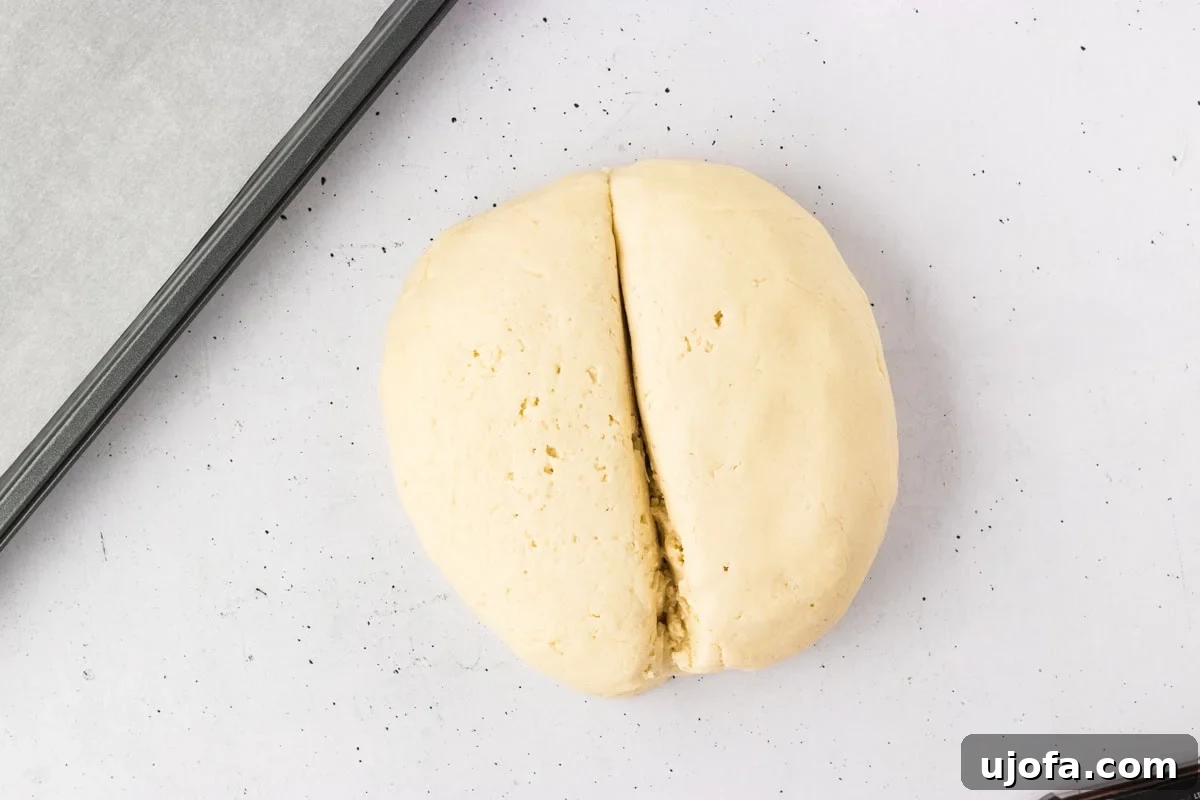
Step 6: Shape and Divide the Dough. Gently form the entire dough mass into a round shape. Then, using a knife or a bench scraper, cut the dough neatly in half. This initial division makes the subsequent portioning much simpler. As you begin working with one half, make sure to cover the other half with a clean kitchen towel or a piece of plastic wrap. This is a vital step to prevent the uncovered dough from drying out, ensuring it remains soft and pliable when you’re ready to shape it.
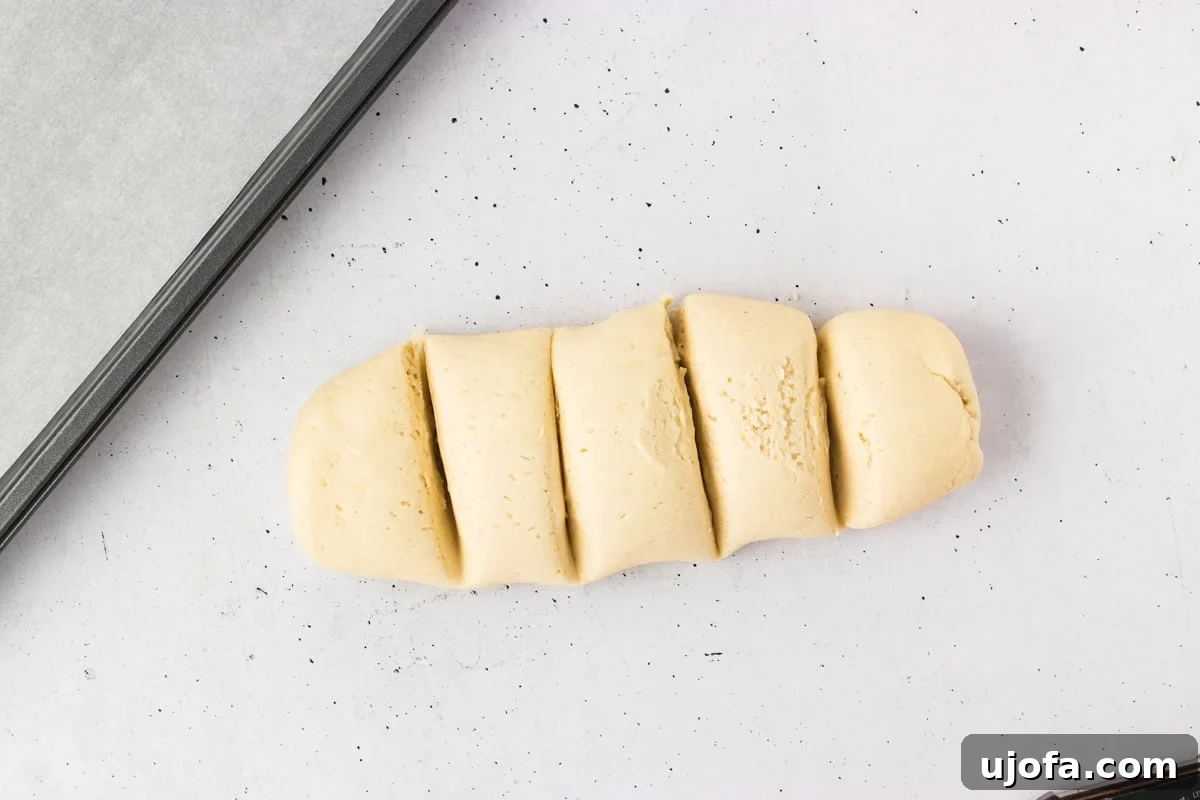
Step 7: Portion the Dough into Equal Parts. Take one of your dough halves and divide it into 5 equal portions. Precision here helps ensure all your breadsticks bake evenly. Repeat this with the second dough half. You should now have 10 uniformly sized pieces of dough, each ready to be transformed into a delicious breadstick.
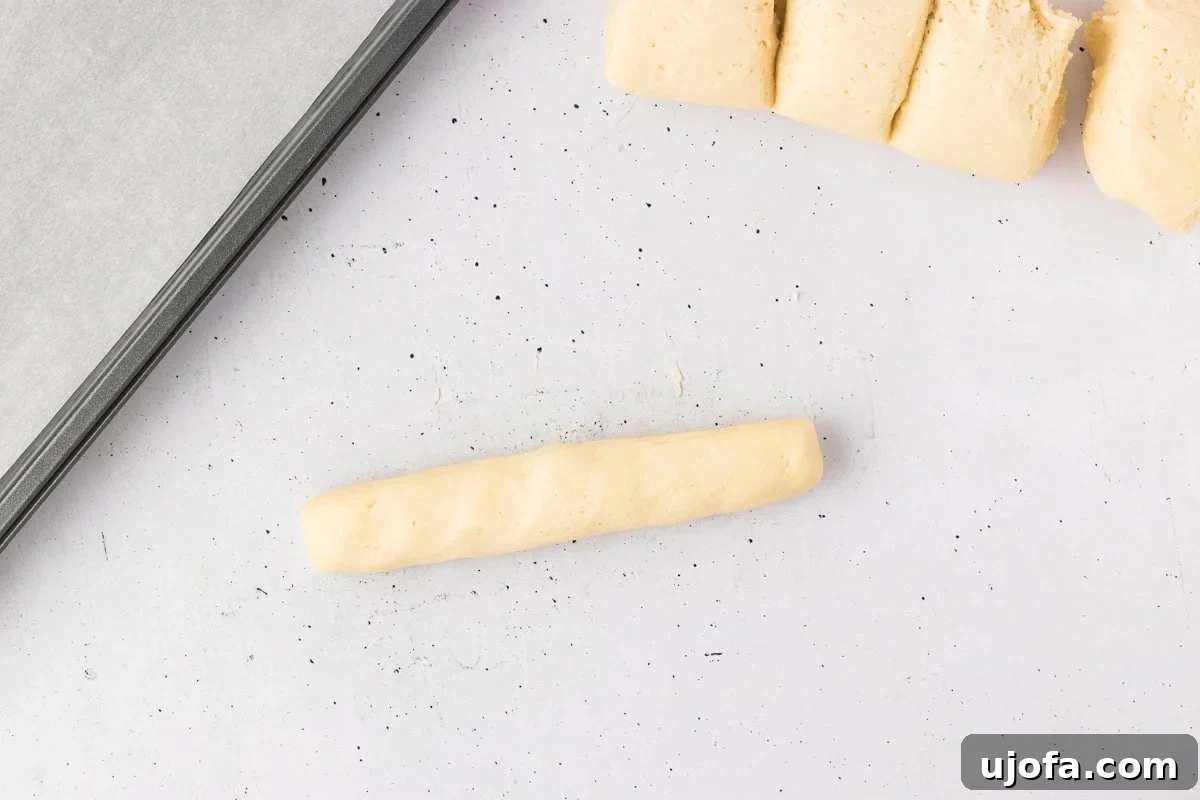
Step 8: Roll Each Piece into Breadstick Logs. Now for the fun part: shaping! Take each individual dough portion and gently roll it on your clean countertop. Use the palms of your hands to create a log shape, aiming for a length of about 6-8 inches and a thickness of approximately ¾ to 1 inch. Don’t press too hard; a gentle touch will help you achieve that classic breadstick form without overworking the dough. Consistency in shape will aid in even baking.
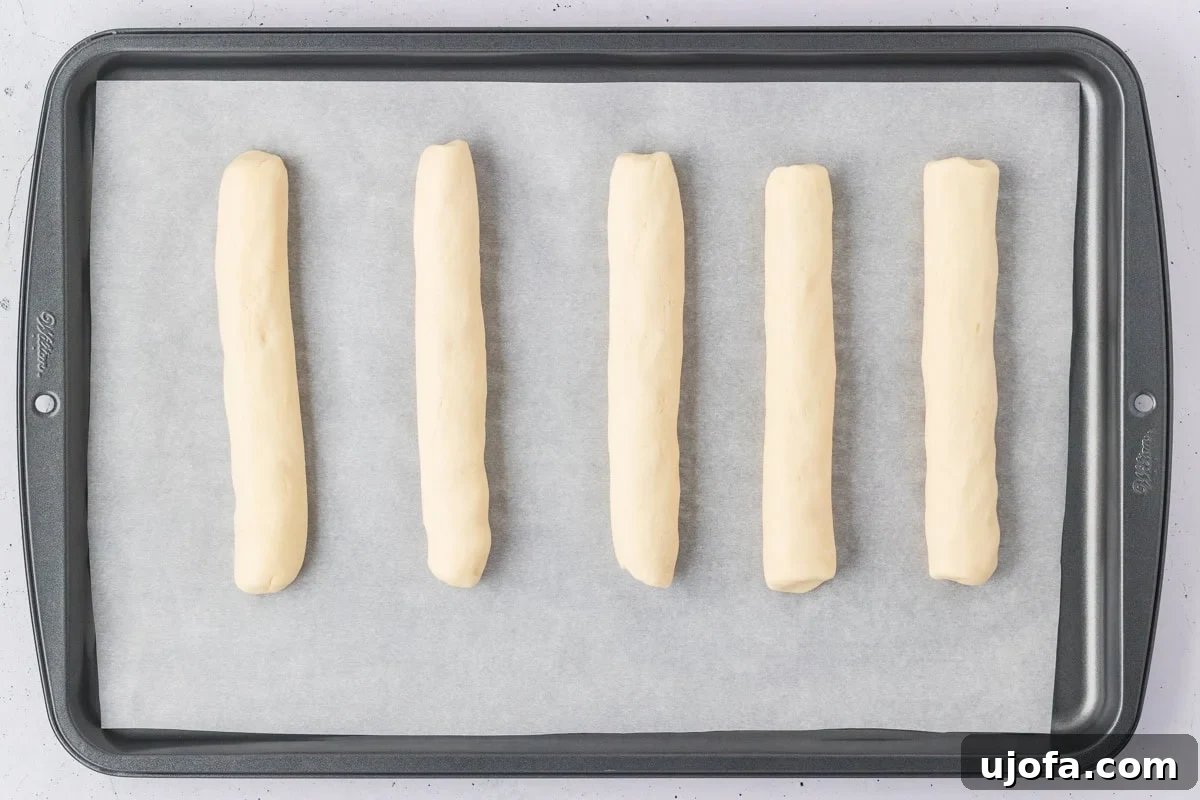
Step 9: Arrange on Baking Trays. As you finish shaping each breadstick, carefully place it onto one of your parchment-lined baking trays. Ensure there’s ample space between each breadstick to allow for proper air circulation and even baking. A good rule of thumb is five breadsticks per tray, creating a total of 10. Repeat this process until all your dough has been transformed into perfectly shaped breadsticks and neatly arranged on both trays.
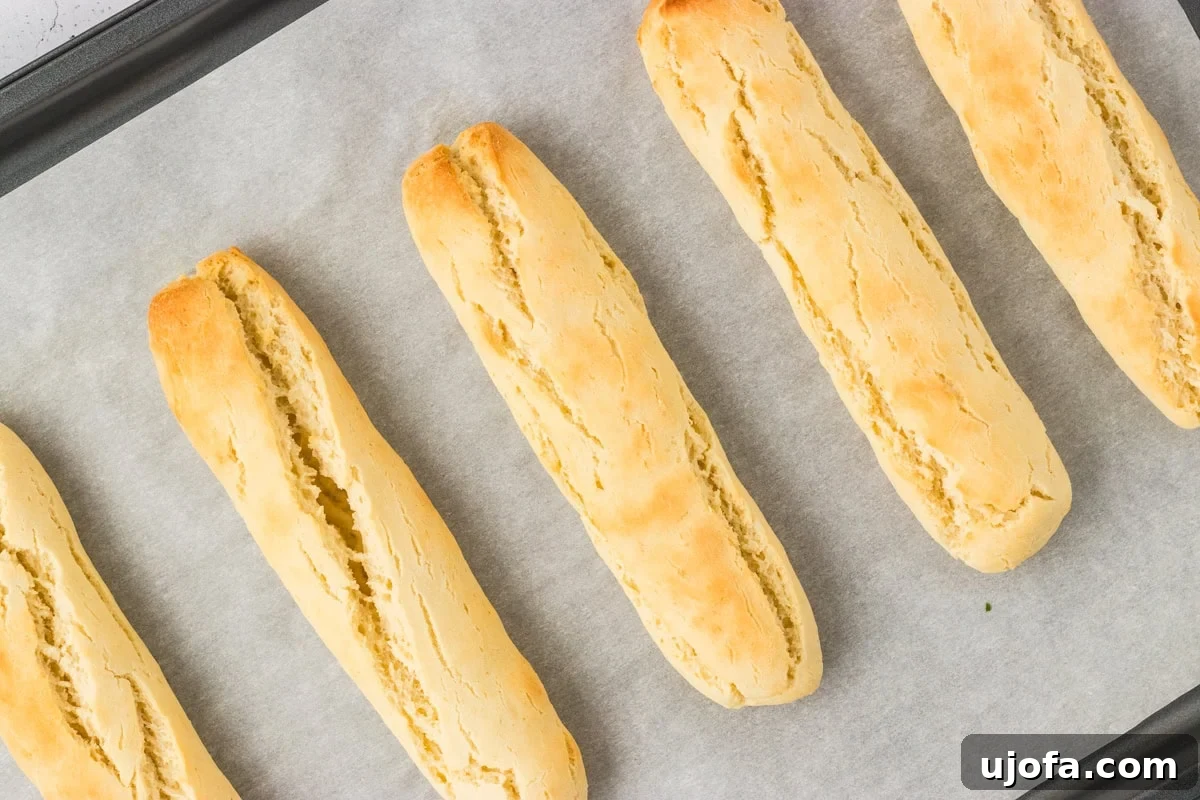
Step 10: Rest the Dough and Bake to Golden Perfection. Allow your shaped breadsticks to rest for a short period while you preheat your oven. Set the oven temperature to 375°F (190°C). This brief rest time allows the dough to relax slightly before baking. Once your oven is fully preheated, carefully transfer the baking trays into the oven. Bake the breadsticks for approximately 10 to 15 minutes. Keep a close watch; you’re looking for a beautiful, light golden color on the tops. This indicates they are perfectly baked through, achieving that ideal balance of a tender interior and a slightly crisp crust.
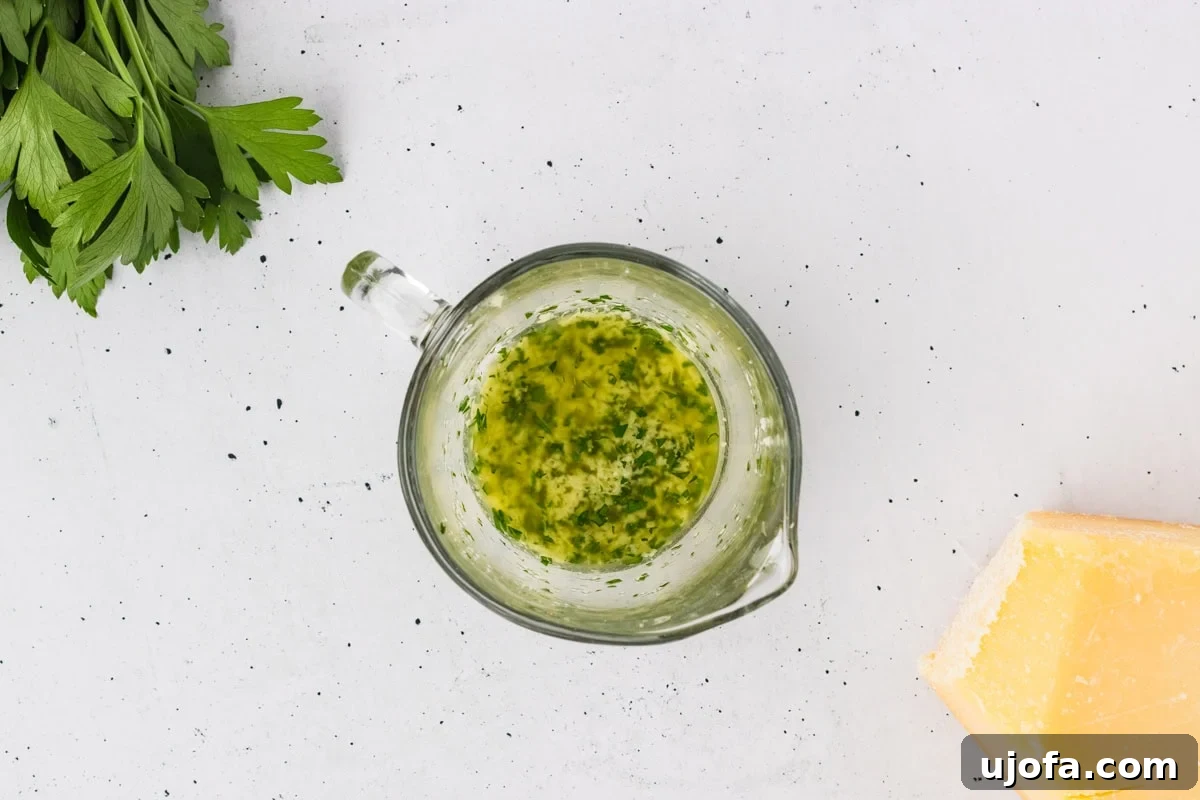
Step 11: Prepare the Irresistible Garlic Butter. While your breadsticks are baking and their delicious aroma fills your kitchen, take this time to whip up the flavorful garlic butter topping. In a small bowl, combine 3 tablespoons of melted butter, 1 ½ tablespoons of freshly grated Parmesan cheese, ½ teaspoon of garlic powder, ¼ teaspoon of salt, and 2 teaspoons of finely chopped fresh parsley. Stir all these ingredients together thoroughly until they are well combined. The warmth from the melted butter will help the flavors meld beautifully, creating a fragrant, savory topping that will elevate your breadsticks to gourmet status.
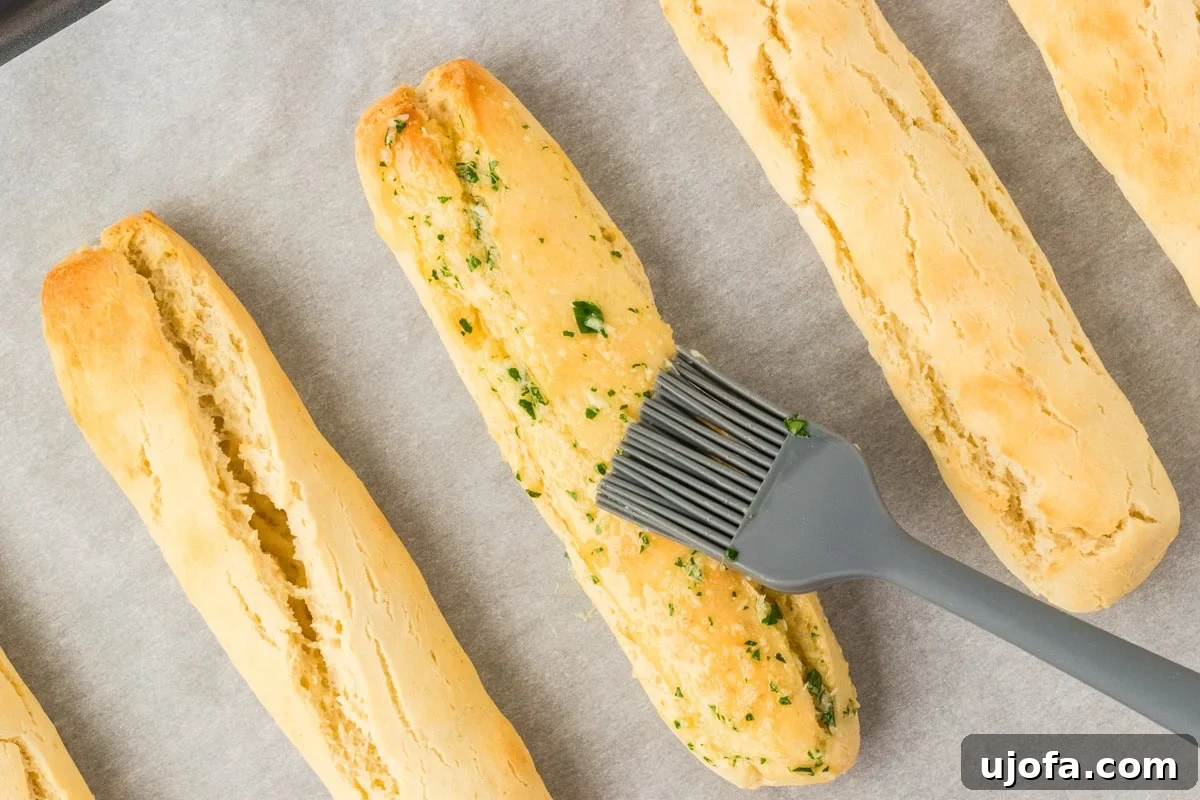
Step 12: Brush with Garlic Butter. This step is critical for maximum flavor! The moment your golden-brown breadsticks emerge from the oven, immediately and generously brush their tops with the freshly prepared garlic butter mixture. The residual heat from the breadsticks will allow the butter to melt perfectly, soaking into the warm surface and infusing every bite with that irresistible savory goodness. Don’t be shy with the butter – it’s what gives these breadsticks their signature richness and aroma!
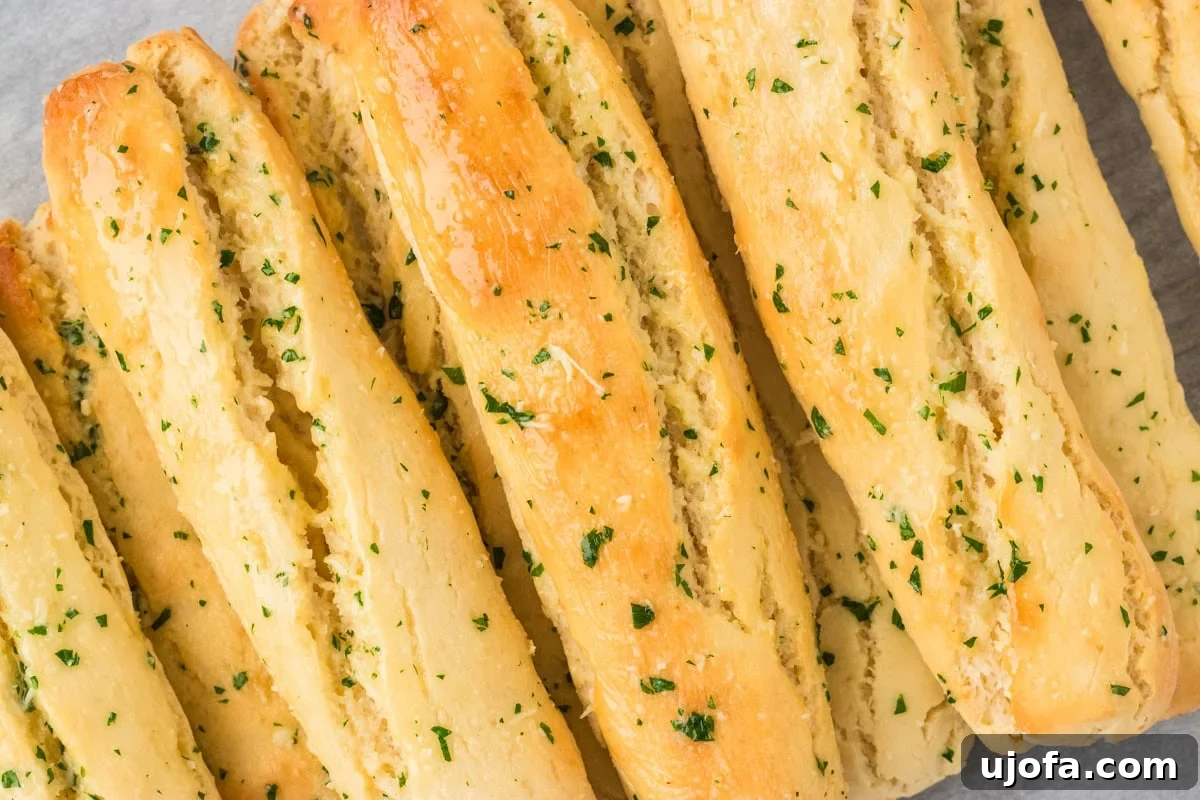
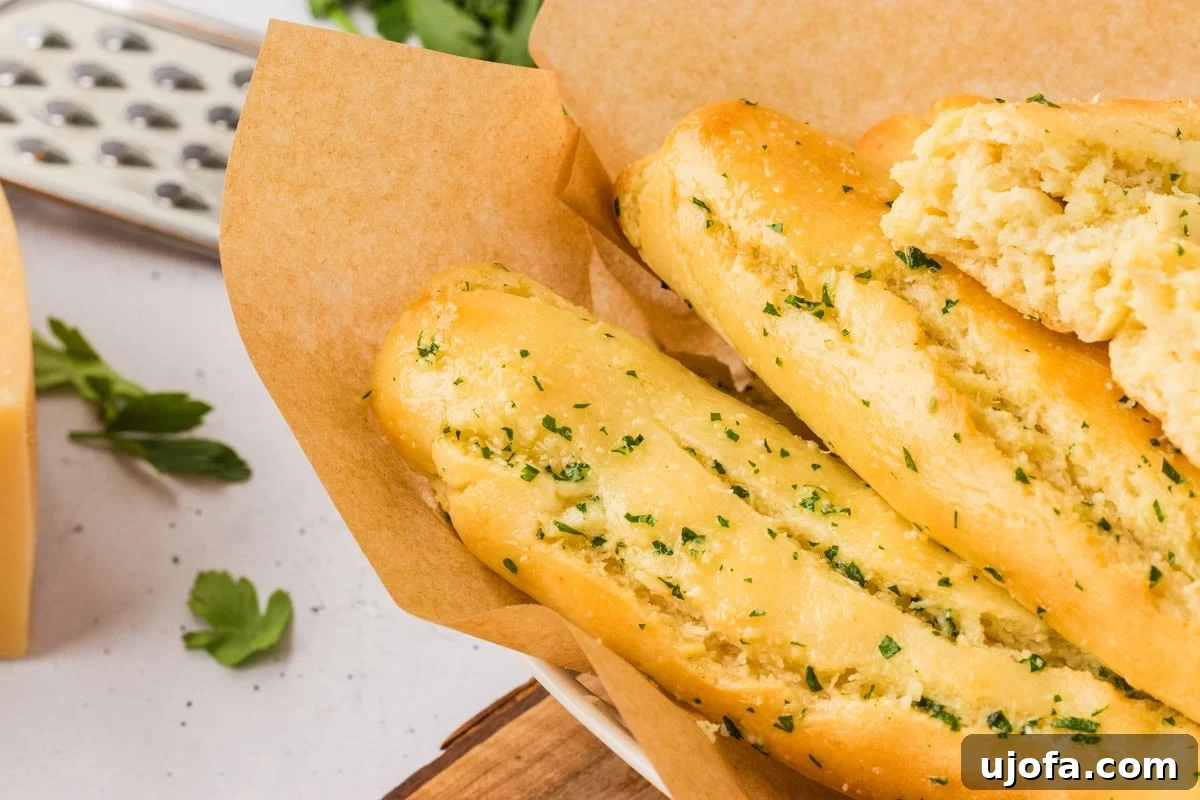
Step 13: Serve and Savor Your Homemade Breadsticks. Once brushed with the aromatic garlic butter, your freshly baked gluten-free breadsticks are ready to be served! Present them warm, perhaps in a charming parchment-lined basket, alongside your favorite Italian dinner – think rich pasta sauces, hearty lasagna, or a comforting bowl of soup. These breadsticks are designed for dipping, soaking, and pure enjoyment. They’re a wonderful addition to any meal, bringing a touch of homemade comfort to your table. Enjoy every soft, buttery, and flavorful bite!
Essential Gluten-Free Baking Tips for Perfect Breadsticks
Baking gluten-free can sometimes feel like a delicate art, but with a few key tips, you can achieve consistently delicious results. These insights will help ensure your gluten-free breadsticks are always soft, airy, and perfectly golden:
- Resist the Urge to Add Too Much Flour: This is perhaps the most crucial tip for achieving soft gluten-free breadsticks. Your dough should feel slightly sticky and moist, but still manageable. A common mistake in gluten-free baking is adding excess flour because the dough doesn’t behave like traditional wheat dough. However, a wetter dough is the secret to softer, fluffier breadsticks. Trust the texture – if it’s a bit tacky but comes together, that’s perfect. Over-flouring leads to dry, dense breadsticks.
- Ensure Eggs Are at Room Temperature: The temperature of your eggs plays a significant role in yeast activation and overall dough consistency. Cold eggs can shock and inhibit the instant yeast, preventing proper rise and resulting in dense breadsticks. If you forget to take your eggs out in advance, a quick trick is to place them in a bowl of warm (not hot!) water for about 10 minutes. They’ll warm up perfectly and contribute to a more harmonious dough.
- Bake Just Until Golden: Timing is everything when baking breadsticks. Keep a close eye on your oven and bake until the tops are just beginning to turn a light golden color. Overbaking is a common culprit for dry, hard breadsticks, especially with gluten-free flours that tend to absorb moisture more readily. That delicate golden hue means the inside will remain wonderfully soft and tender.
- Check Your Yeast’s Expiration Date: Instant yeast is essential for the quick rise in this recipe, but it needs to be active. Always double-check the “best by” or expiration date on your yeast packet. Inactive or expired yeast won’t properly leaven your dough, leading to flat, dense breadsticks with little to no rise. If you’re unsure, you can test a small amount of yeast in warm water with a pinch of sugar; if it bubbles and foams within 5-10 minutes, it’s active and ready to go!
Delicious Serving Suggestions for Your Gluten-Free Breadsticks
These homemade gluten-free breadsticks are incredibly versatile and can elevate almost any meal. Their soft, buttery texture and savory garlic topping make them the perfect companion for a wide array of dishes. Here are some of my favorite ways to enjoy them:
- The Ultimate Pasta Companion: These breadsticks are my absolute go-to whenever I’m serving homemade spaghetti sauce, a hearty gluten-free lasagna, or any saucy pasta dish. They are simply perfect for soaking up every last bit of that delicious sauce, ensuring no flavor goes to waste.
- Dip into Hearty Soups: For an easy and comforting weeknight dinner, there’s nothing better than dipping these warm breadsticks into a rich bowl of gluten-free tomato soup, creamy potato soup, or a robust minestrone. The breadsticks add a delightful texture and extra flavor dimension.
- Appetizer with Marinara: Slice them into smaller, bite-sized pieces and serve them with a warm bowl of marinara sauce for an irresistible appetizer. They’re fantastic for parties, game nights, or just a fun family snack.
- Lunchbox and Picnic Friendly: These breadsticks hold up well, making them an excellent addition to school lunchboxes or picnic baskets. They’re a crowd-pleaser and a welcome alternative to sandwiches.
- Holiday Feasts and Potlucks: Don’t forget these breadsticks when planning for larger gatherings. They are always a hit at holiday meals, family dinners, and potlucks, offering a delicious gluten-free option that everyone can enjoy.
- Savory Cheese Board Addition: Serve them alongside a cheese board with dips like hummus or a spinach and artichoke dip for a unique and satisfying snack offering.
Storage Instructions for Gluten-Free Breadsticks
While these freshly baked gluten-free breadsticks are undoubtedly at their best enjoyed straight from the oven, you can absolutely save any delicious leftovers for later. Proper storage ensures they remain as fresh and enjoyable as possible:
- Refrigerator Storage: If you have leftover breadsticks, allow them to cool completely to room temperature first. Then, transfer them to an airtight bag or container. They can be stored in the refrigerator for up to 5 days. To reheat and restore their warmth and softness, simply place them in a 300°F (150°C) oven for about 5-7 minutes, or until warmed through. For that fresh-from-the-oven taste, brush them with a little extra melted butter before serving.
- Freezer Storage: For longer-term storage, freezing is an excellent option. Once the breadsticks have fully cooled, arrange them in a single layer on a baking sheet and flash freeze for about 30 minutes until solid. This prevents them from sticking together. Then, transfer the frozen breadsticks to a freezer-safe bag or container, removing as much air as possible to prevent freezer burn. They can be stored in the freezer for up to 2 months. To reheat, you can bake them directly from frozen in a 325°F (160°C) oven for 10-15 minutes, or until heated through and lightly crisp. Again, a fresh brush of melted butter just before serving will make them taste like they were just baked.
More Dippable Gluten-Free Bread Recipes to Love
If you’ve fallen in love with these easy gluten-free breadsticks and are eager to explore more delicious gluten-free bread options that are perfect for dipping, pairing, or simply enjoying on their own, you’re in luck! Here are some other fantastic recipes from our kitchen that we think you’ll adore:
- Gluten-Free Baguette: Achieve that crusty exterior and soft, airy interior you crave, perfect for sandwiches or a charcuterie board.
- Pandebono (Colombian Cheese Bread): Delightfully cheesy and naturally gluten-free, these soft, chewy rolls are an addictive treat.
- Pão de Queijo (Brazilian Cheese Bread): Another naturally gluten-free cheese bread, these airy, cheesy puffs are impossible to resist.
- Gluten-Free Garlic Bread: The classic side dish, made gluten-free and bursting with savory garlic flavor.
- Cloud Bread: A light, airy, and low-carb option that’s incredibly versatile for various meals.