
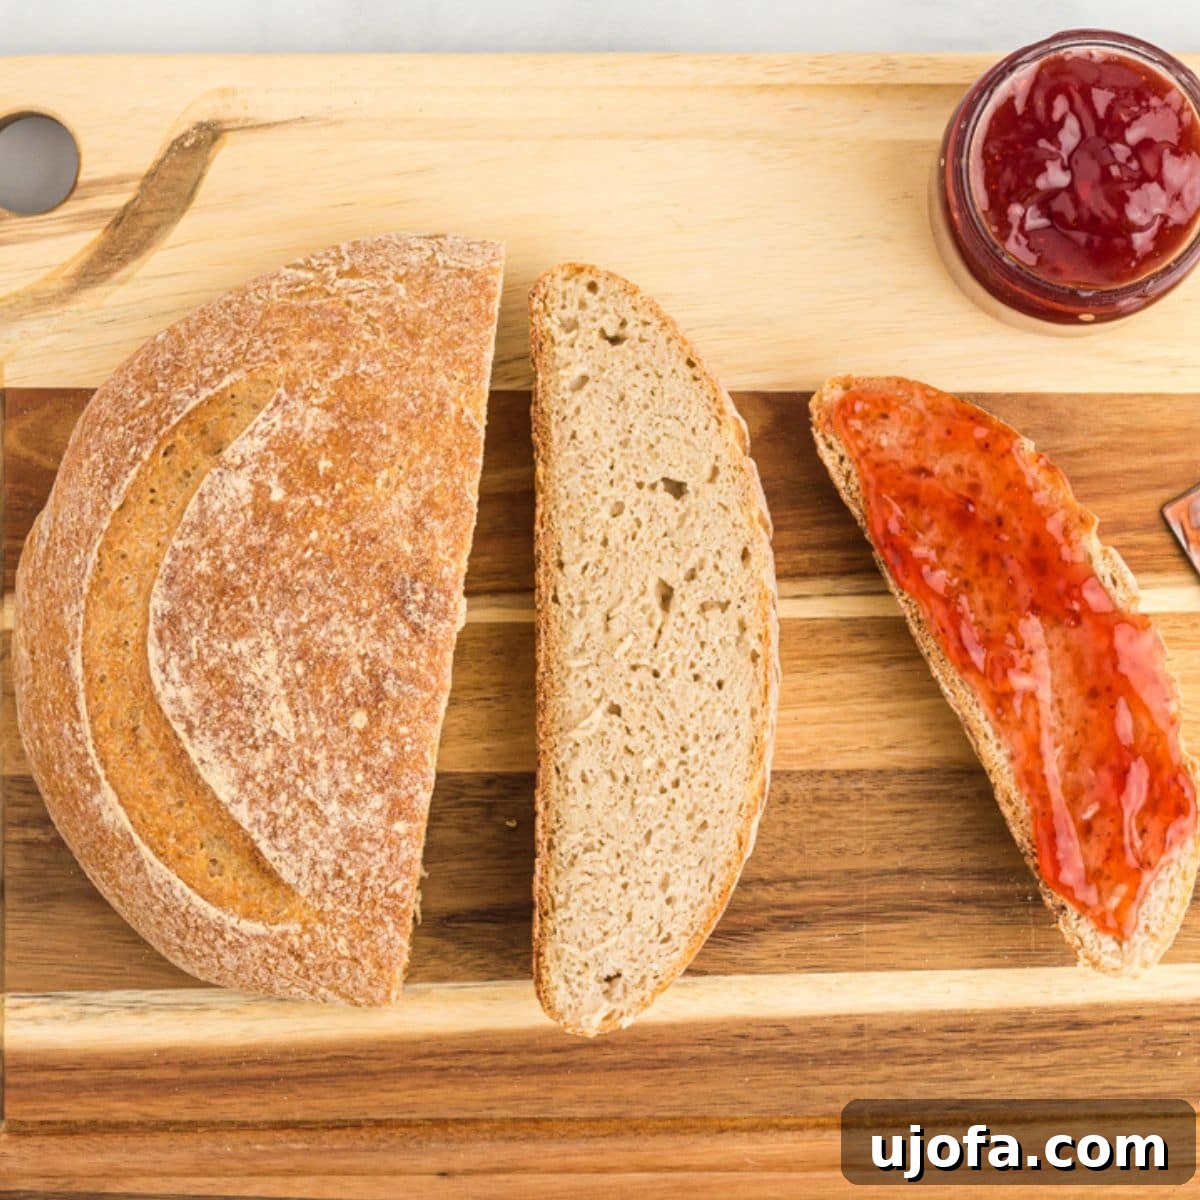
The Ultimate Guide to Delicious Homemade Gluten-Free Sourdough Bread
Embarking on the journey of baking gluten-free sourdough bread from scratch might initially feel like a formidable task. Visions of intricate techniques and elusive ingredients can be intimidating, but with the right guidance, this rewarding culinary adventure is far more accessible than you might imagine. Crafting your own loaf, with its characteristic chewy texture and wonderfully tangy flavor, is an experience that transforms the perception of gluten-free baking. Before diving into the bread-making process itself, ensure you have a vibrant and active gluten-free sourdough starter ready to go – it’s the heart and soul of this recipe! Once baked, this versatile bread becomes a staple, perfect for a hearty breakfast adorned with jam, transformed into an elegant bread bowl for your favorite spinach dip, or enjoyed in any way your heart desires.
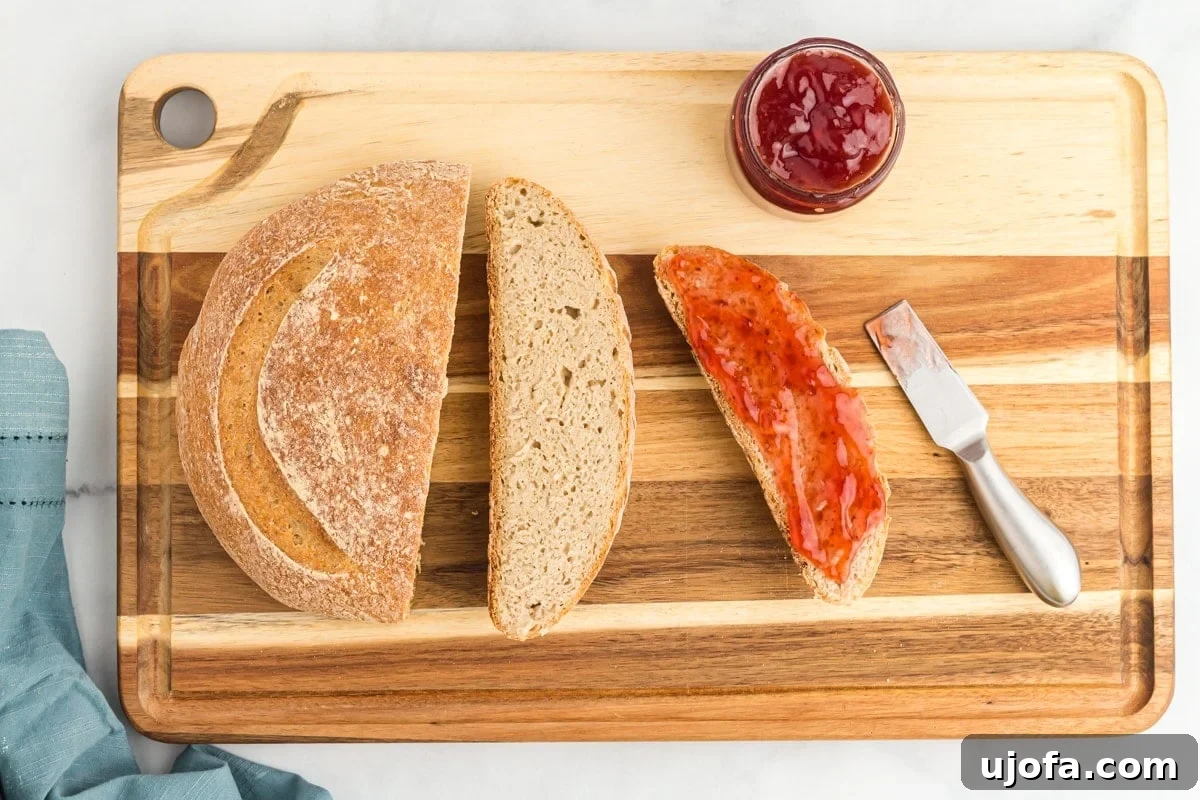
I am brand new at making sourdough bread, much less gluten-free sourdough bread. From my very first loaf, it turned out fantastic. Loaf after loaf, it continues to be excellent. So grateful I found this recipe. Every person who tastes it raves about it, and in my opinion, it has no trace of tasting like gluten-free. As gluten-free people, we had pretty much given up on ever eating any good bread again. This has changed everything.
– Berdjette
The Art of Gluten-Free Sourdough: Patience Makes Perfect
This gluten-free sourdough bread recipe is designed to be straightforward and accessible, yet like all sourdough baking, it demands a measure of time and patience. The journey of sourdough baking is a beautiful blend of art and science, where numerous environmental factors can influence your final loaf. Elements such as the day’s weather, the ambient humidity, the temperature of your kitchen, and even the specific brands of gluten-free flour you use can all play a role. However, with each loaf you bake, your intuition and understanding will grow, allowing you to make subtle adjustments that lead to increasingly perfect results.
It’s important to embrace the learning process. Even if your very first loaf doesn’t emerge flawlessly from the oven, consider it a valuable lesson. Take careful notes, analyze what might have gone differently, and apply those insights to your next attempt. The beauty of sourdough lies in its iterative nature – every bake builds confidence and skill. To guide you, this comprehensive post includes detailed step-by-step instructions accompanied by illustrative photos, aiming to remove the guesswork from creating exceptional gluten-free sourdough bread. While the process is broken down into a few distinct steps, each one is crucial to the overall success. We highly recommend reading this entire guide thoroughly before you begin, ensuring you’re familiar with all the necessary ingredients, supplies, and the optimal timeline for mixing, proofing, and baking.
Essential Tools for Gluten-Free Sourdough Baking
Having the right equipment can significantly streamline your gluten-free sourdough baking process and contribute to consistent, successful results. Here’s a list of necessary supplies and why they are important:
- Food Scale: In sourdough baking, precision is paramount. Unlike traditional baking where volume measurements (cups) are common, sourdough recipes, especially gluten-free ones, rely heavily on exact weight measurements. A digital food scale ensures accuracy, which is crucial for the delicate balance of your dough’s hydration and the starter’s activity.
- Glass Mixing Bowls: You’ll need several glass bowls of various sizes throughout the mixing and proofing stages. Glass is ideal because it’s non-reactive and allows you to easily observe the changes in your dough, such as the development of bubbles in the preferment and the rise during proofing, without disturbing it.
- Wooden Spoon: A sturdy wooden spoon is excellent for initially combining ingredients, especially for stirring your preferment. Its non-reactive nature ensures no unwanted flavors are transferred, and its durability is perfect for thicker doughs.
- Silicone Spatula: A flexible silicone spatula is invaluable for scraping down the sides of bowls and ensuring all ingredients are thoroughly incorporated. In precision-based baking like sourdough, every gram of flour and drop of water counts, so minimizing waste and ensuring even mixing is key.
- Electric Mixer with Dough Hook (Optional but Recommended): While you can certainly mix and knead gluten-free sourdough dough by hand, it can be quite sticky and messy. An electric stand mixer fitted with a dough hook will handle the majority of the mixing effortlessly, ensuring even distribution of ingredients. You can then finish with a brief, gentle hand knead to bring everything together and achieve the desired smooth texture without overworking the dough.
- Clean Tea Towel or Food-Safe Plastic Wrap: Proper covering during the proofing process is essential to prevent your dough from drying out. When selecting a tea towel, opt for one that is clean, lint-free, and free of strong dyes or scents that could transfer to your bread. If using plastic wrap, place it gently over the bowl to allow for some airflow, which is beneficial for sourdough activity.
- Large Bowl with Round Bottom (for Proofing): The shape of your proofing basket or bowl will directly influence the final shape of your sourdough loaf. A bowl with a round bottom helps the dough develop a beautiful, traditional boule (round) shape. If lining with a tea towel, ensure the towel is well-floured to prevent sticking.
- Dutch Oven with Lid: This is a non-negotiable item for achieving that coveted artisan sourdough crust and incredible oven spring. A Dutch oven creates a steamy environment similar to a professional bread oven, which is critical in the initial stages of baking. Choose one that is approximately 5 quarts in size and oven-safe up to at least 450°F (232°C). Always check for plastic handles or knobs that may not be heat-resistant and consider replacing them if necessary.
- Parchment Paper: This simple tool is a lifesaver for transferring your delicate, proofed dough into a scorching hot Dutch oven. By creating a parchment paper “sling,” you can gently lower the dough, preventing any accidental drops or flattening that could negatively impact its rise and final structure.
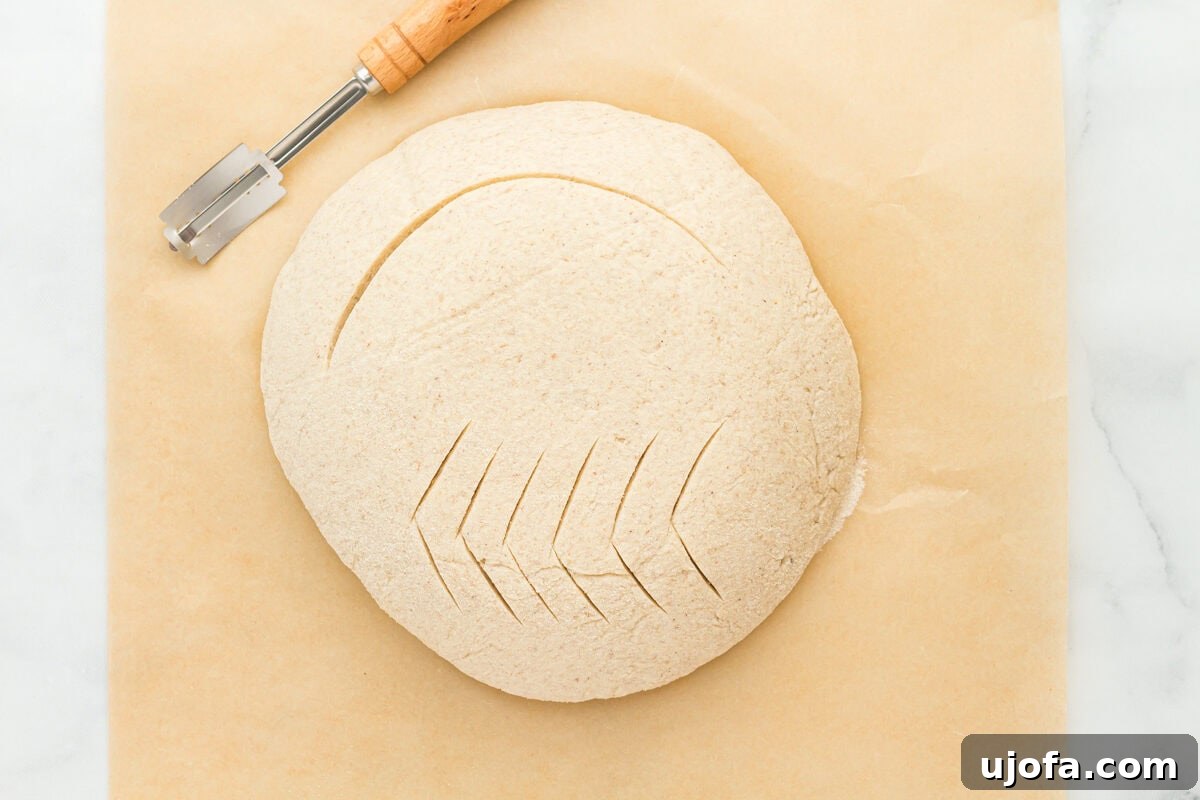
- Sharp Knife or Lame: A sharp blade, known as a lame (pronounced “lahm”), is used to score the top of your dough before baking. These strategic cuts allow steam to escape in a controlled manner, directing the bread’s expansion (oven spring) and preventing uncontrolled splitting. Plus, it’s an opportunity to add a beautiful, signature design to your loaf.
- Food Thermometer (Recommended): While not strictly mandatory for experienced bakers, a food thermometer takes the guesswork out of determining when your bread is perfectly baked. An internal temperature of 210°F (99°C) typically indicates a fully cooked loaf, ensuring a fluffy interior and preventing the dreaded gummy texture.
Gluten-Free Sourdough Bread
Cheryl Johnson
16 slices
15 mins
8 hrs
8 hrs 15 mins
An easy recipe for homemade gluten-free sourdough bread that yields a super soft crumb with a delightful tangy flavor and a perfect crust. This recipe demystifies gluten-free sourdough, making it achievable for home bakers. Don’t forget to use our active gluten-free sourdough starter recipe to ensure the best results!
Step-by-step photos illustrating the process can be found below the recipe card for visual guidance.
Ingredients
Preferment:
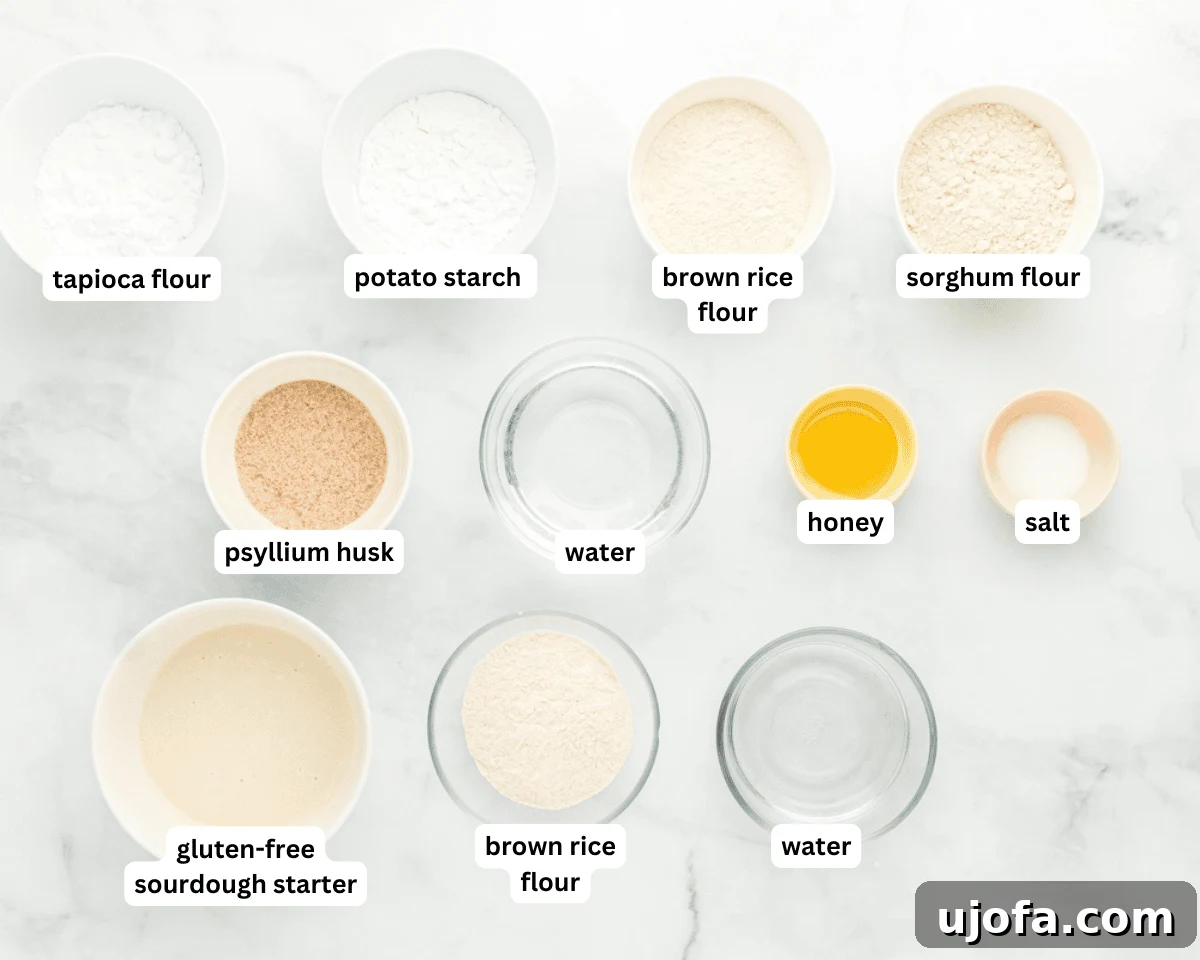
- 150 grams gluten-free sourdough starter, active and at peak rise
- 100 grams room temperature filtered water
- 80 grams brown rice flour
Remaining Bread Ingredients:
- 20 grams psyllium husk, ensure it is whole psyllium husk, not powder. Brands like “Now” or “Anthony’s” are recommended.
- 20 grams honey
- 300 grams room temperature filtered water
- 80 grams potato starch, can substitute with arrowroot powder, cornstarch, or tapioca starch
- 80 grams sorghum flour
- 80 grams brown rice flour
- 60 grams tapioca flour
- 15 grams salt
Instructions
-
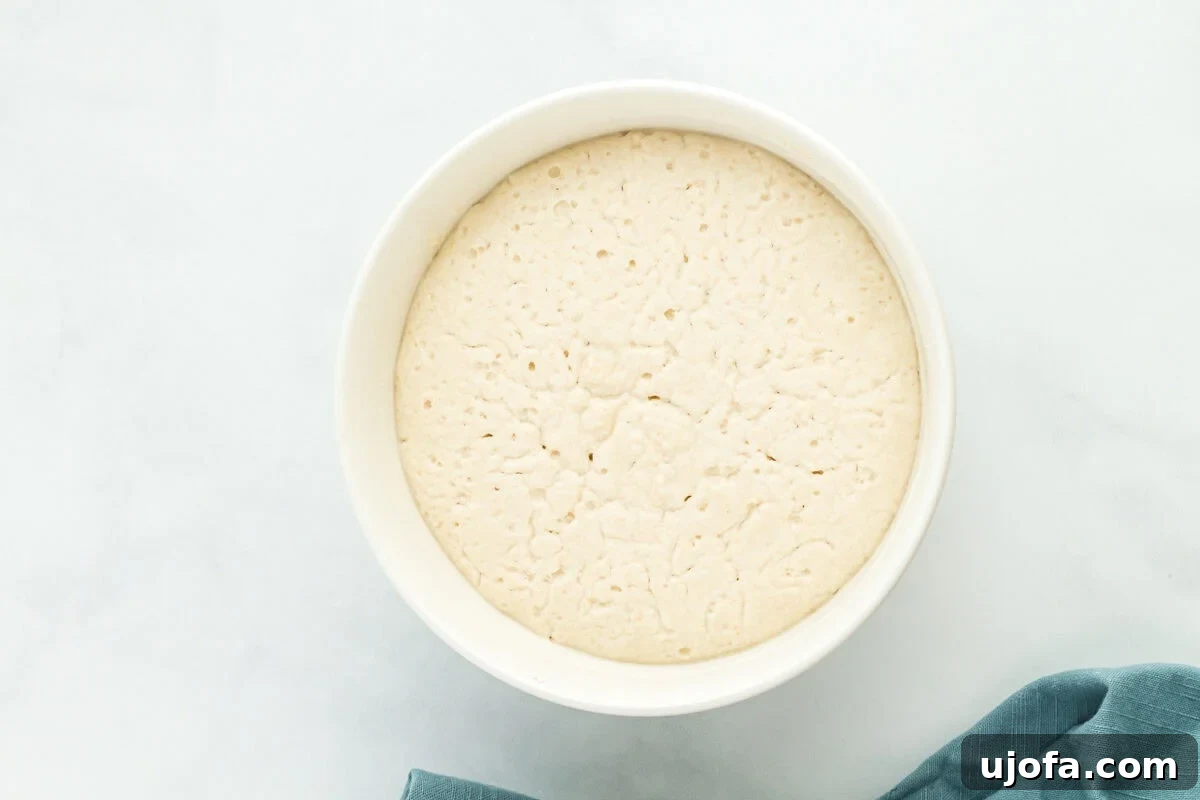
Make the preferment. In a medium bowl, combine 150 grams of active gluten-free sourdough starter, 100 grams of room temperature filtered water, and 80 grams of brown rice flour. Stir the mixture thoroughly until all ingredients are well combined and smooth. Lightly cover the bowl with a tea towel or loose plastic wrap and allow it to rest in a warm, draft-free area of your home for 6 to 18 hours. The preferment is ready when it has visibly doubled in size and displays a generous amount of lively bubbles throughout. This active state is crucial for the bread’s rise and flavor, so do not proceed to the next step until your preferment shows these signs of readiness.
-
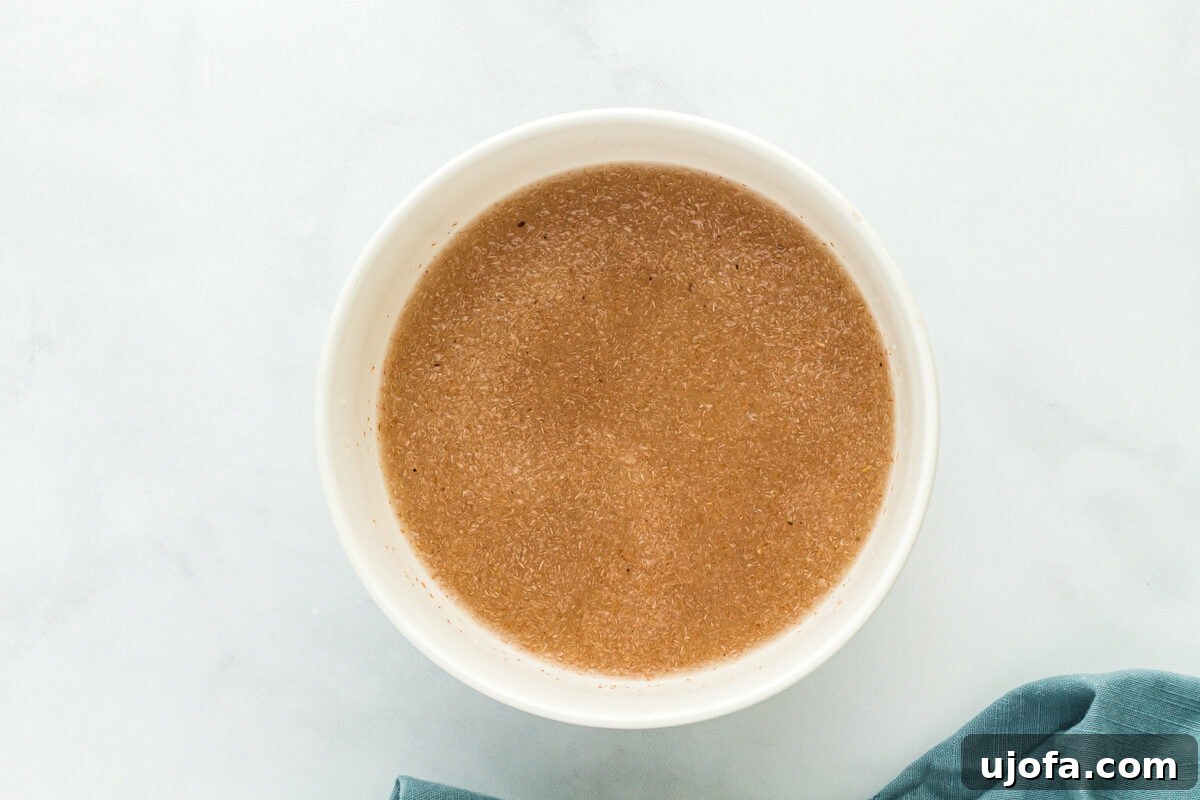
Prepare the psyllium gel. In a separate medium bowl, stir together 20 grams of psyllium husk, 20 grams of honey, and 300 grams of room temperature filtered water. Mix well and then set the bowl aside for a few minutes. The mixture will absorb the water and transform into a thick, cohesive gel, which acts as a gluten-free binder for the dough.
-
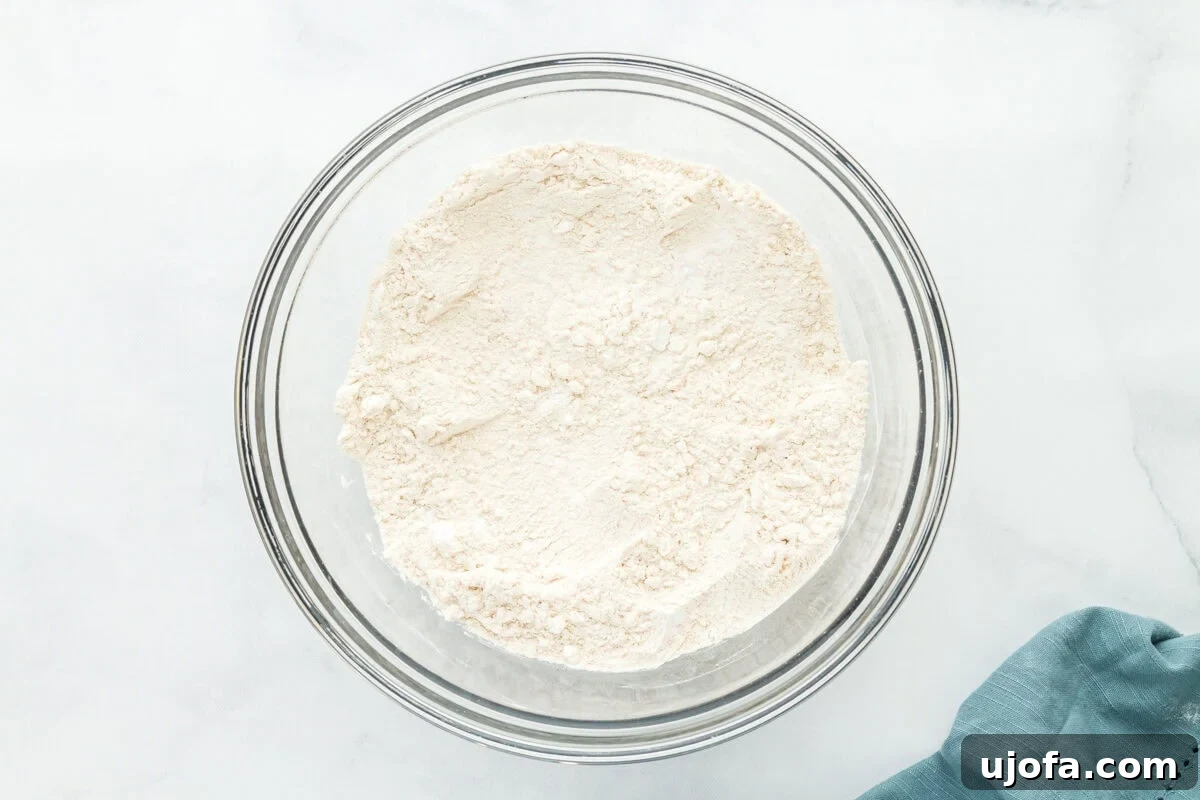
Combine the dry ingredients. In a large mixing bowl, whisk together 80 grams of potato starch, 80 grams of sorghum flour, 80 grams of brown rice flour, 60 grams of tapioca flour, and 15 grams of salt. Ensure these dry ingredients are thoroughly combined to prevent any pockets of unmixed flour in your final dough.
-
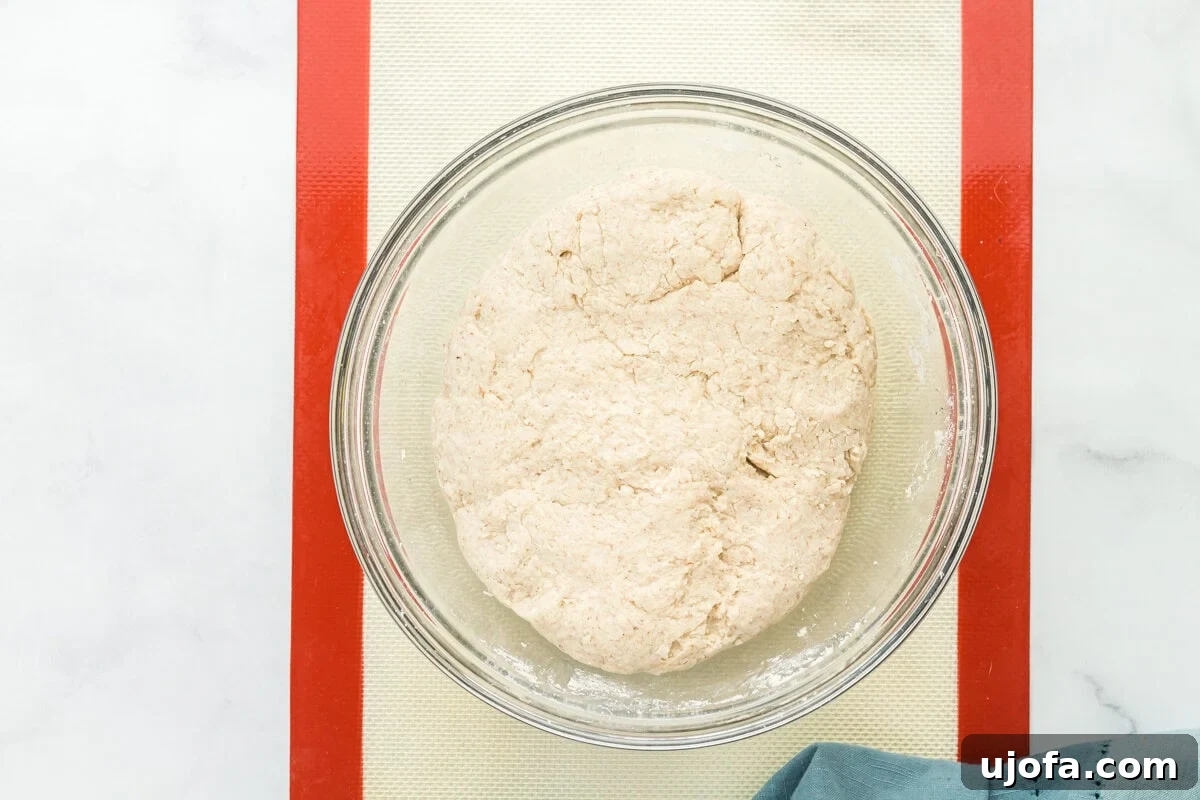
Form the dough. Add both the prepared preferment mixture and the psyllium husk gel mixture to the large bowl containing the dry ingredients. Using an electric mixer fitted with a dough hook, mix on low to medium speed until a dough begins to form. Periodically, use a silicone spatula to scrape down the sides and bottom of the bowl, ensuring all dry ingredients are fully incorporated into the dough. Alternatively, you can use clean hands to work the mixture, ensuring no dry pockets remain. At this stage, the dough should have a somewhat gummy texture.
-
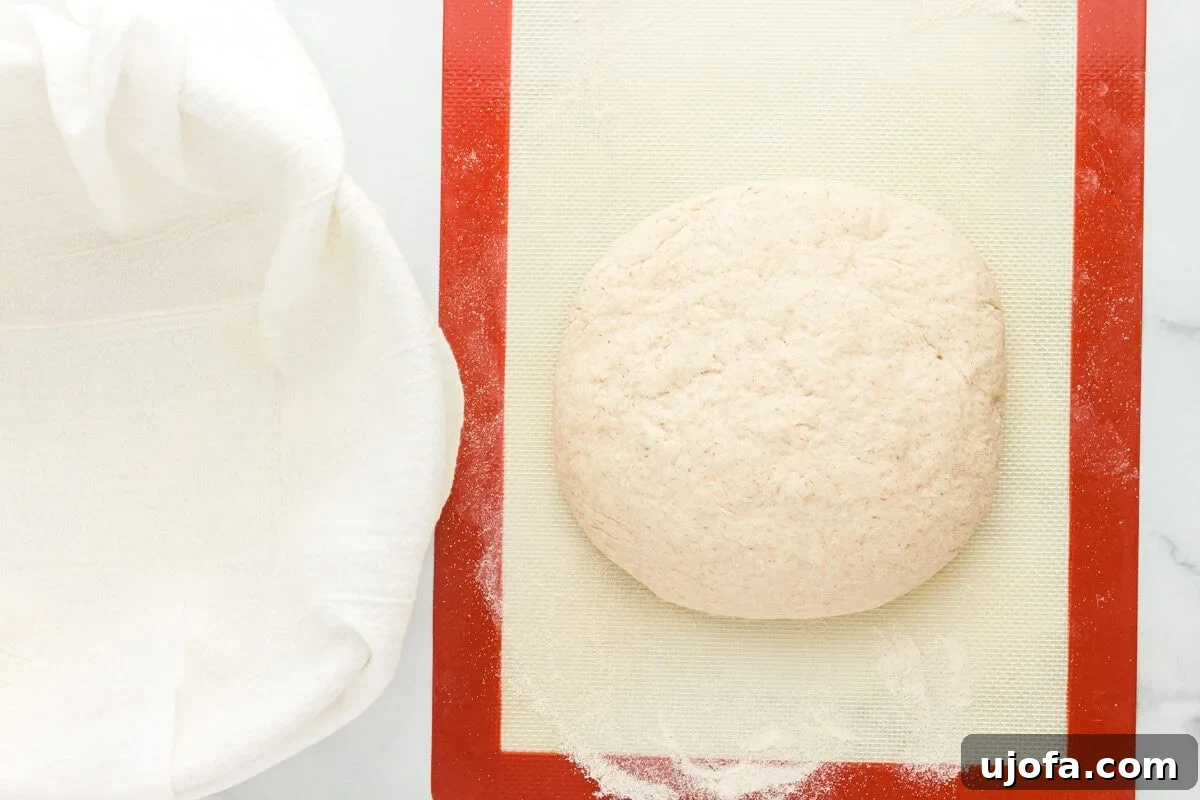
Lightly knead the dough. Lightly flour a clean, dry countertop with a small amount of brown rice flour. Transfer the dough onto the floured surface and gently knead it into a smooth ball. Unlike traditional gluten-based doughs, extensive stretching is not required for gluten-free sourdough. Focus on gently bringing the ingredients together until the dough feels cohesive and smooth. Be careful not to overwork the dough, as this can negatively impact its texture.
-
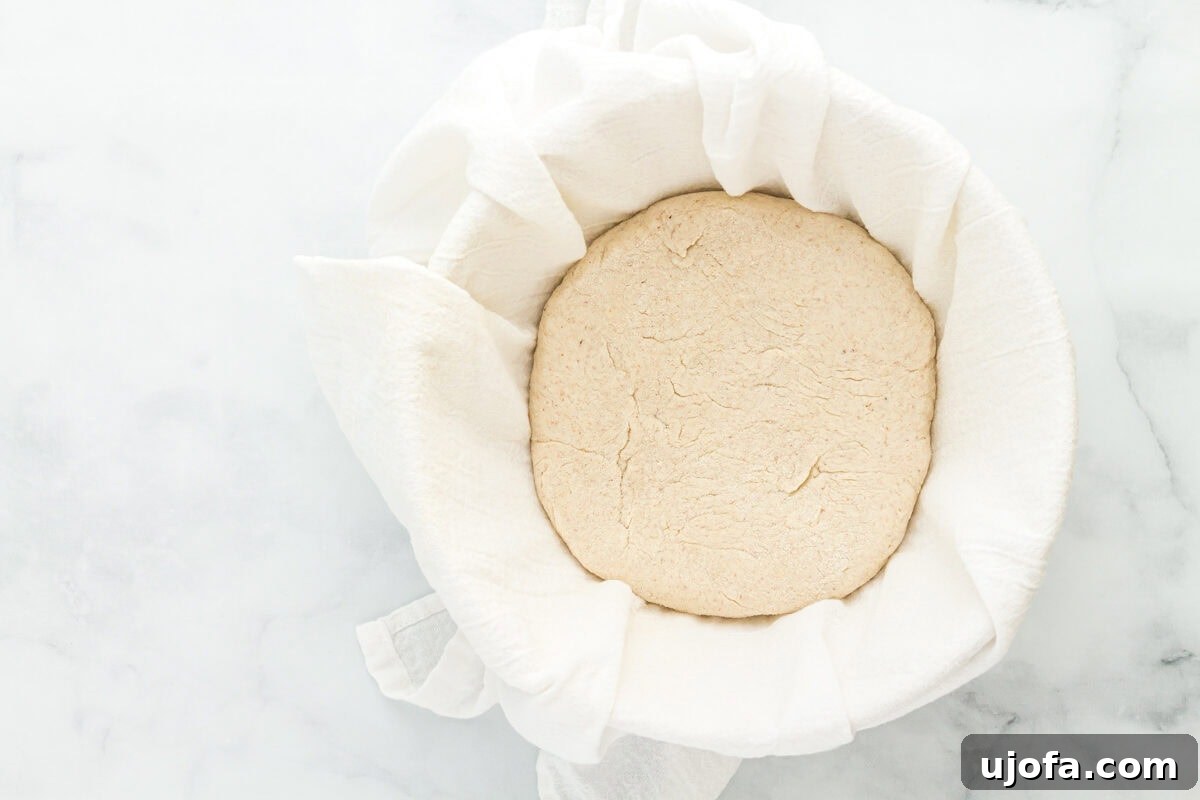
Shape and transfer for proofing. Lightly flour a round bowl that has been lined with a clean tea towel. Carefully place the dough ball into the lined bowl, with the smooth side facing down and the seam facing up. This orientation will ensure a smooth top crust once the bread is inverted for baking.
-
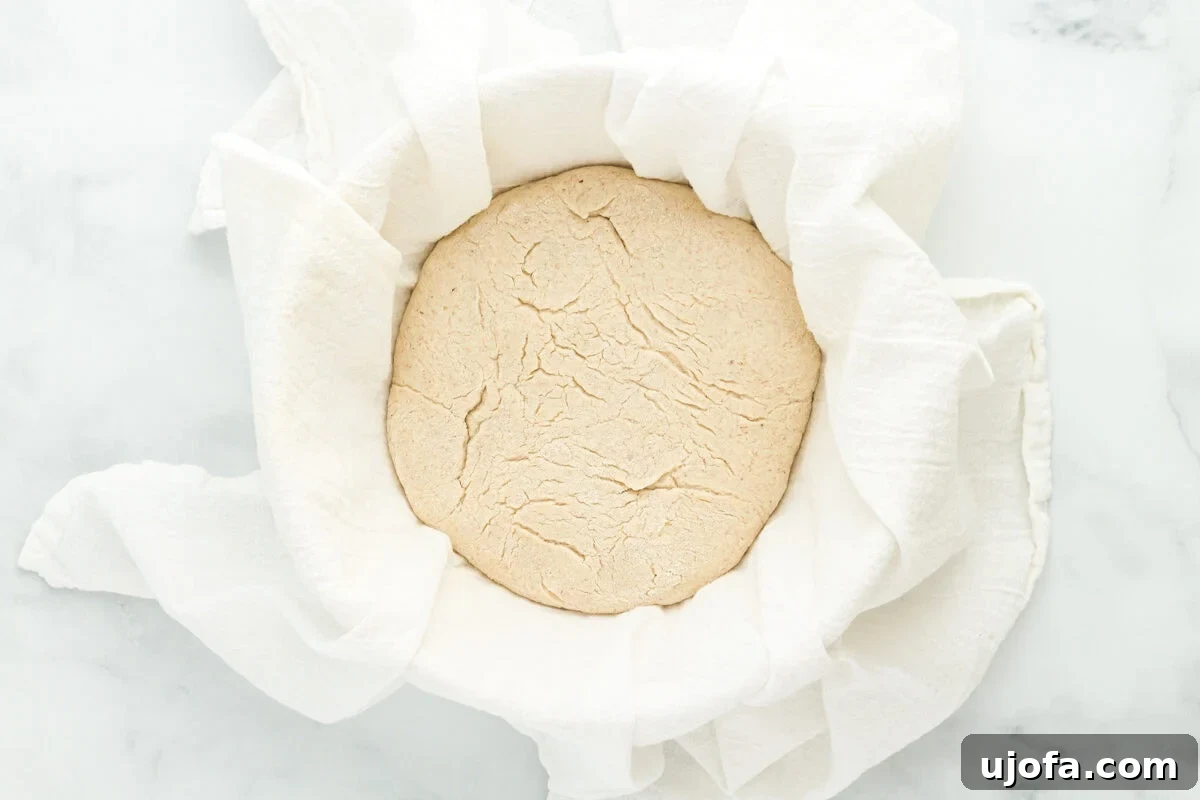
Proof the dough. Lightly cover the bowl with another clean tea towel or loose food-safe plastic wrap. Allow the dough to proof at room temperature for 3 to 4 hours. The exact proofing time can vary significantly based on your home’s ambient temperature and humidity; it could take up to 6 to 8 hours in cooler conditions. The dough is ready when it feels soft and puffy, and when you gently make an indent with your finger, it springs back up slowly, leaving a slight impression.
-
Preheat oven and Dutch oven. Approximately one hour before your bread is scheduled to finish proofing and be ready for baking, preheat your oven to 425°F (218°C) with your empty Dutch oven placed inside. This ensures the Dutch oven is thoroughly heated, which is critical for achieving a good oven spring and a crisp crust.
-
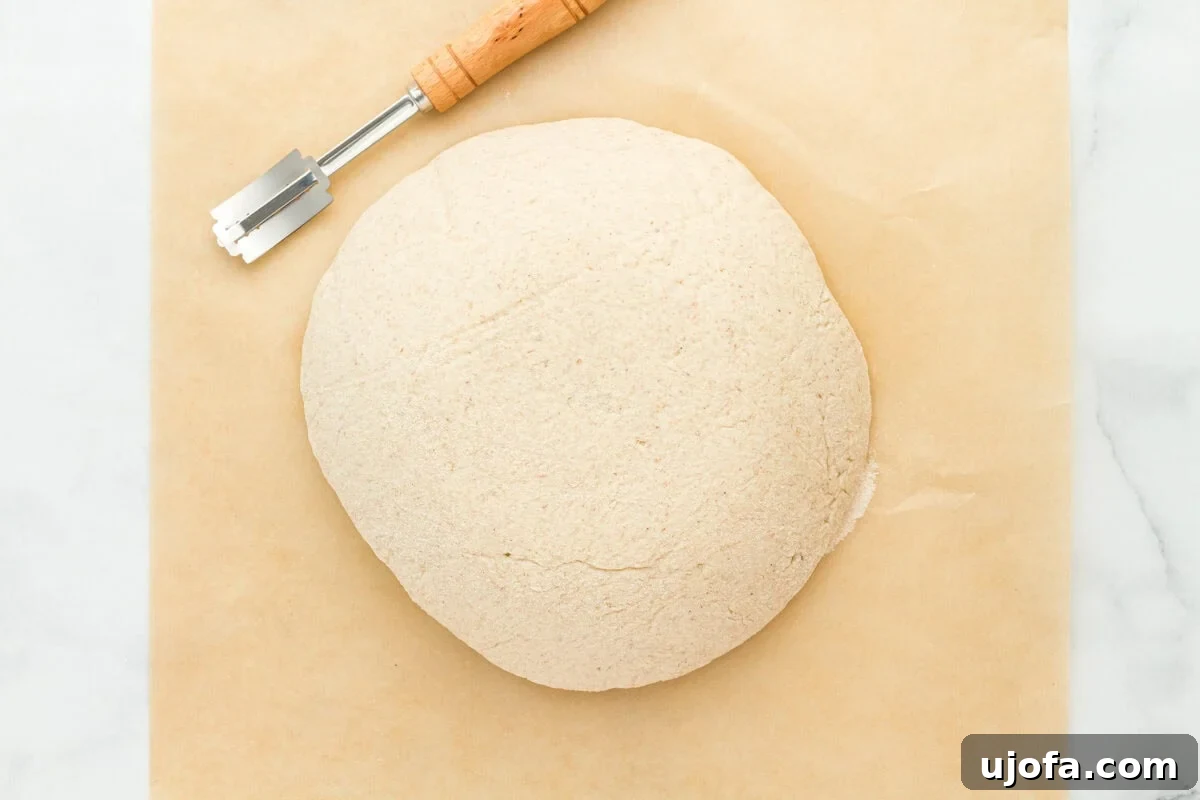
Prepare the loaf for baking. Once your oven and Dutch oven have been preheating for an hour, carefully remove your proofed bread from its proofing bowl and gently invert it onto a sheet of parchment paper. Ensure you handle the dough very gently to avoid deflating it, as dropping or mishandling can limit its ability to rise properly during baking. The loaf should now be resting on the parchment paper with its smooth side facing up and the seams underneath on the paper.
-
Score the dough and transfer to Dutch oven. Using a sharp knife or a baking lame, carefully cut lines into the surface of the dough. These cuts, known as scoring, allow steam to escape during baking and guide the bread’s expansion. Create any desired design, but ensure the cuts are deep enough (at least ¼ inch) to prevent the bread from splitting unpredictably in other areas. Next, using the parchment paper as a sling, gently lower both the paper and the scored dough into the preheated Dutch oven. Immediately place the lid back on and return the Dutch oven to the oven. It is vital to minimize the time the Dutch oven spends outside the oven to maintain its high temperature.
-
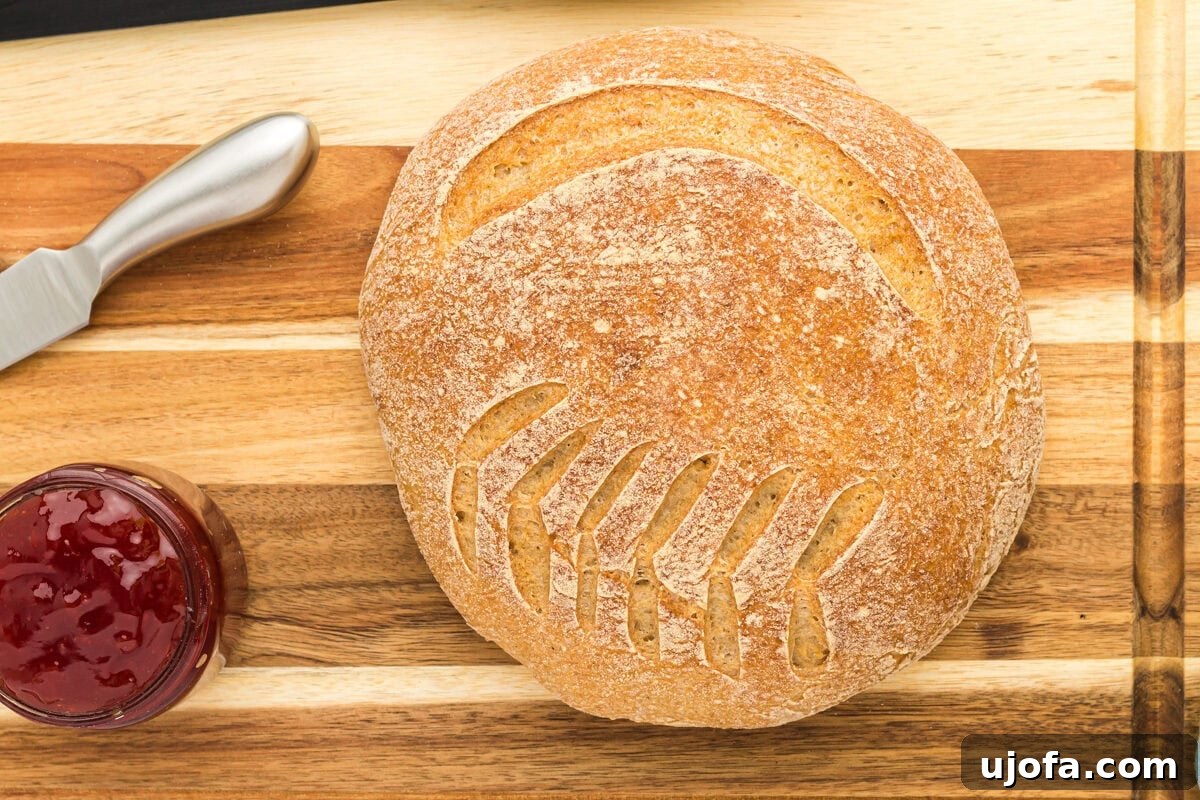
Bake the bread. Bake the sourdough with the lid on for 45 minutes. After this initial baking period, carefully remove the lid and continue to bake for an additional 25 to 40 minutes. The bread is fully baked when it achieves a deep golden-brown crust and its internal temperature reaches 210°F (99°C). Underbaking is a common cause of a gummy interior, so don’t rush this final stage.
-
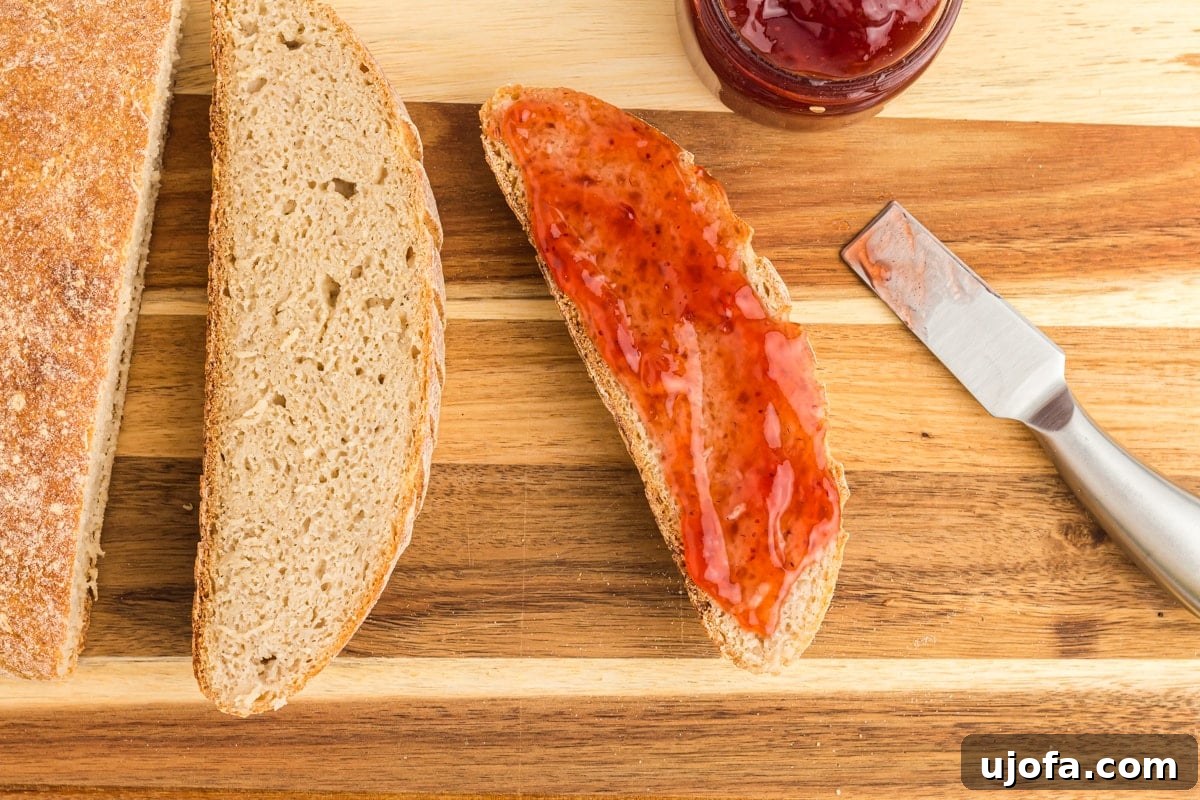
Cool completely. Once baked, carefully remove the bread from the Dutch oven and place it on a wire rack to cool completely at room temperature. This cooling period is critical. Slicing into warm sourdough will cause the internal steam to escape too quickly, resulting in a dense and gummy texture instead of the desired open crumb.
Notes
- Dutch Oven Placement: If you notice the bottom of your loaf is burning, your Dutch oven might be too low in the oven. Try placing a baking tray on the rack directly beneath the Dutch oven. This acts as a heat shield, blocking some of the direct heat from the bottom element and promoting more even baking.
- Overnight Proofing Option: For convenience, you can prepare your dough up to the proofing stage, then cover it tightly and place it in the refrigerator overnight (for 8-12 hours). The cold proof will slow down fermentation, allowing for a deeper flavor development. Remember to bring the dough back to room temperature for about 1-2 hours before baking to ensure optimal rise.
- Cooling is Crucial: Patience is key post-bake. Always allow your gluten-free sourdough bread to cool completely on a wire rack before attempting to slice it. Cutting into warm bread prematurely will release essential steam, leading to a dense, gummy interior rather than the light, airy crumb you worked so hard to achieve.
- Read Labels Carefully: Always check all ingredient labels to ensure they are certified gluten-free, as cross-contamination can occur. “Mama knows gluten-free” means being vigilant about your ingredients!
Nutrition
Calories: 102kcal
Carbohydrates: 23g
Protein: 2g
Fat: 0.5g
Saturated Fat: 0.1g
Polyunsaturated Fat: 0.2g
Monounsaturated Fat: 0.1g
Sodium: 369mg
Potassium: 96mg
Fiber: 2g
Sugar: 1g
Vitamin C: 0.2mg
Calcium: 10mg
Iron: 0.5mg
Nutrition information is automatically calculated and should be used as an approximation.
Additional Info
Side Dish
American
A Visual Guide: How To Make Gluten-Free Sourdough Bread Step by Step
Follow along with these step-by-step photographs and detailed instructions to ensure a successful gluten-free sourdough baking experience.
Common Questions and Troubleshooting Tips for Gluten-Free Sourdough
Baking gluten-free sourdough can be a deeply satisfying process, but it often comes with a learning curve. Understanding common pitfalls and how to address them can save you frustration and lead to more consistent, delicious results. Here are some frequently asked questions and mistakes to avoid:
- Starter Readiness is Key: One of the most common reasons for a less-than-perfect loaf is using a sourdough starter that isn’t at its peak activity. A healthy, active gluten-free sourdough starter should be thick and robust, akin to Greek yogurt or a thick pancake batter. If your starter appears too runny, it likely needs a stronger feeding schedule – try increasing the flour-to-water ratio slightly during its next feeding. Crucially, your starter must be active and at its highest point of rise, showing numerous bubbles throughout. If your starter has been stored in the refrigerator, give it at least 24 hours at room temperature with one or two consistent feedings to fully reactivate it before use.
- Embrace a Mature Starter: Many novice bakers are eager to use a young starter, but patience truly pays off in sourdough. While a two-week-old starter might technically be functional, a mature starter that’s at least a month old (or even several months) will be significantly more reliable. Older starters possess a more robust yeast and bacteria colony, leading to better oven spring, a more open crumb, and a richer, deeper flavor profile. Think of it as investing in your bread’s future.
- Flour Substitutions: Proceed with Caution: This recipe has been meticulously developed and tested using superfine brown rice flour as a primary component. While experimenting with different gluten-free whole grain flours is part of the fun of baking, be aware that each type of flour has unique absorbency characteristics. Substituting flours without adjustment will almost certainly alter the dough’s hydration. If you choose to experiment, be prepared to adjust the liquid or flour amounts to achieve the correct dough consistency – it should be manageable and slightly tacky, not overly wet or crumbly.
- Mastering the Proofing Stage: Proofing is where much of the magic (and potential for error) happens. The longer your preferment and subsequent dough proof, the more complex and tangy your sourdough flavor will become. However, timing is everything. Begin checking your dough after about 3 hours of room temperature proofing. An overproofed dough can often be identified by a very large, open air pocket near the top and a denser, potentially gummy texture at the bottom. Conversely, underproofed dough will feel heavy and lack the characteristic air bubbles and puffiness, resulting in a dense, chewy, and often gummy crumb. The “poke test” (gently indenting the dough and observing its slow rebound) is your best friend here.
- The Power of a Preheated Dutch Oven: This step is non-negotiable for achieving that iconic artisan sourdough crust and maximizing “oven spring” – the final burst of rise your bread gets in the hot oven. The intense initial heat from a preheated Dutch oven creates a steamy environment that keeps the crust soft, allowing the dough to expand rapidly before the crust sets. If you plan to prepare your dough ahead of time, you can certainly refrigerate it overnight once it reaches the proofing stage. Just remember to bring it back to a more ambient temperature for 1-2 hours before placing it in the preheated Dutch oven.
- Embrace the Journey: Ultimately, gluten-free sourdough baking is a journey of continuous learning. Variables such as your local climate, humidity levels, the specific calibration of your oven, and even subtle differences between flour brands can all impact your results. If your first few loaves aren’t perfect, do not be discouraged! Use each bake as an opportunity for learning. Keep a baking journal, noting temperatures, timings, and observations. Each attempt brings you closer to understanding the nuances of your ingredients and environment, guiding you towards consistently baking your ideal loaf.
Why Isn’t My Dough Rising?
A lack of rise in your gluten-free sourdough dough can be attributed to several factors:
- Over-Handling: Gluten-free dough doesn’t develop gluten structure like traditional wheat dough, so excessive kneading or handling can actually work against it. You only need to knead the dough very lightly, just enough to combine all the ingredients and form a smooth ball. Vigorous kneading can knock out the precious air bubbles created by your starter, preventing a good rise. Crucially, avoid kneading the bread at all after it has completed its initial proofing.
- Inactive Starter: The most critical component for rise is your sourdough starter. If your starter is not active and at its peak (full of bubbles, doubled in size), it won’t have the strength to lift your dough. Ensure your starter is consistently fed and robust before using it for baking. As mentioned, a more mature starter (at least a month old) generally offers better rising results compared to a very young starter.
- Improper Proofing Vessel: The container you use for proofing plays a significant role in the dough’s shape and rise. If you proof your dough on a flat surface or in a bowl that is too large and shallow, the dough will spread outwards rather than rising upwards, resulting in a flat, dense loaf. Opt for a round bowl or a banneton (proofing basket) that comfortably holds the dough, encouraging it to hold its shape and rise vertically.
- Temperature: Sourdough fermentation is highly dependent on temperature. If your kitchen is too cold, the yeast and bacteria in your starter will be sluggish, leading to a very slow or stalled rise. Find a warm, draft-free spot for proofing, ideally around 75-80°F (24-27°C).
Why Is My Bread Gummy Inside?
A gummy interior is a common frustration in gluten-free sourdough baking, but it’s often solvable. Here are the primary reasons why your bread might be gummy:
- Underbaking: This is arguably the most frequent cause. Gluten-free breads, especially sourdough, require a longer baking time to fully cook through and dry out the crumb. Even if the crust looks golden, the inside might still be undercooked. Always bake until the internal temperature reaches 210°F (99°C).
- Slicing Too Early: Patience is paramount! Cutting into your warm sourdough bread immediately after baking causes the steam trapped inside to escape rapidly. This steam is crucial for maintaining the bread’s internal structure as it cools. Releasing it prematurely leads to a dense, wet, and gummy texture. Always let your loaf cool completely, for at least 2-4 hours, on a wire rack.
- Inactive Starter: A weak or underfed starter will not produce enough gases to create an open, airy crumb. This can result in a dense structure that feels gummy. Ensure your starter is bubbly and active.
- Incorrect Hydration: While gluten-free sourdough dough often has a higher hydration than traditional sourdough, an imbalance (either too much or too little water) can lead to issues. Too much water can make the bread overly wet and gummy, while too little can make it dense and dry. Precise measurement with a food scale is crucial.
- Under or Overproofing: Both underproofed and overproofed doughs can result in a gummy texture. Underproofed dough doesn’t develop enough air pockets, leading to a dense crumb. Overproofed dough can collapse, leading to a similar dense and gummy result. Pay close attention to the visual cues and the poke test during proofing.
- Flour Blend Issues: The specific blend of gluten-free flours can impact texture. Ensure you’re using the recommended flours or making appropriate adjustments if substituting. Some flours absorb more water than others, and a correct balance of starches and grains is important.
Storage Instructions for Your Homemade Sourdough
Proper storage is essential to maintain the freshness and texture of your delicious gluten-free sourdough bread:
- Room Temperature: For immediate consumption, store leftover gluten-free sourdough bread tightly wrapped in plastic wrap or in an airtight bread bag at room temperature for up to 4 days. Avoid refrigeration, as it can cause the bread to stale more quickly.
- Freezing for Longer Storage: To extend its freshness, individual slices or the entire loaf can be frozen. Wrap individual slices tightly in plastic wrap, then place them in a freezer-safe bag or container. This method allows you to thaw only what you need. Frozen sourdough can be stored for up to 3 months.
- Thawing: To enjoy frozen bread, simply let it thaw overnight in the refrigerator or on the countertop. For best results, you can lightly toast thawed slices or warm them in the oven for a few minutes to revive their texture and crust.
Discover More Homemade Gluten-Free Bread Recipes!
If you’ve enjoyed making this gluten-free sourdough, you might be ready to explore other delightful gluten-free bread options from scratch:
- Easy Gluten-Free Bread
- Fluffy Gluten-Free Focaccia
- Effortless Gluten-Free Bread Machine Bread