
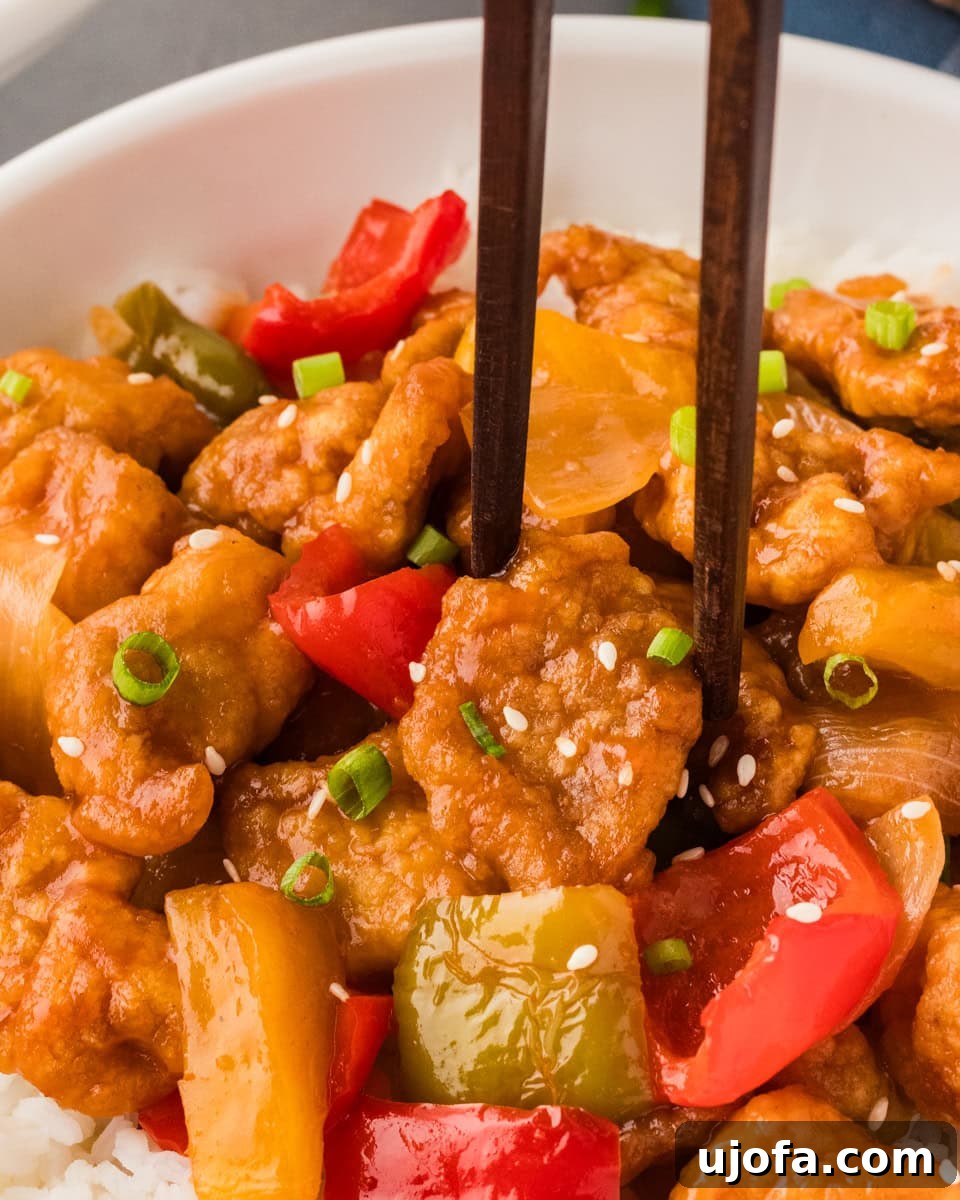
The Ultimate Gluten-Free Sweet and Sour Chicken Recipe: Better Than Takeout!
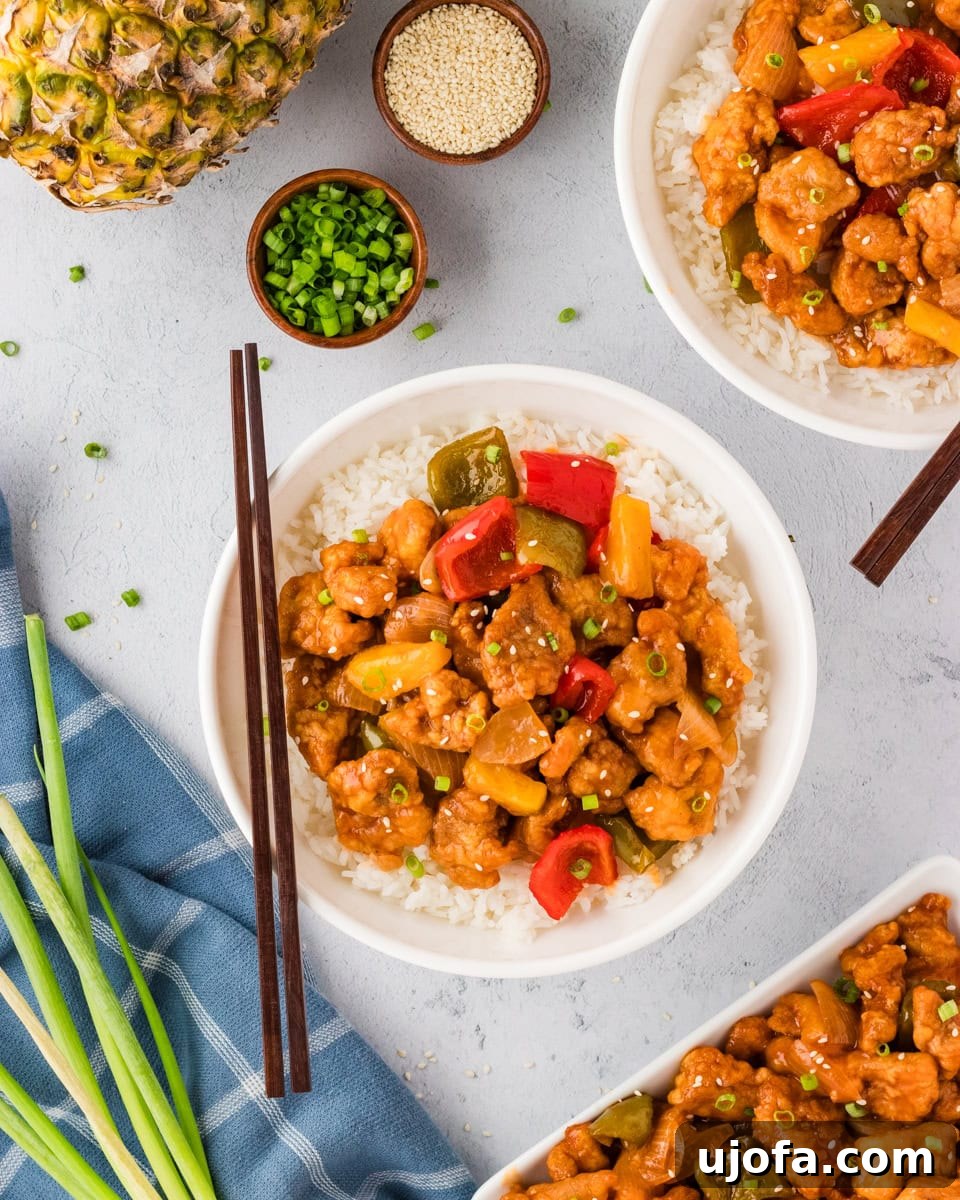
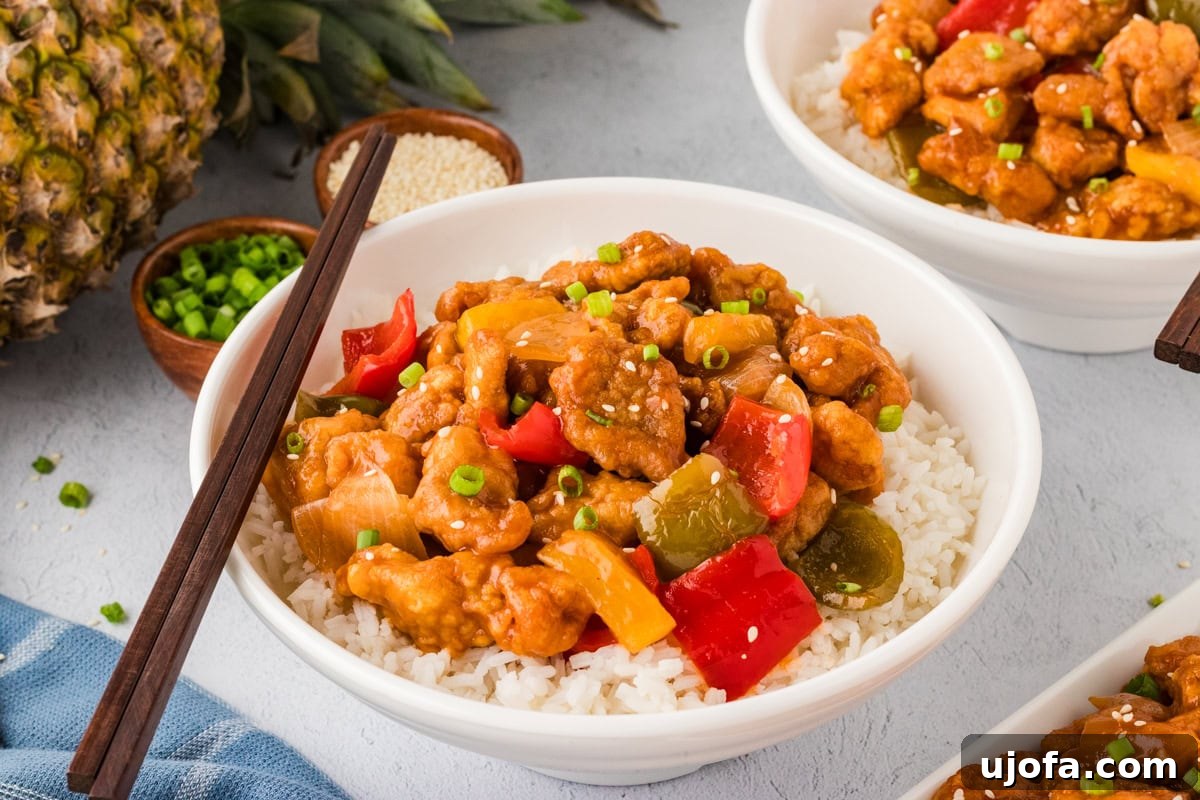
Craving the vibrant flavors of Chinese cuisine but struggling with gluten intolerance? You’re not alone! Many of us miss our favorite takeout dishes, but fear not, because this homemade gluten-free sweet and sour chicken is here to revolutionize your dinner rotation. Forget greasy, unknown ingredients; this recipe delivers a delicious, one-pan (or wok) stir-fry featuring perfectly crispy chicken, a rich, sweet, and tangy sauce, and an abundance of fresh, chunky vegetables. It’s so good, you’ll wonder why you ever ordered takeout!
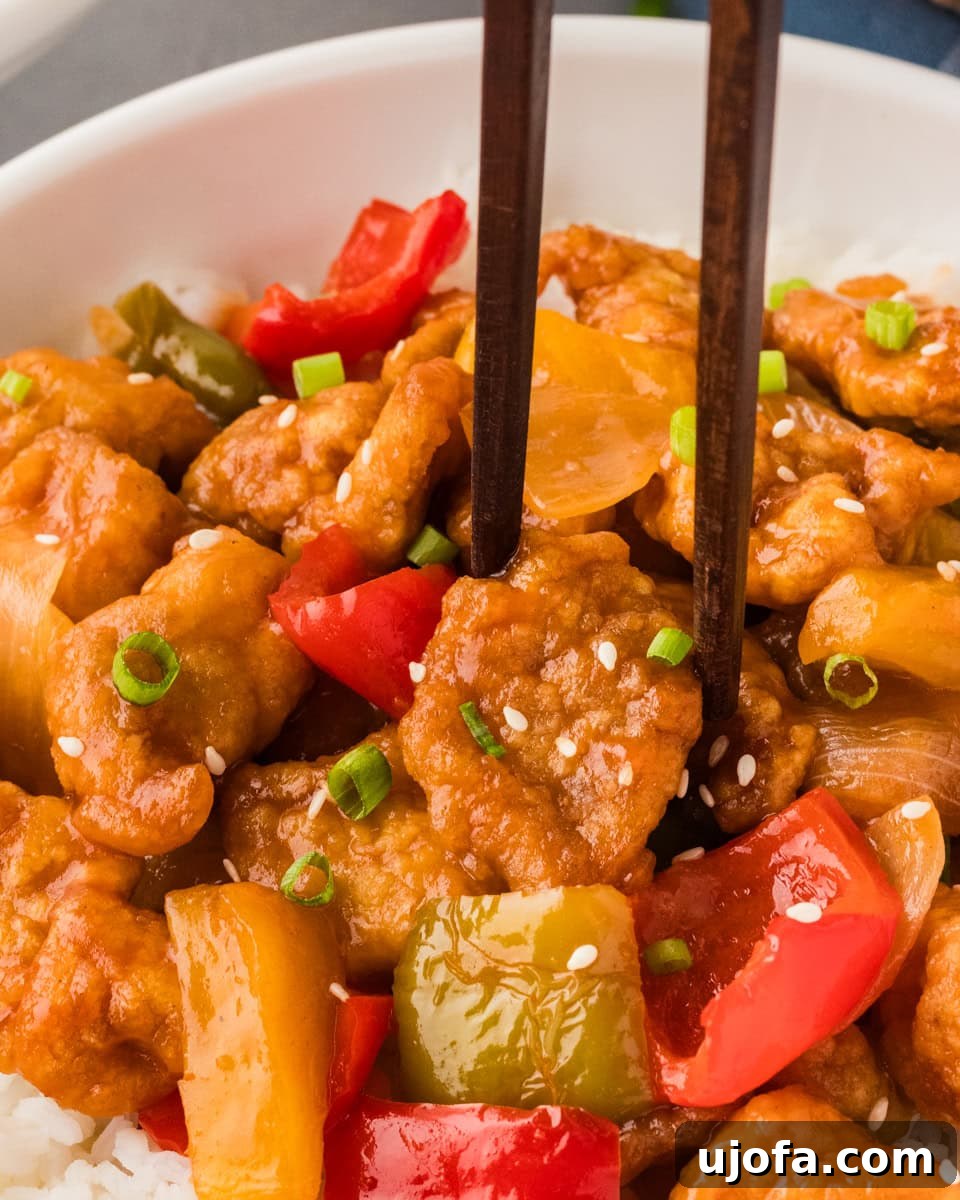
Why You’ll Love This Homemade Gluten-Free Sweet and Sour Chicken
This recipe isn’t just a gluten-free alternative; it’s an elevated culinary experience. Here’s why it’s destined to become a family favorite:
- Unrivaled Flavor Profile: The sweet and sour sauce is the heart of this dish, offering a perfectly balanced blend of sweetness, tang, and savory depth. Infused with fresh garlic and ginger, it brings an authentic Asian-inspired punch that’s simply irresistible.
- Superior Texture: Unlike some takeout versions that can be soggy, our chicken pieces are coated in a cornstarch and gluten-free flour batter, fried to a delightful crispness, and then perfectly coated in the luscious sauce. Coupled with tender-crisp bell peppers and onions, every bite is a textural delight.
- Healthy & Wholesome: By making it at home, you have complete control over the ingredients. No artificial colors, preservatives, or excessive amounts of sugar. You can choose high-quality chicken and fresh vegetables, ensuring a healthier meal for your family.
- One-Pan Convenience: While there are a few steps involved, the beauty of this dish lies in its efficiency. Using a single wok or large frying pan for both frying the chicken and stir-frying the vegetables minimizes cleanup, making it a perfect weeknight meal.
- Versatile & Customizable: Easily adjust the sweetness, sourness, or spice level to suit your palate. Add your favorite vegetables, switch up the protein, or play with different gluten-free grains for serving.
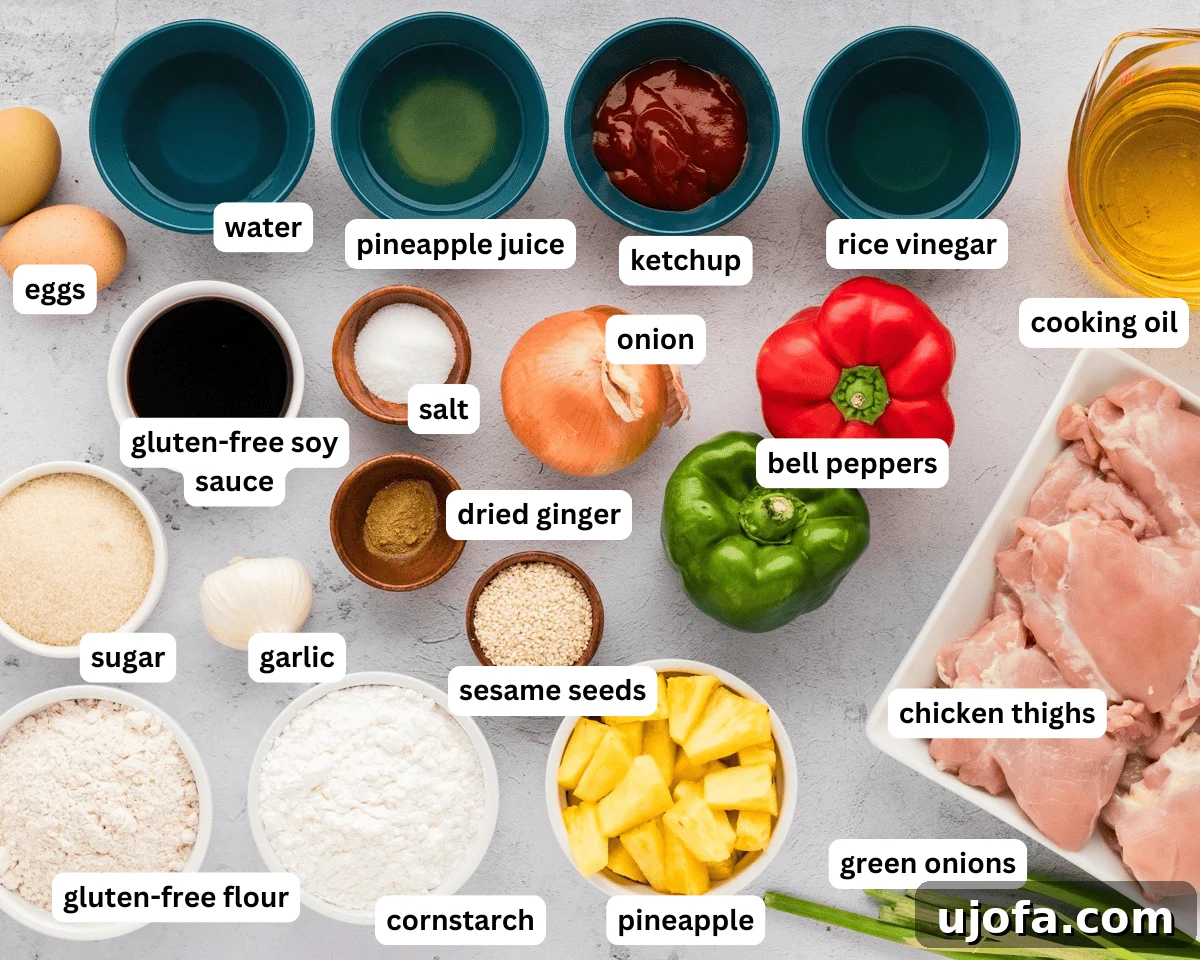
Essential Ingredients for Your Gluten-Free Sweet and Sour Chicken
Crafting the perfect sweet and sour chicken starts with understanding the role of each ingredient. We’ve carefully selected components that deliver on flavor, texture, and gluten-free integrity.
For the Perfectly Crispy Chicken
The chicken is the star, and getting it right is crucial for that authentic sweet and sour experience. We aim for moist, tender chicken encased in a light, crispy coating.
- Boneless Skinless Chicken Thighs: While chicken breast can be used, we highly recommend boneless, skinless chicken thighs. Their higher fat content ensures the chicken remains incredibly juicy and tender, even after frying and reheating. This prevents the dry, chewy texture that can sometimes result from overcooked breast meat.
- Eggs: Large eggs are essential for creating an effective “egg wash.” This sticky layer acts as a bridge, helping the dry coating ingredients adhere beautifully to the chicken, creating a uniform and crispy crust.
- Cornstarch: A true gluten-free hero! Cornstarch is naturally gluten-free and plays a dual role here. First, it forms a light, crispy barrier around the chicken, locking in moisture during frying. Second, it contributes significantly to the crispness of the final coating. If needed, tapioca starch or arrowroot starch make excellent substitutes.
- Gluten-Free All-Purpose Flour: When combined with cornstarch, a good gluten-free all-purpose flour blend creates the perfect light and airy batter. We personally prefer King Arthur’s Measure for Measure gluten-free flour blend for its reliable performance in various recipes, but any high-quality cup-for-cup gluten-free flour blend will work.
- Salt: A simple yet vital ingredient, salt not only seasons the chicken directly but also enhances the overall flavor profile of the coating, ensuring every bite is well-seasoned.
- Cooking Oil: For frying, select a neutral-flavored oil with a high smoke point. Canola oil, vegetable oil, or avocado oil are excellent choices as they can withstand the high heat required for crisping the chicken without burning or imparting unwanted flavors.
Crafting the Irresistible Sweet and Sour Sauce
The sauce is what transforms simple fried chicken into a sweet and sour masterpiece. Our blend strikes a perfect balance of sweet, tangy, and savory notes.
- Sugar: Granulated sugar provides the primary sweetness that defines sweet and sour chicken. You can adjust the amount to your preference or even substitute with honey or maple syrup for a slightly different flavor profile.
- Pineapple Juice: This contributes both sweetness and a crucial fruity tang to the sauce. If you’re using fresh pineapple chunks, you may need to purchase pineapple juice separately. For canned pineapple, you can often use the juice from the can.
- Rice Vinegar: Essential for balancing the sweetness, rice vinegar introduces that characteristic tangy, slightly sharp flavor without being overly aggressive. It brightens the entire dish.
- Ketchup: Often a surprise ingredient for those new to homemade sweet and sour sauce, ketchup provides a unique blend of tomato sweetness, a subtle tang, and a rich color. It’s a foundational element of the classic flavor.
- Gluten-Free Soy Sauce: This adds a critical umami depth and saltiness that rounds out the Asian-inspired flavor. Always ensure it’s clearly labeled gluten-free, or opt for alternatives like tamari (which is almost always gluten-free) or coconut aminos for a soy-free option.
- Garlic Cloves (Minced): Freshly minced garlic is a non-negotiable for its pungent, aromatic, and savory notes, which are a hallmark of authentic Chinese-American dishes.
- Dried Ginger: While fresh ginger can be used, dried ginger is convenient and adds a warm, slightly spicy depth that complements the other flavors beautifully.
- Cornstarch: Just like with the chicken coating, cornstarch is vital for the sauce. Here, it acts as a thickening agent, giving the sweet and sour sauce its signature glossy, clingy texture.
The Vibrant Stir-Fry Vegetables
Adding color, crunch, and nutritional value, the vegetables complete the stir-fry, creating a satisfying and well-rounded meal.
- Bell Peppers (Red & Green): These classic stir-fry vegetables offer a beautiful pop of color, a refreshing crunch, and a mild, sweet flavor that pairs perfectly with the sauce.
- Yellow Onion: Yellow onions, cut into chunks, contribute a subtle sweetness and aromatic depth to the stir-fry as they cook down slightly.
- Pineapple Chunks: Pineapple is not just for the juice! Adding actual chunks of pineapple enhances the fruity, sweet-tangy element of the dish and provides a burst of juicy flavor and texture. Fresh pineapple is always preferred for its vibrant taste, but canned pineapple (drained) works just as well.
Optional Garnishes
- Sesame Seeds and Green Onions: A sprinkle of sesame seeds adds a nutty flavor and appealing visual texture, while chopped green onions provide a fresh, pungent finish and a touch of color.
Expert Tips for Achieving Sweet and Sour Perfection
To ensure your homemade gluten-free sweet and sour chicken is absolutely perfect every time, keep these expert tips in mind:
- Uniform Vegetable Cuts: For even cooking and a beautiful presentation, make sure your bell peppers and onions are cut into similar-sized, 1-inch chunks. This ensures they cook evenly and integrate seamlessly with the crispy chicken.
- Pat the Chicken Dry: Before you even think about coating your chicken, pat the pieces thoroughly dry with paper towels. Excess moisture is the enemy of crispiness, preventing the egg and flour mixture from adhering properly. A dry surface ensures a better, more consistent crust.
- Oil Temperature is Crucial: The key to truly crispy fried chicken is perfectly heated oil. If the oil isn’t hot enough, the chicken will absorb too much oil and turn out greasy. If it’s too hot, the coating will burn before the chicken cooks through. Test the oil by dropping a tiny piece of coated chicken into the pan. If it furiously bubbles and floats to the surface almost immediately, your oil is ready. If it just lazily bubbles, give it more time to heat up.
- Don’t Overcrowd the Pan: When frying the chicken, cook it in batches. Overcrowding the pan will drastically lower the oil’s temperature, leading to soggy chicken rather than crispy. Give each piece enough space to fry evenly.
- Balance the Sweet and Sour: Taste your sauce as you go! The beauty of homemade sweet and sour is that you can adjust it to your liking. If you prefer it sweeter, add a touch more sugar. If you like it tangier, a little extra rice vinegar will do the trick. Start with the recommended amounts and tweak as needed.
- Wok Wisdom: While a large frying pan works, a wok is ideal for stir-frying. Its sloped sides allow for quick and even cooking, and its deep shape is perfect for tossing ingredients without spills. If you have one, use it!
- Prep Ahead for Ease: You can prepare the sweet and sour sauce up to a day in advance and store it in the refrigerator. This cuts down on prep time on the day you plan to cook, making the meal even quicker to put together.
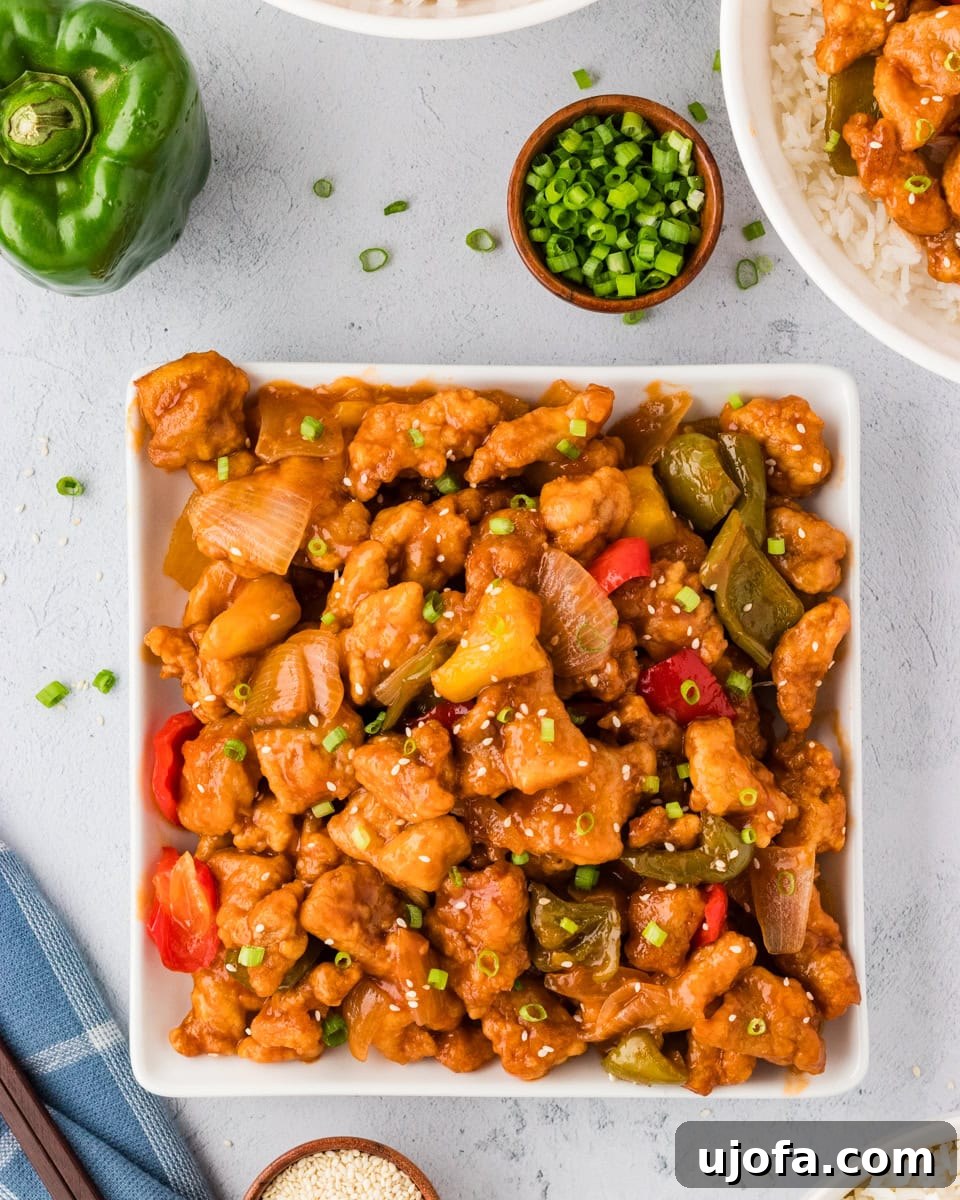
Serving Suggestions to Complete Your Meal
This gluten-free sweet and sour chicken is a star on its own, but pairing it with the right accompaniments elevates it into a truly satisfying feast. Here are some of our favorite serving suggestions:
- Steamed Rice: Classic steamed jasmine rice is always a winner, as its neutral flavor and fluffy texture perfectly soak up every drop of that irresistible sweet and sour sauce. For a healthier option, brown rice or even cauliflower rice can be excellent choices.
- Fried Rice: Elevate your meal by serving it with a side of homemade gluten-free fried rice. The savory notes of fried rice complement the sweet and tangy chicken beautifully.
- Gluten-Free Sides: For a more elaborate meal, consider adding gluten-free wontons, spring rolls, or egg rolls. Just be sure to check labels to ensure they are certified gluten-free.
- Steamed Vegetables: A simple side of steamed broccoli, snap peas, or asparagus can add extra freshness and a vibrant green color to your plate, balancing the richness of the chicken and sauce.
Storage and Reheating Instructions
While leftovers of this dish are a rare occurrence in our household, it’s good to know how to properly store and reheat them to maintain flavor and texture.
- Refrigeration: Any leftover sweet and sour chicken can be stored in an airtight container in the refrigerator for up to 5 days. Ensure it cools completely before sealing the container.
- Reheating: For best results, reheat the chicken and vegetables in a skillet over medium heat. This method helps to crisp up the chicken coating again and prevents the sauce from becoming watery. If you’re short on time, you can microwave it, but be aware that the chicken might lose some of its crispiness.
Recipe Card: Gluten-Free Sweet and Sour Chicken
Gluten-Free Sweet and Sour Chicken
Julia Elizabeth
6 servings
20 mins
20 mins
40 mins
Equipment
-
1 wok (or large frying pan)
Ingredients
For the Crispy Chicken
- 2 pounds boneless skinless chicken thighs, cut into bite-sized pieces
- 2 large eggs, whisked
- 1 cup cornstarch
- 1 cup gluten-free all-purpose flour
- 2 teaspoon salt
- 1 ½ cups cooking oil (plus 1 tablespoon for sautéing vegetables)
For the Sweet & Sour Sauce
- ½ cup granulated sugar
- ¼ cup pineapple juice
- ¼ cup water
- ¼ cup rice vinegar
- ¼ cup ketchup
- 2 tablespoons gluten-free soy sauce (or tamari/coconut aminos)
- 3 garlic cloves, minced
- 2 tablespoons cornstarch
- ½ teaspoon dried ginger
For the Stir-Fry Vegetables
- 1 green bell pepper, cut into 1-inch chunks
- 1 red bell pepper, cut into 1-inch chunks
- 1 medium yellow onion, cut into 1-inch chunks
- 1 cup pineapple chunks, cut into bite-sized pieces (fresh or canned, drained)
Optional Garnish
- Sesame seeds
- Chopped green onions
Instructions
- Prepare the Sweet & Sour Sauce: In a small bowl, combine ½ cup sugar, ¼ cup pineapple juice, ¼ cup water, ¼ cup rice vinegar, ¼ cup ketchup, 2 tablespoons gluten-free soy sauce, 3 minced garlic cloves, 2 tablespoons cornstarch, and ½ teaspoon dried ginger. Whisk until all ingredients are thoroughly combined and smooth. Set aside.
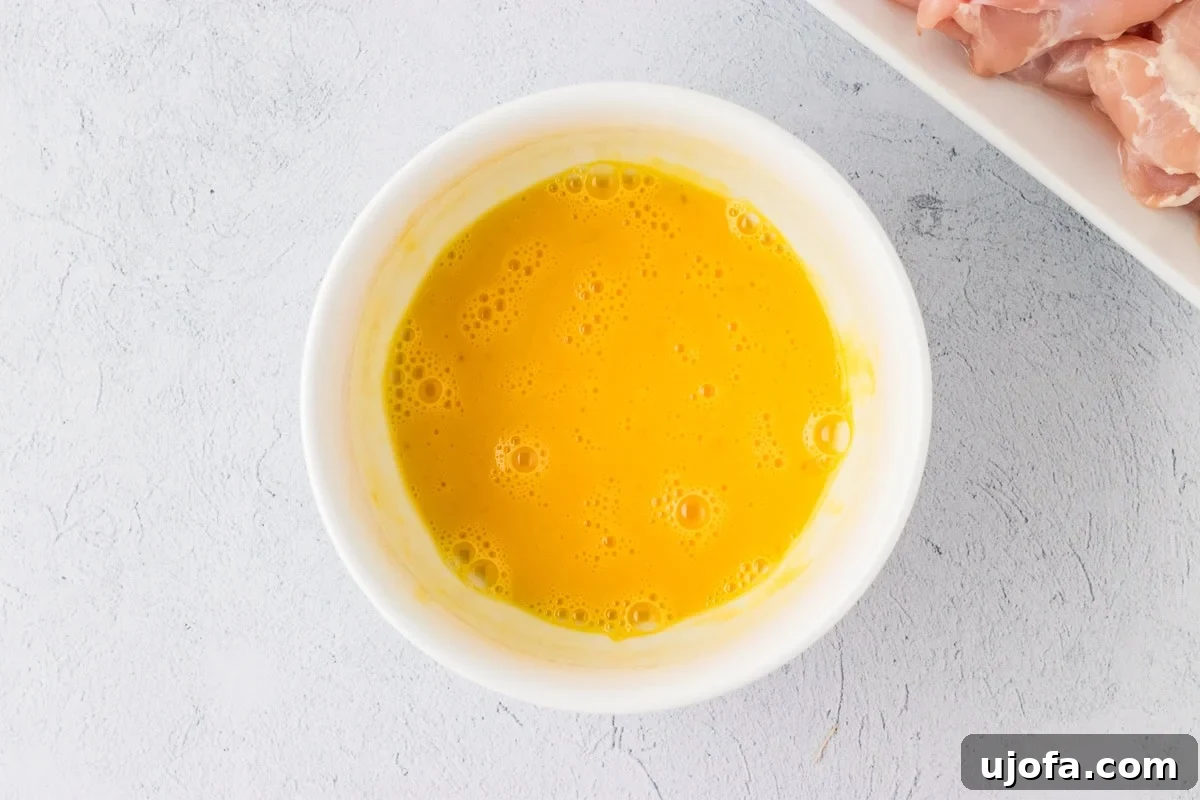
- Prepare Egg Wash: Crack 2 large eggs into a separate small bowl and whisk until well beaten. Set aside.
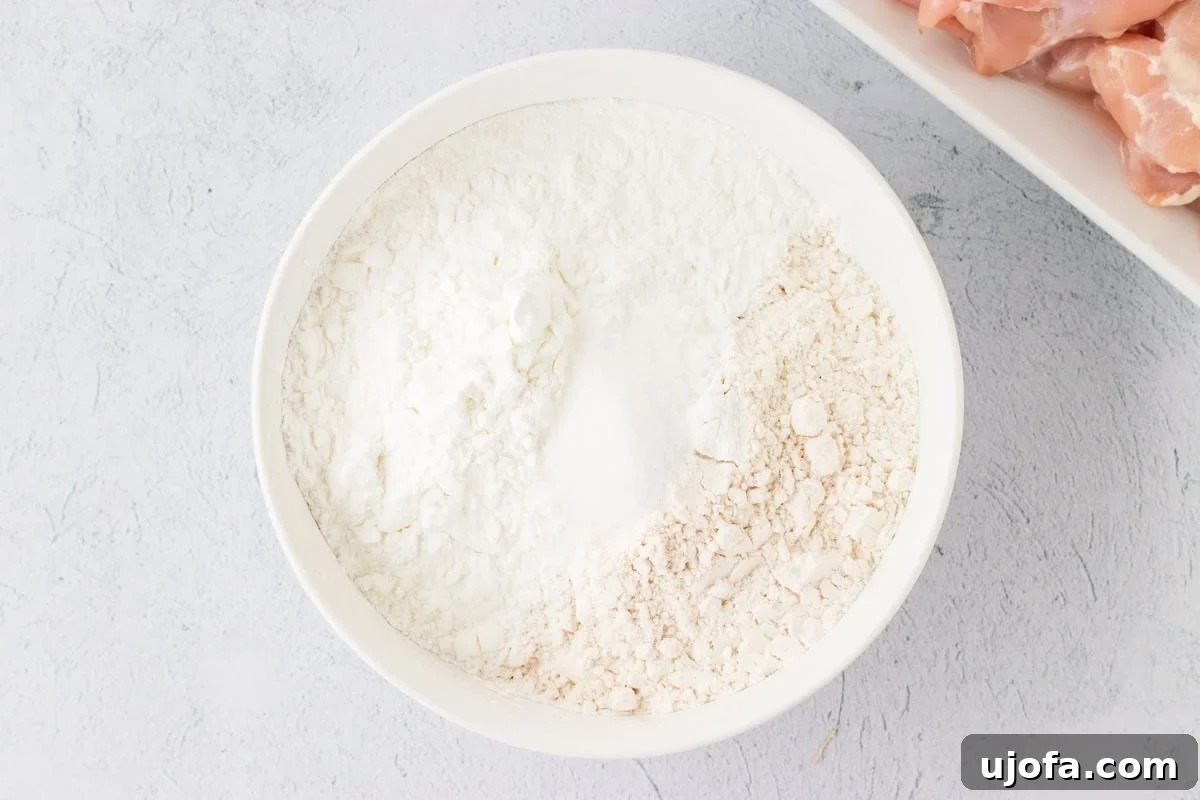
- Prepare Dry Coating: In a medium bowl, combine 1 cup gluten-free all-purpose flour, 1 cup cornstarch, and 2 teaspoons salt. Mix with a fork or whisk until thoroughly combined.
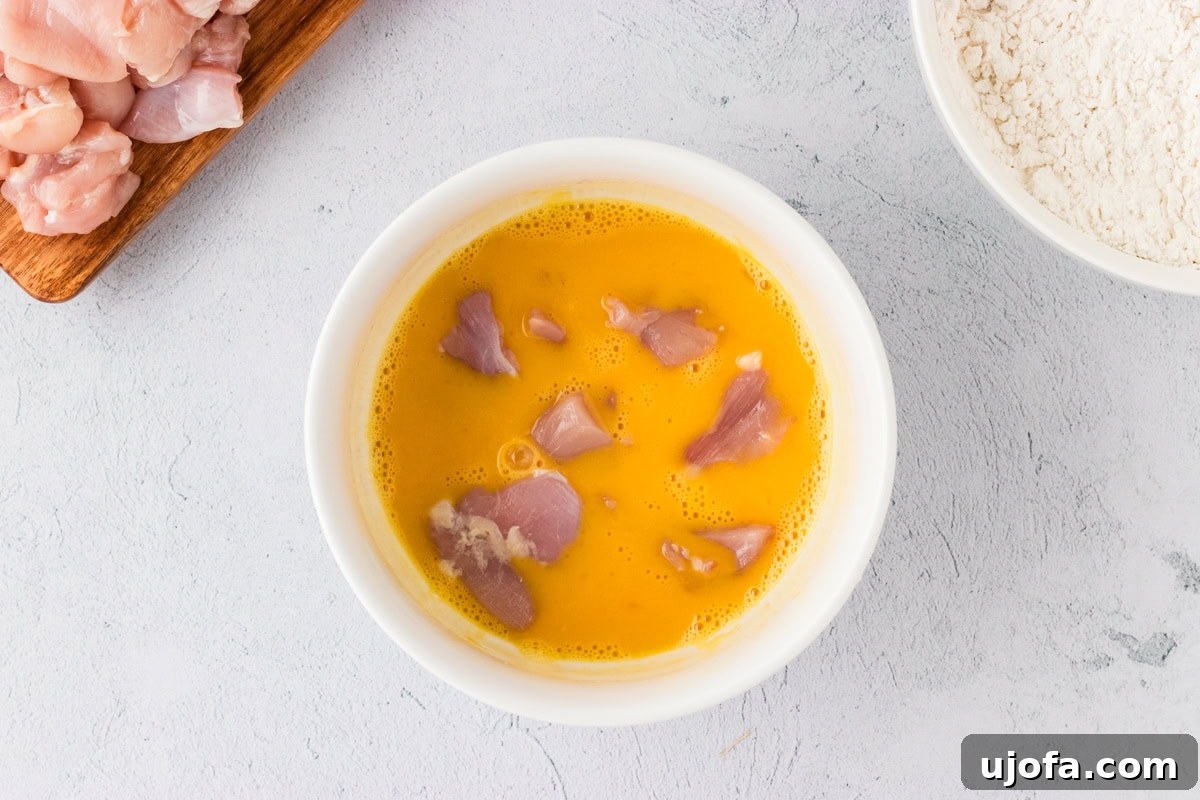
- Coat the Chicken: Cut the boneless, skinless chicken thighs into small, bite-sized pieces. Pat the chicken pieces dry with paper towels. First, dip each chicken piece into the whisked egg wash, ensuring it’s fully coated.
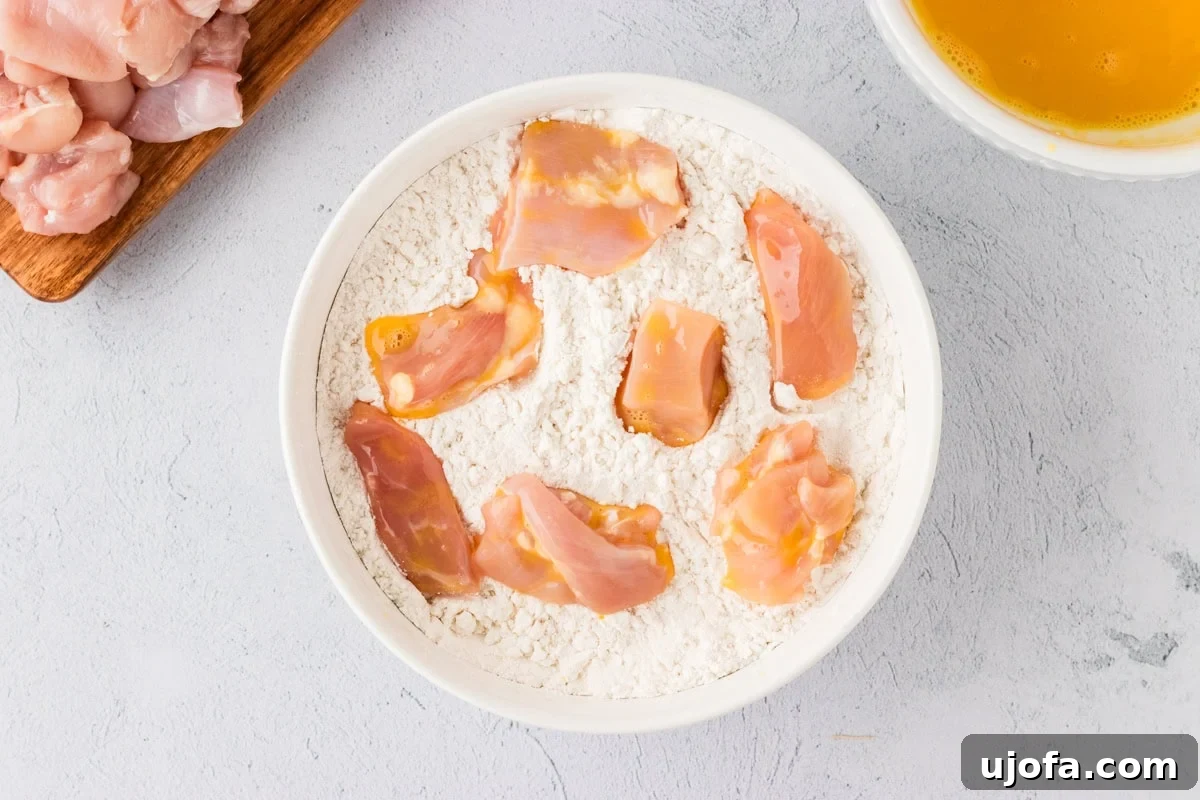
- Next, transfer the egg-coated chicken pieces into the bowl with the flour and cornstarch mixture. Toss or individually coat each piece until it’s fully covered. Shake off any excess coating and place the coated chicken on a plate or wire rack.
- Heat Oil for Frying: In a large frying pan or wok, heat 1 ½ cups of cooking oil over medium-high heat until it reaches optimal frying temperature (around 350-375°F / 175-190°C). You can test the oil by dropping a small piece of coated chicken into the pan; it should vigorously bubble around the chicken piece.
- Fry the Chicken: Carefully add the coated chicken pieces to the hot oil in batches to avoid overcrowding the pan. Fry for 3-4 minutes per batch, flipping halfway through, until the chicken is golden brown and cooked through. Remove the fried chicken and place it on a wire rack to drain excess oil and cool slightly.
- Sauté Vegetables: Carefully pour the frying oil into a heat-safe container to cool before discarding. Wipe any residue from the pan or wok. Add 1 tablespoon of fresh cooking oil to the clean pan and heat over medium heat. Once hot, add the chopped red bell pepper, green bell pepper, and yellow onion. Sauté the vegetables for 3 minutes until slightly softened but still crisp.
- Add Pineapple & Sauce: Stir in the 1 cup of pineapple chunks to the sautéed vegetables. Give your prepared sweet and sour sauce a quick whisk again (as the cornstarch may have settled) and pour it over the vegetables and pineapple. Bring the mixture to a gentle simmer and let it cook for another 3 minutes, or until the sauce has thickened and turned glossy.
- Combine & Serve: Return the fried chicken pieces to the pan with the thickened sweet and sour sauce and vegetables. Toss gently to ensure all the chicken is thoroughly coated in the delicious sauce. Allow the chicken to warm through for 1-2 minutes. Remove from heat and serve immediately over steamed jasmine rice or noodles. Garnish with sesame seeds and chopped green onions, if desired.
Notes
- Ensure that the bell peppers and onions are cut into similar-sized pieces so they cook evenly and blend well with the gluten-free crispy chicken.
- Pat the chicken pieces dry with paper towels before coating. This helps the coating adhere better.
- Make sure the oil is hot enough. Use a small test piece of chicken to test if your oil is ready. If you drop it in and it doesn’t furiously bubble, it’s not ready.
- Balance the sweet and sour ingredients. Adjust the sugar and vinegar according to your taste. Start with the amounts given and tweak if needed.
- If you have any leftovers (we rarely do!), store them in an airtight container in the fridge for up to 5 days. Reheat gently in a skillet for best results to retain crispiness.
Nutrition
Calories: 884 kcal
Carbohydrates: 44 g
Protein: 34 g
Fat: 64 g
Saturated Fat: 6 g
Polyunsaturated Fat: 18 g
Monounsaturated Fat: 38 g
Trans Fat: 0.3 g
Cholesterol: 198 mg
Sodium: 935 mg
Potassium: 544 mg
Fiber: 4 g
Sugar: 8 g
Vitamin A: 830 IU
Vitamin C: 46 mg
Calcium: 50 mg
Iron: 3 mg
Nutrition information is automatically calculated, so should only be used as an approximation.
Additional Info
Dinner
Chinese
How to Master Gluten-Free Sweet and Sour Chicken: A Detailed Step-by-Step Guide
Follow these detailed steps to create a show-stopping sweet and sour chicken that will impress even the most discerning palates. Each stage is crucial for building layers of flavor and achieving perfect textures.
Step 1: Prepare the Sweet and Sour Sauce
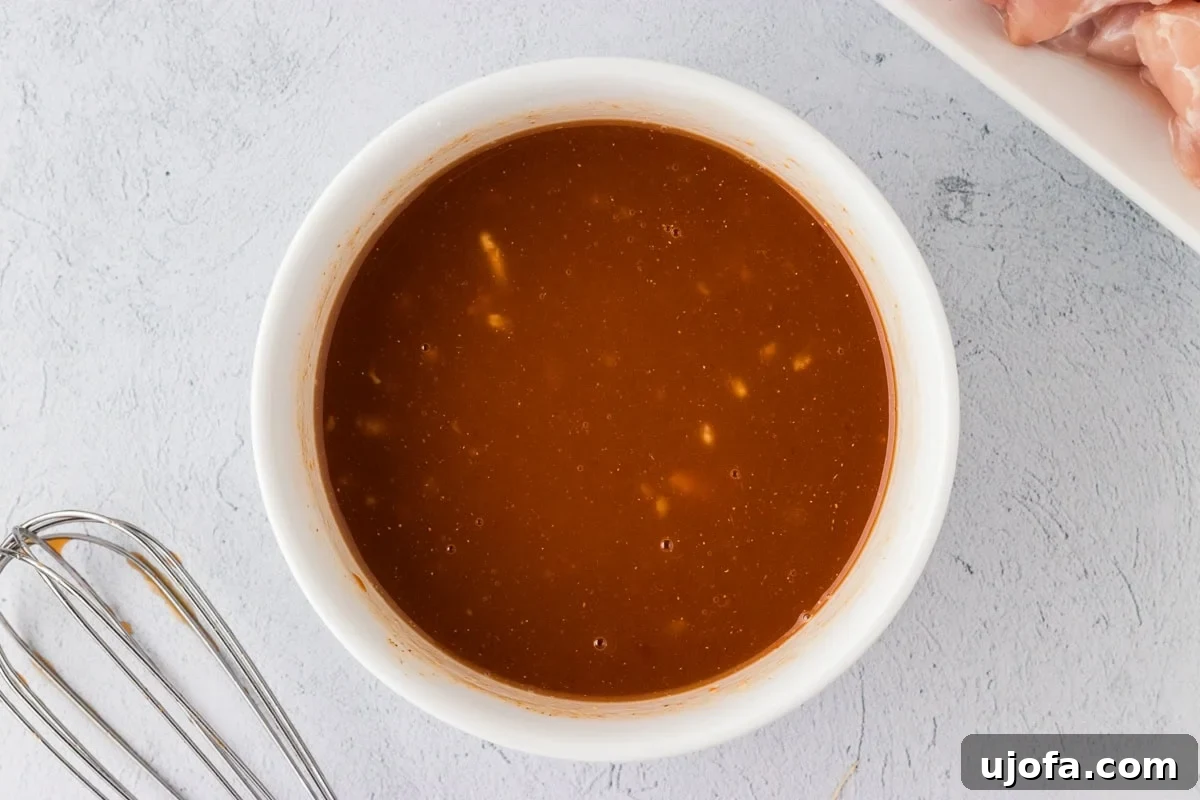
Start by gathering all your sauce ingredients. In a small bowl, combine ½ cup granulated sugar, ¼ cup pineapple juice, ¼ cup water, ¼ cup rice vinegar, ¼ cup ketchup, 2 tablespoons gluten-free soy sauce (or your preferred alternative), 3 minced garlic cloves, 2 tablespoons cornstarch, and ½ teaspoon dried ginger. Whisk all these ingredients vigorously until the cornstarch is completely dissolved and the sauce mixture is smooth and uniform. This ensures a lump-free, glossy sauce later on. Set this flavorful concoction aside; it will be ready when you need it.
Step 2: Whisk the Eggs
In another small, separate bowl, crack two large eggs. Using a fork or small whisk, beat the eggs thoroughly until the yolks and whites are fully combined and slightly frothy. This egg wash is crucial for helping the dry coating adhere evenly to the chicken pieces. Once whisked, set this bowl aside as well.
Step 3: Combine Dry Coating Ingredients
Take a medium-sized bowl and add 1 cup of your chosen gluten-free all-purpose flour blend, 1 cup of cornstarch, and 2 teaspoons of salt. Use a fork or whisk to mix these dry ingredients together until they are perfectly combined. This mixture will create the crispy, golden crust on your chicken.
Step 4: Prepare the Chicken
Begin by cutting your boneless, skinless chicken thighs into uniform, bite-sized pieces. Aim for approximately 1-inch chunks to ensure even cooking. Before dipping, it’s critical to pat the chicken pieces very dry with paper towels. This step is essential for the coating to adhere properly and achieve maximum crispiness. Once dry, dip each chicken piece into the whisked egg wash, making sure it’s completely covered. The egg acts as a binder, preparing the chicken for the dry coating.
Step 5: Coat the Chicken
After dipping in the egg wash, transfer each chicken piece into the bowl containing the gluten-free flour and cornstarch mixture. Toss and turn the chicken pieces until they are fully and evenly coated. Ensure there are no bare spots, as this coating is key to the crispy texture.
Step 6: Set Aside Coated Chicken
Once thoroughly coated, gently shake off any excess flour mixture from each chicken piece. Transfer the coated chicken to a clean plate or, ideally, a wire rack. Setting it on a rack allows air to circulate, which helps the coating set and ensures a crispier final product. Repeat this process until all chicken pieces are coated.
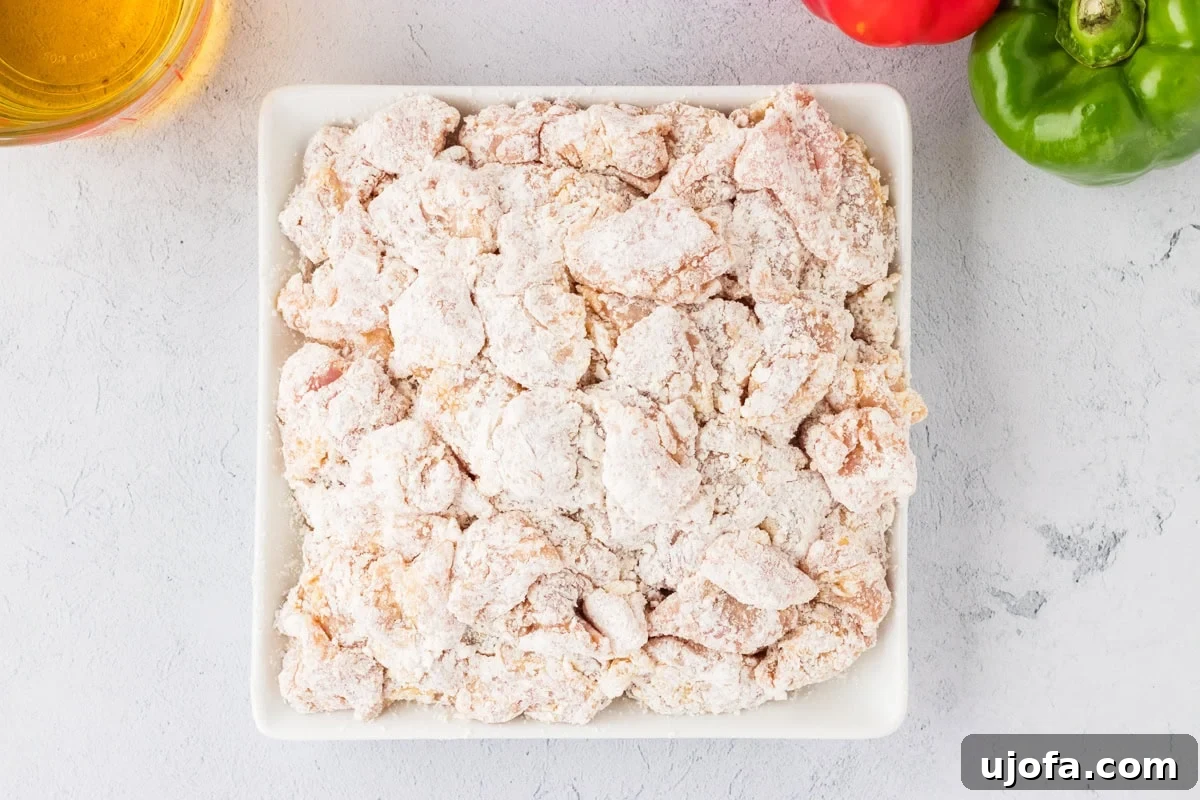
Step 7: Heat the Oil for Frying
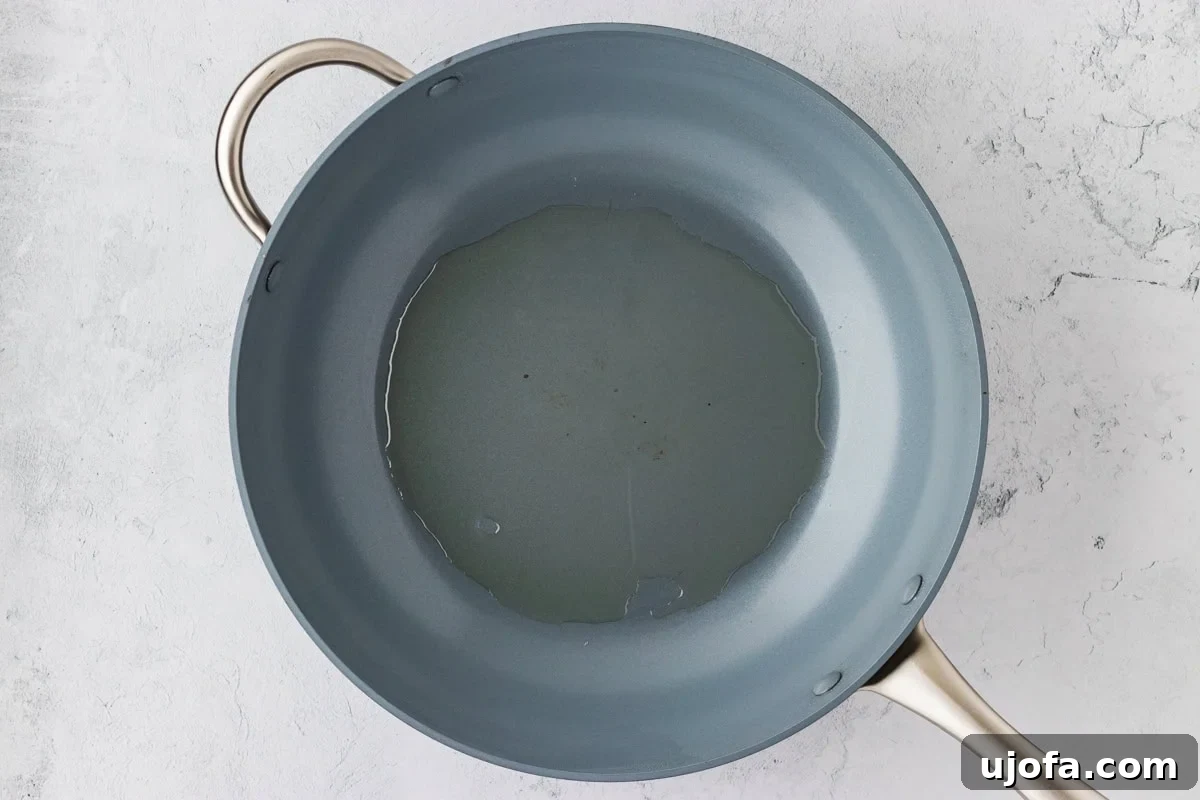
In a large frying pan or a wok, pour 1 ½ cups of your chosen cooking oil. Heat the oil over medium-high heat. The oil needs to be sufficiently hot for the chicken to crisp properly without becoming greasy. To test if the oil is ready, drop a tiny pinch of the flour mixture or a small test piece of coated chicken into the pan. If the oil immediately begins to bubble vigorously around it, it’s hot enough. If the bubbling is slow or minimal, allow the oil more time to heat up.
Step 8: Fry the Chicken
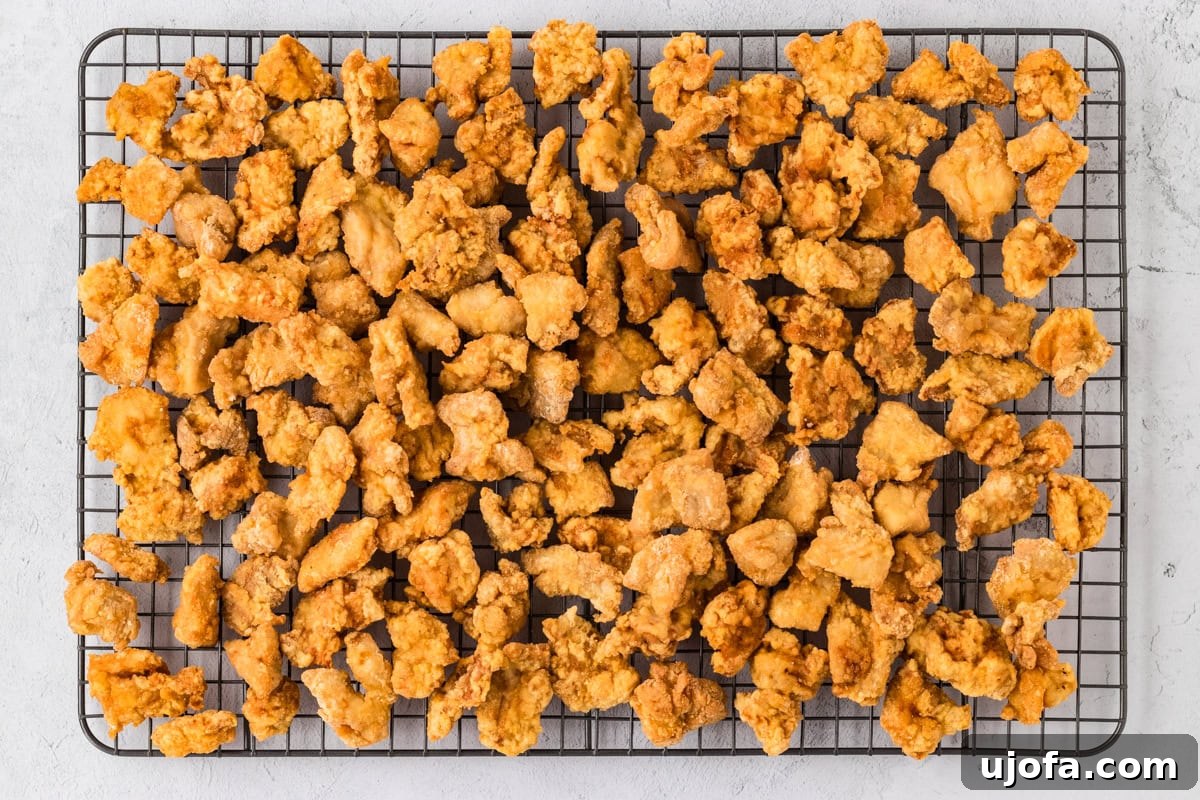
Once the oil is hot, carefully add the coated chicken pieces to the pan in batches. Do not overcrowd the pan, as this will lower the oil temperature and result in soggy chicken. Fry each batch for 3-4 minutes, turning the pieces halfway through to ensure even browning. The chicken should be golden brown and cooked through. Once done, remove the fried chicken pieces with a slotted spoon or tongs and place them on a clean wire rack to allow any excess oil to drain. This helps maintain their crispiness.
Step 9: Sauté the Vegetables
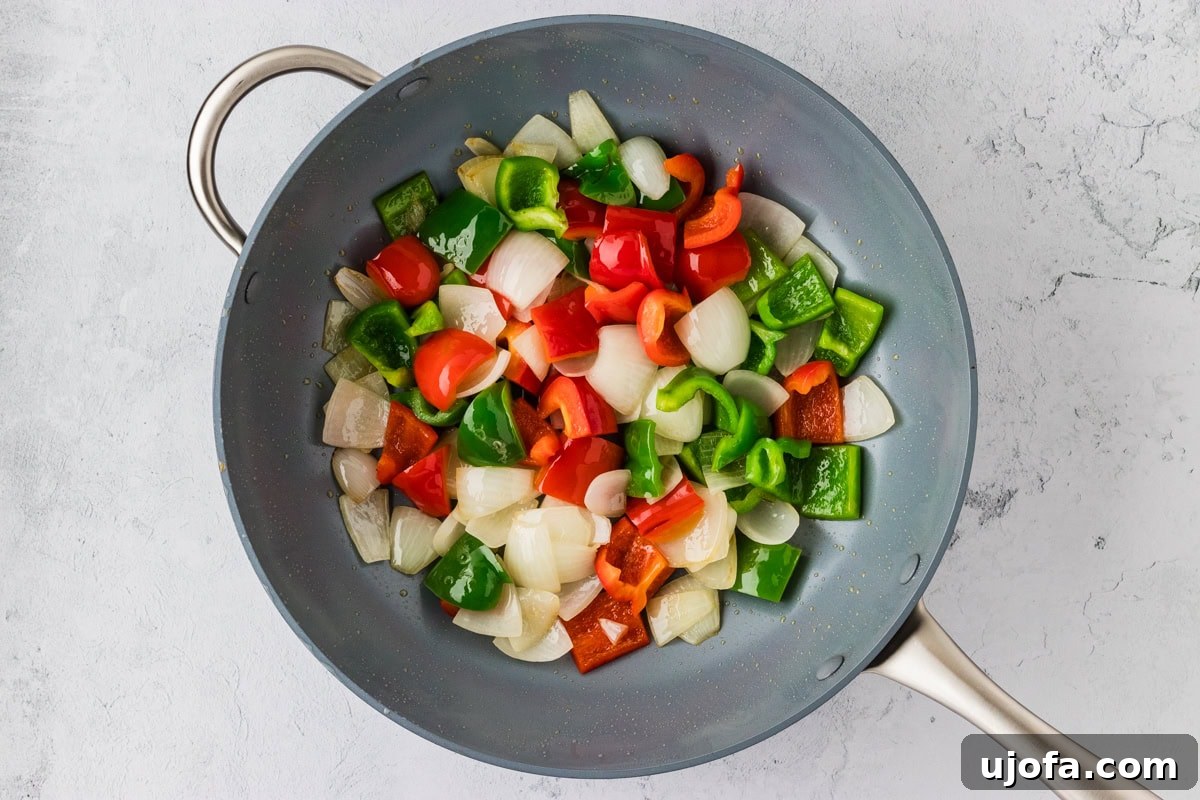
Carefully pour the frying oil into a heat-safe dish to cool completely before discarding. Wipe any residue or burnt bits out of your frying pan or wok. Add a fresh tablespoon of cooking oil to the now clean pan and heat it over medium heat. Once hot, add your chopped red bell pepper, green bell pepper, and yellow onion. Sauté these vibrant vegetables for about 3 minutes, stirring frequently, until they are slightly softened but still retain a pleasant crunch. They should not be mushy.
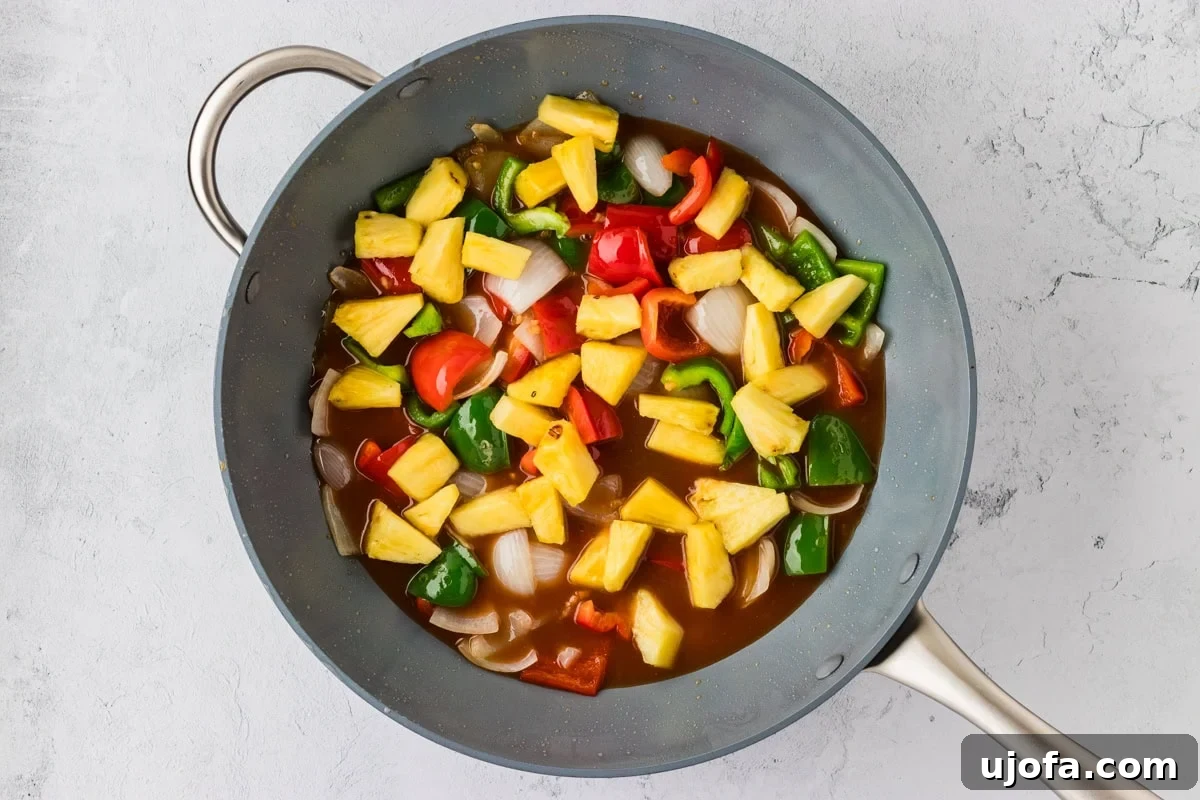
Step 10: Add Pineapple and Sauce
Once the vegetables are perfectly sautéed, add 1 cup of pineapple chunks (fresh or well-drained canned) to the pan. Give your reserved sweet and sour sauce mixture another quick whisk to ensure the cornstarch hasn’t settled at the bottom. Pour the entire sauce mixture over the vegetables and pineapple in the pan. Bring the mixture to a gentle simmer and let it cook for another 3 minutes, stirring occasionally. The sauce will visibly thicken and develop a beautiful, glossy sheen.
Step 11: Combine Chicken and Sauce
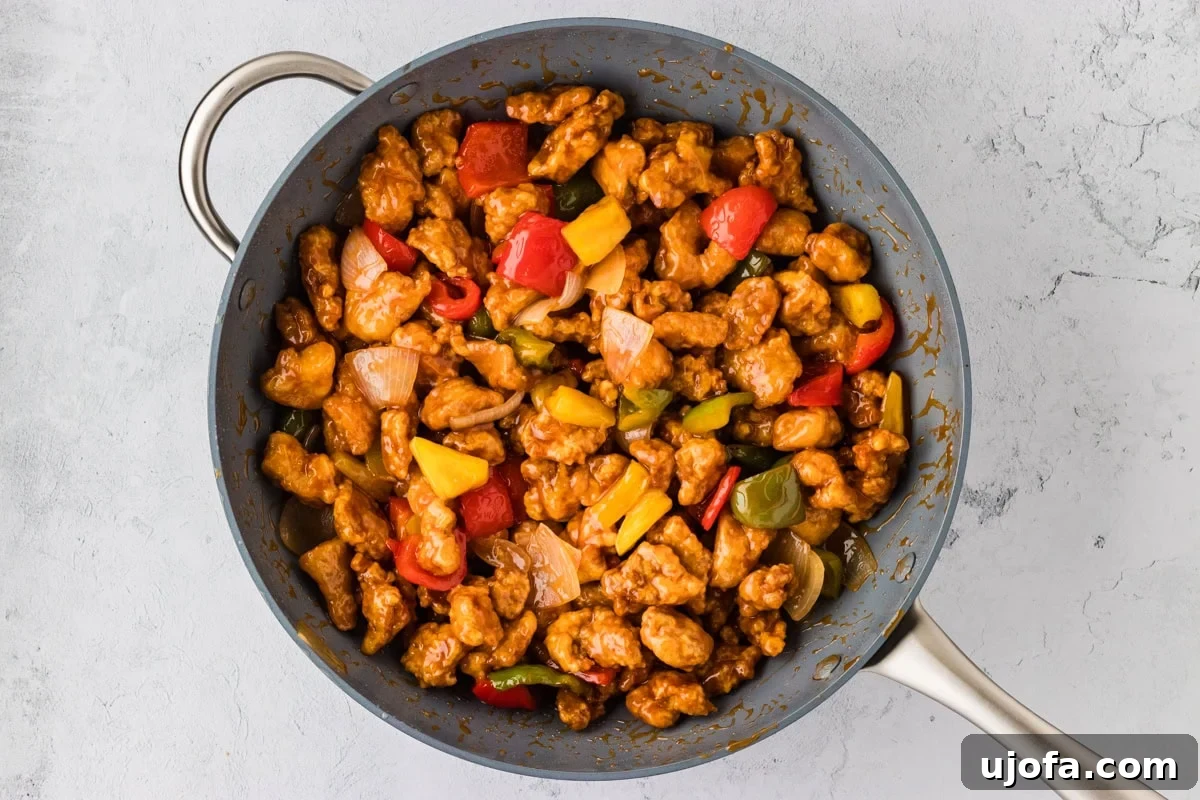
Gently add the fried chicken pieces back into the pan with the thickened sweet and sour sauce and vegetables. Toss everything together carefully, ensuring that each piece of crispy chicken is thoroughly coated in the luscious sauce. Allow the chicken to warm through for 1-2 minutes, absorbing the wonderful flavors. Be careful not to overcook, as you want to maintain the chicken’s crispiness.
Step 12: Serve and Garnish
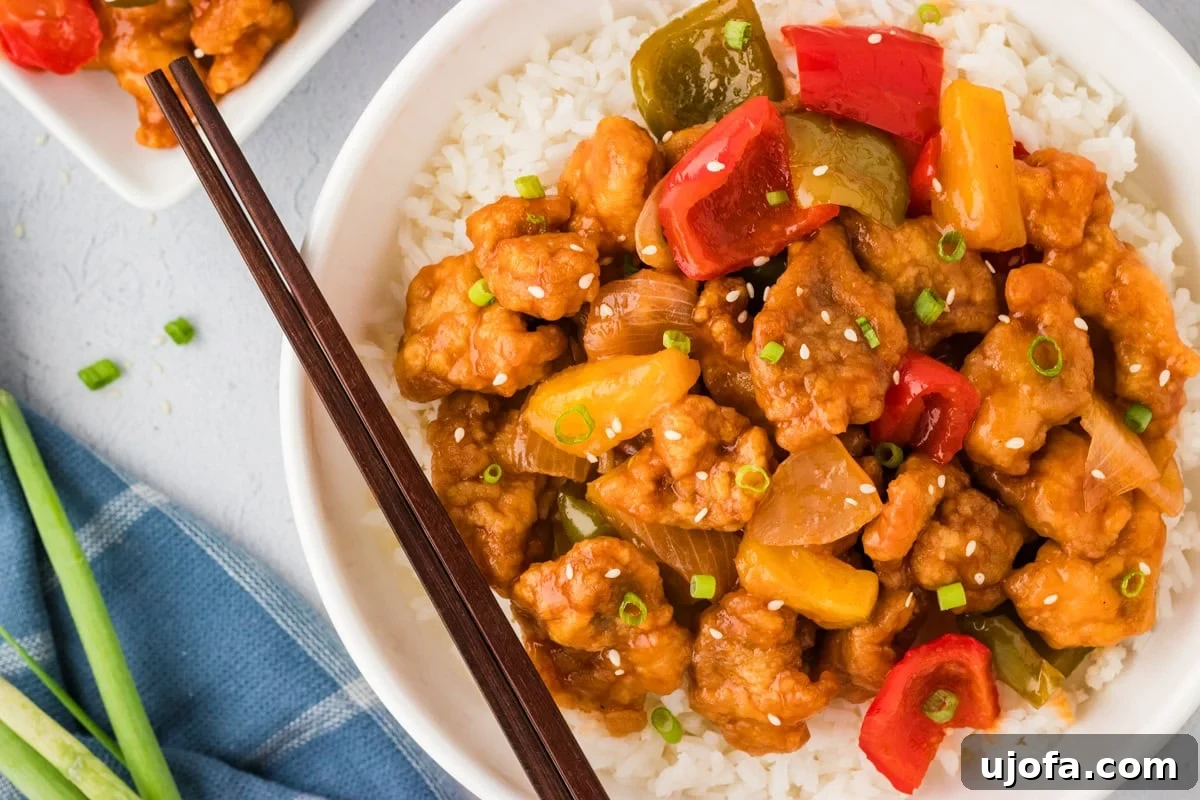
Remove the sweet and sour chicken from the heat. It’s best served immediately to enjoy the chicken at its crispiest. Plate generous portions over a bed of fluffy steamed rice, fried rice, or your favorite gluten-free noodles. For an extra touch of elegance and flavor, garnish with a sprinkle of toasted sesame seeds and freshly chopped green onions. Enjoy your incredible homemade, gluten-free sweet and sour chicken – better than any takeout!
Frequently Asked Questions About Gluten-Free Sweet and Sour Chicken
Here are answers to some common questions that might arise when making this delicious gluten-free sweet and sour chicken:
Can I use chicken breast instead of thighs?
Yes, you can absolutely use boneless, skinless chicken breast. However, chicken breast tends to be leaner and can dry out more easily. To keep it moist, ensure you don’t overcook it during the frying process. Thighs are recommended for their naturally juicier and more forgiving nature.
How can I make the chicken extra crispy?
Several factors contribute to extra crispy chicken:
- Patting Dry: Ensure chicken pieces are thoroughly patted dry before coating.
- Double Coating: For an even thicker, crispier crust, after the first coating, dip the chicken back into the egg wash and then into the dry mixture again.
- Hot Oil: Maintain the correct oil temperature (around 350-375°F or 175-190°C).
- Don’t Overcrowd: Fry in small batches to keep the oil temperature consistent.
- Wire Rack: Drain fried chicken on a wire rack, not paper towels, to prevent steam from making the bottom soggy.
Can I prepare the sauce ahead of time?
Absolutely! The sweet and sour sauce can be made up to 2-3 days in advance and stored in an airtight container in the refrigerator. Just give it a good whisk before adding it to the stir-fry, as the cornstarch might settle.
What if I don’t have a wok?
No problem! A large, heavy-bottomed frying pan or a Dutch oven will work perfectly. The key is to have enough surface area to fry the chicken in batches and enough depth to comfortably stir-fry the vegetables and sauce.
Is this recipe dairy-free?
Yes, this recipe is naturally dairy-free! None of the ingredients contain dairy, making it suitable for those with dairy sensitivities or allergies.
How can I adjust the sweetness or sourness?
Taste the sauce after it has simmered. If you prefer it sweeter, add another tablespoon or two of sugar. For more tang, add an extra teaspoon of rice vinegar. Adjust gradually until it matches your preference.
Can I add other vegetables?
Certainly! Feel free to customize your stir-fry with other quick-cooking vegetables like snap peas, carrots (sliced thinly or julienned), broccoli florets, or water chestnuts. Add them with the bell peppers and onions to ensure they cook through.
Explore More Delicious Gluten-Free Chicken Recipes
If you loved this gluten-free sweet and sour chicken, be sure to explore our other fantastic gluten-free chicken recipes. We’re always creating new ways to enjoy your favorite meals without gluten!
- Gluten-Free Orange Chicken
- Honey and Ginger Chicken Zucchini Noodle Bowl
- Gluten-Free Southern Fried Chicken {Dairy-Free Option}
- Gluten-Free Chicken Tenders
We hope this gluten-free sweet and sour chicken recipe brings joy and flavor back to your kitchen. It’s a testament that you don’t have to sacrifice taste or texture when eating gluten-free. Happy cooking!