
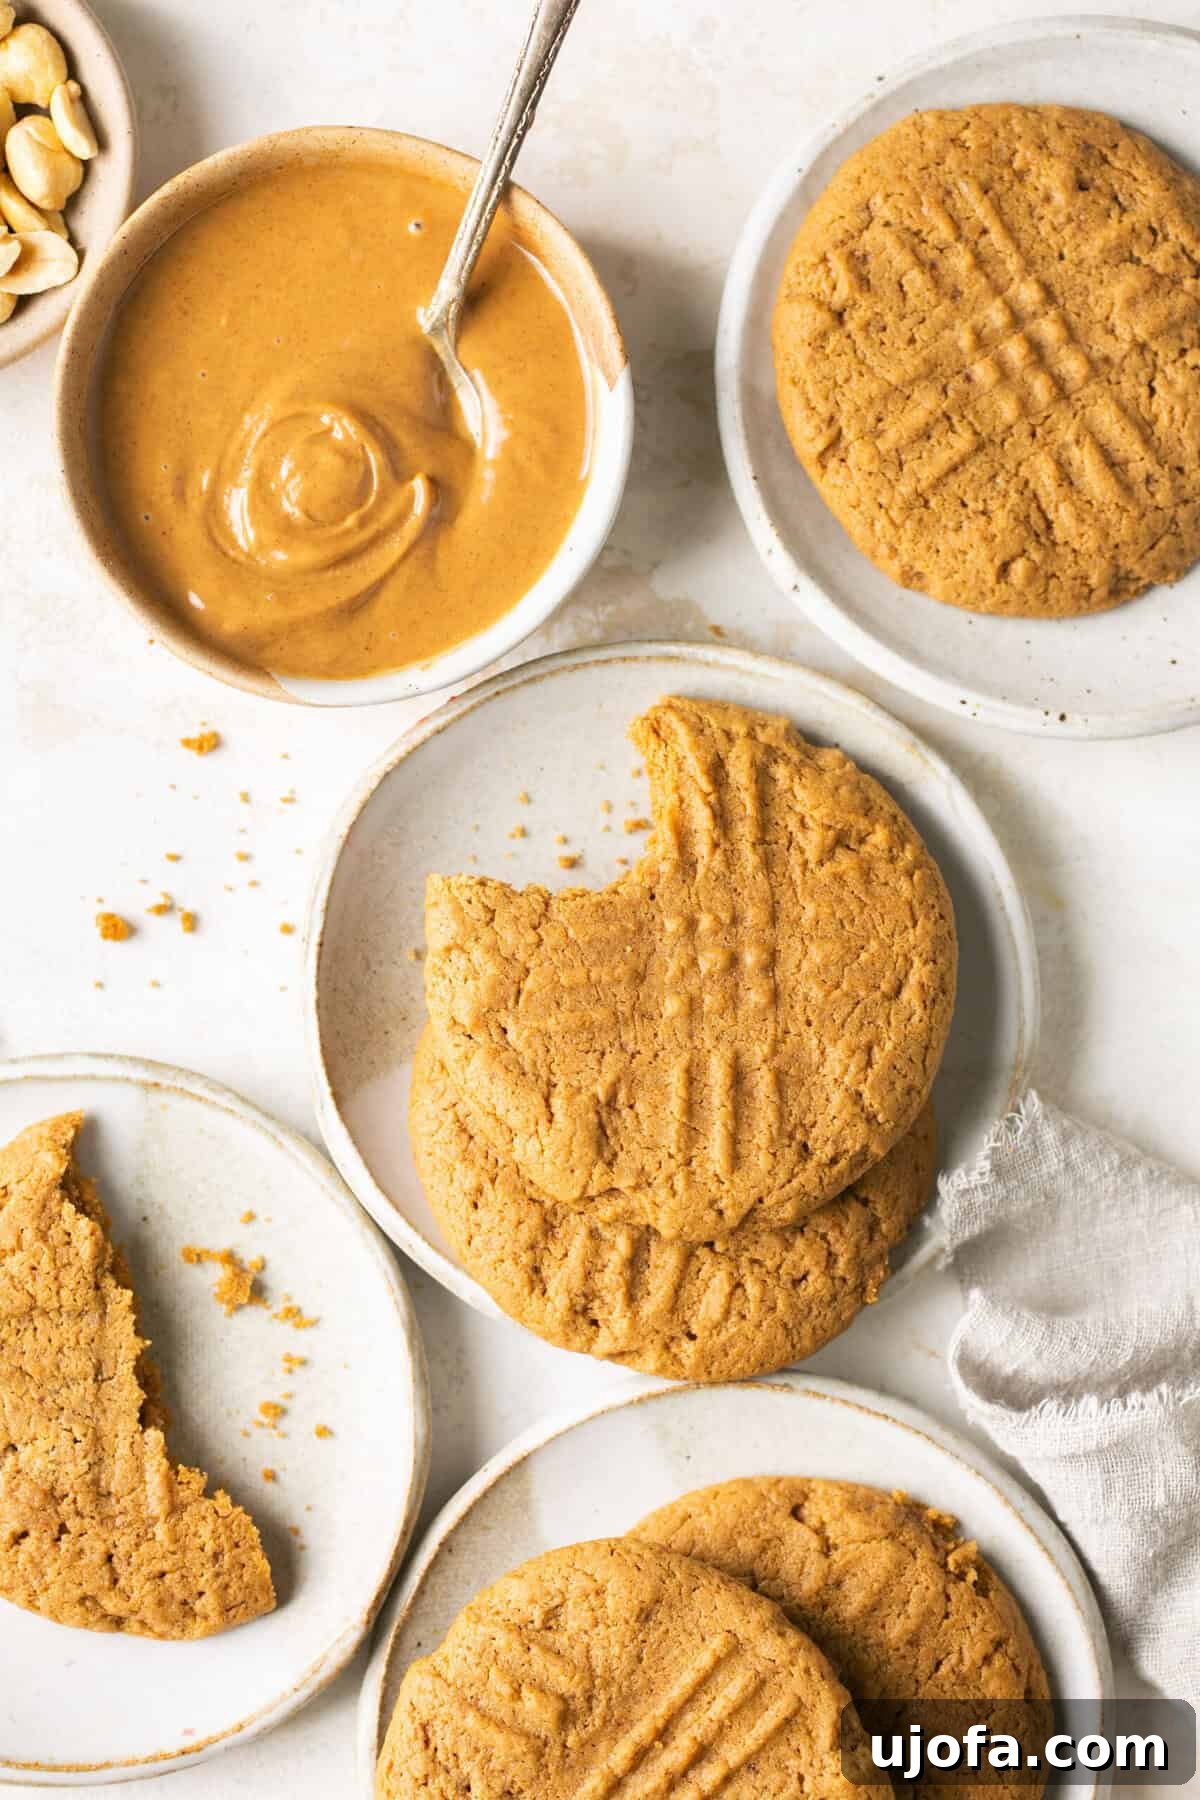
Effortless 20-Minute Gluten-Free Peanut Butter Cookies: Soft, Chewy, and Irresistible!
Transform your kitchen into a delightful gluten-free bakery with our incredibly simple recipe for perfect peanut butter cookies. In just 20 minutes, you can indulge in warm, soft, and delightfully chewy homemade cookies that taste just like your childhood favorites – but without any gluten! Get ready to savor every bite of these absolutely perfect, freshly baked treats.
Why These Gluten-Free Peanut Butter Cookies Are a Must-Try
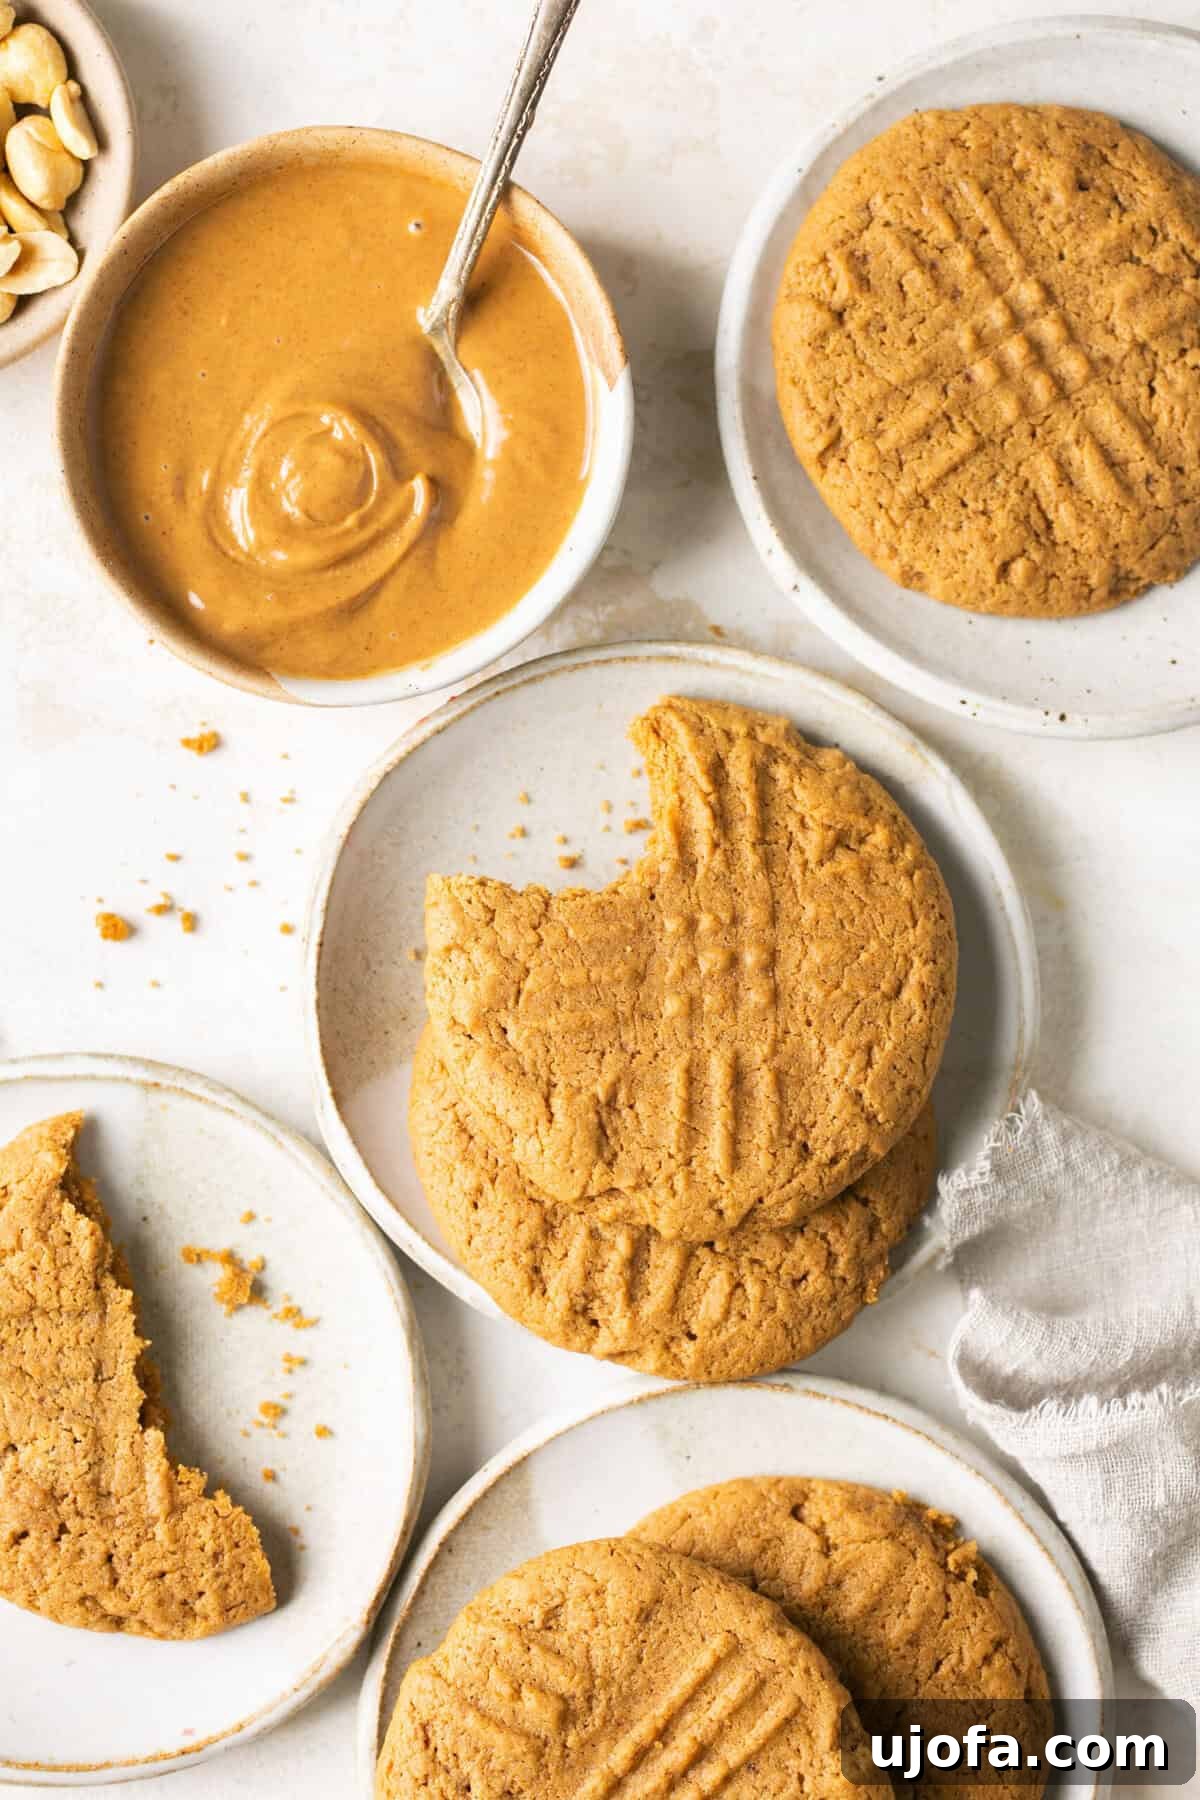
There’s truly nothing more comforting than a batch of homemade cookies, warm from the oven, especially when paired with a cold glass of milk (or almond milk!). For those navigating a gluten-free diet, finding recipes that deliver on classic texture and flavor can often feel like a challenge. Many gluten-free baked goods can turn out dry, crumbly, or lacking the satisfying chewiness we crave. But fear not, because these gluten-free peanut butter cookies are here to change your baking game.
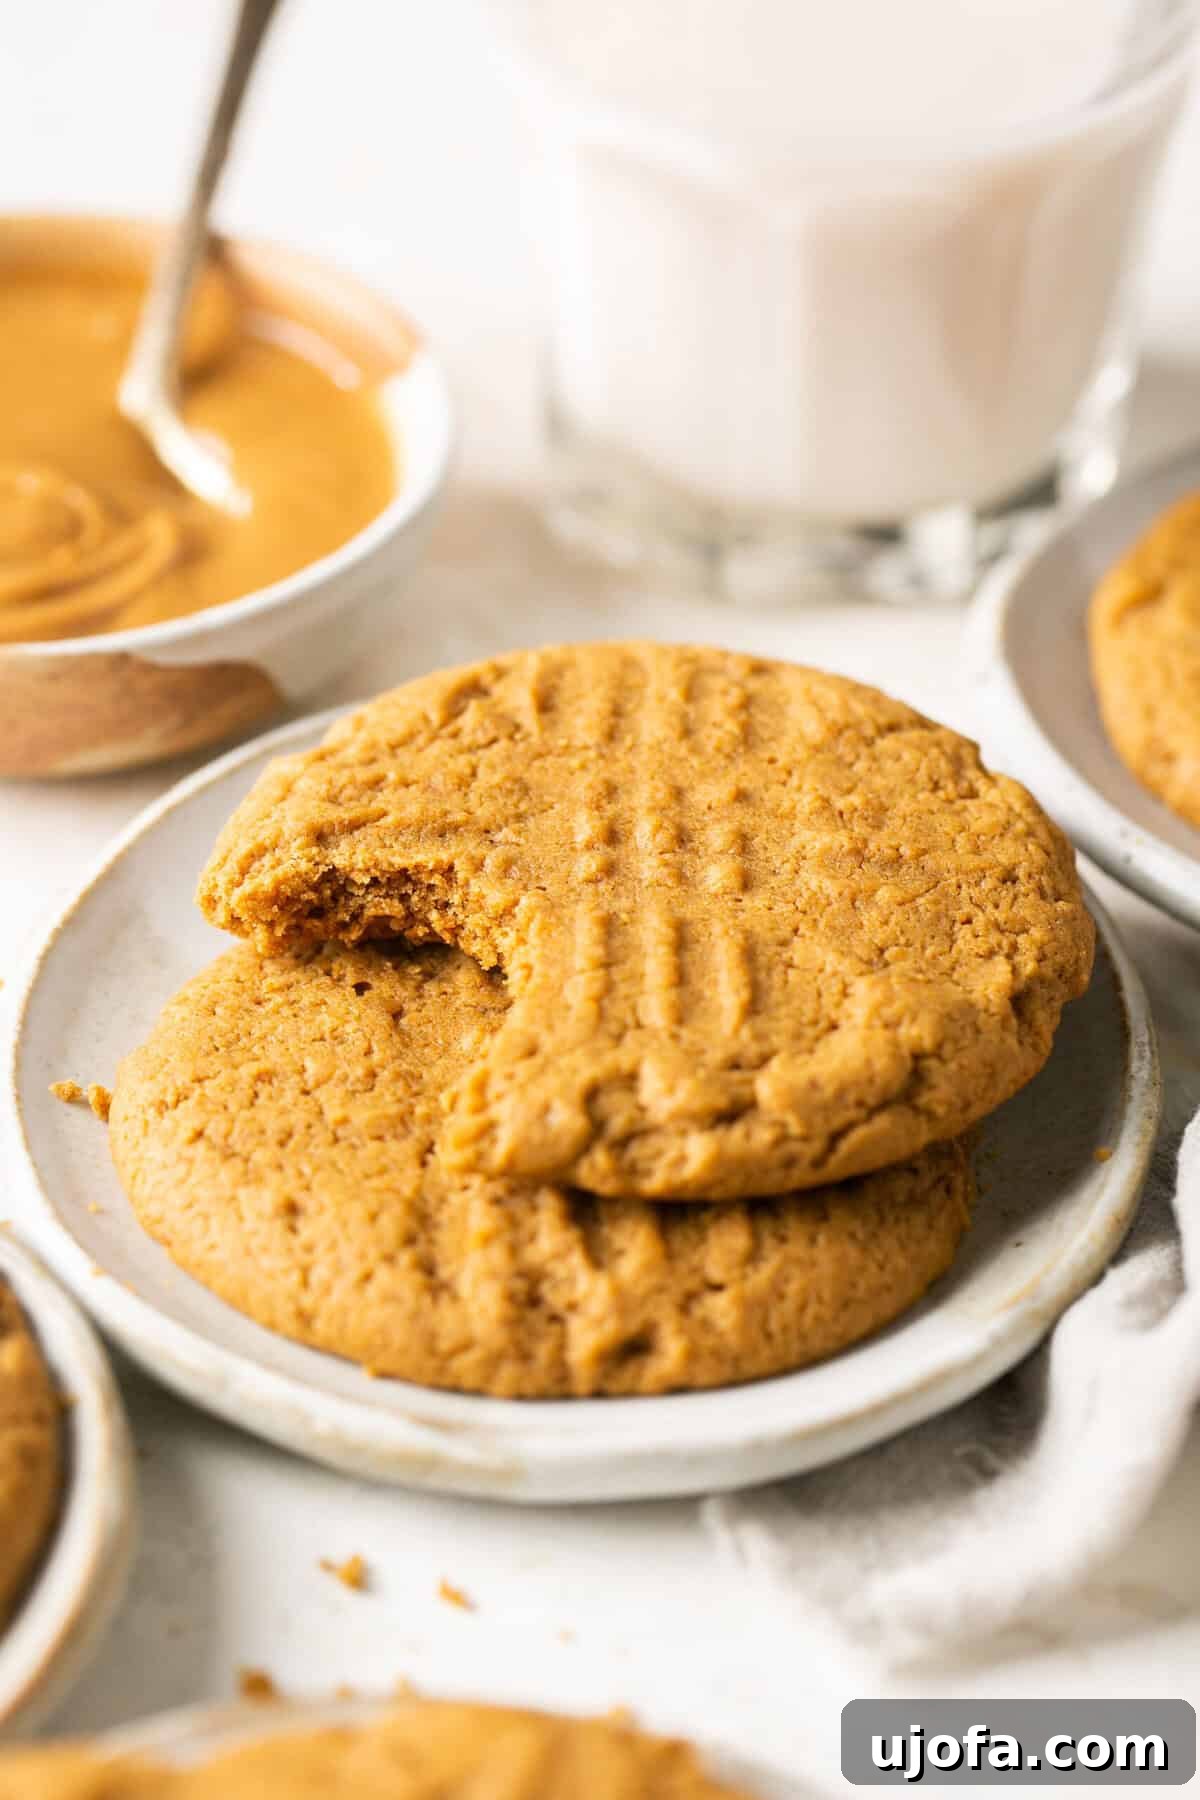
Our famous peanut butter cookies are a beloved staple in my home and among friends and family for a reason. They defy the common misconceptions about gluten-free baking, offering everything you desire in a traditional cookie: a melt-in-your-mouth soft center, perfectly crisp edges, and that rich, unmistakable peanut butter flavor. In fact, they’re so good, most people won’t even realize they’re gluten-free! This recipe proves that you don’t have to compromise on taste or texture when embracing a gluten-conscious lifestyle.
Beyond being naturally gluten-free thanks to the star ingredient, peanut butter, these cookies offer several compelling highlights:
- Unmatched Texture: Experience the ideal balance of soft, chewy middles and delightfully crisp edges in every bite.
- Bakery-Quality Taste: These cookies taste like they came straight from your favorite professional bakery, bringing gourmet flavor to your home kitchen.
- Customizable Goodness: Easily enhance these cookies with your favorite add-ins, such as chocolate chips for a classic pairing or chopped nuts for an extra crunch.
- Incredibly Quick: From start to finish, this entire recipe takes just 20 minutes, making it perfect for last-minute cravings or unexpected guests.
If you’re eager to explore more delicious gluten-free cookie recipes, you’re in the right place! We have a fantastic collection that includes everything from elegant Italian wedding cookies to delightfully sweet chocolate chipless cookies.
The Essential Ingredients for Perfect Gluten-Free Peanut Butter Cookies
Crafting these exceptional gluten-free peanut butter cookies starts with selecting the right ingredients. Each component plays a vital role in achieving their signature texture and rich flavor. Here’s a detailed look at what you’ll need:
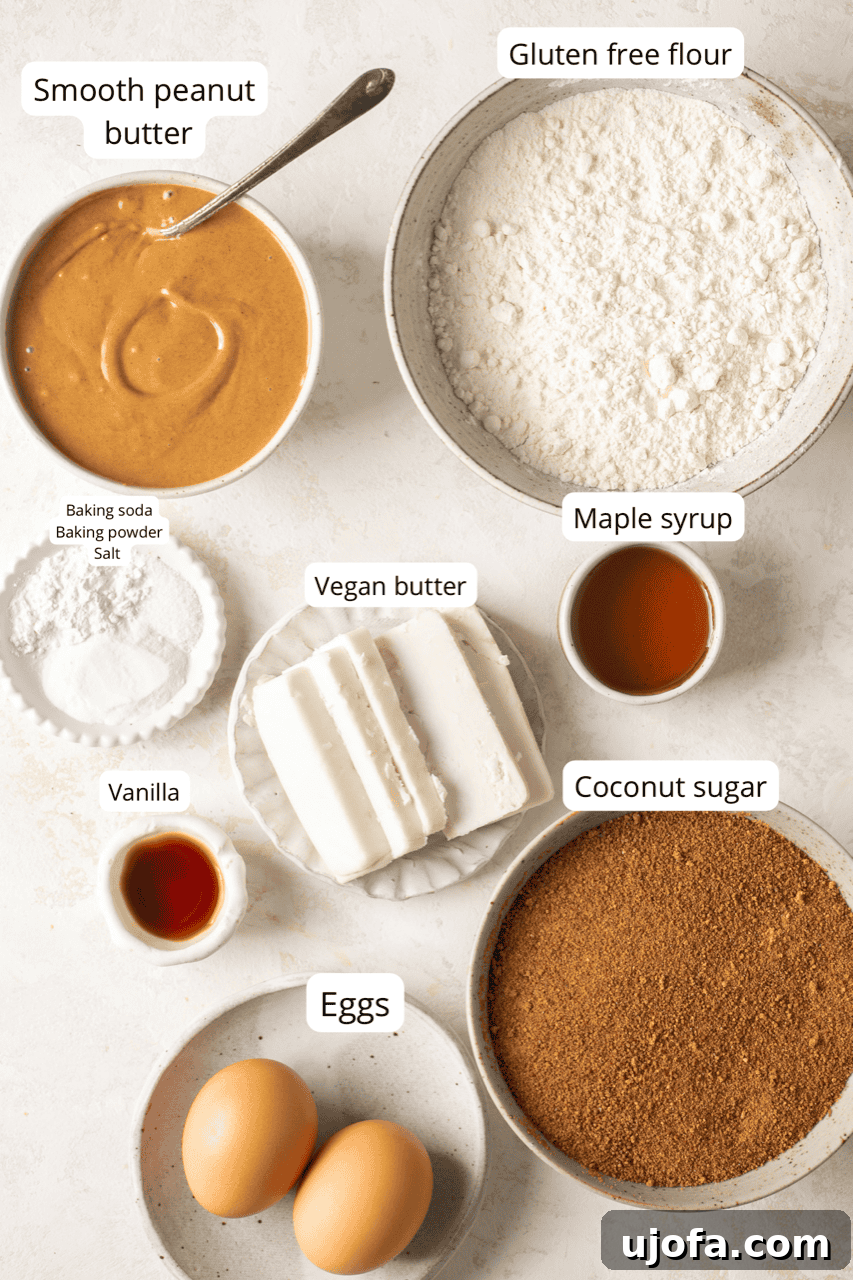
- Vegan Butter: We recommend using high-quality vegan butter brands like Miyoko’s or Kite Hill for the best results. The key is to use cold vegan butter. This is crucial for controlling the spread of the cookies during baking, ensuring they maintain their shape and develop those coveted crisp edges without becoming too thin.
- Gluten-Free All-Purpose Flour: For consistent results, a certified gluten-free 1:1 all-purpose flour blend is essential. The King Arthur brand is a fantastic choice because it’s specifically formulated to be a direct substitute for regular flour, meaning you won’t need to add any xanthan gum or other binders. This makes gluten-free baking straightforward and successful.
- Creamy Peanut Butter: The quality of your peanut butter directly impacts the outcome of these cookies. Opt for a creamy peanut butter that isn’t overly liquidy or oily. Brands like Justin’s, known for their slightly thicker consistency, work wonderfully. If you’re using natural peanut butter, remember to stir it thoroughly before measuring to ensure even distribution of oils and solids. While creamy is recommended for a smoother texture, crunchy peanut butter can be used if you prefer added texture. Ensure your chosen peanut butter is certified gluten-free to avoid cross-contamination.
- Coconut Sugar & Maple Syrup: These unrefined sweeteners are key to giving our peanut butter cookies a wonderfully deep, complex flavor profile that granulated or brown sugar simply can’t match. Coconut sugar adds a subtle caramel note, while maple syrup contributes moisture and a rich sweetness. Together, they create a delicious sweetness without being cloyingly sweet.
- Vanilla Extract: No cookie recipe is complete without the warm, aromatic notes of vanilla extract. It enhances all the other flavors, adding depth and complexity to the cookies. A good quality vanilla extract, like those found in larger bottles at warehouses like Costco or organic varieties from Thrive Market, makes a noticeable difference.
- Eggs: Eggs act as a binder, helping to hold the cookies together and contributing to their soft, chewy texture. They also add richness to the dough.
- Baking Soda & Baking Powder: These leavening agents work in tandem to give the cookies their perfect lift and tender crumb. Baking soda reacts with the acidic components in the dough (like the peanut butter) to create spread, while baking powder provides an initial rise.
- Salt: A pinch of salt is vital for balancing the sweetness and enhancing the overall flavor of the peanut butter. It brings out the best in all the ingredients.
Step-by-Step Guide to Baking Your Gluten-Free Peanut Butter Cookies
Baking these gluten-free peanut butter cookies is incredibly straightforward, perfect for bakers of all skill levels. Follow these simple steps to achieve perfect results every time:
- Prepare Your Oven: Begin by preheating your oven to 350°F (175°C). Line a baking sheet with parchment paper to prevent sticking and ensure even baking.
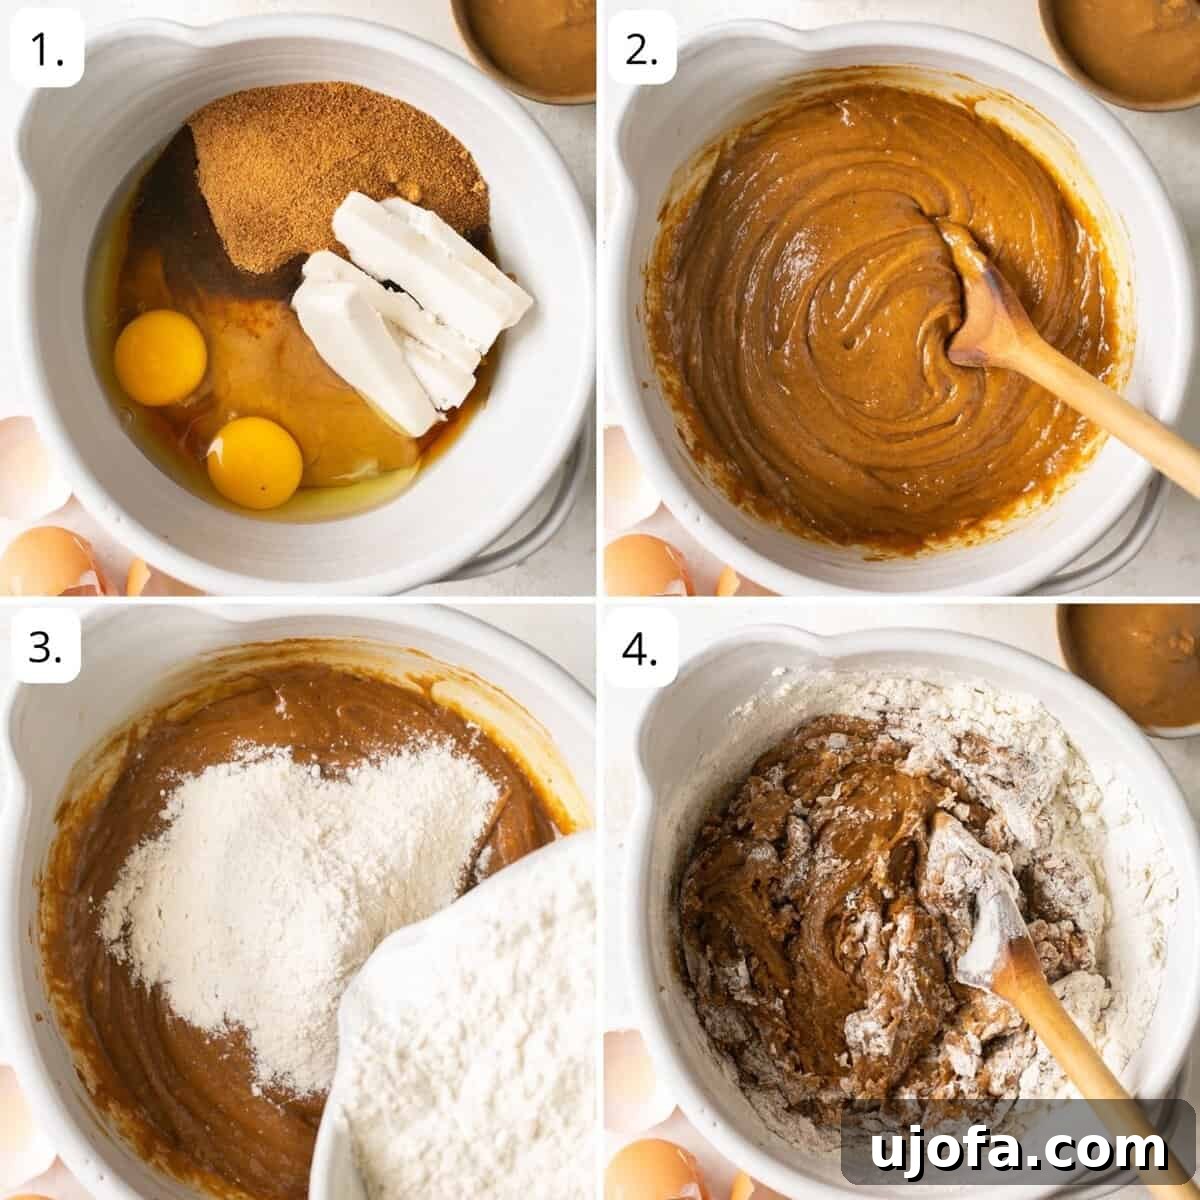
- Combine Wet Ingredients: In a large mixing bowl, combine the creamy peanut butter, coconut sugar, maple syrup, cold vegan butter (cut into cubes for easier mixing), vanilla extract, and eggs. Mix these ingredients thoroughly until they are well incorporated and form a smooth, uniform mixture. You can use an electric mixer for speed and efficiency, or a sturdy spoon for a good arm workout!
- Whisk Dry Ingredients: In a separate, medium-sized bowl, whisk together the gluten-free all-purpose flour, baking soda, baking powder, and salt. Ensure these dry ingredients are fully combined to guarantee even distribution throughout the dough.
- Combine Wet and Dry: Gradually add the dry ingredient mixture to the wet ingredients. Stir until just combined. Be careful not to overmix, as this can lead to tougher cookies. Stop mixing as soon as no streaks of flour are visible. The dough should be soft and pliable.
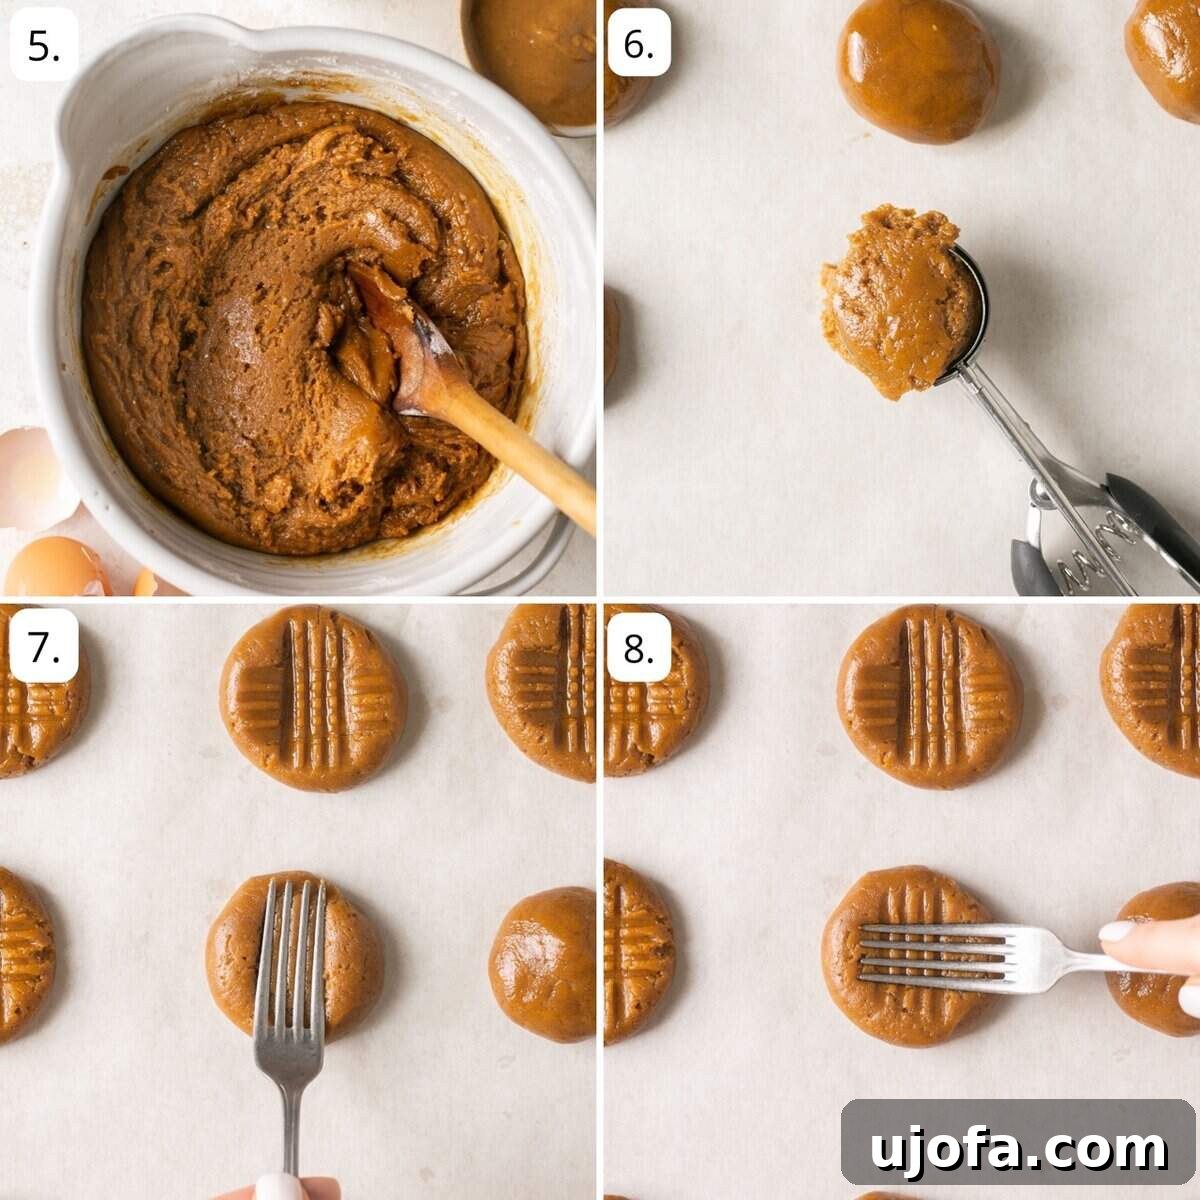
- Form the Cookies: Using a 1-inch cookie scoop is highly recommended for creating uniform cookie balls. This ensures all cookies bake evenly. Roll the dough into approximately 30 small balls.
- Arrange on Baking Sheet: Place the cookie balls onto your prepared baking sheet, ensuring they are about 2 inches apart to allow for proper spread during baking.
- Create Criss-Cross Pattern: Take a fork and gently press down on each cookie dough ball to flatten it slightly. Then, rotate the fork 90 degrees and press again to create the classic criss-cross pattern. This iconic design isn’t just for looks; it helps with even baking and adds to the rustic charm of the cookie.
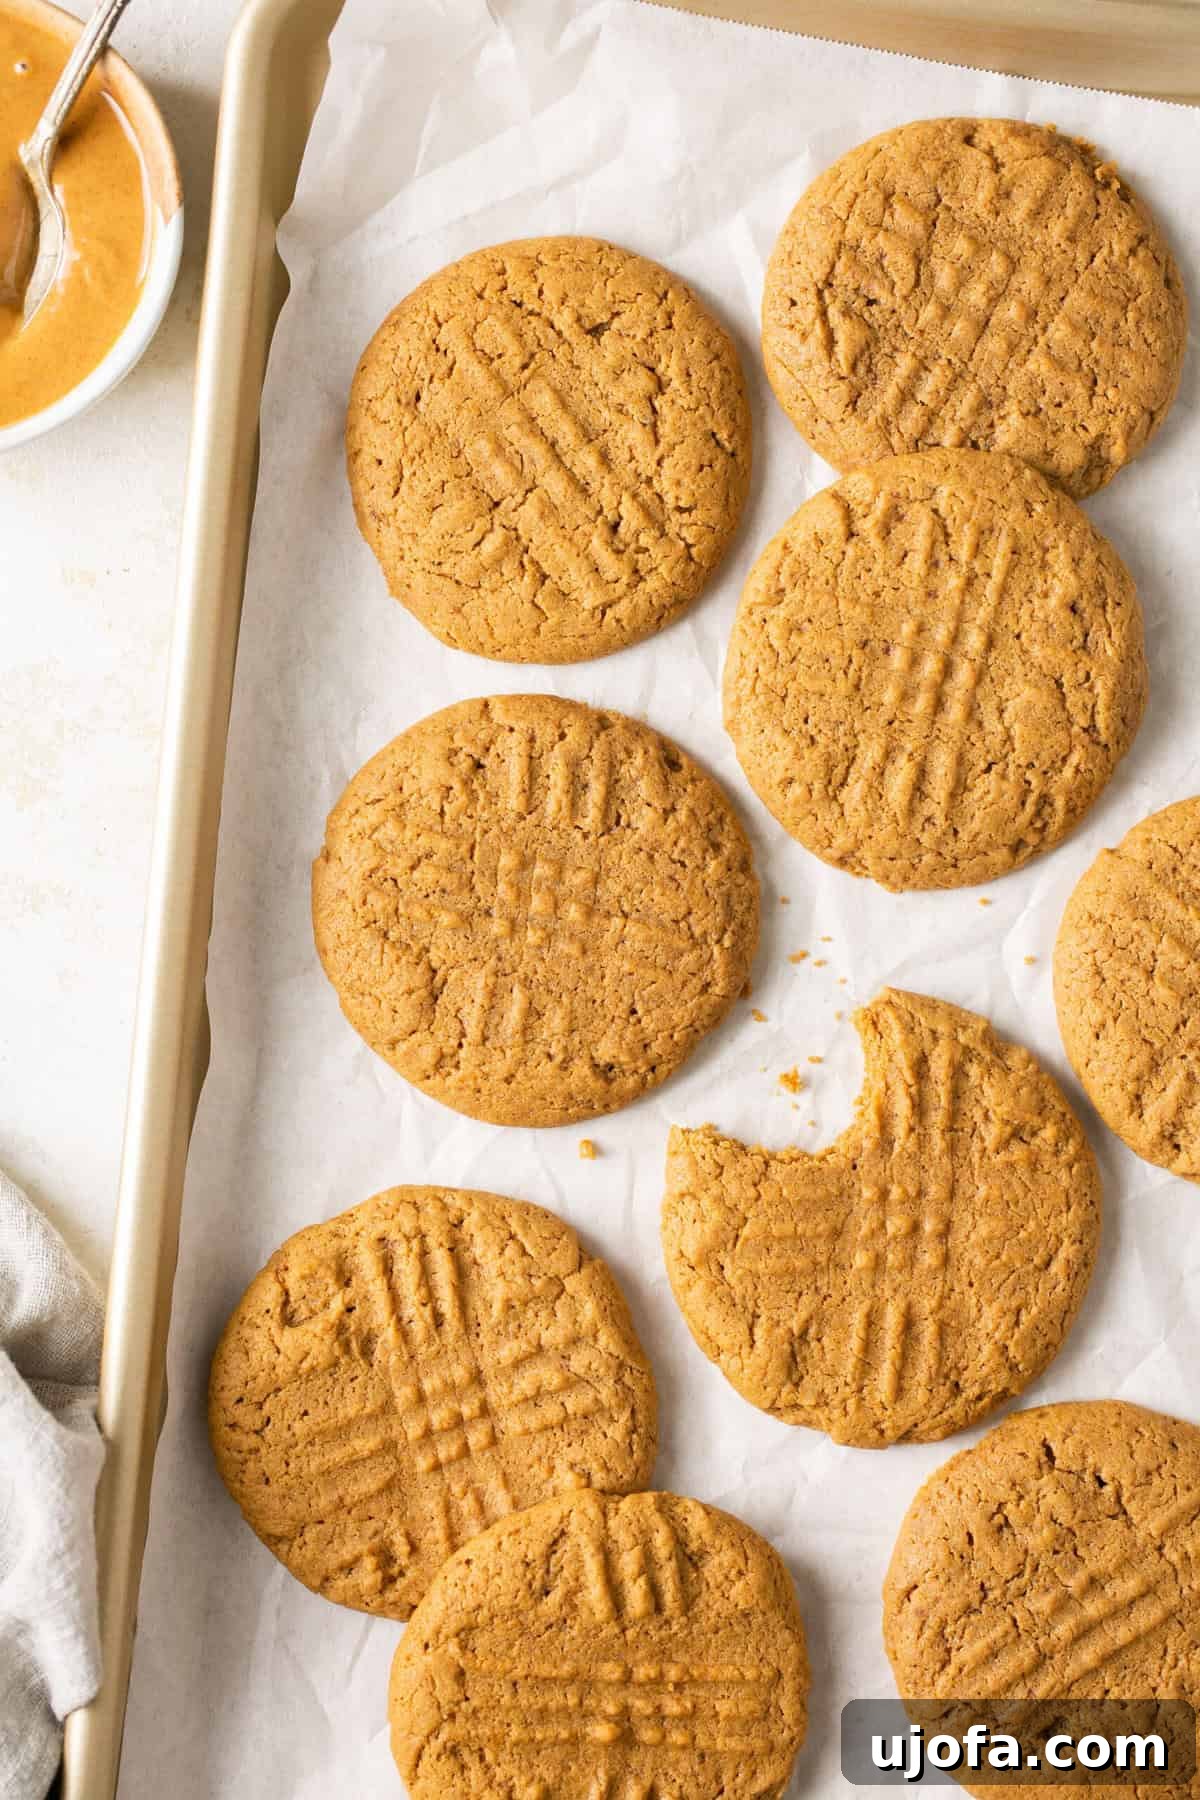
- Bake to Perfection: Bake the cookies in your preheated oven for 9-10 minutes. The edges should be lightly golden, but the centers will still look soft – this is exactly what you want for that perfect chewy texture!
- Cool and Enjoy: Once baked, remove the cookies from the oven and let them cool on the baking sheet for a few minutes before transferring them to a wire rack to cool completely. This allows them to set properly and prevents them from breaking. Once cooled, savor every delicious bite of your homemade gluten-free peanut butter cookies!
Expert Tips for Success with Your Gluten-Free Peanut Butter Cookies
To ensure your gluten-free peanut butter cookies turn out perfectly every time, here are some invaluable tips and tricks:
- Choosing Gluten-Free Peanut Butter: While most pure peanut butter is naturally gluten-free, it’s always wise to check the label, especially if you have celiac disease or severe gluten sensitivity, to ensure no cross-contamination has occurred during manufacturing. Excellent gluten-free options include Thrive Market, Justin’s, MaraNatha, and Laura Scudder’s. Even popular brands like JIF and Skippy offer gluten-free varieties, often in their “natural” lines, which typically contain fewer added sugars and healthier ingredients.
- Storage Solutions: Once cooled, store your cookies in an airtight container at room temperature for up to 3 days. For longer freshness, they can be kept in a Ziploc bag or an airtight container in the refrigerator for up to a week. For extended storage, these cookies freeze beautifully for up to 3 months.
- Freezing Cookie Dough for Later: For ultimate convenience, you can prepare the dough in advance and freeze it. Roll the dough into balls, then arrange them on a baking sheet and freeze until solid. Once frozen, transfer the dough balls to a freezer-safe container, separating layers with parchment paper to prevent sticking. When you’re ready to bake, simply defrost the desired number of dough balls overnight in the refrigerator and bake according to the instructions. This is perfect for fresh-baked cookies on demand!
- Scaling the Recipe for Larger Batches: If you’re baking for a crowd or want to stock your freezer, doubling or even tripling this recipe is easy. Simply multiply all ingredient quantities by the desired factor. This is a great way to ensure you always have these delicious cookies on hand.
- Preventing Spreading: Using cold vegan butter is critical. If your dough feels too soft or warm, chill it in the refrigerator for 15-30 minutes before forming the balls. This helps the butter stay solid longer in the oven, preventing excessive spreading.
- Add-Ins for Extra Flavor: Feel free to customize your cookies! Stir in ½ to ¾ cup of your favorite mix-ins during step 4 (after combining wet and dry ingredients). Chocolate chips (Enjoy Life offers delicious gluten- and dairy-free options), chopped peanuts, or even peanut butter chips are fantastic additions.
Frequently Asked Questions (FAQ) About Gluten-Free Peanut Butter Cookies
Can I freeze these cookies after baking?
Absolutely! These cookies freeze wonderfully. Once they have cooled completely, place them in a single layer on a baking sheet and freeze until solid. Then, transfer the frozen cookies to a freezer-safe bag or airtight container, separating layers with parchment paper to prevent them from sticking together. They can be stored in the freezer for up to 3 months. To enjoy, simply thaw them at room temperature or warm them slightly in the microwave for a fresh-baked feel.
Can I add nuts or chocolate chips to this recipe?
Yes, definitely! Customizing these cookies with your favorite additions is highly encouraged. Feel free to incorporate ½ to ¾ cup of chopped nuts (like peanuts or walnuts), chocolate chips (dairy-free options like Enjoy Life are excellent for an allergen-friendly choice), or even peanut butter chips into the dough during the final mixing stage (after dry ingredients are added). These additions will elevate the flavor and texture of your cookies.
Is peanut butter naturally gluten-free?
In most cases, yes, pure peanut butter made solely from peanuts and salt is naturally gluten-free. However, it’s always crucial to read ingredient labels carefully, especially if you have celiac disease or a high sensitivity to gluten. Some brands might add stabilizers or flavorings that contain gluten, or there could be a risk of cross-contamination during the manufacturing process if equipment is shared with gluten-containing products. Look for peanut butter products that are specifically labeled “gluten-free” to ensure they meet strict standards.
Can I substitute the vegan butter or eggs?
While this recipe is developed with vegan butter and eggs for optimal results, you might be able to make substitutions. For vegan butter, regular dairy butter can be used if you’re not strictly vegan or dairy-free. For eggs, flax eggs (1 tablespoon ground flaxseed meal + 3 tablespoons water per egg, let sit for 5 minutes to thicken) can sometimes work in cookie recipes, but results may vary in terms of texture and chewiness. Experimentation is key when making substitutions in gluten-free baking.
My cookies spread too much! What happened?
Excessive spreading can be due to several factors:
- Warm Butter: Ensure your vegan butter is cold and firm. Soft or melted butter will cause immediate spreading.
- Warm Dough: If your kitchen is warm or you’ve handled the dough extensively, it might be too warm. Chill the dough for 15-30 minutes before baking.
- Too Much Liquid Peanut Butter: Some natural peanut butters are very drippy. Use a thicker, creamier variety or stir natural peanut butter very well.
- Oven Temperature: An oven that isn’t preheated correctly or runs too low can cause cookies to spread before they set. Use an oven thermometer to verify accuracy.
Explore More Delicious Gluten-Free Cookie Recipes
If you’ve enjoyed these incredible gluten-free peanut butter cookies, you’ll love our other gluten-free baking adventures. Expand your repertoire with these fantastic recipes:
- Gluten-Free Chocolate Chip Almond Butter Cookies
- Vegan Millionaire Shortbread Cookie Bars
- Gluten-Free Peanut Butter Blossoms
- Almond Flour Gingersnap Cookies
Love this recipe? We’d be thrilled if you could leave a 5-star 🌟🌟🌟🌟🌟 rating and a review in the comment section below. Your feedback helps other bakers discover these delightful cookies! You can also connect with us on social media: follow me on Facebook, Pinterest, or Instagram for more delicious recipes and healthy living tips!
Recipe Summary: Gluten-Free Peanut Butter Cookies
Yield: 24 cookies
Prep time: 10 minutes
Cook time: 10 minutes
Total time: 20 minutes
Ingredients:
- 1 cup smooth peanut butter
- 1 ¼ cups coconut sugar
- 2 tbsp maple syrup
- ½ cup cold vegan butter (Miyoko’s or Kite Hill recommended)
- 1 tsp vanilla extract
- 2 large eggs
- 1 ⅓ cups gluten-free all-purpose flour (King Arthur brand recommended)
- 1 tsp baking soda
- ½ tsp baking powder
- ¼ tsp salt
Equipment:
- 1 baking sheet
- Parchment paper
- Mixing bowls
- Cookie scoop (optional, for uniform size)
Instructions:
- Preheat your oven to 350°F (175°C). Line a baking sheet with parchment paper.
- In a large bowl, combine the peanut butter, coconut sugar, maple syrup, cold vegan butter, vanilla extract, and eggs. Mix well until smooth.
- In a separate bowl, whisk together the gluten-free flour, baking soda, baking powder, and salt.
- Add the dry ingredients to the wet mixture and stir until just combined, being careful not to overmix.
- Using a 1-inch cookie scoop or your hands, form the dough into approximately 30 balls.
- Place the cookie balls on the prepared baking sheet, about 2 inches apart.
- Use a fork to gently press down on each cookie dough ball, then rotate and press again to create a criss-cross pattern.
- Bake for 9-10 minutes, or until the edges are lightly golden and the centers still look soft.
- Allow the cookies to cool completely on the baking sheet before transferring them to a wire rack. Enjoy!
Nutrition Estimates (per 1 cookie):
Serving: 1 cookie | Calories: 151kcal | Carbohydrates: 16g | Protein: 4g | Fat: 9g | Saturated Fat: 2g | Polyunsaturated Fat: 2g | Monounsaturated Fat: 4g | Trans Fat: 1g | Cholesterol: 14mg | Sodium: 177mg | Potassium: 71mg | Fiber: 1g | Sugar: 8g | Vitamin A: 200IU | Calcium: 19mg | Iron: 1mg
Please note that all nutrition facts are estimates, automatically calculated, and depend on the specific ingredients used. While we aim for accuracy, they may not always be 100% precise. For the most accurate grams per serving size, we recommend weighing your total batch and dividing by the number of servings.