
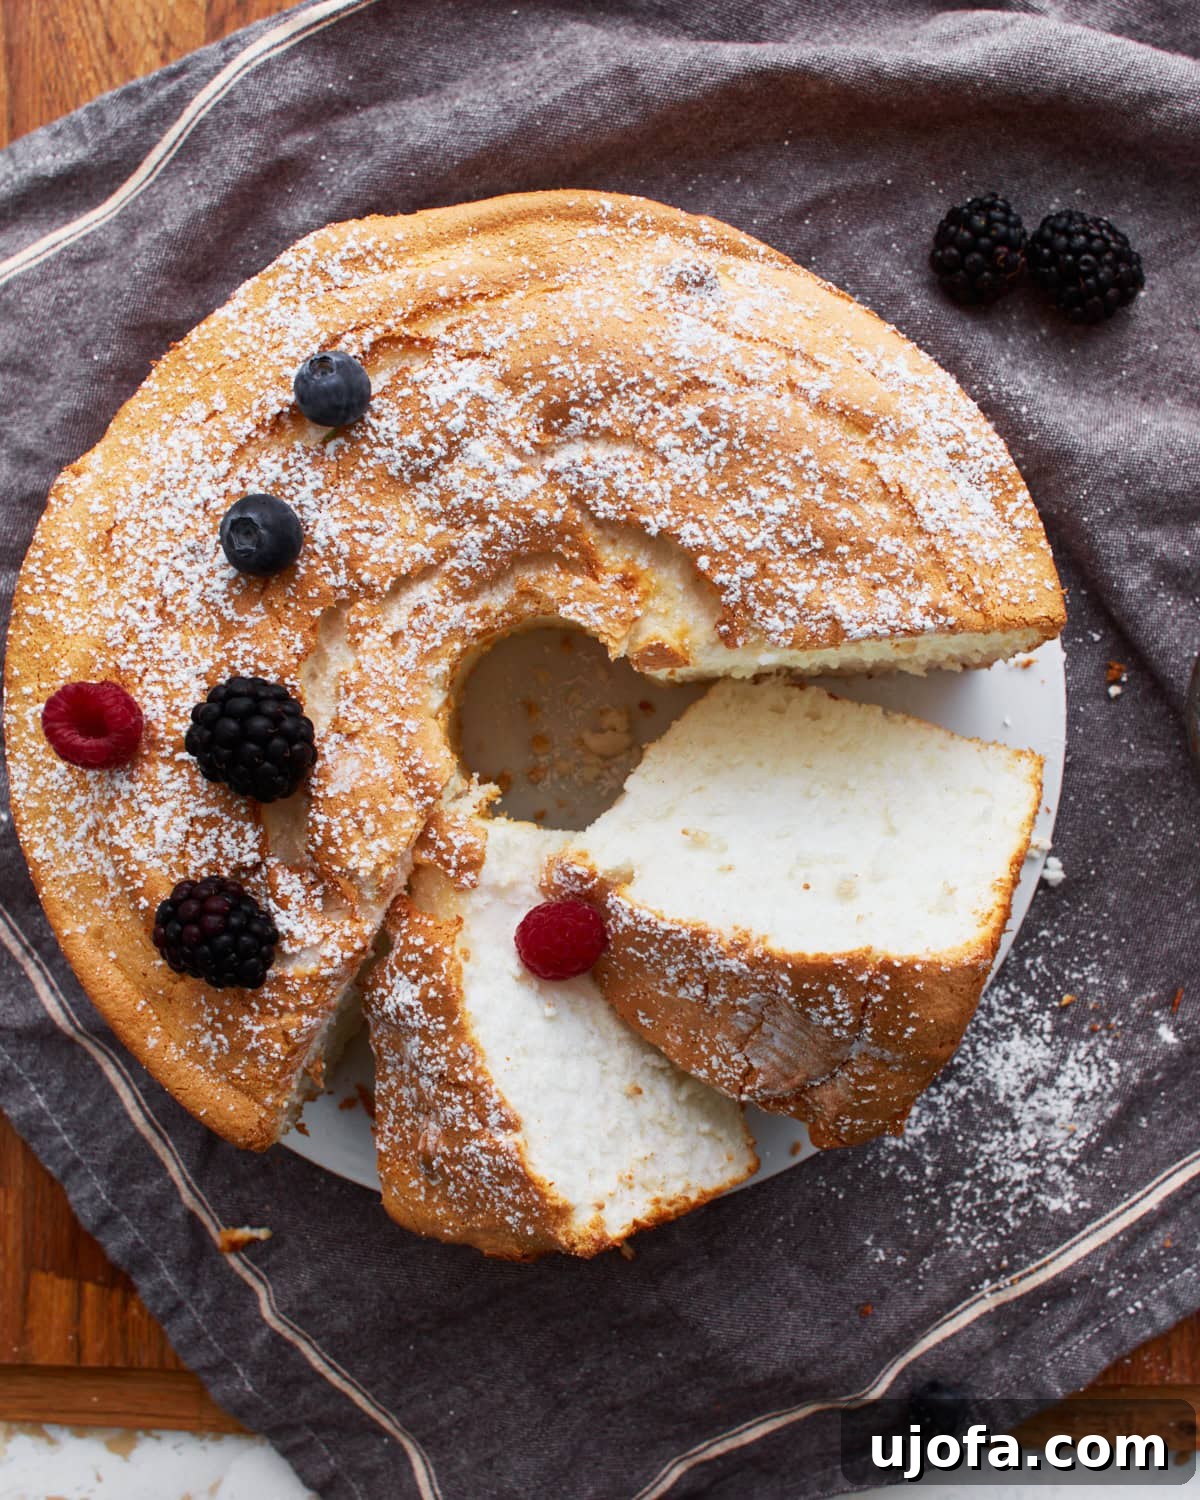
There’s nothing quite like a slice of perfectly light and airy angel food cake. Its cloud-like texture and delicate sweetness make it a timeless dessert, cherished for generations. But for those navigating a gluten-free lifestyle, finding a truly authentic and satisfying version can often feel like an impossible quest. Many gluten-free cakes can be dense, crumbly, or lack the signature buoyancy that defines a classic angel food cake. We are thrilled to share a recipe that breaks through these barriers, delivering the lightest, fluffiest gluten-free angel food cake imaginable. This isn’t just a gluten-free alternative; it’s a delicious triumph that stands proudly alongside its traditional counterpart.
Crafted with a few simple, accessible ingredients and an easy-to-follow technique, this recipe ensures a consistently perfect gluten-free sponge cake every single time. It’s naturally dairy-free, making it a fantastic option for families with multiple dietary needs. Whether you top it with vibrant fresh berries, a generous dollop of homemade whipped cream, a luscious fruit sauce, or simply enjoy it on its own, this cake is an ideal centerpiece for any occasion, from casual family dinners to elegant holiday gatherings. Prepare to delight your taste buds and impress your guests with a dessert that proves gluten-free baking can be utterly sublime.
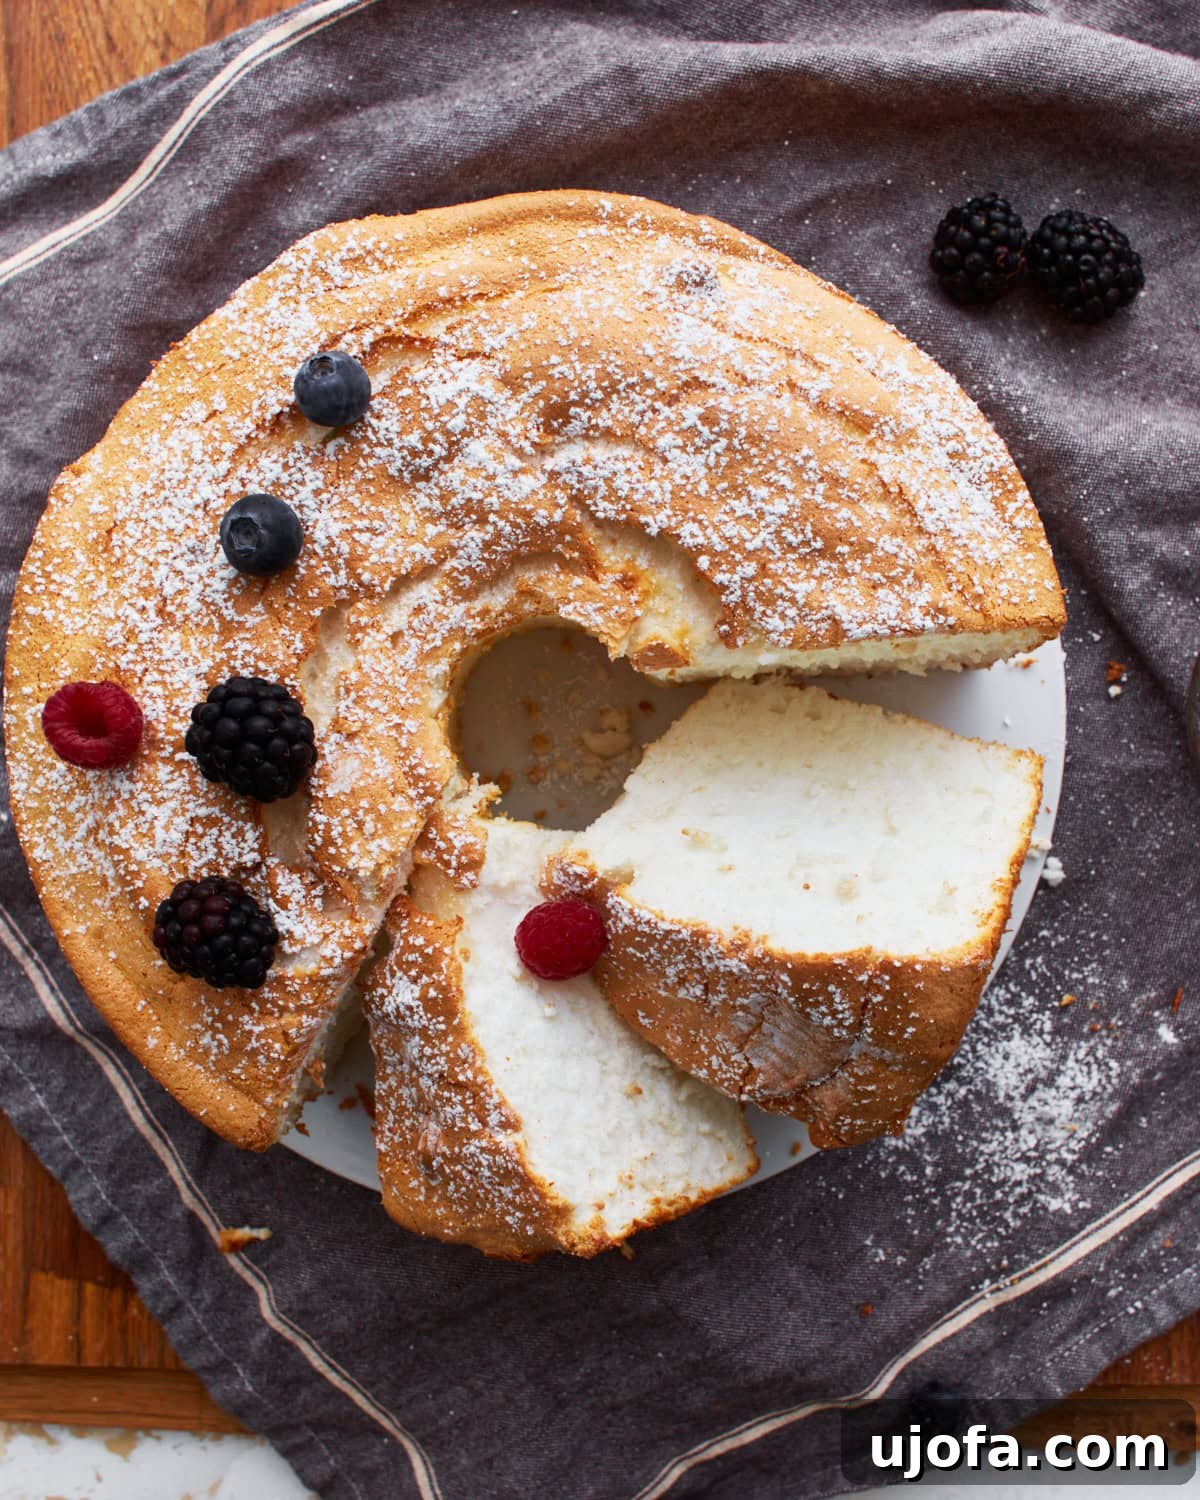
The Ultimate Gluten-Free Angel Food Cake: Light, Fluffy, and Dairy-Free
This gluten-free angel food cake recipe holds a special place in our hearts and our kitchen. It’s a remarkable creation where the magic lies in the airy egg white meringue, which forms the very foundation of its structure. This meringue is expertly whipped to create a soft, delicate, and profoundly spongy texture that melts in your mouth with each bite. Achieving such a light and luxurious feel in a gluten-free cake can often be challenging, but this recipe truly masters it.
The secret to this cake’s ethereal lightness and delicate crumb lies in the stability and volume of the meringue. This is meticulously achieved by whipping the egg whites to precisely soft peaks, rather than stiff, and then carefully folding in the remaining dry ingredients to maintain that precious aeration. While the process of mastering a perfect meringue might seem like a rewarding challenge for seasoned bakers, beginners need not worry. Our comprehensive step-by-step instructions are designed to guide you effortlessly through each stage, ensuring you can confidently create a flawless gluten-free angel food cake on your very first attempt.
One of the many reasons this dessert is a family favorite is that it’s naturally free of dairy, making it perfectly suited for those with dairy sensitivities or allergies, alongside its gluten-free nature. We especially love serving this beautiful cake at holiday parties and special occasions. It consistently surprises friends and family who are often astonished to discover that such a delectable, tender cake is completely gluten-free. For an extra touch of indulgence, we often pair it with our homemade strawberry reduction sauce and a dollop of classic whipped cream for those who enjoy dairy, or a dairy-free alternative for others. It’s a versatile dessert that everyone can enjoy!
Essential Gluten-Free Baking Tips for Angel Food Cake Success
Baking a gluten-free angel food cake requires attention to detail, but with these expert tips, you’ll achieve perfection every time. The delicate balance of ingredients and precise technique are crucial for creating that signature airy texture.
- Cold Eggs for Separation, Room Temperature for Volume: This two-stage approach is key. Start with cold eggs when separating the whites and yolks; the yolks are firmer and less likely to break, preventing any fat from contaminating the whites. Even a tiny speck of yolk can prevent your egg whites from whipping up properly. Once separated, allow the egg whites to come to room temperature (about 30 minutes to an hour) before whipping. Room temperature egg whites have less surface tension, allowing them to incorporate more air and achieve maximum volume and stability when beaten.
- Whip to Soft Peaks: When beating egg whites, the goal is to reach “soft peaks,” not stiff peaks. Soft peaks hold their shape but still have a slight curl at the tip when the whisk is lifted. Overbeating to stiff peaks can make the meringue dry and brittle, leading to a cake that is less tender and more prone to cracking. Gradually add sugar once the egg whites are foamy to stabilize the meringue and help it maintain its volume.
- Accurate Flour Measurement – The Spoon & Level Method: Gluten-free flours can be particularly prone to compaction. Always measure your gluten-free flour blend using the “spoon & level” method. This involves lightly spooning the flour into your measuring cup until it overflows, then leveling off the excess with the straight edge of a knife. Never scoop flour directly from the bag, as this can pack too much into the cup, resulting in a dense and heavy cake.
- Gentle Flour Incorporation: The fluffy meringue is the star of this cake, and it’s vital to maintain its airiness. Add the gluten-free flour mixture (flour and cornstarch) to the meringue in small increments, about 1/4 cup at a time. Gently fold it in using a spatula rather than beating it with the mixer, especially if your mixer is aggressive. This prevents weighing down the delicate meringue and causing it to deflate, which would lead to a dense cake.
- Immediate Inversion for Cooling: This step is non-negotiable for angel food cake, especially the gluten-free version. Immediately after baking, invert the cake pan upside down. This prevents the warm, fragile cake from collapsing under its own weight as it cools, ensuring it retains its impressive height and airy structure. Many angel food cake pans come with small feet for this purpose, or you can invert it over a heatproof funnel or bottle.
Rating: 4.79 from 32 votes
Gluten-Free Angel Food Cake
Audrey Roberts
16 servings
15 mins
30 mins
2 hrs
Ingredients
- 12 large egg whites, cold
- 1 1/2 teaspoons cream of tartar
- 3/4 cup granulated sugar
- 3/4 cups powdered sugar
- 1 1/2 teaspoons pure vanilla extract
- 1/2 teaspoon pure almond extract
- 1/4 teaspoon salt
- 3/4 cup all-purpose gluten-free flour with xanthan gum, I like Pillsbury gluten-free. Not all gluten-free flours are created equal. You may experience different baking results depending on the gluten-free flour blend you choose.
- 1/4 cup cornstarch
Instructions
-
Move the oven rack to the lowest position. Preheat the oven to 350°F (177°C).
-
Mix the cornstarch and gluten-free flour together in a small bowl and set aside.
-
In a large bowl using a stand-up mixer or hand mixer, beat the egg whites and cream of tartar together on medium speed until foamy. Beat in the granulated sugar and powdered sugar on high speed, adding the pure vanilla and almond extract and salt. Continue beating until soft peaks form and the meringue looks glossy.
-
Sprinkle the cornstarch and gluten-free flour mixture, 1/4 cup at a time, over the meringue and beat on medium speed until all the flour mixture is fully combined.
-
Pour the cake batter into an ungreased 10-inch x 4-inch angel food cake pan (tube pan). Use a spatula to smooth the top of the batter. Cut gently through the cake batter in a circular motion with a butter knife.
-
Bake for 30-35 minutes or until golden brown and top springs back when touched lightly. Immediately turn pan upside down onto a heatproof funnel or bottle. If you have a tube pan with legs turn the pan upside down on a heatproof cutting board. Let the cake cool for 2 hours upside down. Angel food cake MUST be cooled upside down or the cake will collapse on itself.
-
Once the cake has cooled, turn the cake right-side-up and run a knife inside the rim of the cake pan. Invert cake onto a serving platter to remove the cake from the pan. Cut the cake into slices using a serrated knife to avoid smashing it (like cutting fresh bread).
Notes
- Use a 10-inch angel food tube pan with a removable center and three attached feet for easy cooling. The smooth sides help the cake rise properly, and the feet elevate the pan when inverted. (I recommend the Wilton Angel Food Tube Cake Pan.)
Nutrition
Calories: 87kcal
Carbohydrates: 21g
Protein: 1g
Fat: 1g
Sodium: 37mg
Potassium: 46mg
Fiber: 1g
Sugar: 15g
Calcium: 4mg
Iron: 1mg
Nutrition information is automatically calculated, so should only be used as an approximation.
Additional Info
Dessert
American
How to Master Gluten-Free Angel Food Cake: A Detailed Step-by-Step Guide
Creating a light and airy gluten-free angel food cake is a rewarding baking experience. Follow these detailed steps to ensure your cake rises beautifully and achieves that coveted soft texture. Each stage is crucial for success, so take your time and enjoy the process!
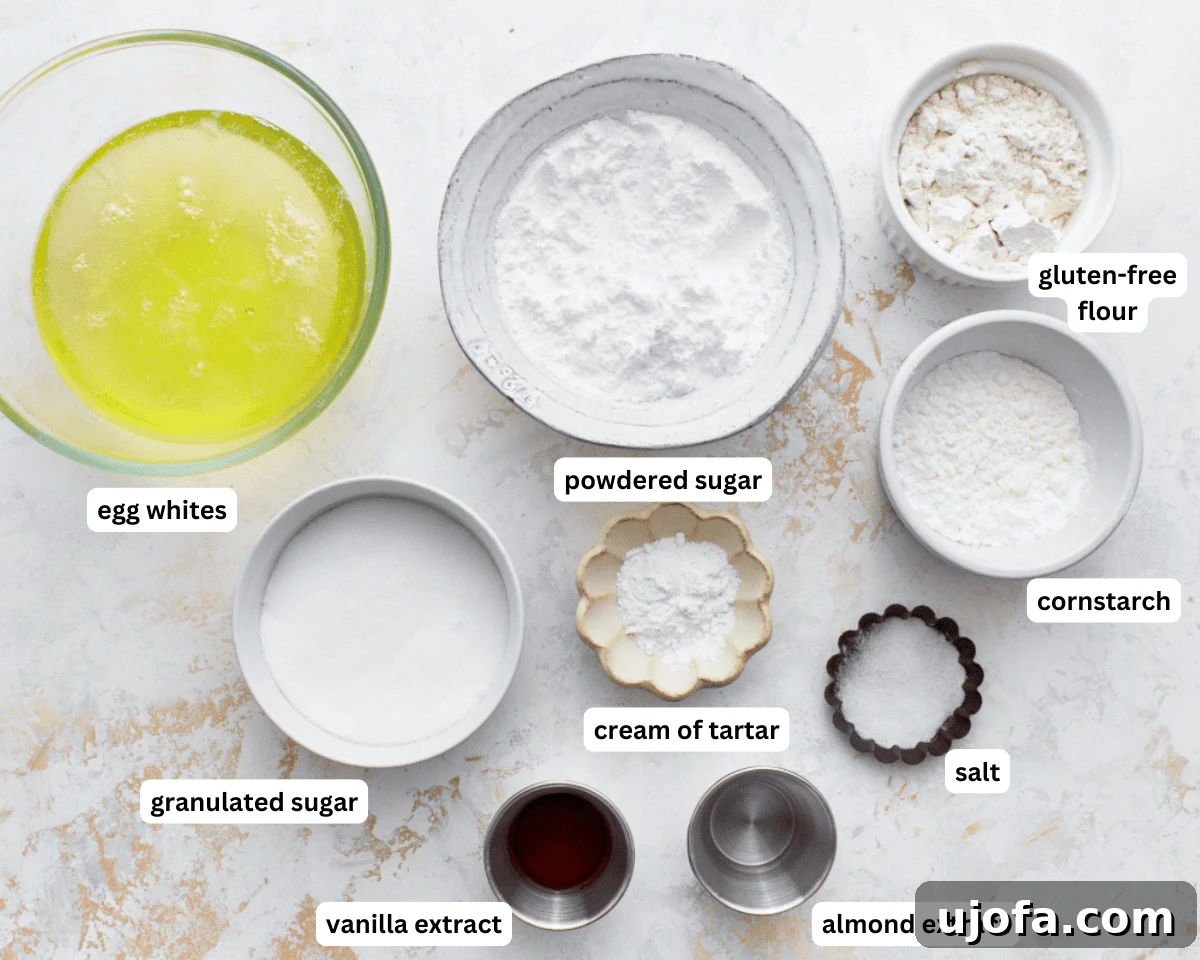
Step 1: Gather and Prepare Your Ingredients. Before you begin, ensure all your ingredients are measured out and ready. This mise en place approach ensures a smooth baking process. Have your cold egg whites, cream of tartar, granulated sugar, powdered sugar, vanilla extract, almond extract, salt, gluten-free flour blend, and cornstarch all at hand.
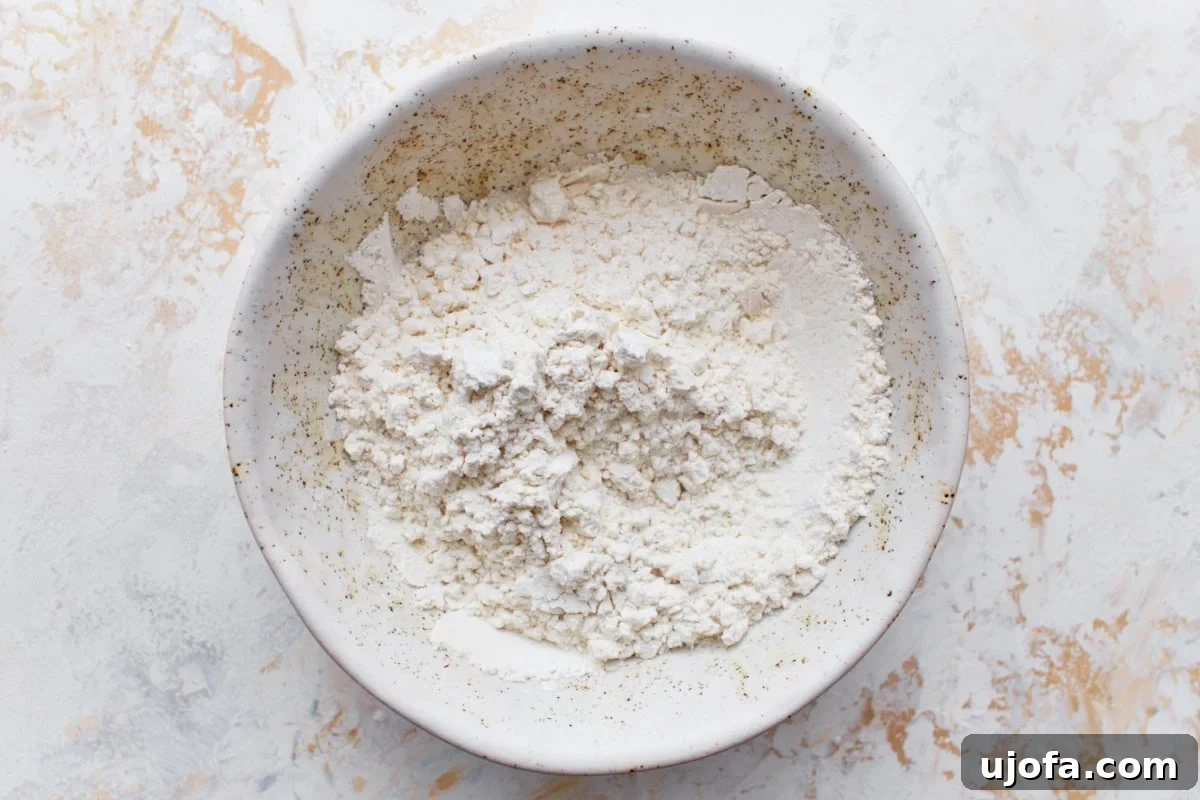
Step 2: Preheat Oven and Prepare Dry Mix. Adjust your oven rack to the lowest position; this helps the cake rise evenly without over-browning the top. Preheat your oven to a precise 350°F (177°C). In a small bowl, thoroughly whisk together the ¾ cup of all-purpose gluten-free flour (preferably one with xanthan gum) and ¼ cup of cornstarch. This cornstarch addition is vital for achieving the cake’s tenderness and helping prevent a gummy texture common in some gluten-free bakes. Set this flour mixture aside.
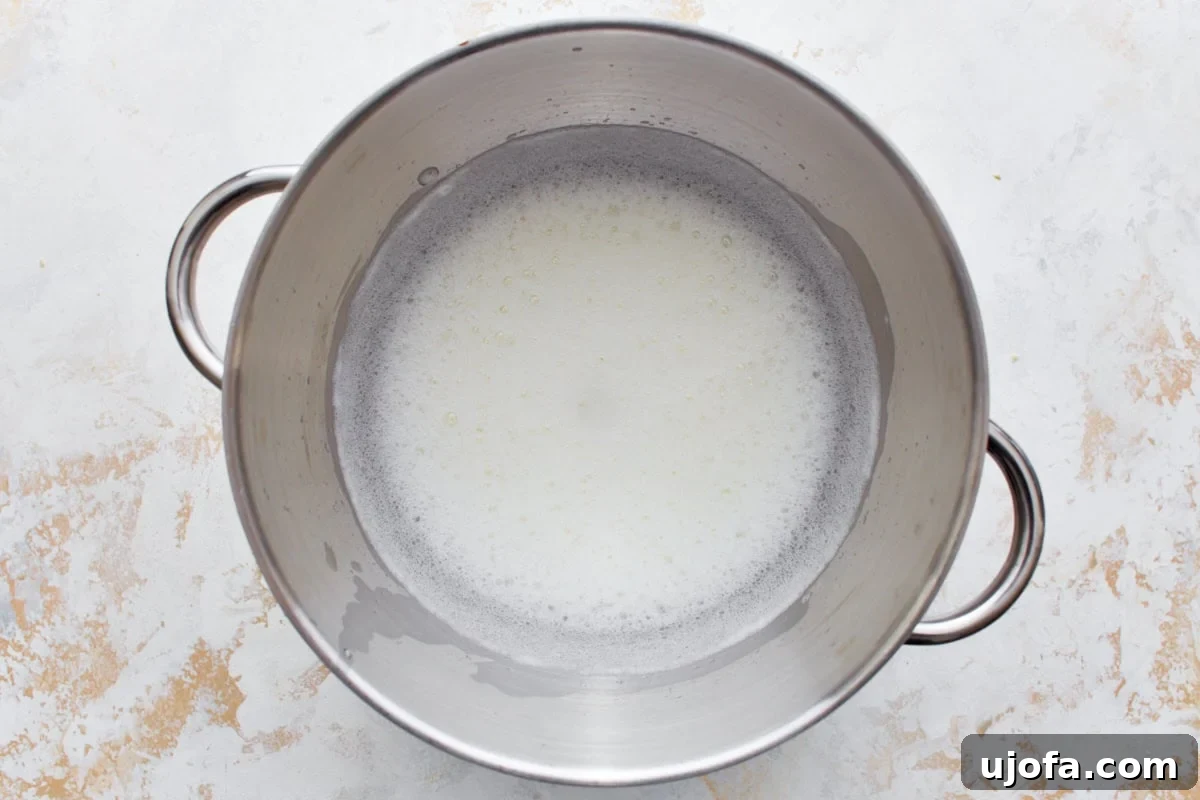
Step 3: Begin Whipping Egg Whites. In a large, impeccably clean mixing bowl, using either a stand mixer fitted with the whisk attachment or a hand mixer, combine the 12 large egg whites (now at room temperature) and 1 ½ teaspoons of cream of tartar. Beat these on medium speed until the mixture becomes light and foamy. The cream of tartar acts as a stabilizer, helping the egg whites achieve and hold their maximum volume.
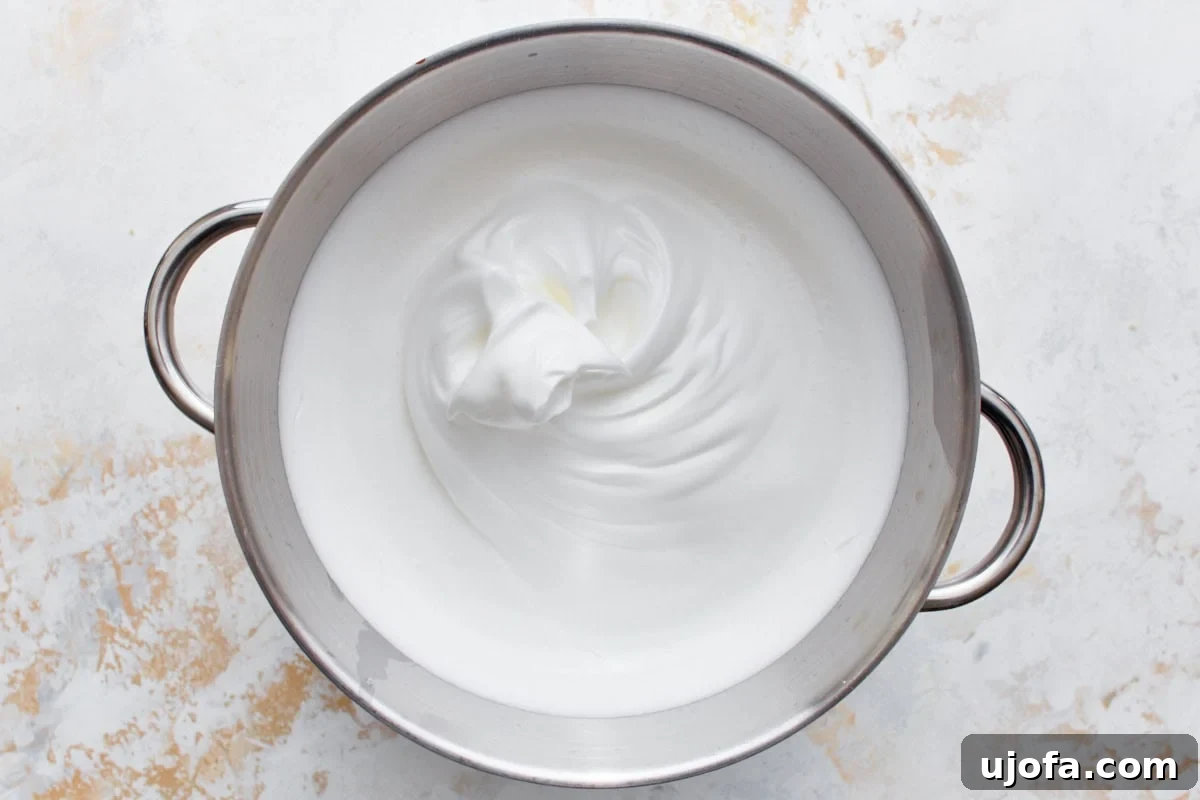
Step 4: Incorporate Sugars and Flavorings. Increase the mixer speed to high. Gradually, about a tablespoon at a time, beat in the ¾ cup of granulated sugar, followed by the ¾ cup of powdered sugar. Continue beating until the mixture thickens into soft, glossy peaks. Now, add the 1 ½ teaspoons of pure vanilla extract, ½ teaspoon of pure almond extract, and ¼ teaspoon of salt. Beat just until everything is well combined and the meringue is beautifully shiny and holds its soft shape.
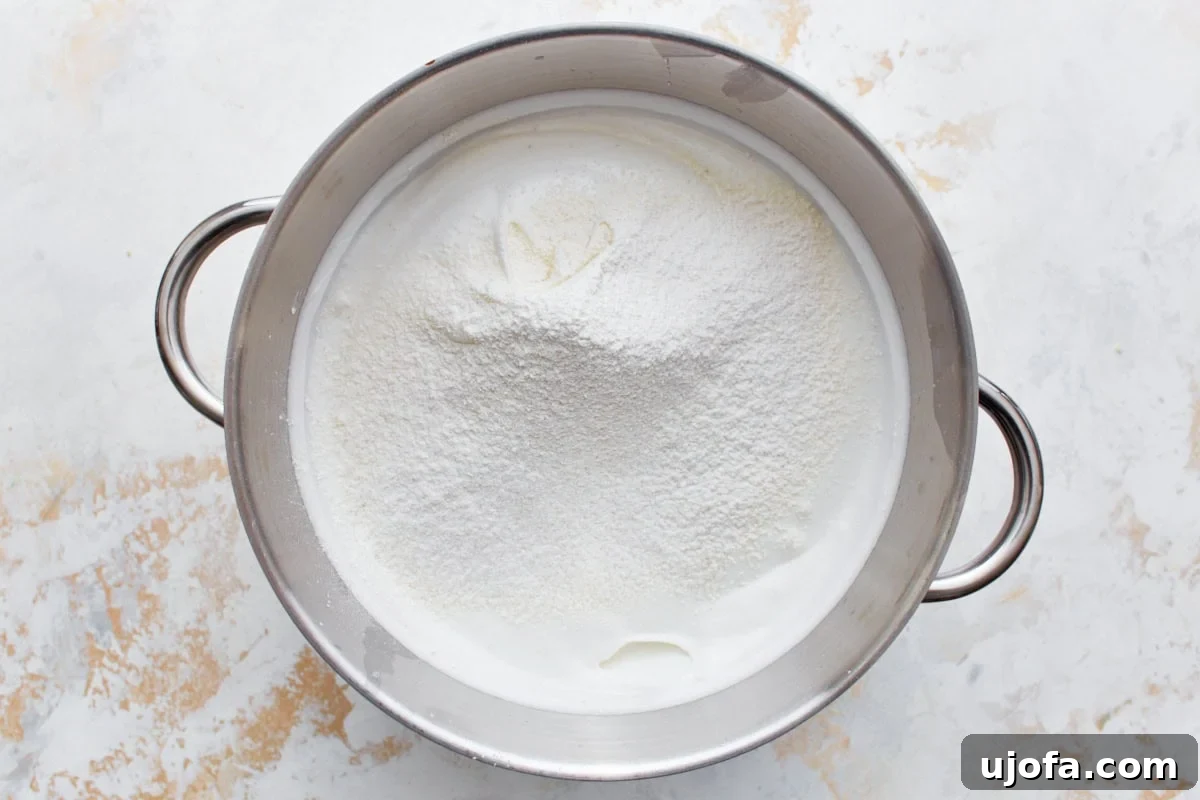
Step 5: Gently Fold in Dry Ingredients. Reduce the mixer speed to medium, or ideally, remove the bowl and use a spatula for this delicate step. Sprinkle the reserved cornstarch and gluten-free flour mixture, approximately ¼ cup at a time, over the meringue. Fold gently until each addition of the flour mixture is just fully combined into the egg whites. Avoid overmixing, as this can deflate the precious air incorporated into the meringue, which is crucial for the cake’s light texture.
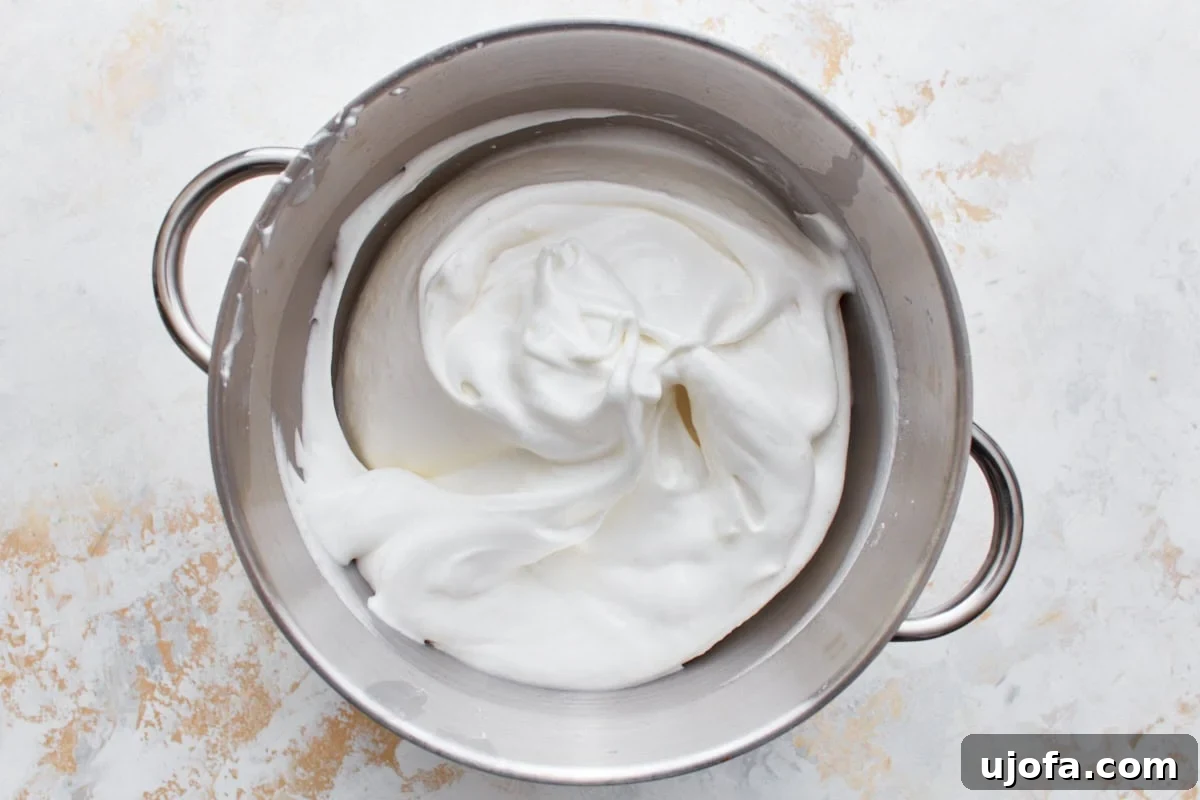
The final batter should be smooth, uniformly mixed, and still voluminous. If using a mixer, ensure you stop as soon as the flour is incorporated.
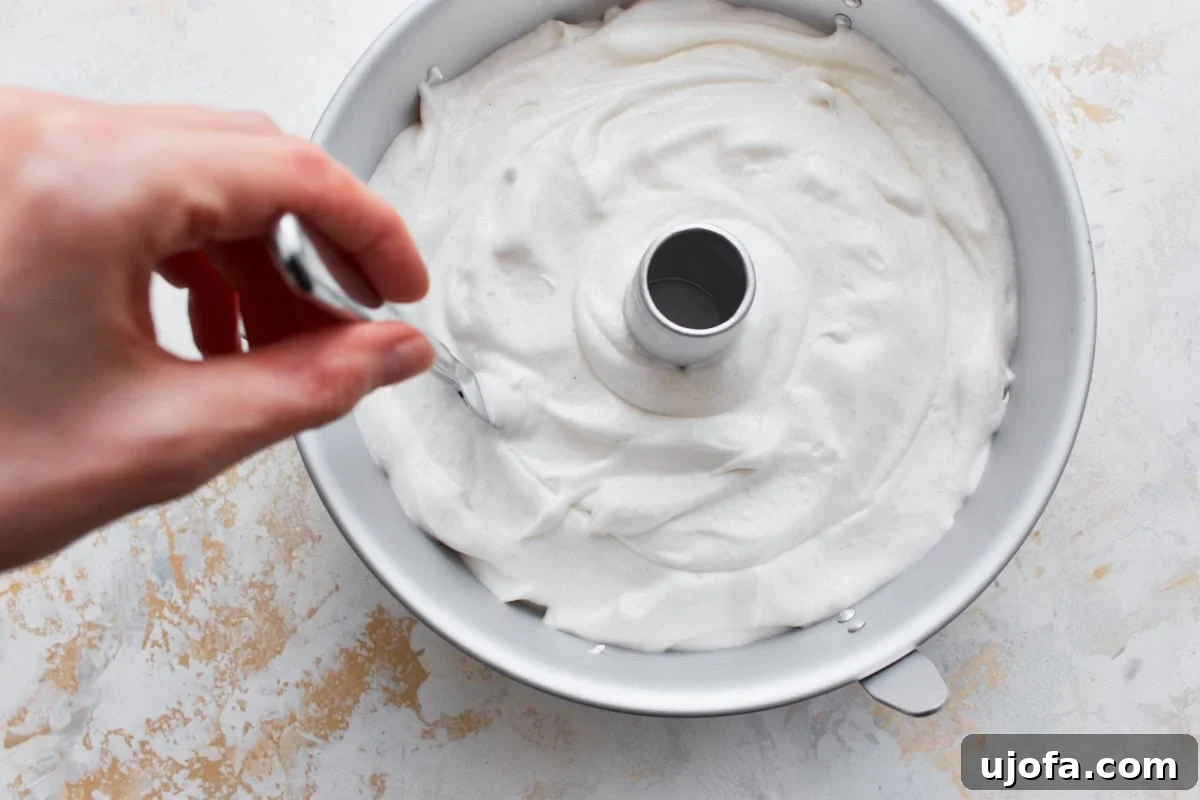
Step 6: Fill Pan and Remove Air Bubbles. Carefully pour the delicate cake batter into an ungreased 10-inch x 4-inch angel food cake pan (also known as a tube pan). Use a spatula to gently smooth the top surface of the batter. To release any large air pockets that could create unsightly tunnels in your finished cake, gently cut through the batter in a circular motion with a butter knife or a thin skewer. This simple step contributes to a more even crumb.
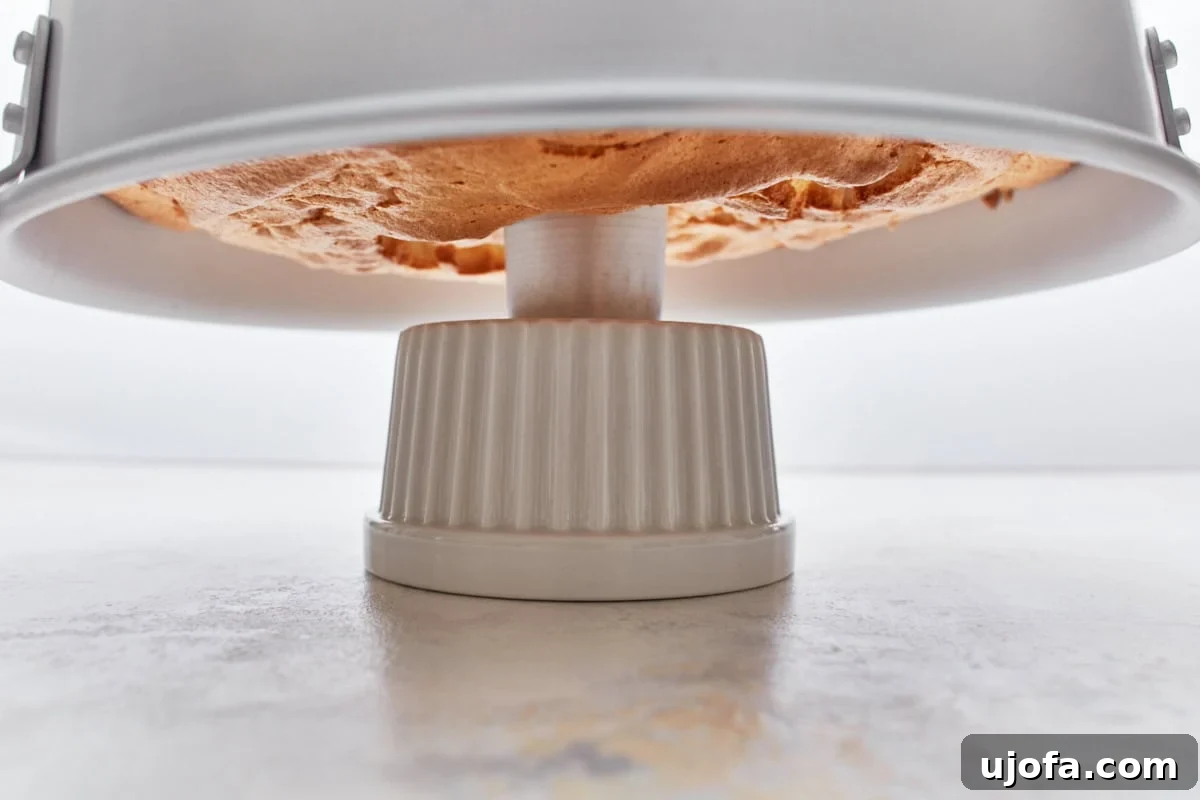
Step 7: Bake and Invert to Cool. Place the filled cake pan onto the lowest rack in your preheated oven. Bake for approximately 30-35 minutes, or until the top of the cake is a beautiful golden brown and springs back lightly when gently touched. Immediately upon removing it from the oven, invert the pan upside down. If your tube pan has integrated feet, use them. Otherwise, carefully rest the center tube over the neck of a heatproof funnel or bottle, or place it on a heatproof cutting board. It is absolutely crucial that the angel food cake cools upside down for a full 2 hours. This prevents the warm, tender cake from collapsing under its own weight and losing its volume, which is a common issue with angel food cakes, especially gluten-free ones.
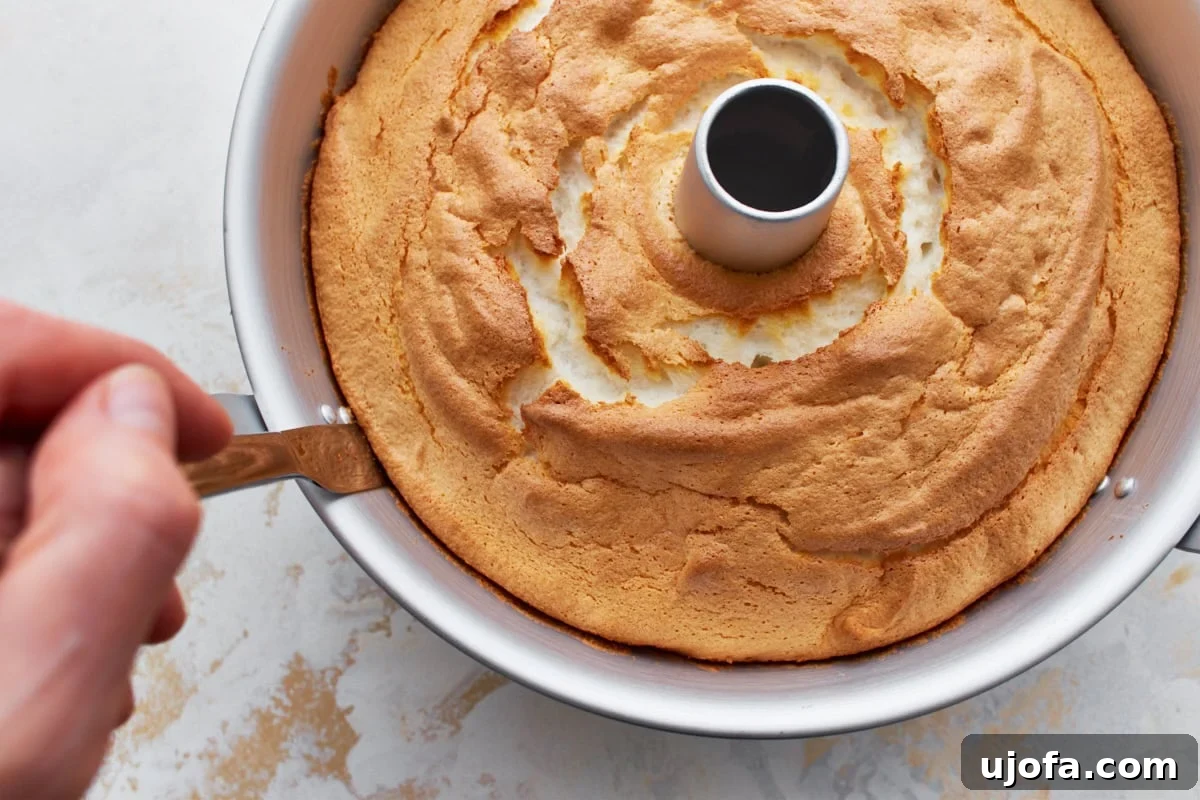
Step 8: Release the Cake from the Pan. Once the cake has completely cooled in its inverted position, turn the pan right-side up. Carefully run a thin, flexible knife or a butter knife along the inner and outer edges of the pan, as well as around the center tube, to gently release the cake. Be patient and gentle to avoid tearing the delicate cake.
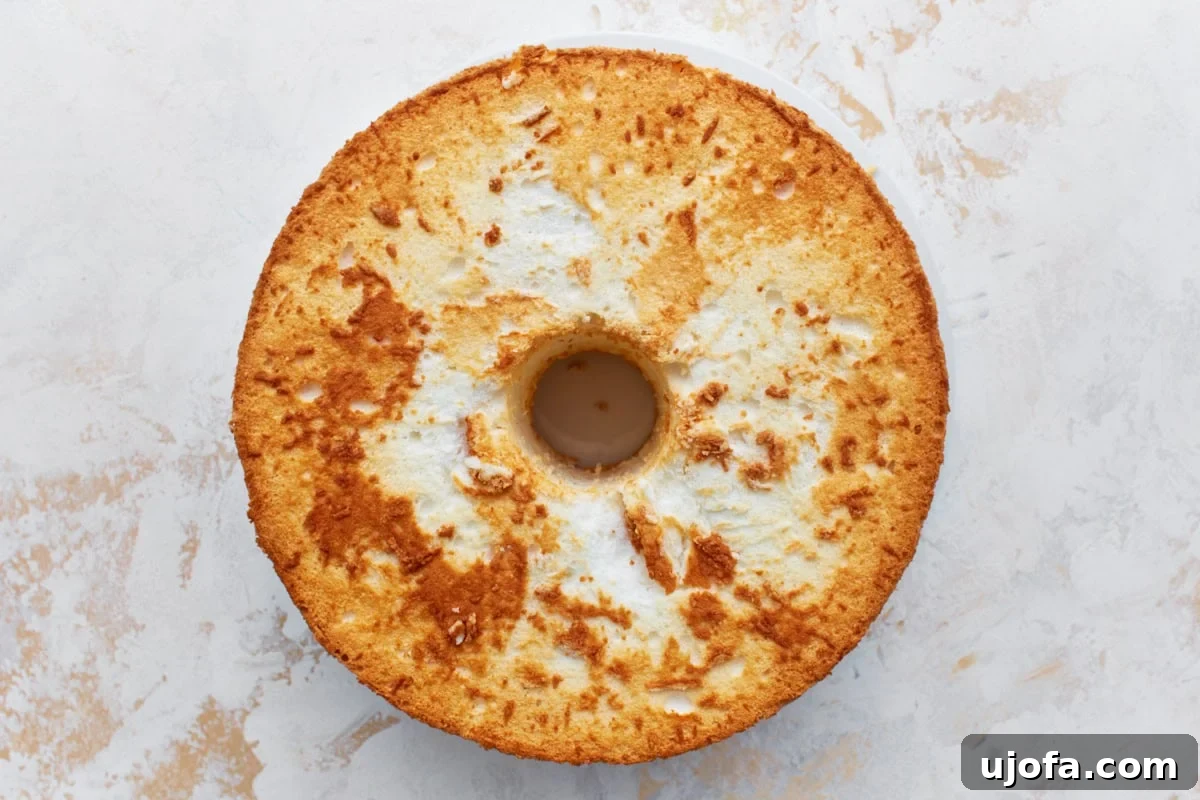
Step 9: Invert and Serve. Place a serving platter or cake stand over the top of the cake pan. Invert the pan and platter together, allowing the cake to gently slide out onto the platter. Your beautifully baked gluten-free angel food cake is now ready for slicing and serving!
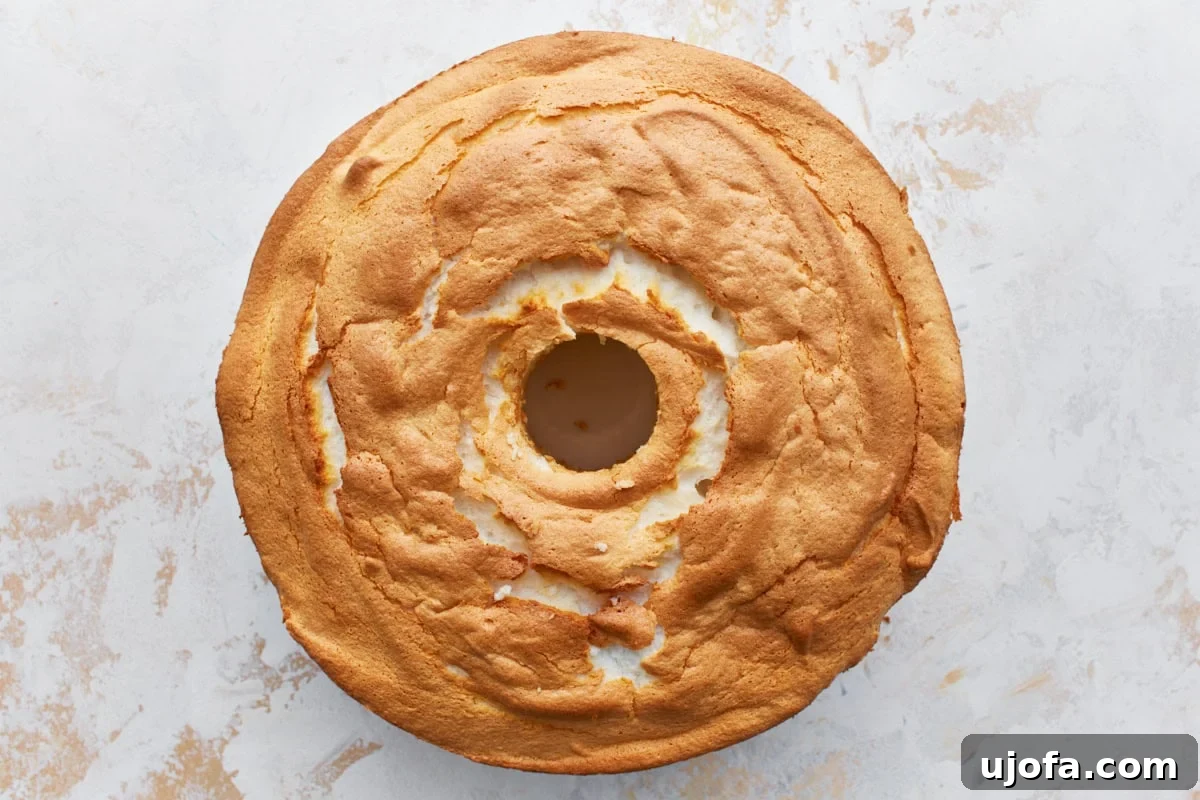
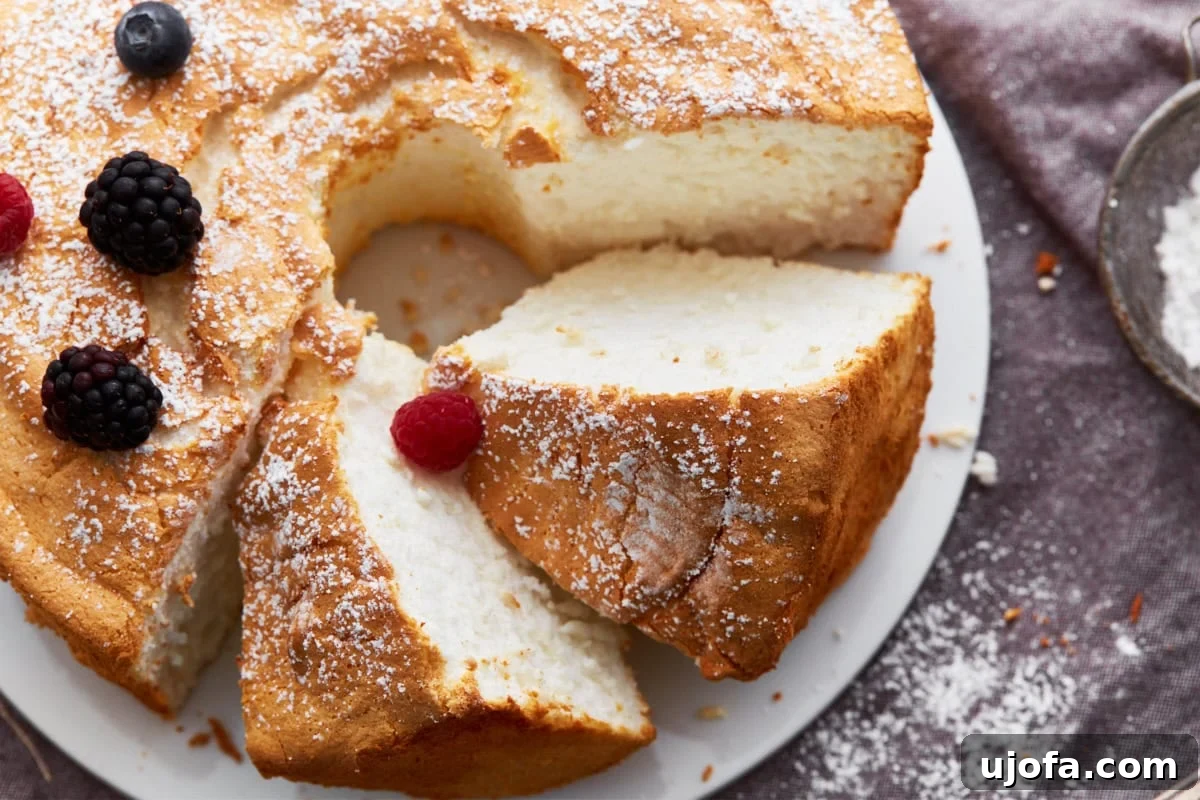
When you’re ready to serve, use a serrated knife (like a bread knife) to gently saw through the cake slices. This technique prevents smashing the delicate, airy structure of the angel food cake, ensuring each slice remains perfectly light and fluffy. Enjoy this exquisite gluten-free treat!
Storing Your Gluten-Free Angel Food Cake
To preserve the freshness and delicate texture of your homemade gluten-free angel food cake, proper storage is key. Following these guidelines will ensure your cake remains delicious for days.
For short-term storage, wrap the leftover cake tightly in plastic wrap, ensuring no air can get in. Alternatively, place it in an airtight container. Keep the cake at room temperature for up to 2 days. If you need to store it longer, or if your kitchen is particularly warm, refrigerate the cake for up to a week. Remember that refrigeration can slightly alter the texture of angel food cake, sometimes making it a bit firmer.
If you wish to enjoy your gluten-free angel food cake at a later date, it freezes beautifully. Once the cake has completely cooled to room temperature, wrap it thoroughly first in plastic wrap, and then in a layer of aluminum foil. This double-layer protection helps prevent freezer burn. Place the well-wrapped cake in a freezer-safe bag or container. You can freeze the cake whole, making it ideal for future entertaining, or slice it into individual portions before freezing for convenient grab-and-go treats. The cake can be frozen for up to 4 months without significant loss of quality. To thaw, simply remove the wrapped cake from the freezer and let it come to room temperature on your countertop. Avoid using a microwave for thawing, as it can compromise the cake’s light texture.
Delightful Serving Suggestions for Gluten-Free Angel Food Cake
The beauty of this light and fluffy gluten-free angel food cake lies in its versatility. Its subtle sweetness and airy texture make it a perfect canvas for a variety of delicious toppings and pairings. Here are some of our favorite ways to enjoy this classic dessert:
- Fresh Berries and Whipped Cream: A timeless combination! Heap fresh seasonal berries such as strawberries, blueberries, raspberries, or blackberries on top of a slice. For an extra treat, add a generous swirl of homemade whipped cream (dairy or a coconut cream alternative for a dairy-free option). The natural tartness of the berries beautifully complements the cake’s sweetness.
- Rich Fruit Sauces: Elevate your cake with a vibrant fruit sauce. My family absolutely loves it topped with my homemade strawberry reduction sauce, which brings a burst of intense strawberry flavor. A bright raspberry coulis or a warm peach compote also make fantastic additions, adding moisture and a delightful tang.
- Lemon Curd or Zest: For a refreshing twist, spread a dollop of tangy lemon curd on each slice, or simply grate some fresh lemon zest over the top. The citrus notes provide a lovely contrast to the cake’s sweetness.
- Chocolate Drizzle: A light drizzle of melted dark chocolate or a homemade chocolate sauce can add a touch of decadence without overwhelming the cake’s delicate flavor.
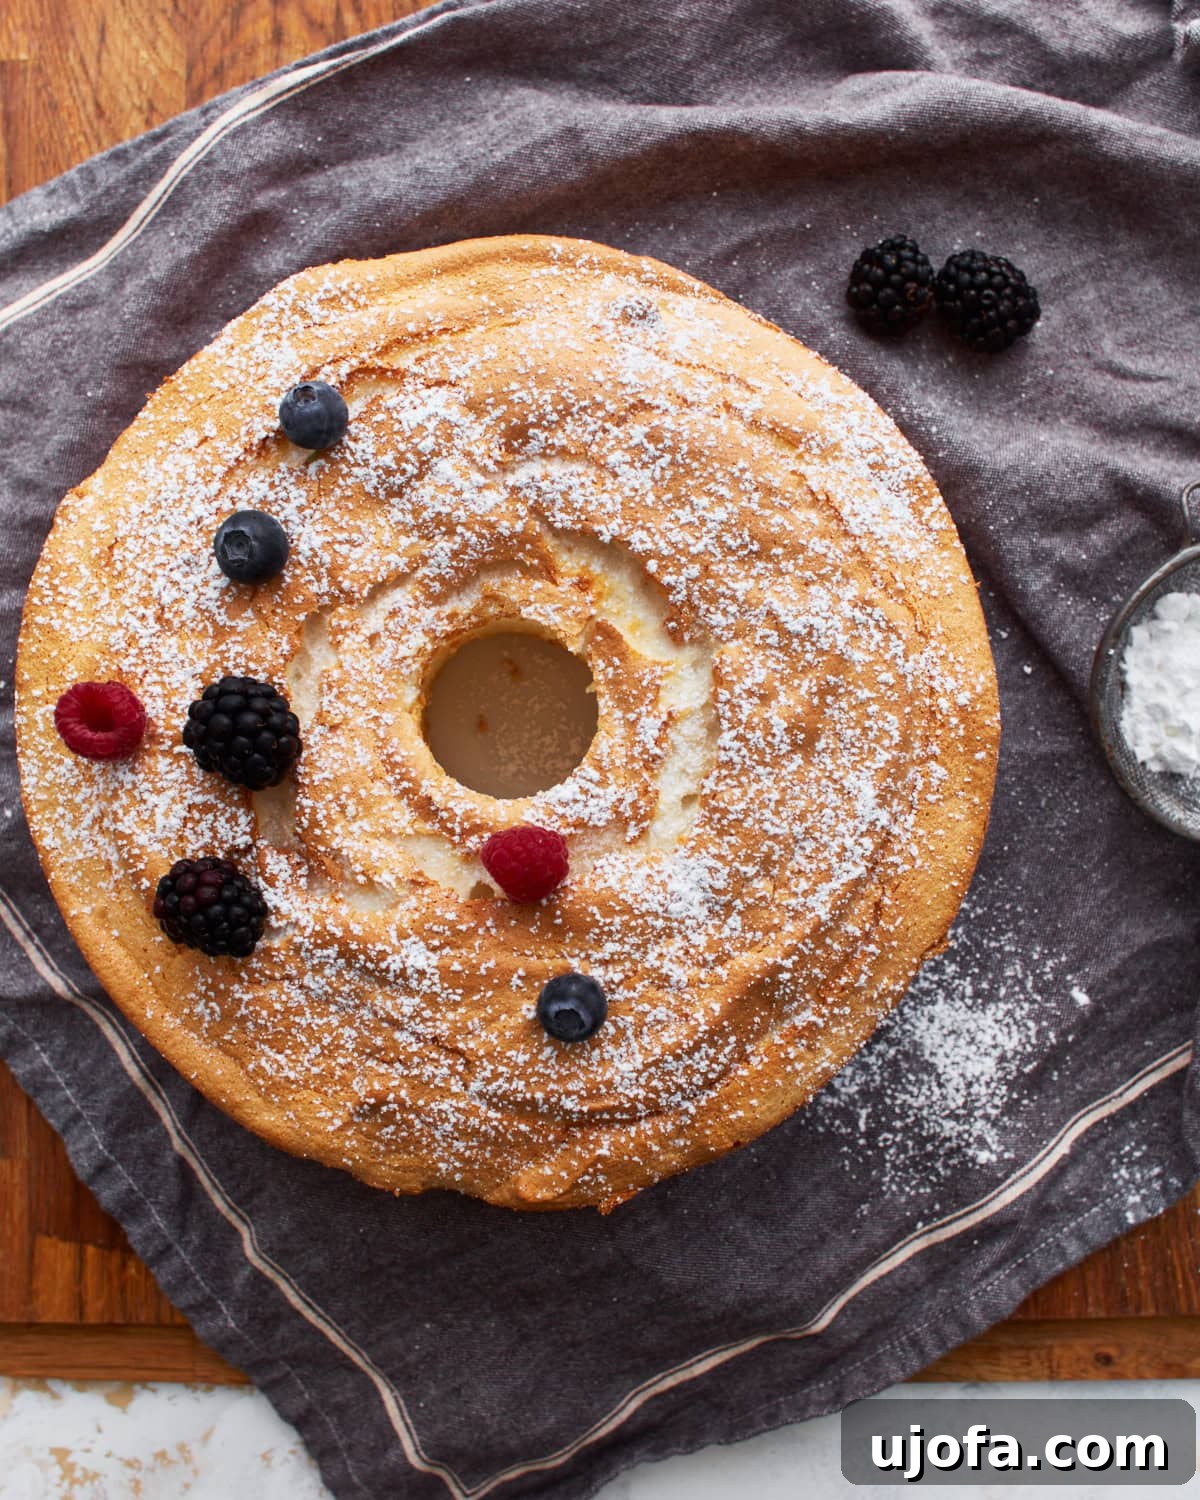
- Simple Powdered Sugar: Sometimes, simplicity is best. A light dusting of powdered sugar over the entire cake or individual slices is all you need to highlight its elegant appearance and exquisite texture.
This exquisite gluten-free angel food cake is truly the perfect dessert for a multitude of occasions. Its light nature makes it ideal for a special weekend brunch, a charming Mother’s Day celebration, or as a graceful finish to an Easter meal. It’s also a wonderful choice for summer potlucks and garden parties, especially when paired with an abundance of fresh fruit.
Explore More Delicious Gluten-Free Dessert Recipes
If you’ve enjoyed this delightful gluten-free angel food cake, you’ll be thrilled to discover a world of other fantastic gluten-free dessert options. Our collection features a variety of sweet treats, perfect for any craving or occasion. From comforting baked goods to festive pies, we’ve got you covered. Dive into these other popular gluten-free dessert recipes:
- Gluten-Free Apple Cake: A moist and flavorful cake brimming with tender apple pieces and warm spices, perfect for autumn.
- Gluten & Dairy-Free Pumpkin Pie: Enjoy the quintessential holiday dessert with this easy recipe that’s free from both gluten and dairy, yet rich in flavor.
- Gluten-Free Cinnamon Rolls: Indulge in warm, sticky, and perfectly spiced cinnamon rolls, a beloved breakfast or dessert treat that’s surprisingly easy to make gluten-free.
- Gluten-Free Baked Apple Cinnamon Donuts: These tender, cake-like donuts are baked, not fried, and infused with the comforting flavors of apple and cinnamon.
- Gluten-Free Apple Pie Blondies: All the delightful flavors of apple pie packed into chewy, convenient blondie bars, with an easy dairy-free option available.
Happy baking, and enjoy these wonderful gluten-free desserts!