
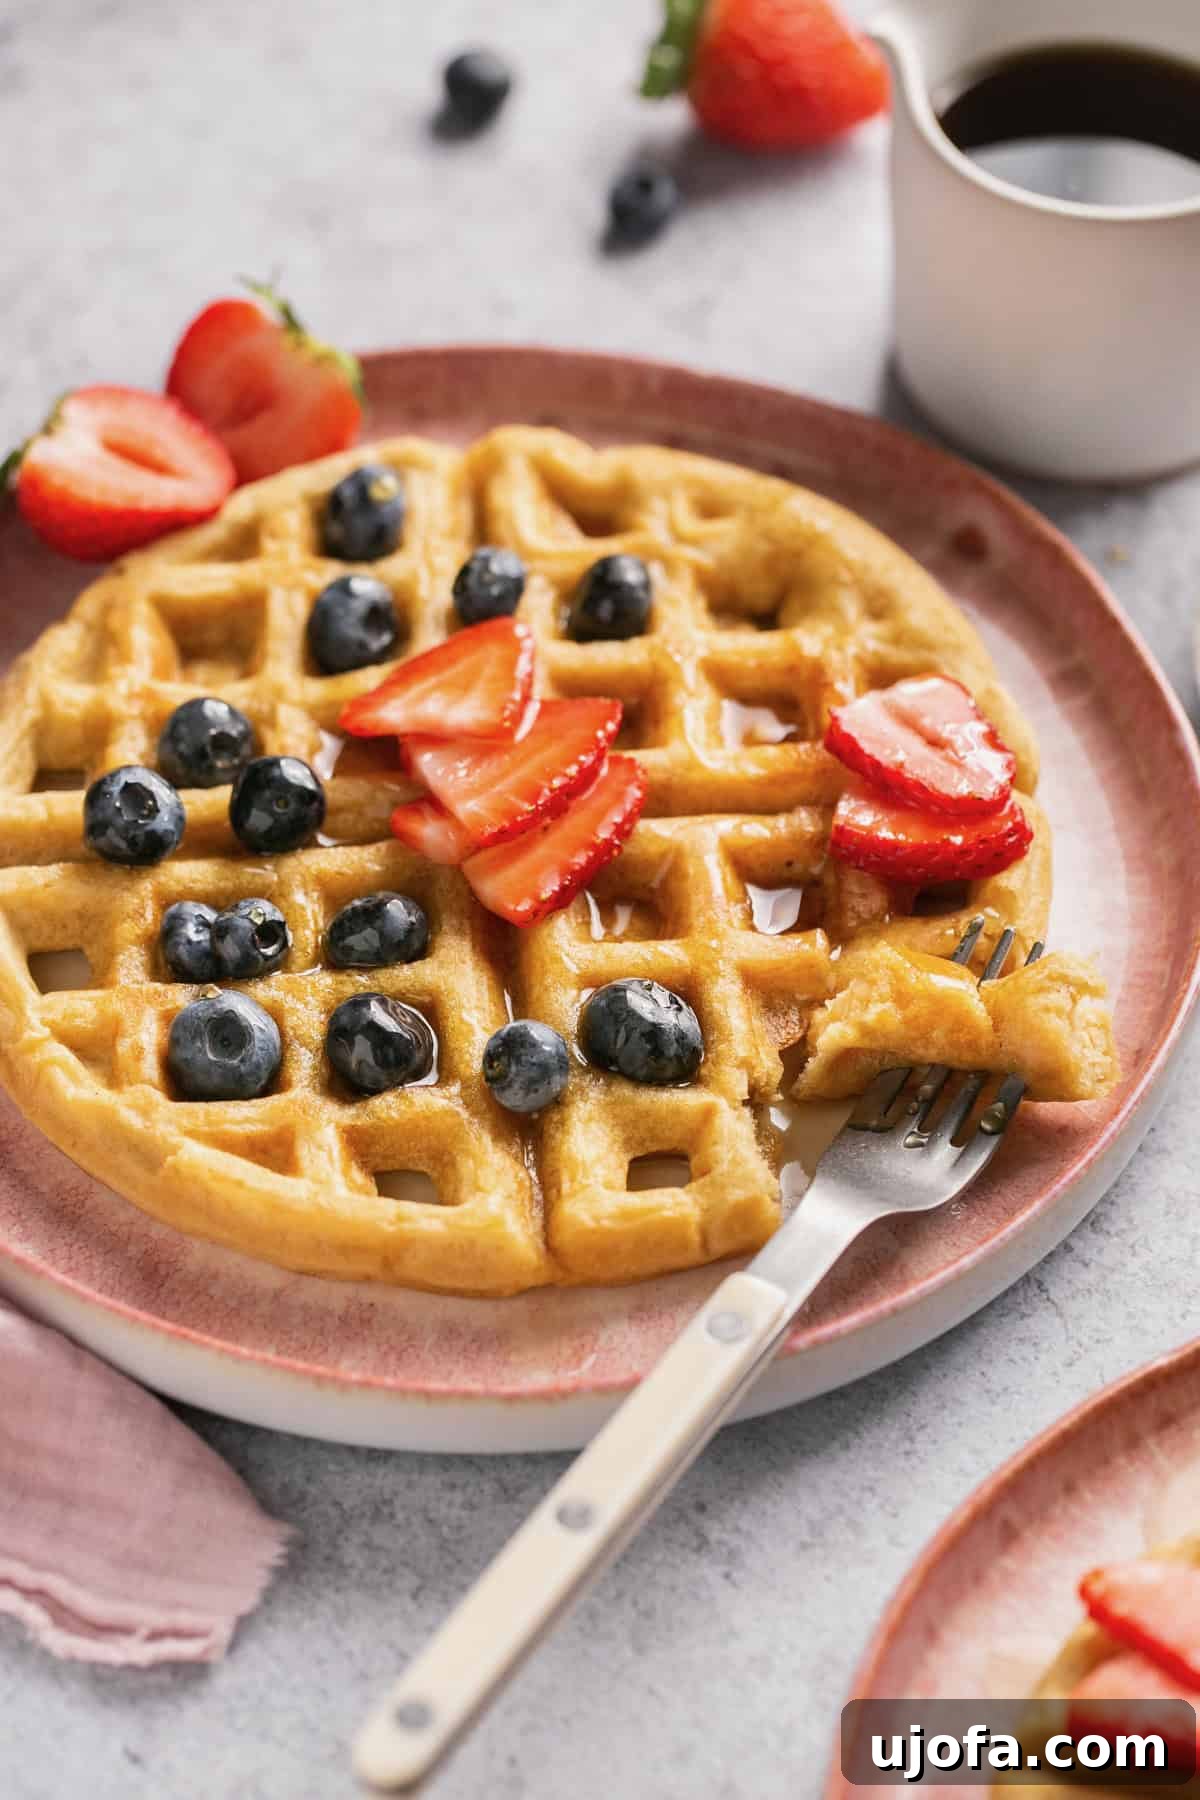
Get ready to transform your breakfast routine with the ultimate gluten-free waffle recipe! These aren’t just any waffles; they’re a perfect blend of convenience, health, and gourmet taste. Imagine sinking your teeth into a waffle that’s incredibly soft and fluffy on the inside, yet boasts an irresistibly crispy exterior. And the best part? Each delightful waffle comes packed with a remarkable 13 grams of protein, making it an ideal start to a busy day or a satisfying post-workout meal.
Crafted with just 10 simple ingredients, this recipe comes together in a mere 15 minutes, proving that healthy and delicious doesn’t have to mean complicated or time-consuming. Whether you’re navigating dietary restrictions like gluten or dairy, or simply seeking a more nutritious breakfast option that doesn’t compromise on flavor, these homemade waffles are an absolute game-changer.
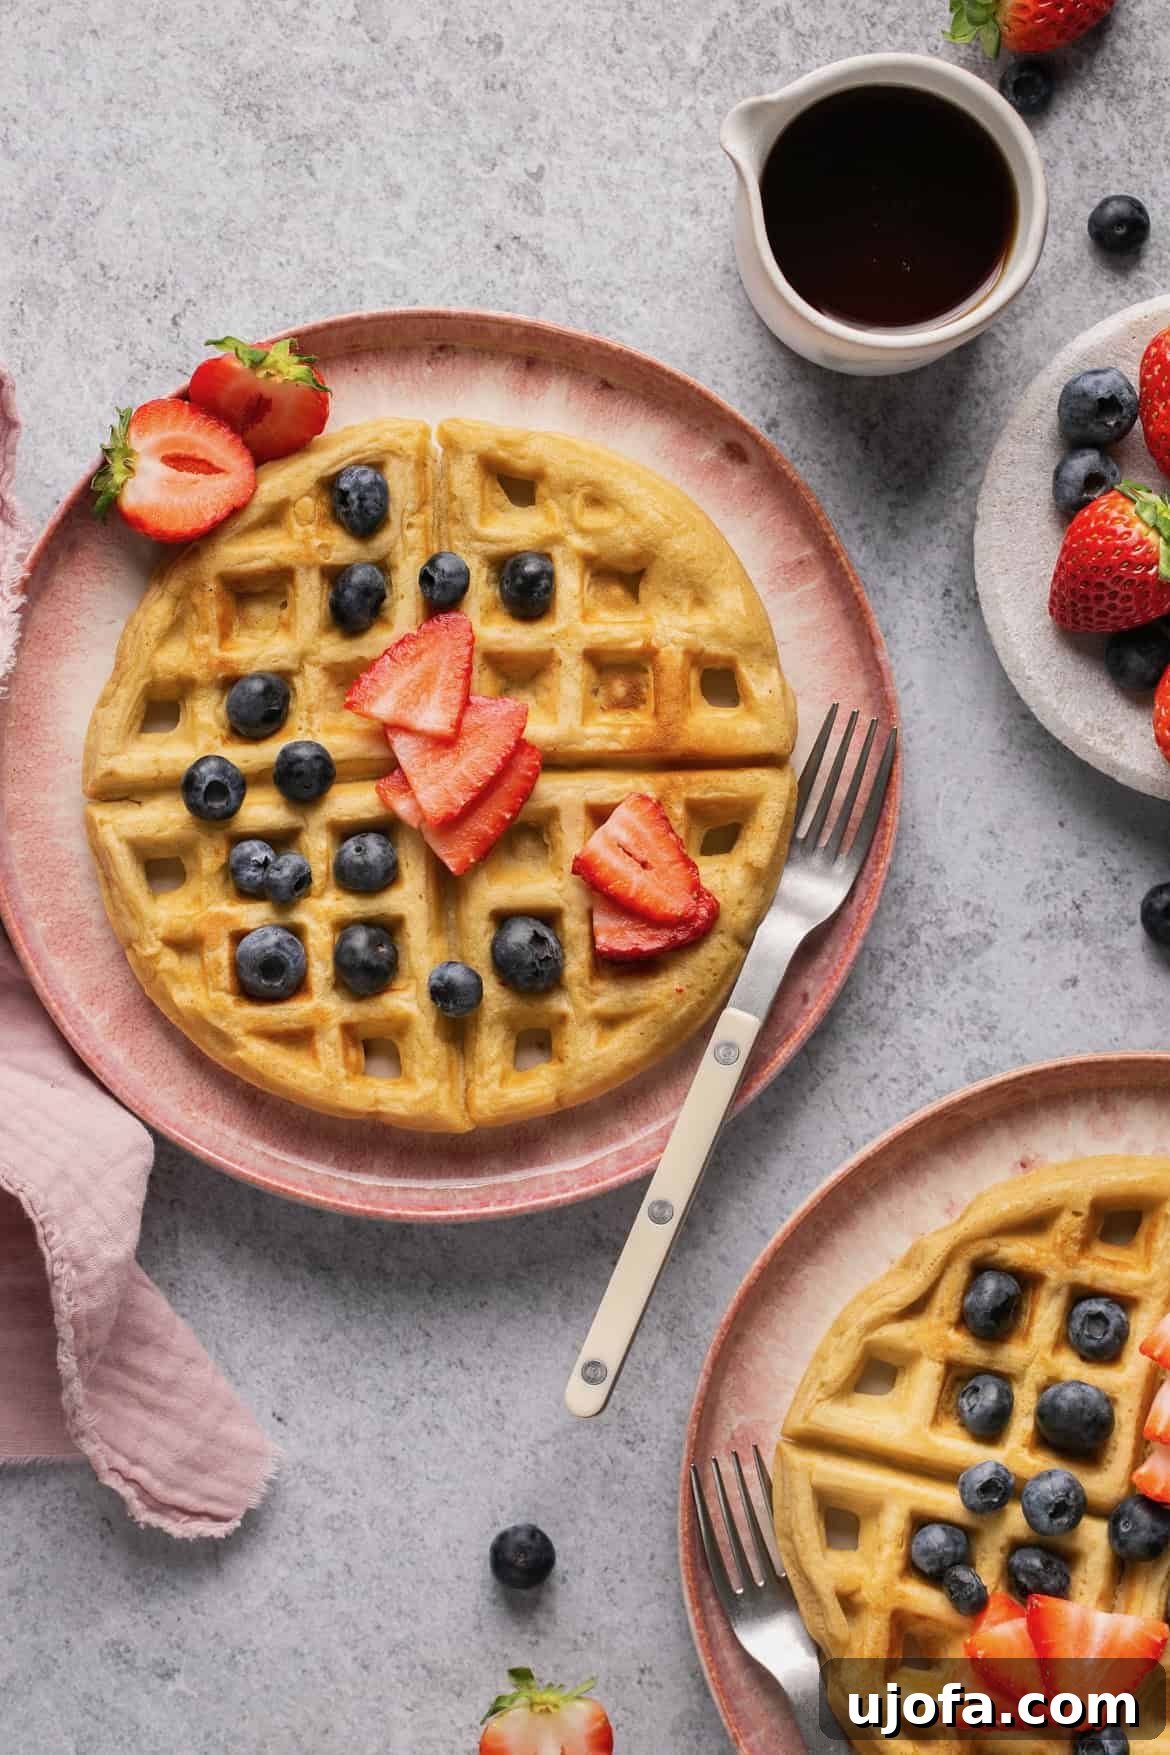
Why This Gluten-Free Waffle Recipe Is a Must-Try
In a world constantly seeking healthier, more fulfilling breakfast options, these homemade gluten-free waffles stand out. I’ve been on a mission to create recipes that not only taste incredible but also nourish your body, and these waffles are a shining example. If you’ve enjoyed my other protein-packed creations like the Perfect Protein Pancakes, the hearty Vegan Baked Oatmeal, or the wholesome Banana Protein Muffins, then prepare to add these waffles to your list of favorites.
What truly sets this recipe apart is its incredible versatility and adaptability. These waffles are not only naturally gluten-free and dairy-free, but they also offer a fantastic vegan option, ensuring everyone can enjoy them. Beyond their dietary benefits, they deliver on texture and flavor—achieving that elusive balance of a soft, airy interior encased in a wonderfully crisp shell. The generous 13 grams of protein per waffle will keep you feeling fuller for longer, powering you through your morning without the usual breakfast slump.
Beyond the nutritional benefits, these waffles are incredibly convenient. With a prep-to-plate time of just 15 minutes, they are perfect for busy weekdays or leisurely weekend brunches. You can customize them with your favorite mix-ins, pile them high with various toppings, prepare a batch ahead of time for quick grab-and-go breakfasts, or freeze them for long-term enjoyment. Seriously, once you try this recipe, you might just declare it the best gluten-free waffle recipe you’ve ever encountered. It’s the ultimate recipe for the ultimate breakfast experience!
Demystifying the Ingredients: What You’ll Need
Creating perfect gluten-free waffles begins with understanding the role of each ingredient. This recipe utilizes a thoughtful selection of components that work in harmony to deliver fantastic flavor and texture while adhering to dietary needs. Here’s a closer look at the 10 simple ingredients you’ll need:
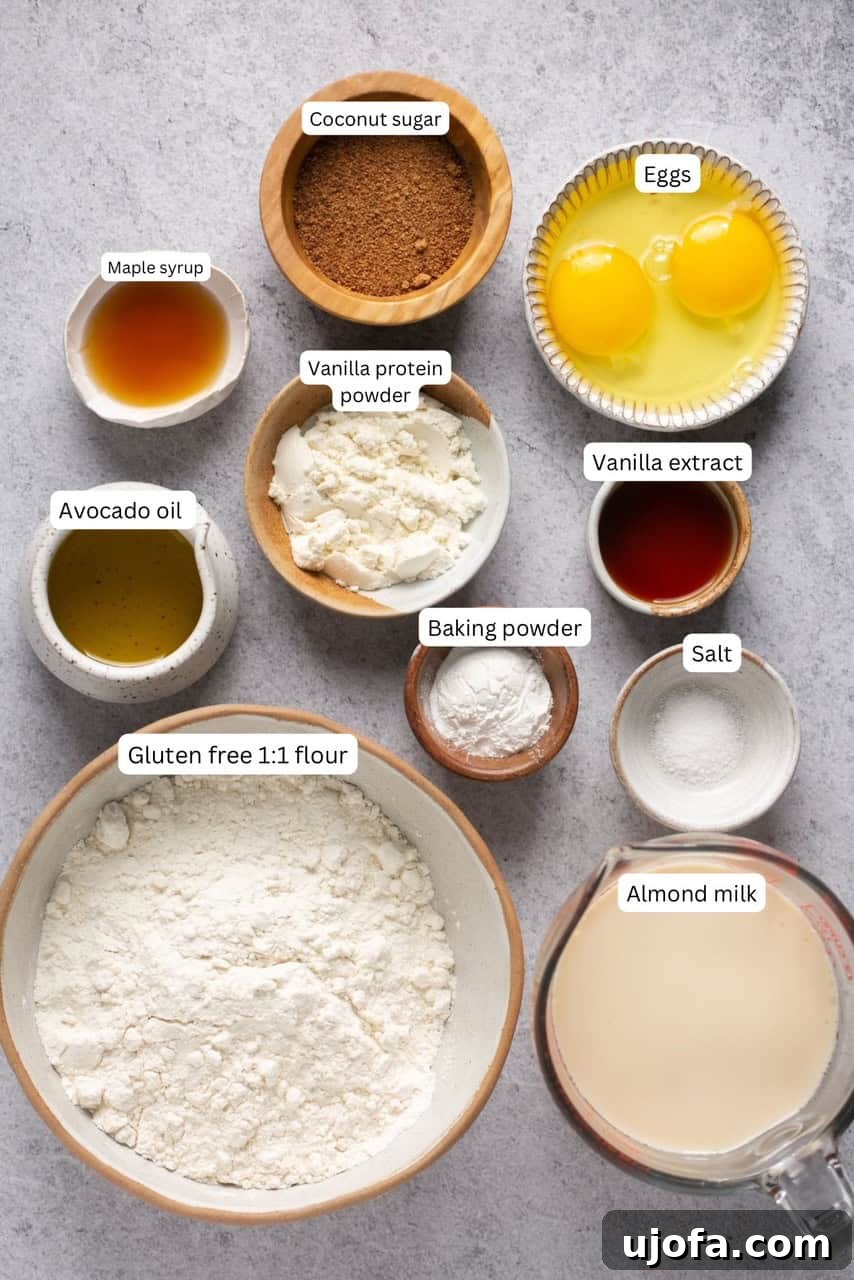
- Gluten-Free 1:1 Flour: The foundation of our gluten-free goodness. A 1:1 blend means it’s specifically formulated to substitute traditional wheat flour in recipes at an equal ratio, often containing a mix of rice flour, potato starch, tapioca flour, and xanthan gum. This ensures consistent results without needing to adjust other liquid ratios. We highly recommend King Arthur or Bob’s Red Mill all-purpose gluten-free flour blends for their consistent quality and reliable performance.
- Baking Powder: This leavening agent is crucial for giving our waffles that desired soft and fluffy texture. It reacts with the liquid ingredients and heat to create air bubbles, lifting the batter and preventing dense, heavy waffles. Always ensure your baking powder is fresh for optimal results.
- Vanilla Protein Powder: Not just for a protein boost, vanilla protein powder also contributes to the flavor profile and structure of the waffles. It helps create a more satisfying and filling breakfast. Brands like Be Well By Kelly offer high-quality options. If opting for a vegan version, ensure your protein powder is plant-based (pea, rice, or hemp protein work well).
- Almond Milk: Our dairy-free liquid base. Almond milk is a popular choice for its neutral flavor and creamy texture, making it an excellent alternative to cow’s milk. Feel free to substitute with other dairy-free milks such as coconut milk (for a slightly richer, subtly tropical note) or oat milk (for extra creaminess) based on your preference.
- Coconut Sugar: A natural sweetener that adds a subtle caramel-like flavor and depth to the waffles without being overly sweet. It’s a great unrefined alternative to white sugar.
- Maple Syrup: Adds a touch of natural sweetness and moisture. Pure maple syrup is preferred for its rich flavor and natural properties. It also contributes to the beautiful golden-brown color of the waffles.
- Vanilla Extract: A pantry staple that enhances all the other flavors in the batter, adding warmth and a comforting aroma. Use pure vanilla extract for the best taste.
- Eggs: Eggs provide essential structure, richness, and binding properties to the waffles. Bringing your eggs to room temperature before mixing helps them emulsify better with the other ingredients, leading to a smoother batter and more consistent waffle texture.
- Avocado Oil: Chosen for its mild flavor and high smoke point, avocado oil helps achieve a crispy exterior and tender interior. It’s also a source of healthy fats. If you enjoy a hint of coconut, coconut oil can be used as a substitute, but be aware it will impart a distinct coconut flavor.
- Salt: A pinch of salt is vital for balancing the sweetness and enhancing the overall flavor of the waffles, making them truly delicious.
Step-by-Step Guide to Perfect Waffles
Making these gluten-free waffles is a straightforward process, designed for efficiency without compromising on quality. Follow these simple steps, and you’ll be enjoying a stack of warm, crispy, and fluffy waffles in no time.
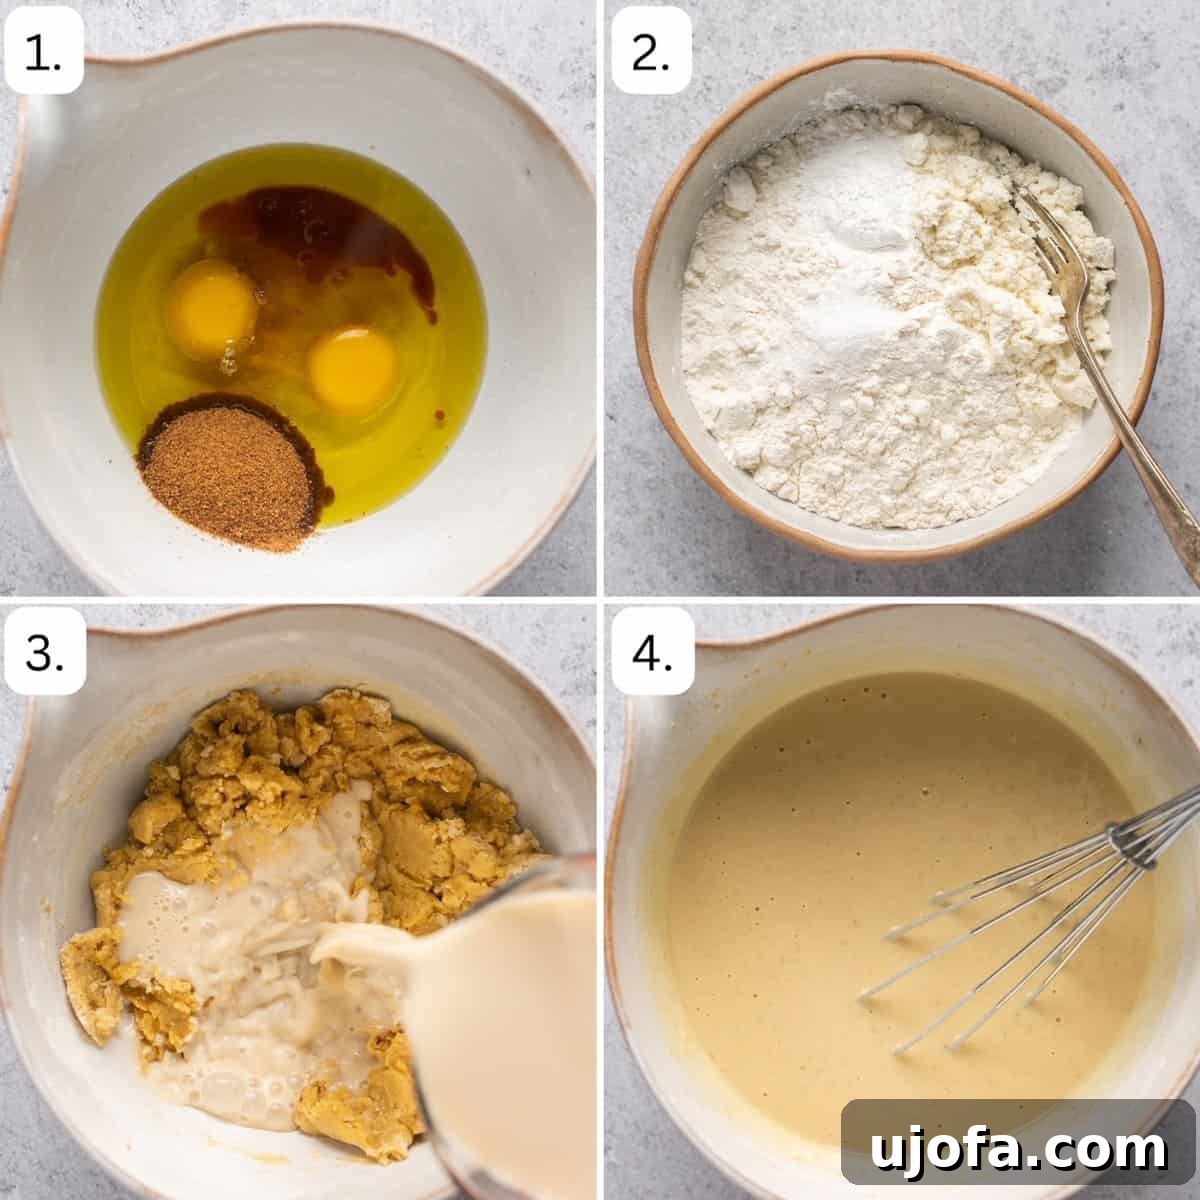
- In a large mixing bowl, combine the wet ingredients: coconut sugar, maple syrup, room temperature eggs, avocado oil, and vanilla extract. Whisk thoroughly until the mixture is well combined and smooth.
- In a separate, medium-sized bowl, whisk together all the dry ingredients: gluten-free 1:1 flour, baking powder, vanilla protein powder, and salt. Ensure there are no lumps and the ingredients are evenly distributed.
- Gradually add the dry ingredient mixture to the wet ingredient mixture. While combining, slowly whisk in the almond milk. Continue to whisk until the batter is very smooth and consistent. Don’t be afraid to put in some “elbow grease” to get rid of any flour clumps! A well-whisked batter ensures uniform texture.
- Spray your waffle maker generously with avocado oil or another non-stick cooking spray, then preheat it according to the manufacturer’s instructions. Proper greasing is essential to prevent sticking and ensure easy removal.
- For Belgian-style waffles (typically yielding four triangles or a large circular waffle), use a 1-cup measuring cup to scoop out the batter. Carefully pour the batter evenly into the center of the preheated waffle iron, spreading slightly if needed.
- Cook the waffles following your specific waffle maker’s directions. For a standard Belgian waffle maker, this usually takes about 4-5 minutes per waffle. If your machine doesn’t automatically flip, consider flipping it halfway through for even cooking and browning.
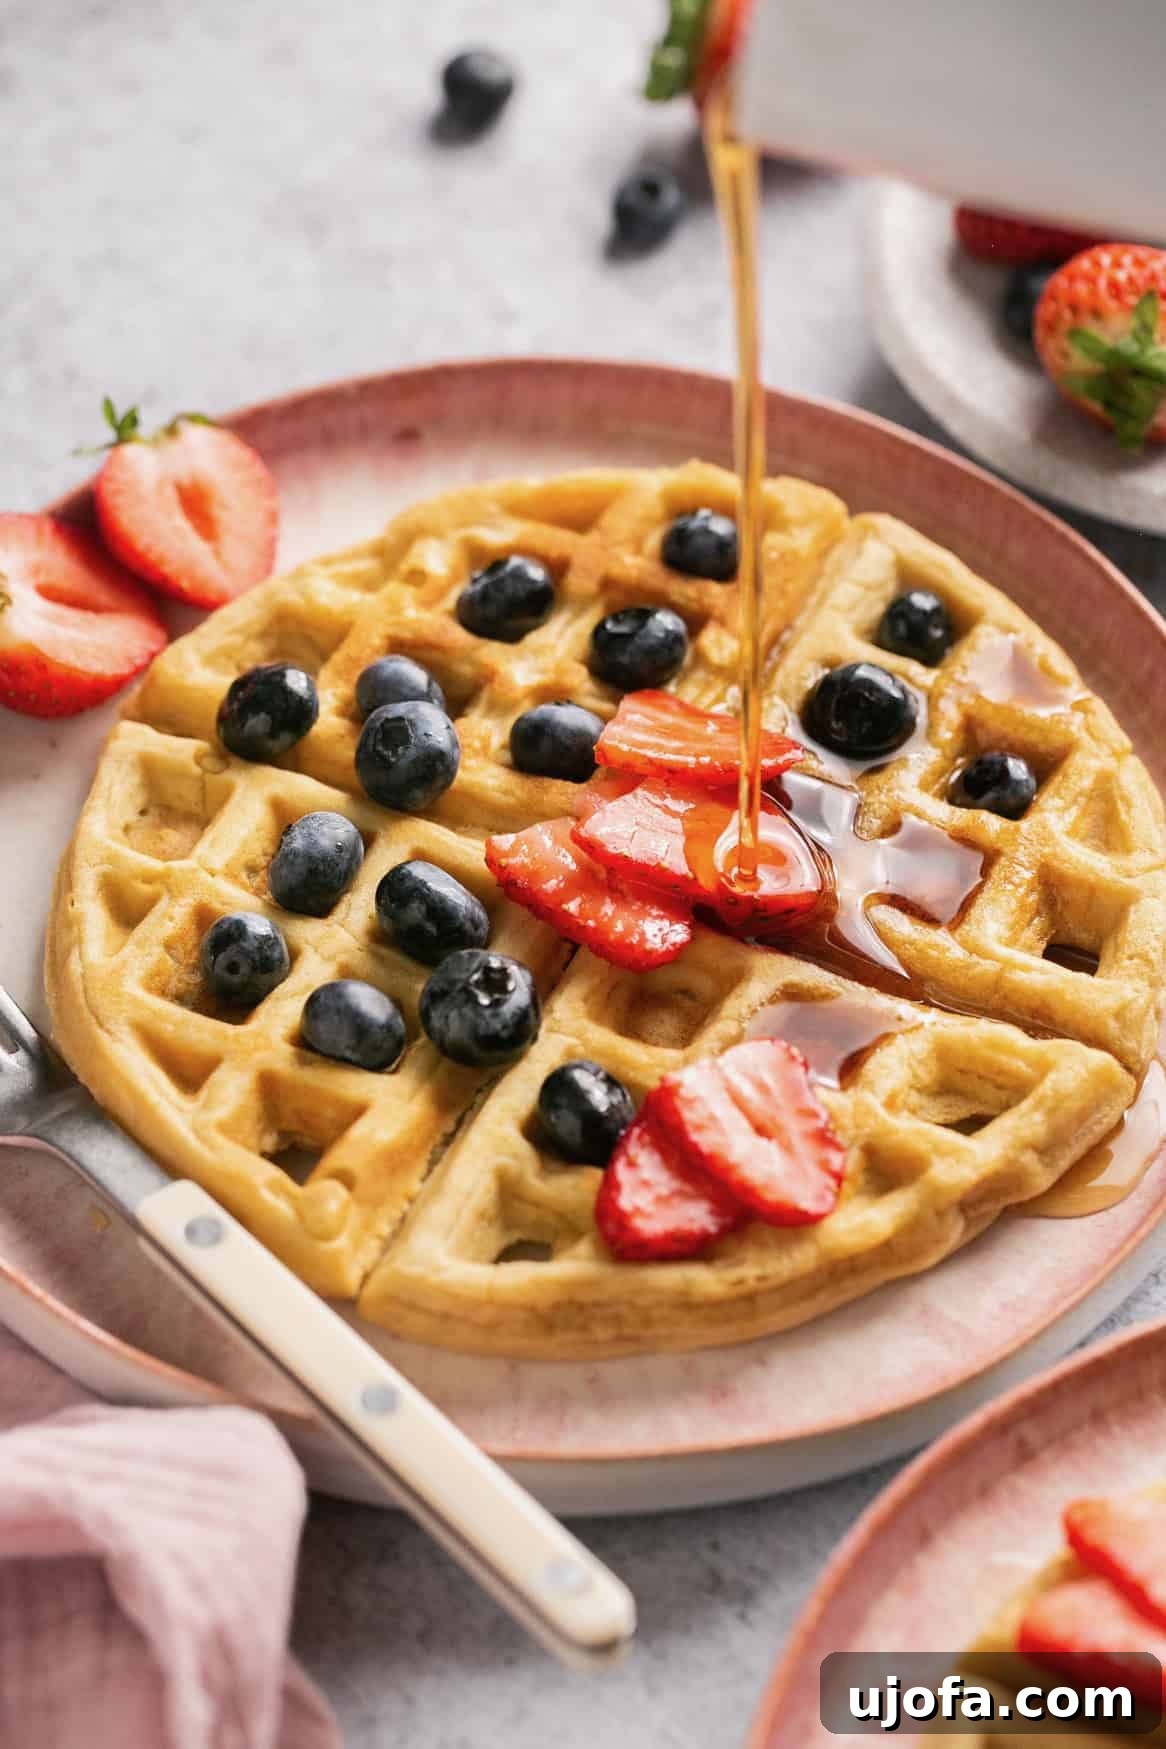
- Once cooked to a beautiful golden brown and crispy, carefully remove the waffles from the iron. Serve immediately, topped with your favorite fresh berries and a drizzle of maple syrup for the ultimate breakfast indulgence!
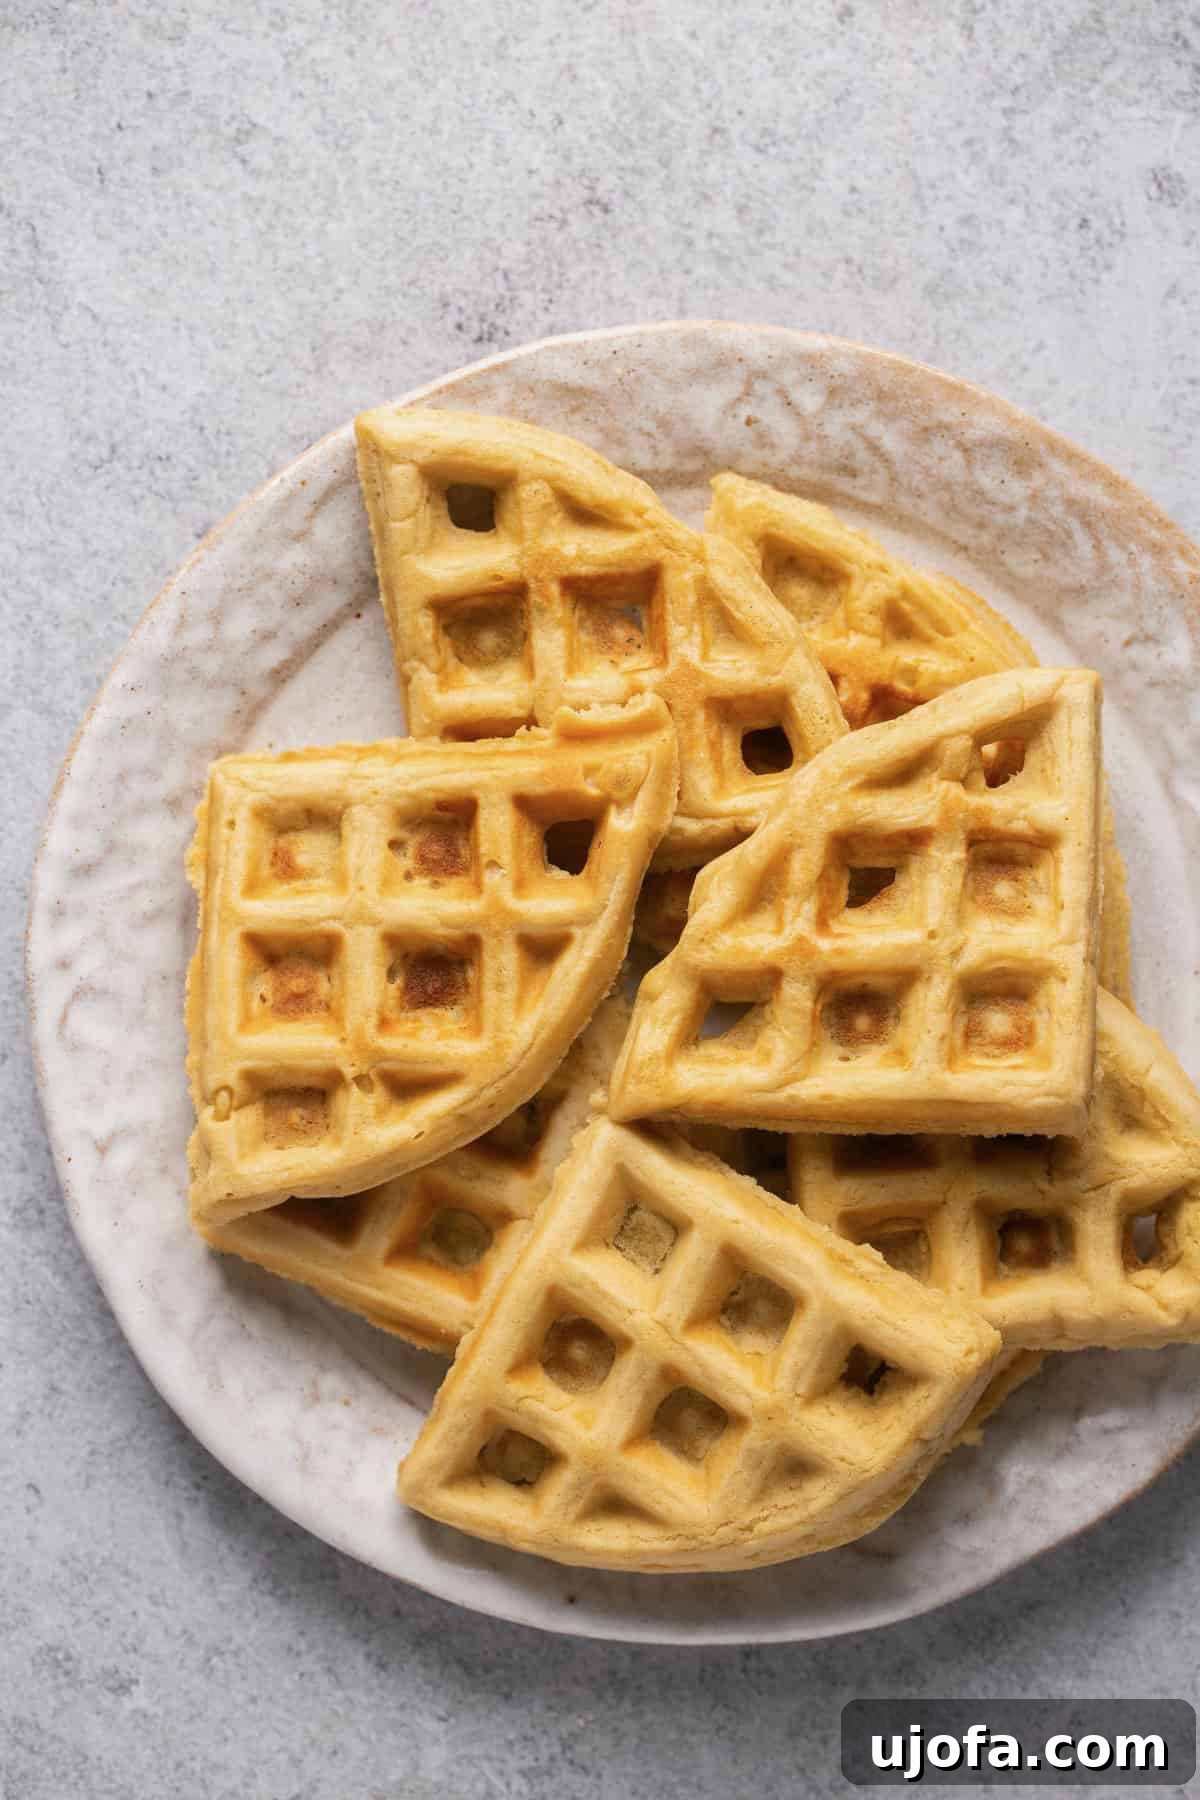
Expert Tips for the Best Gluten-Free Waffles Every Time
Achieving waffle perfection, especially with gluten-free ingredients, can feel like an art. However, with these expert tips, you’ll consistently create fluffy, crispy, and delicious waffles that impress.
- Dairy Substitutions: While this recipe is designed to be dairy-free, those who consume dairy can easily swap the non-dairy milk for regular cow’s milk. The ratio remains the same, ensuring consistent results.
- Understanding Your Waffle Maker: Waffle makers vary significantly in size, shape, and heating elements. The amount of batter needed and the optimal cooking time will depend entirely on your specific appliance. Always refer to your waffle maker’s instruction manual for precise guidance. I personally used this Belgian Waffle Maker for recipe testing.
- Greasing is Key: Never skip greasing your waffle maker, even if it claims to be non-stick. A generous spray of avocado oil or another cooking spray ensures that your waffles release cleanly without tearing or sticking, preserving their perfect shape and texture. This step is super important for crispy edges!
- Room Temperature Ingredients: As mentioned for eggs, bringing all your cold ingredients (like milk and eggs) to room temperature helps them incorporate more smoothly into the batter. This creates a more uniform mixture, leading to a lighter and more evenly cooked waffle. Plan ahead by taking them out of the fridge about 30 minutes before you start mixing.
- Don’t Overmix the Batter: While you want a smooth batter, overmixing can develop any residual gluten (even in GF flours, some starches can get gummy) or deflate air bubbles, resulting in tough or dense waffles. Mix just until the ingredients are combined and no dry streaks of flour remain. A few small lumps are perfectly fine.
- Allow the Batter to Rest: For optimal texture, especially with gluten-free flours, letting the batter rest for 5-10 minutes after mixing allows the flours to fully hydrate. This can improve the waffle’s structure and overall tenderness.
- Achieving Peak Crispiness: For truly crispy waffles, ensure your waffle iron is fully preheated before adding the batter. Avoid opening the waffle maker prematurely during cooking. Some people swear by cooking for an extra 30-60 seconds beyond what the indicator light suggests, or even reheating cooked waffles in a toaster oven for an ultimate crisp.
Unleash Your Creativity: Serving & Topping Suggestions
Waffles are a blank canvas for culinary creativity, and these gluten-free delights are no exception. Whether you prefer a classic approach or love to experiment, there are endless ways to customize and serve them.
- Delicious Batter Mix-ins: Elevate your waffles by incorporating exciting additions directly into the batter. Consider folding in a handful of mini chocolate chips for a sweet treat, chopped nuts for extra crunch and healthy fats, fresh blueberries for bursts of juicy flavor, or diced strawberries. A dash of cinnamon or nutmeg can also add a warm, inviting spice. Just be mindful not to overmix after adding mix-ins.
-
An Array of Toppings: The possibilities for waffle toppings are truly endless!
- **Fruity & Fresh:** Beyond berries and sliced bananas, think about peaches, kiwi, or a homemade fruit compote.
- **Creamy & Indulgent:** A dollop of whipped cream (dairy or coconut-based), a scoop of Greek yogurt for added protein, or a drizzle of melted nut butter (peanut, almond, or cashew butter).
- **Sweet & Syrupy:** Classic maple syrup, agave nectar, honey, or a rich chocolate sauce.
- **Crunchy & Savory:** A sprinkle of granola, toasted coconut flakes, or even a side of crispy bacon or sausage for a sweet-and-savory contrast.
- Pairing Perfection: Serve these waffles alongside a vibrant fruit salad, a protein-rich smoothie, or a side of scrambled eggs for a well-rounded and satisfying breakfast or brunch.
Smart Storage Solutions: Make Ahead & Leftovers
One of the greatest benefits of this gluten-free waffle recipe is how easily it adapts to meal prepping and future cravings. Enjoy fresh waffles whenever you want them with these simple storage and reheating tips.
- Mastering Make-Ahead: These protein-packed gluten-free waffles are ideal for making in advance. Following the freezing instructions below allows you to have a wholesome breakfast ready in minutes, perfect for busy mornings when time is of the essence. Prepare a double batch and enjoy healthy waffles throughout the week!
- Storing Leftovers: If you plan to enjoy your leftover waffles within a few days, simply let them cool completely to prevent sogginess. Then, store them in an airtight container in the refrigerator for up to 4 days.
- How to Freeze for Long-Term: For longer storage, allow your freshly cooked waffles to cool completely on a wire rack. This is crucial to prevent ice crystals and freezer burn. Once cooled, place them in a single layer on a baking sheet and freeze for about 30 minutes, or until firm. This “flash freezing” step prevents them from sticking together. Transfer the firm waffles to a freezer-safe container or a heavy-duty ziptop bag, ensuring as much air is removed as possible. They will keep beautifully in the freezer for up to 6 months.
- Reheating for Optimal Texture: To bring your leftover waffles (whether fresh from the fridge or straight from the freezer) back to life with a warm and crispy finish, a toaster or toaster oven is your best friend. Simply pop them in until heated through and golden. You can also broil them in a regular oven for a few minutes on each side, keeping a close eye to prevent burning. Microwaving is an option for quick heating, but it won’t yield the same crisp texture.
Recipe FAQs: Your Questions Answered
Yes, you absolutely can! To make these waffles egg-free and vegan, you’ll need to substitute the eggs. Excellent options include a commercial egg replacer like Bob’s Red Mill Egg Replacer, a liquid egg substitute designed for baking, or a homemade flax egg (1 tablespoon ground flaxseed meal mixed with 3 tablespoons water per egg, allowed to sit for 5 minutes until gel-like). Please ensure your chosen protein powder is also plant-based, and that any mix-ins or toppings are vegan-friendly. We love hearing about your experiments, so feel free to share your results in the comments!
A “1:1” or “cup-for-cup” gluten-free flour blend is specifically formulated to replace regular wheat flour in recipes without requiring additional modifications to liquid or leavening agents. These blends typically contain a mix of different gluten-free flours (like rice, tapioca, and potato starch) along with a binder like xanthan gum. While you could technically try other gluten-free flours, be aware that single-ingredient flours (like almond flour or oat flour) behave very differently and would require significant adjustments to the recipe’s ratios of liquid, fat, and leavening to achieve a similar texture. For best results, sticking to a high-quality 1:1 gluten-free baking blend is highly recommended.
Several factors can lead to soggy or soft waffles instead of wonderfully crispy ones. First, ensure your waffle maker is fully preheated before adding batter, and that you’ve greased it properly. Second, avoid overcrowding the waffle iron with too much batter. Third, resist the urge to peek or open the waffle maker too early, as this releases steam and prevents crisping. Finally, if you’re making multiple waffles, place cooked waffles on a wire rack in a single layer in a warm oven (around 200°F or 95°C) rather than stacking them, which can trap steam and make them soft. Reheating in a toaster is also excellent for re-crisping.
While this particular recipe is designed for sweet waffles, the base batter can be adapted for savory creations. You would need to omit the coconut sugar and maple syrup, and potentially reduce the vanilla extract. Then, you could add savory mix-ins like shredded cheese, chopped chives, finely diced cooked bacon bits, or even a hint of garlic powder and dried herbs. Serve savory waffles with fried eggs, avocado, smoked salmon, or a dollop of Greek yogurt for a unique and delicious meal. Experiment with the flavor profiles to find your perfect savory waffle!
All nutrition facts provided are estimates, typically calculated automatically based on the ingredients and serving size. While efforts are made to fact-check these estimates using reliable tools like My Fitness Pal, please understand that they may not always be 100% accurate. The actual nutritional content can vary based on specific brands of ingredients used, exact measurements, and slight variations in preparation. For the most precise measurement of grams per serving, we recommend weighing your total cooked batch and dividing by the number of servings. This provides a more accurate representation of caloric and macronutrient distribution.
Explore More Delicious Gluten-Free Breakfast Recipes
If you loved these wholesome gluten-free waffles, you’re in for a treat! Discover more fantastic recipes that cater to gluten-free lifestyles and make your mornings both effortless and delicious. Expand your breakfast repertoire with these tested and approved favorites:
Sausage Breakfast Casserole: A hearty and flavorful dish, perfect for feeding a crowd or meal prepping.
Homemade Breakfast Sausage: Craft your own delicious sausage patties with simple ingredients and incredible flavor.
Roasted Veggie Breakfast Casserole: A vibrant and nutritious casserole packed with wholesome vegetables.
Spinach and Feta Breakfast Bites: Easy-to-make, savory egg bites that are perfect for on-the-go mornings.
Gluten-Free Quiche: A versatile and elegant quiche that’s perfect for brunch or a light meal.
Love this recipe? We’d be thrilled if you could leave a 5-star 🌟🌟🌟🌟🌟 rating in the recipe card below and a review in the comment section. Your feedback helps us grow and inspires others! Or, follow us on Facebook, Pinterest or Instagram for daily inspiration and new recipes!

Homemade Gluten Free Waffles (Dairy Free!)
Mary Smith
10 mins
5 mins
15 mins
4 7″ Belgian waffles
Easy to make, and delicious to eat, this gluten free waffle recipe has only 10 simple ingredients and takes just 15 minutes to make! These waffles have a soft, fluffy middle and a perfectly crispy outside. Plus, they’re packed with 13 grams of protein per waffle!
Equipment
-
Belgian waffle maker You can use another type – you may just need to measure out less batter and adjust cooking time!
Ingredients
- 2 tbsp coconut sugar
- 1 tbsp maple syrup
- 2 eggs, room temperature
- ½ cup avocado oil, or coconut oil – this will give them more of a coconutty taste!
- 1.5 tsp vanilla extract
- 1 ¾ cups Gluten Free 1:1 Flour, I love King Arthur brand
- 3 tsp baking powder, be sure to look for gluten free
- 2 tbsp vanilla protein powder, I like Be Well By Kelly brand
- ¼ tsp salt
- 1 ⅔ cups almond milk, or coconut milk / oat milk!
Instructions
- Mix coconut sugar, maple syrup, eggs, avocado oil and vanilla in a bowl.
- Mix dry ingredients in a separate bowl.
- Combine the two while simultaneously whisking in the milk. Mix until very smooth (this may take some elbow grease!)
- Spray waffle maker with avocado oil and preheat.
- For Belgian (4 triangles/large circle) waffles, use 1 cup measuring cup to scoop out the batter and pour it evenly into the middle of the waffle iron.
- Cook waffles according to waffle maker directions. For my Belgian waffle maker, this took about 4-5 minutes total, flipping the machine halfway through.
- Enjoy topped with berries and maple syrup!
Notes
Expert Tips
- Dairy: If you’re not dairy-free you can swap the non-dairy ingredients for regular dairy.
- Waffle Maker: The batter amount and cook time will adjust depending on your waffle maker. Make sure to follow the instructions according to your specific waffle maker.
- Oil: Don’t forget to grease your waffle maker to make sure the batter doesn’t stick. This is super important!
Serving Tips
- Batter Mix-ins: If you want to jazz up these waffles, you can add chocolate chips, nuts, blueberries, strawberries, or cinnamon to your waffle batter!
- All the Toppings: The topping options are endless. You can top it with peanut butter, almond butter, whipped cream, berries, sliced bananas, chocolate chips, maple syrup, and more!
Storage Tips
- Make Ahead: These gluten free waffles are super easy to make ahead of time. Simply follow the freezing instructions below and you’ll have a protein-packed breakfast ready in no time!
- Leftovers: If you plan to eat them within a few days, you store leftovers in an airtight container in the fridge for up to 4 days. Reheat in the microwave or toaster.
- How to Freeze: Let your leftover waffles cool completely, then store them in a freezer-safe container or ziptop bag for up to 6 months.
- Reheating: Reheat leftover waffles (fresh or frozen) in a toaster oven to get them warm and crispy.
Nutrition
Calories: 529kcal |
Carbohydrates: 50g |
Protein: 13g |
Fat: 33g |
Saturated Fat: 4g |
Polyunsaturated Fat: 5g |
Monounsaturated Fat: 21g |
Trans Fat: 0.01g |
Cholesterol: 96mg |
Sodium: 661mg |
Potassium: 73mg |
Fiber: 6g |
Sugar: 10g |
Vitamin A: 119IU |
Calcium: 390mg |
Iron: 3mg
All nutrition facts are an estimate and automatically calculated. While I fact check them using My Fitness Pal, please note that they may not always be 100% accurate and depend on ingredients used. Weigh your total and divide by the number of servings for the most accurate grams per serving size.
Did you make this?
Rate & comment below, and tag me on Instagram @maryswholelife