
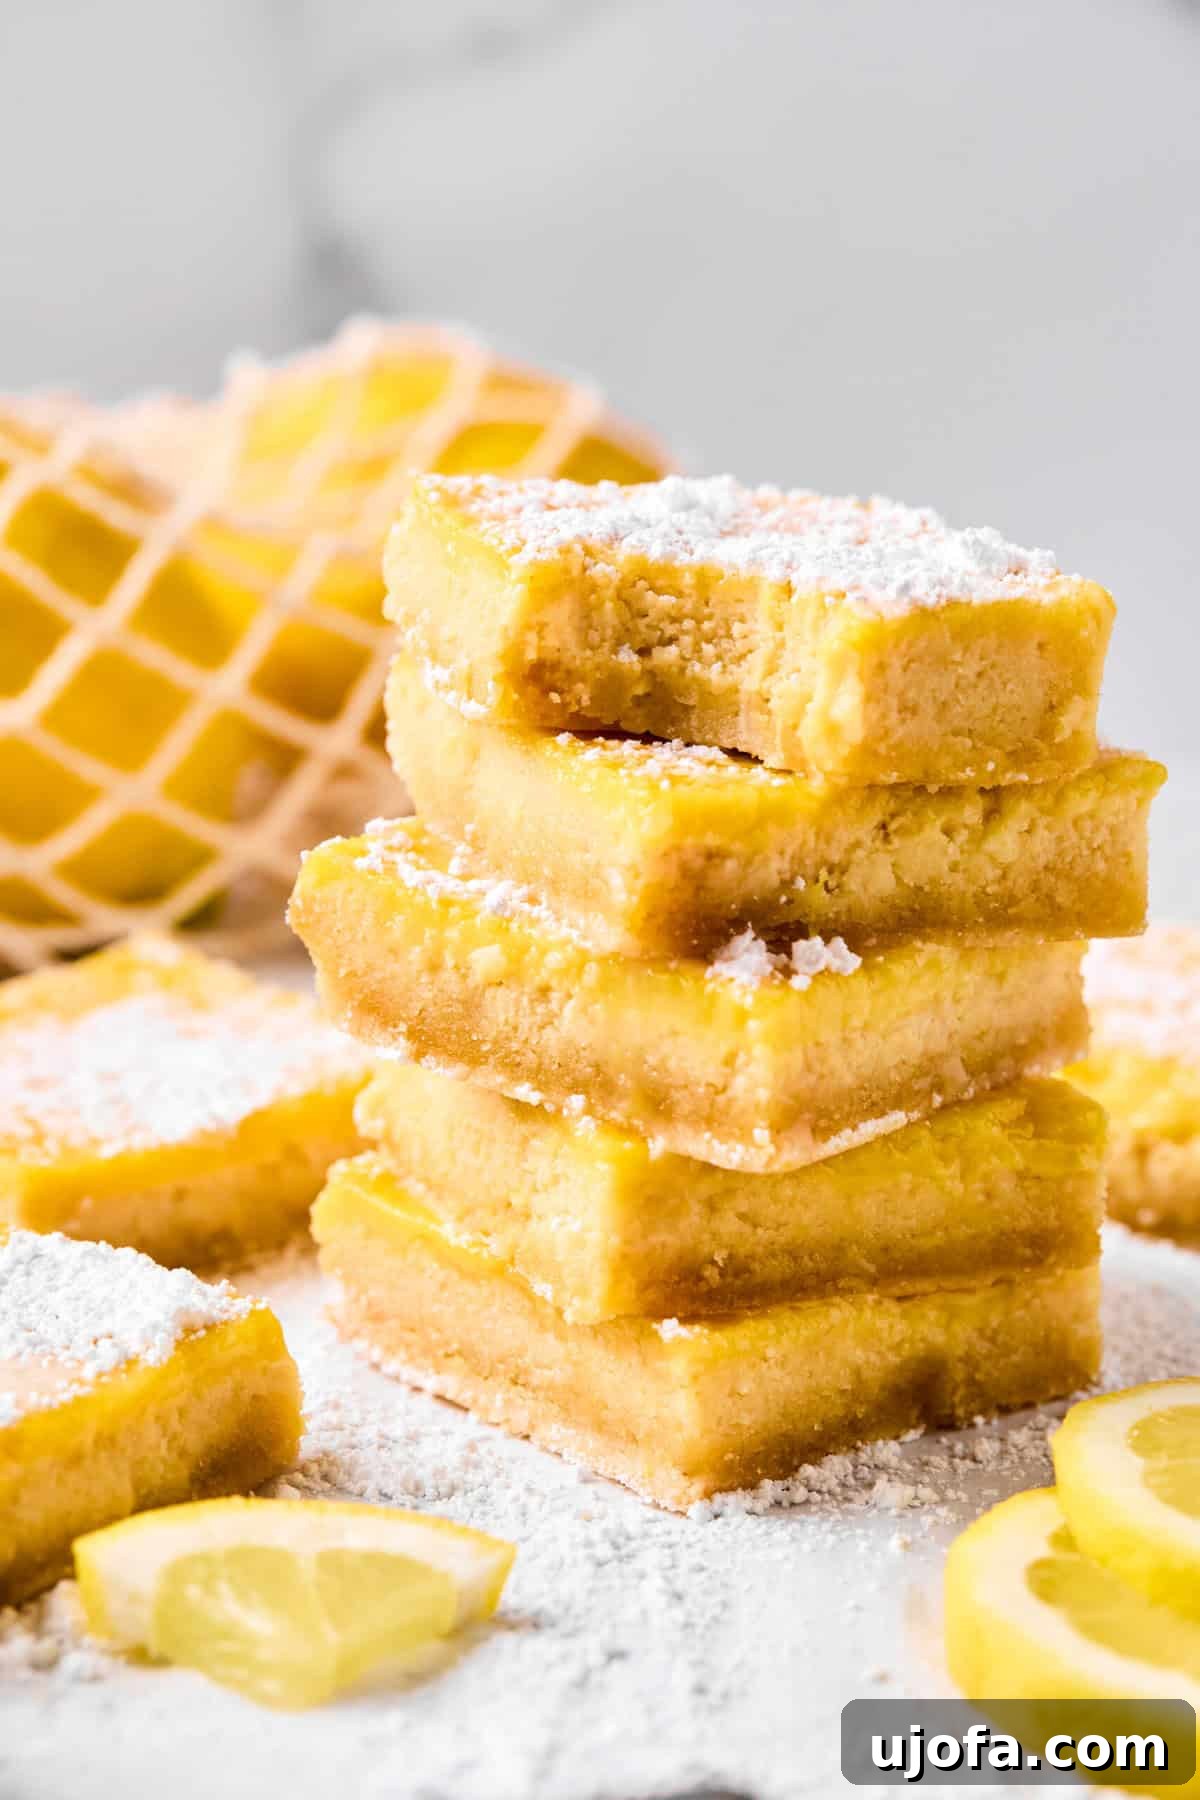
Bright, tangy, and exquisitely sweet, these gluten-free lemon bars are the quintessential dessert for welcoming spring and savoring summer. Imagine a lusciously creamy lemon filling nestled atop a delicate, shortbread-like crust, meticulously crafted from a blend of almond and coconut flours. This recipe doesn’t just deliver incredible flavor; it’s also naturally dairy-free, paleo-friendly, and bursting with the vibrant taste of fresh lemons. Whether you’re seeking a quick, impressive dessert for a spontaneous picnic, a delightful treat for family gatherings, or simply a refreshing bite to keep chilled in your fridge, these easy-to-make lemon bars are your perfect solution. Their irresistible combination of zesty brightness and comforting sweetness makes them an instant favorite for any occasion.
Why You’ll Fall in Love with This Gluten-Free Lemon Bar Recipe
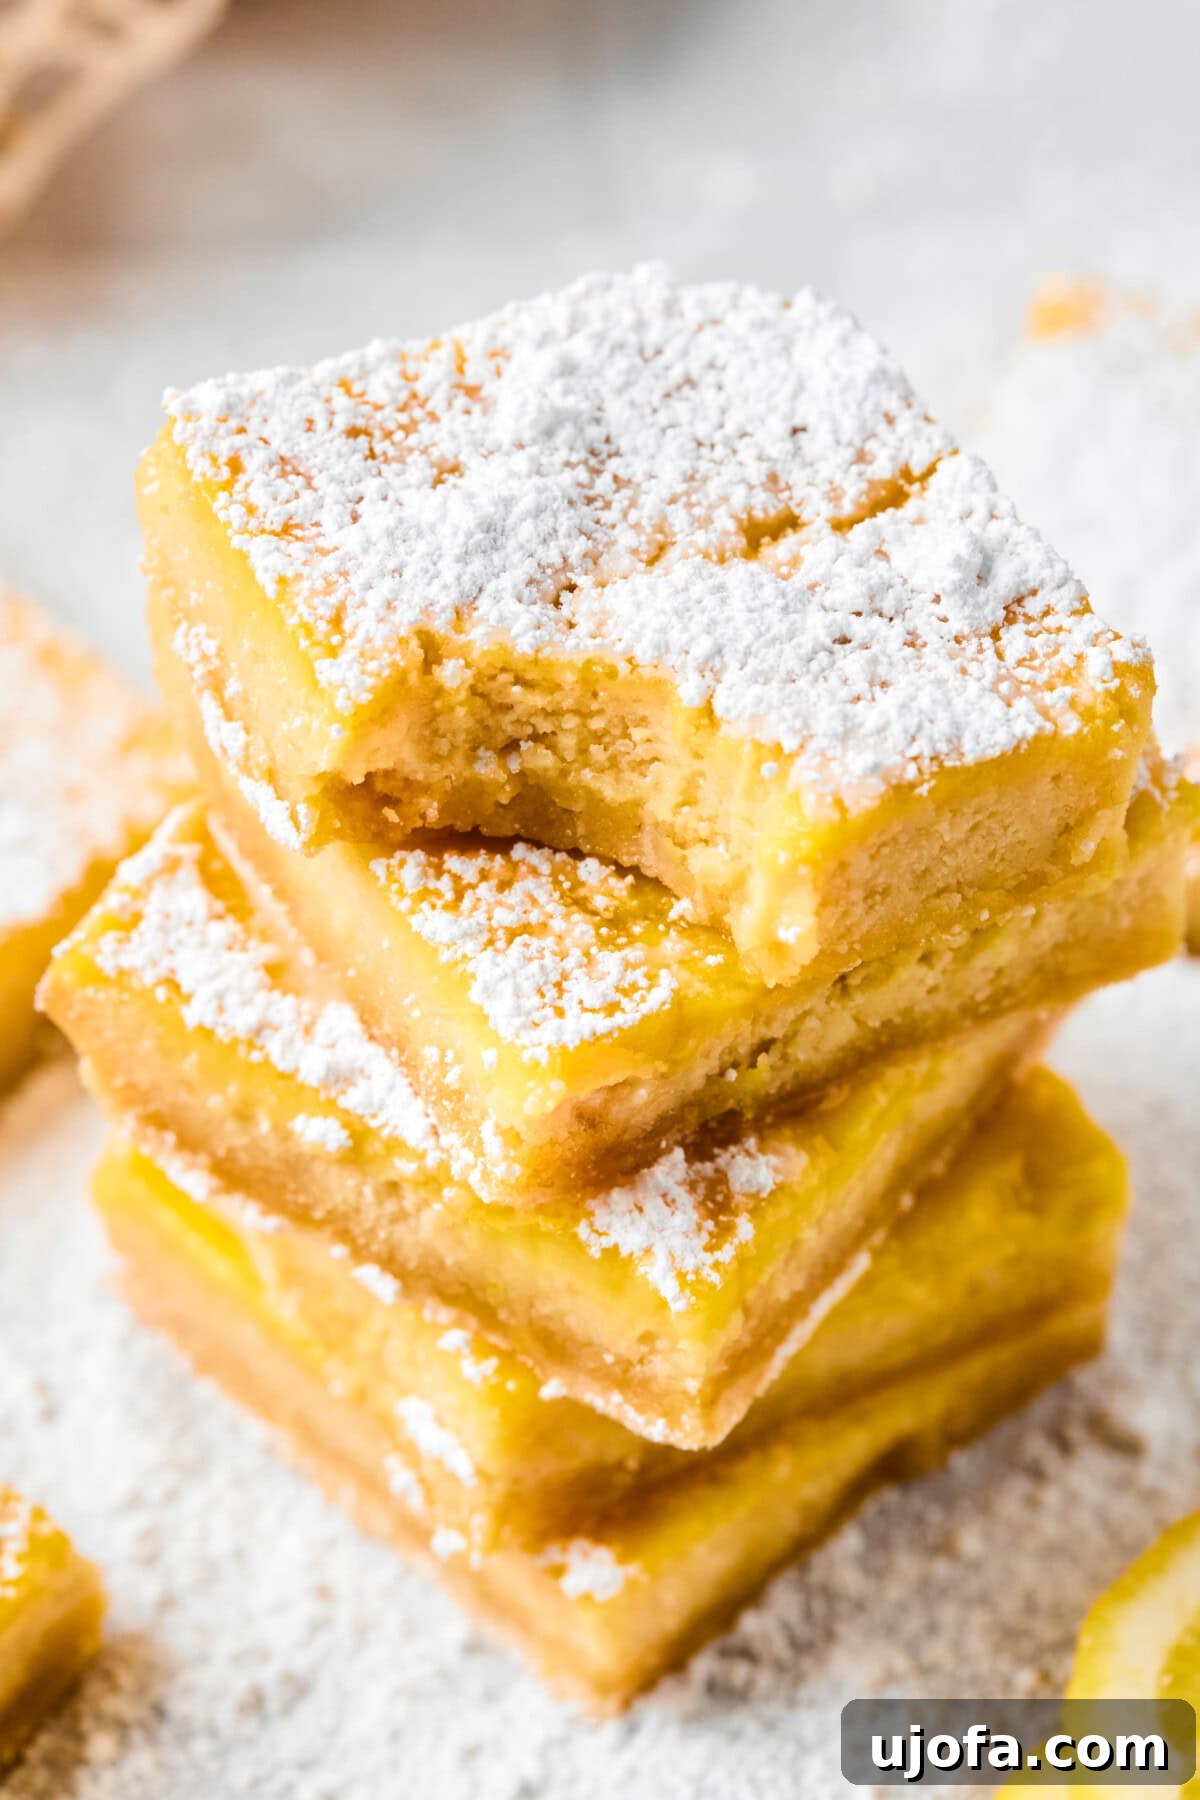
If your heart beats for lemon desserts, then prepare to be utterly captivated by these extraordinary lemon bars. This recipe masterfully captures that signature tart-sweet balance, infusing every bite with the refreshing zest and bright tang of freshly squeezed lemons. Unlike many gluten-free alternatives, our unique crust, made from a thoughtful blend of almond and coconut flours, achieves a remarkably tender, buttery, and shortbread-like texture that not only holds together beautifully but also provides the perfect foundation for the vibrant lemon filling.
Beyond their exceptional taste and texture, what truly sets these bars apart is their surprising simplicity. Forget complicated techniques or specialized equipment. The crust effortlessly presses into your baking dish—no rolling, no fuss. The velvety filling comes together seamlessly in a single bowl, eliminating the need for a stand mixer or excessive cleanup. I’ve personally perfected this recipe through countless trials, making it a beloved staple in my kitchen. These bars have graced numerous potlucks, brunches, and after-dinner dessert tables, consistently earning rave reviews.
What’s more, these delectable treats are consciously crafted to be naturally gluten-free, dairy-free, and free from refined sugars, aligning perfectly with paleo dietary preferences. Yet, you’d never discern these healthy attributes from their incredibly creamy consistency and bold, authentic lemon flavor. They offer guilt-free indulgence without compromising on taste or satisfaction. If you, like me, simply can’t get enough of lemon, be sure to explore my Easy Gluten-Free Lemon Drizzle Cake and my delightful Lemon and Poppyseed Muffins!
Essential Ingredients for Perfect Paleo Lemon Bars
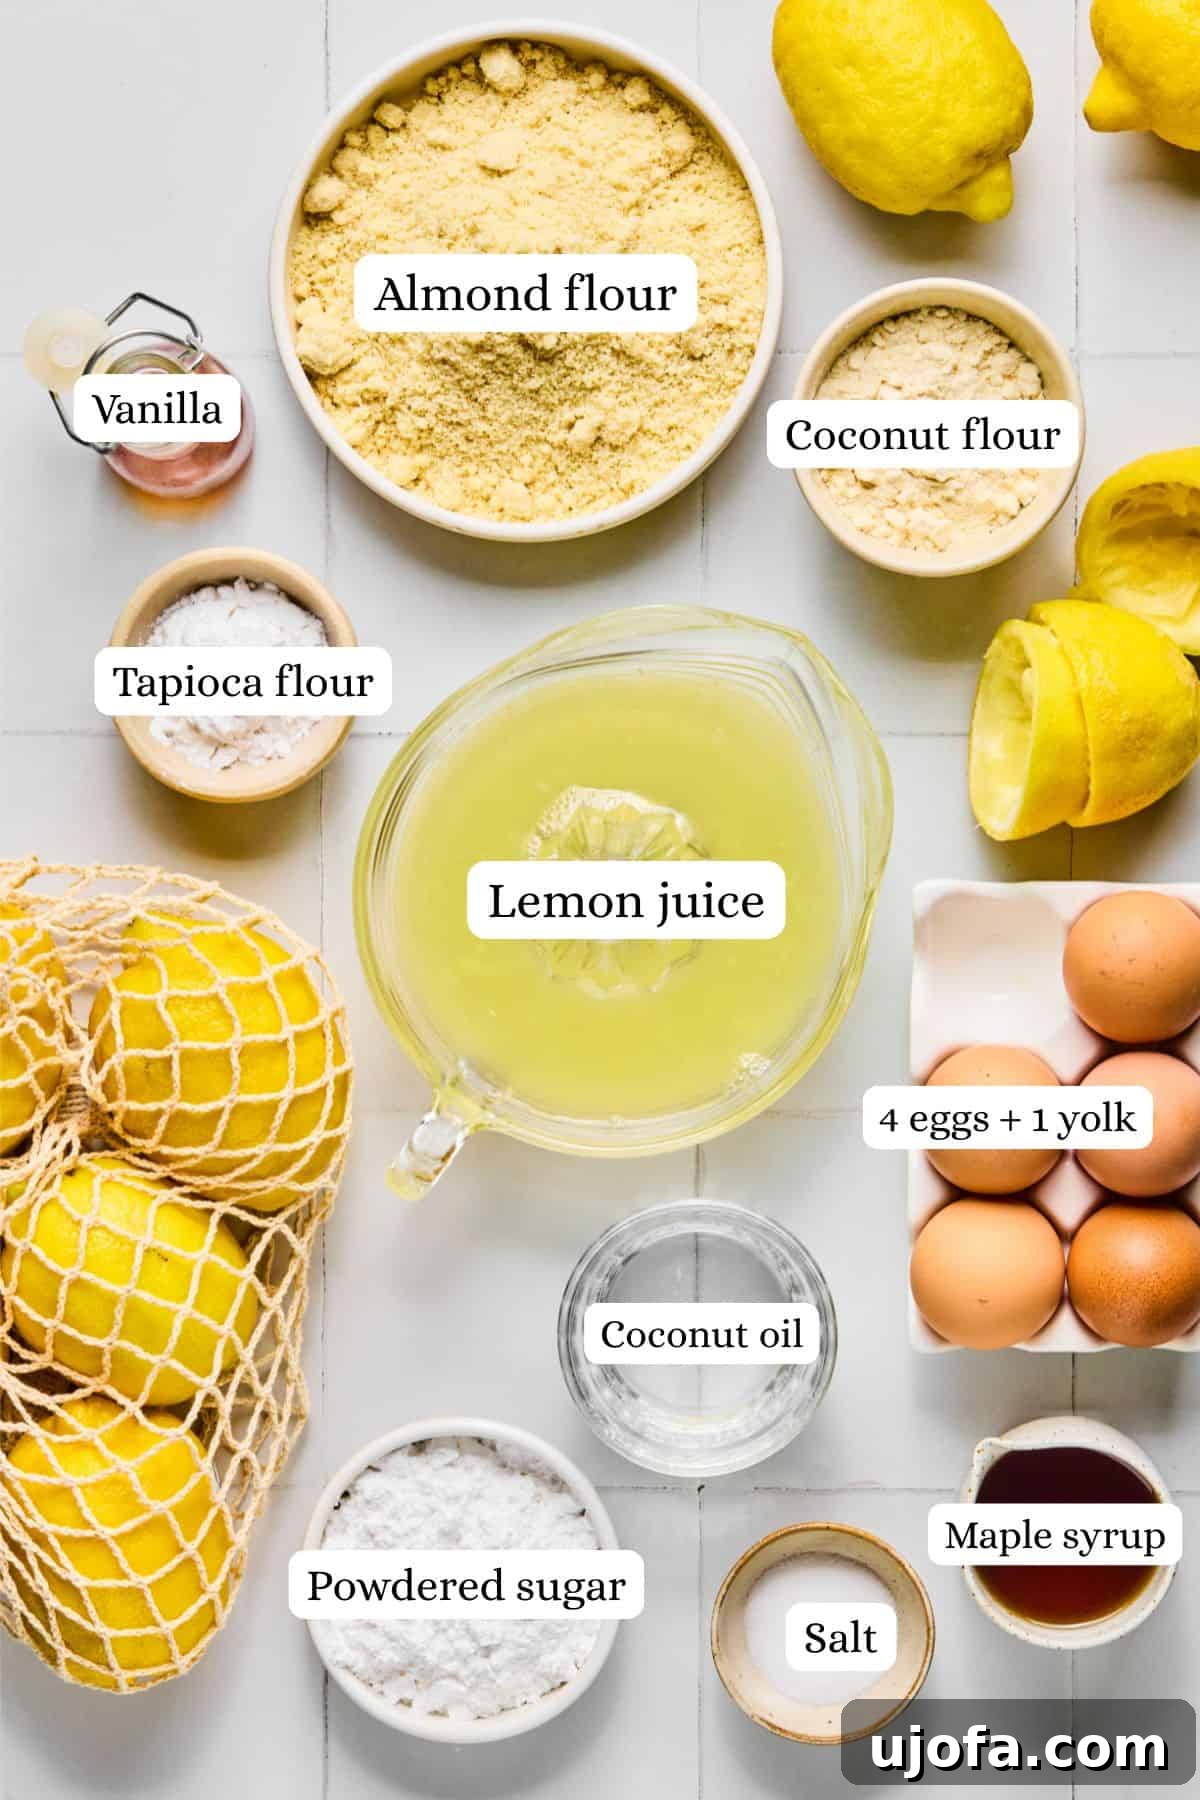
Crafting these exquisite gluten-free lemon bars relies on a selection of wholesome, pantry-friendly ingredients that come together to create a truly unforgettable dessert. Each component plays a crucial role in achieving the ideal texture and vibrant flavor profile. Here’s a detailed look at what goes into each delicious layer:
For the Irresistible Crust:
- Almond Flour + Coconut Flour: This powerful duo forms the backbone of our gluten-free, grain-free crust. Almond flour provides a rich, tender texture and a subtle nutty flavor, while coconut flour adds essential structure and absorbs moisture, helping the crust bind beautifully. Using high-quality brands, such as Bob’s Red Mill, is recommended for the best flavor and consistent results. These flours are key to achieving that satisfying shortbread-like crumble without traditional wheat flour.
- Maple Syrup: A natural, unrefined sweetener that perfectly complements the tart lemon filling. Maple syrup contributes a lovely depth of flavor and helps create a tender crust. It’s a fantastic paleo-friendly alternative to granulated sugar.
- Coconut Oil: This serves as our dairy-free fat source, imparting a rich, buttery mouthfeel to the crust without any actual butter. When melted, it binds the flours and sweetener together, creating a dough that’s easy to press into the pan.
- Vanilla Extract + Salt: These essential flavor enhancers work in harmony. Vanilla extract adds warmth and depth, rounding out the sweetness, while a pinch of salt balances the flavors and prevents the crust from tasting flat.
For the Zesty Lemon Filling:
- Large Eggs + 1 Yolk: Eggs are crucial for the filling’s structure, acting as a natural thickener and binder. The extra yolk contributes to a wonderfully silky, rich, and custard-like texture once baked. For optimal blending and a smoother filling, it’s best to bring your eggs to room temperature before use.
- Maple Syrup: Again, maple syrup is chosen as our natural sweetener. It provides the perfect level of sweetness to balance the lemon’s tartness without the need for refined sugar, keeping the recipe strictly paleo-friendly.
- Fresh Lemon Juice + Zest: The heart and soul of these lemon bars! Freshly squeezed lemon juice delivers that unmistakable bright, tangy flavor, while the zest, derived from the outer rind, intensifies the lemony aroma and adds a delightful, concentrated citrus punch. Always opt for fresh lemons; bottled juice simply cannot replicate the vibrant taste.
- Tapioca Flour: This gluten-free starch is indispensable for achieving the filling’s desired set and smooth consistency. It acts as a thickening agent, ensuring the lemon custard firms up beautifully without becoming rubbery.
- Vanilla Extract: A touch of vanilla helps to round out and enhance the complex citrus notes, adding another layer of aromatic richness to the filling.
- Optional: Organic Powdered Sugar for Dusting: A light dusting of organic powdered sugar provides an elegant finish and a subtle extra touch of sweetness, making these bars look as delightful as they taste.
Step-by-Step Guide: How to Make Gluten-Free Lemon Bars
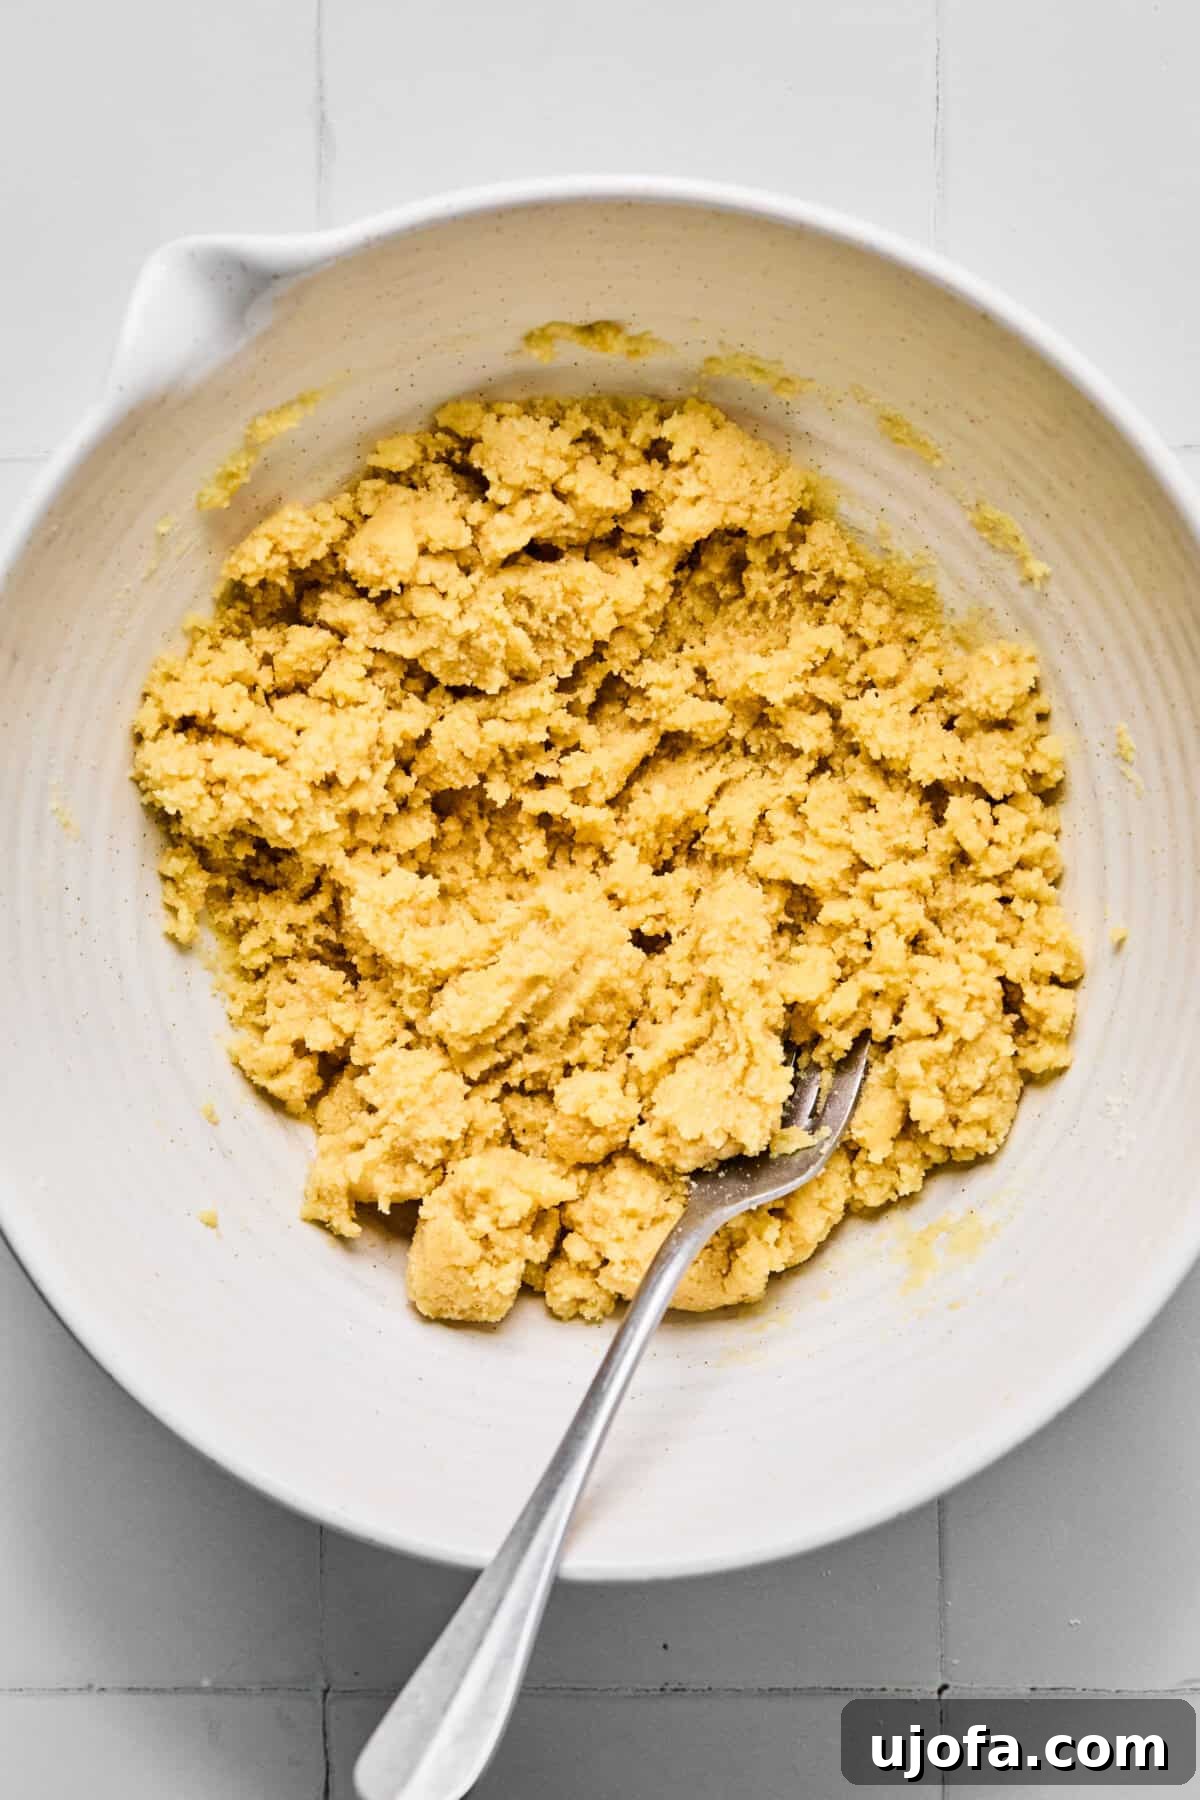
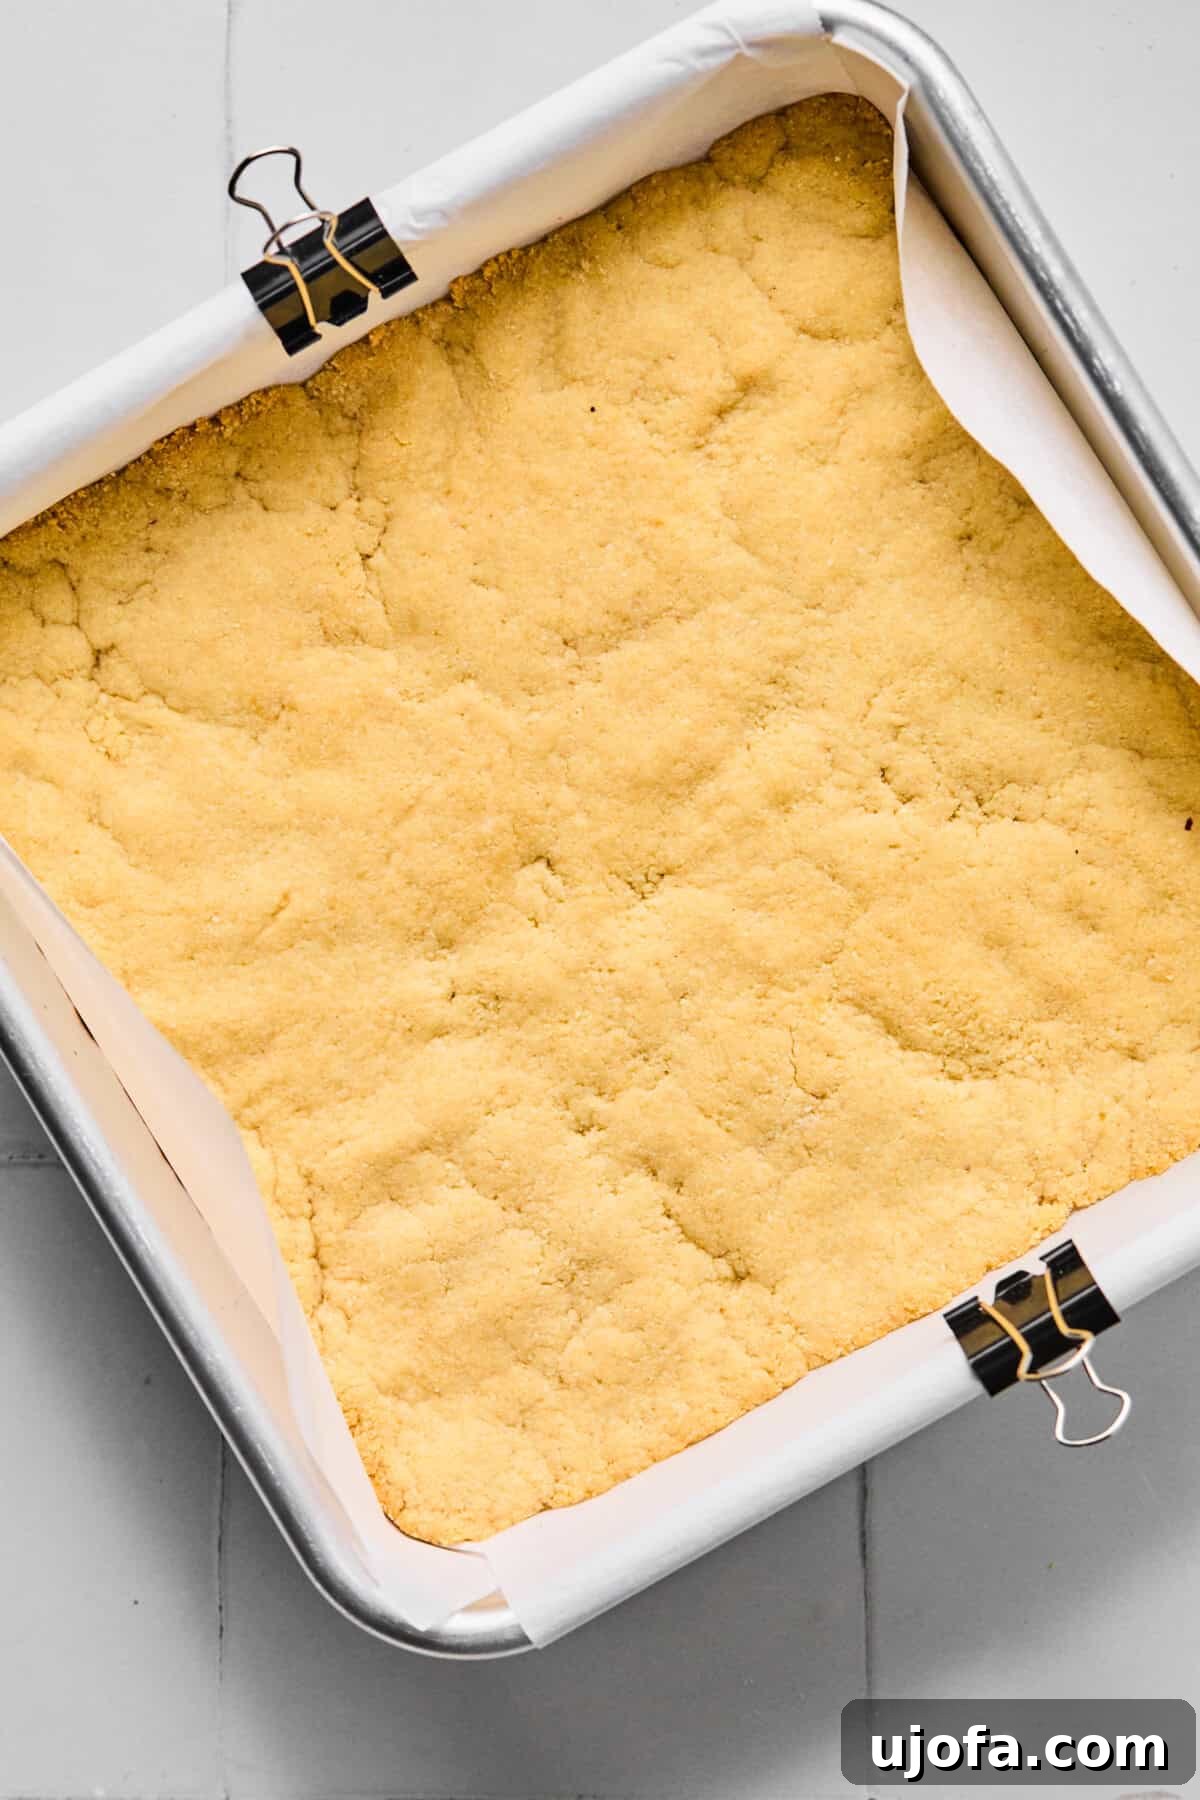
Step 1: Prepare the Crust Ingredients. Begin by preheating your oven to 350°F (175°C). Line an 8×8 inch square baking pan with parchment paper, ensuring extra overhang on the sides for easy removal of the finished bars. Alternatively, you can lightly grease the pan with coconut oil or another suitable cooking spray. In a large mixing bowl, combine the almond flour, coconut flour, maple syrup, melted coconut oil, vanilla extract, and salt. Use a fork or a sturdy spatula to mix these ingredients thoroughly until a uniform, crumbly dough forms and everything is well combined.
Step 2: Bake the Crust. Transfer the crumbly crust mixture into your prepared baking dish. Using your hands or the back of a spoon, press the mixture down firmly and evenly across the bottom of the pan to form a compact, flat layer. Ensure there are no loose crumbs. Place the pan in the preheated oven and bake for approximately 16-17 minutes, or until the crust turns a beautiful light golden brown around the edges. This partial bake helps the crust maintain its structure once the filling is added.
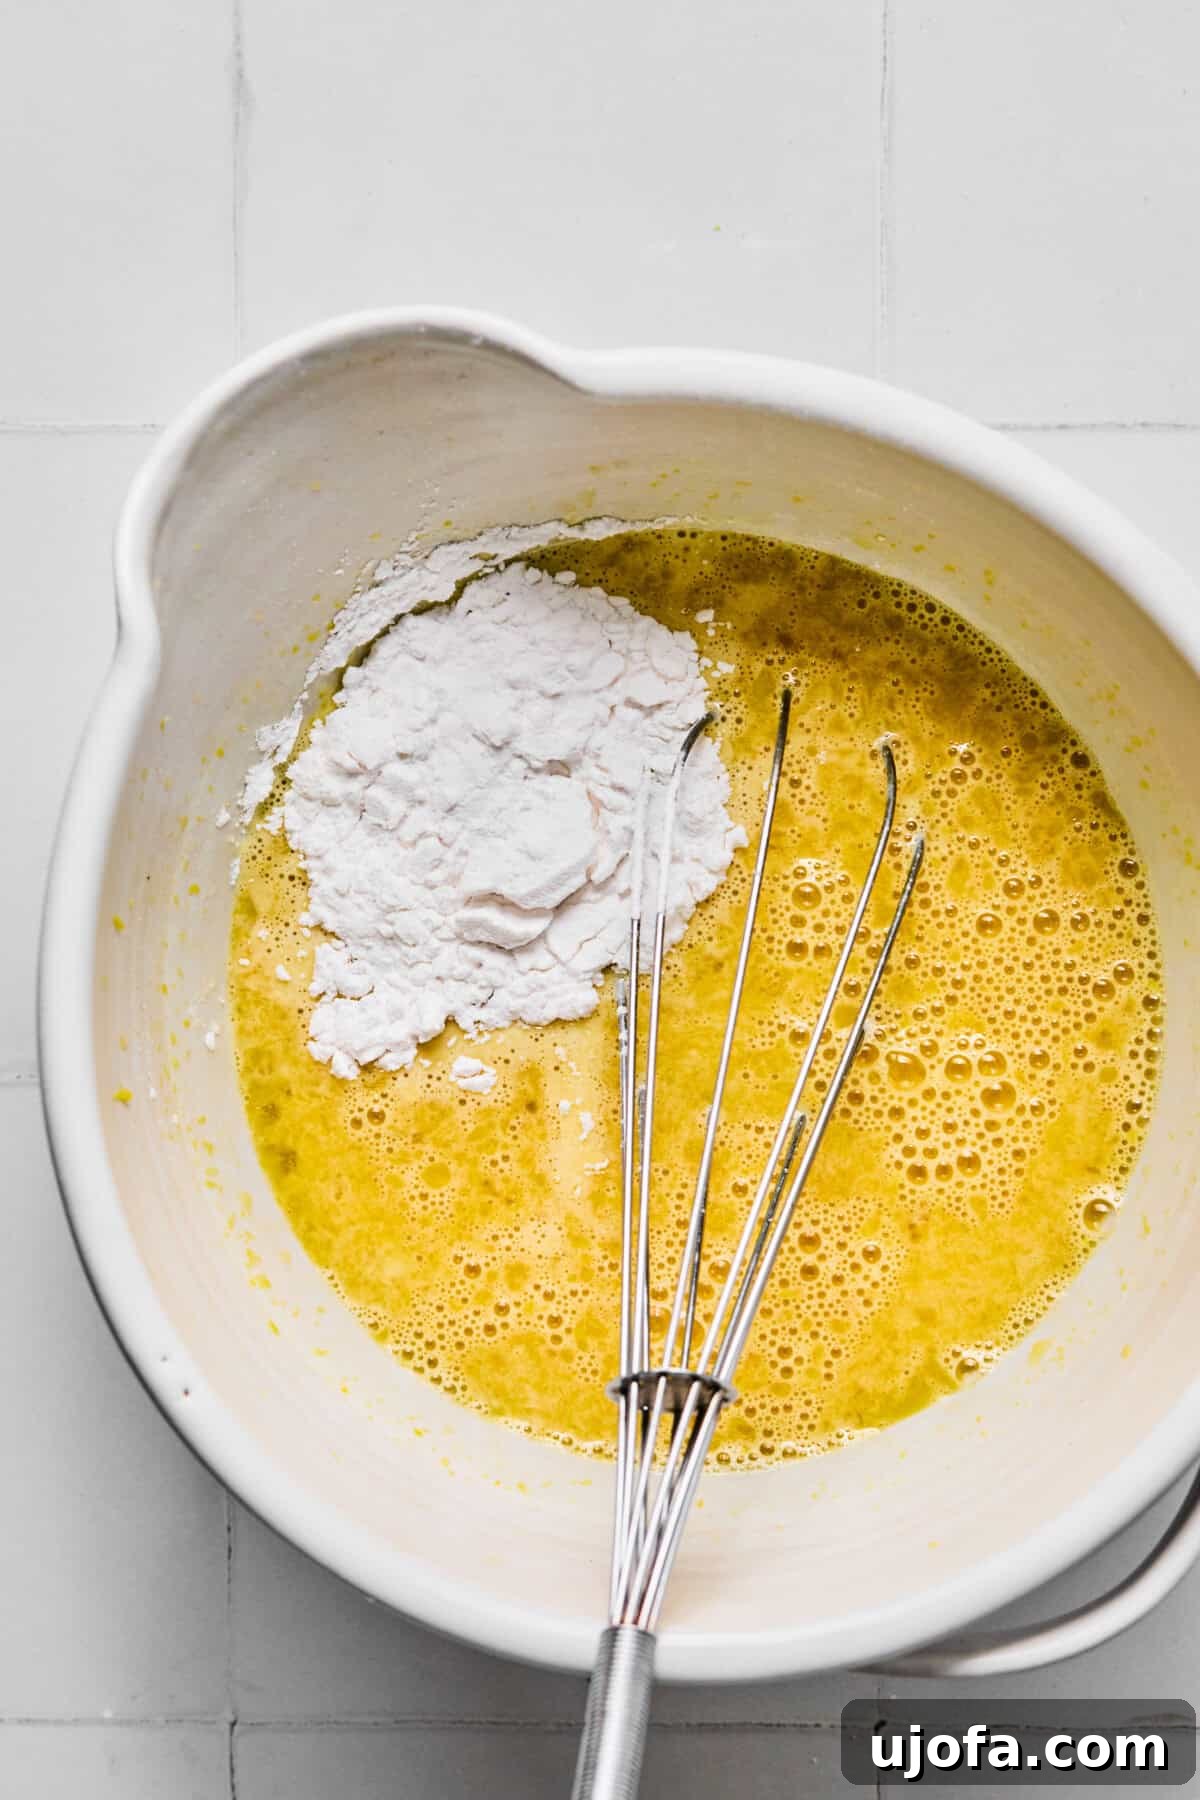
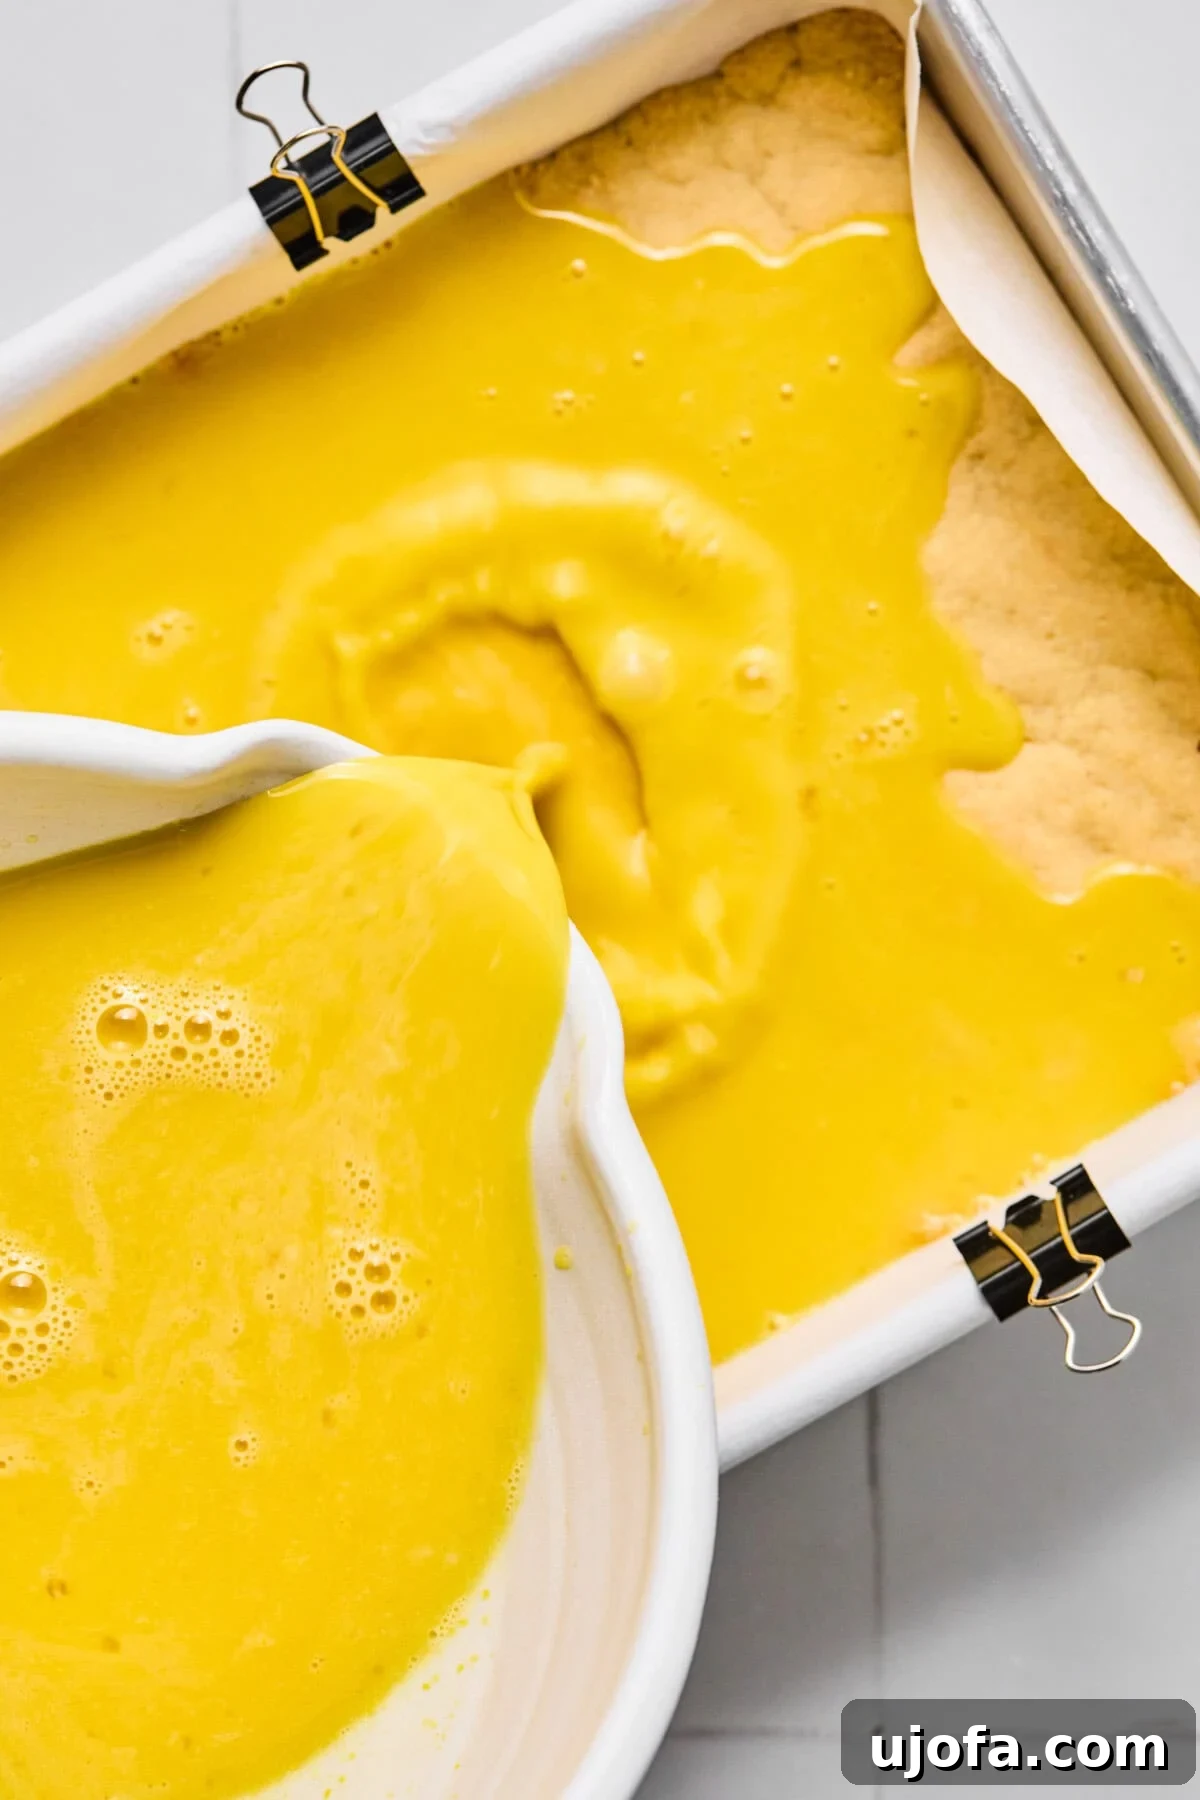
Step 3: Prepare the Lemon Filling. While the crust is baking, prepare the vibrant lemon filling. In a large bowl, whisk together the large eggs, the extra egg yolk, maple syrup, freshly squeezed lemon juice, fragrant lemon zest, and vanilla extract. Whisk vigorously until the mixture is completely smooth and no streaks of egg yolk remain. For an extra smooth consistency, you can use an electric mixer on low speed. Once smooth, add the tapioca flour and whisk again until it is fully incorporated and there are no lumps.
Step 4: Combine and Bake. As soon as the crust comes out of the oven, reduce the oven temperature to 325°F (160°C). Carefully pour the prepared lemon filling evenly over the hot, pre-baked crust. The heat from the crust will begin to gently cook the filling, which is crucial for achieving the perfect texture. Immediately return the pan to the oven for its final bake.
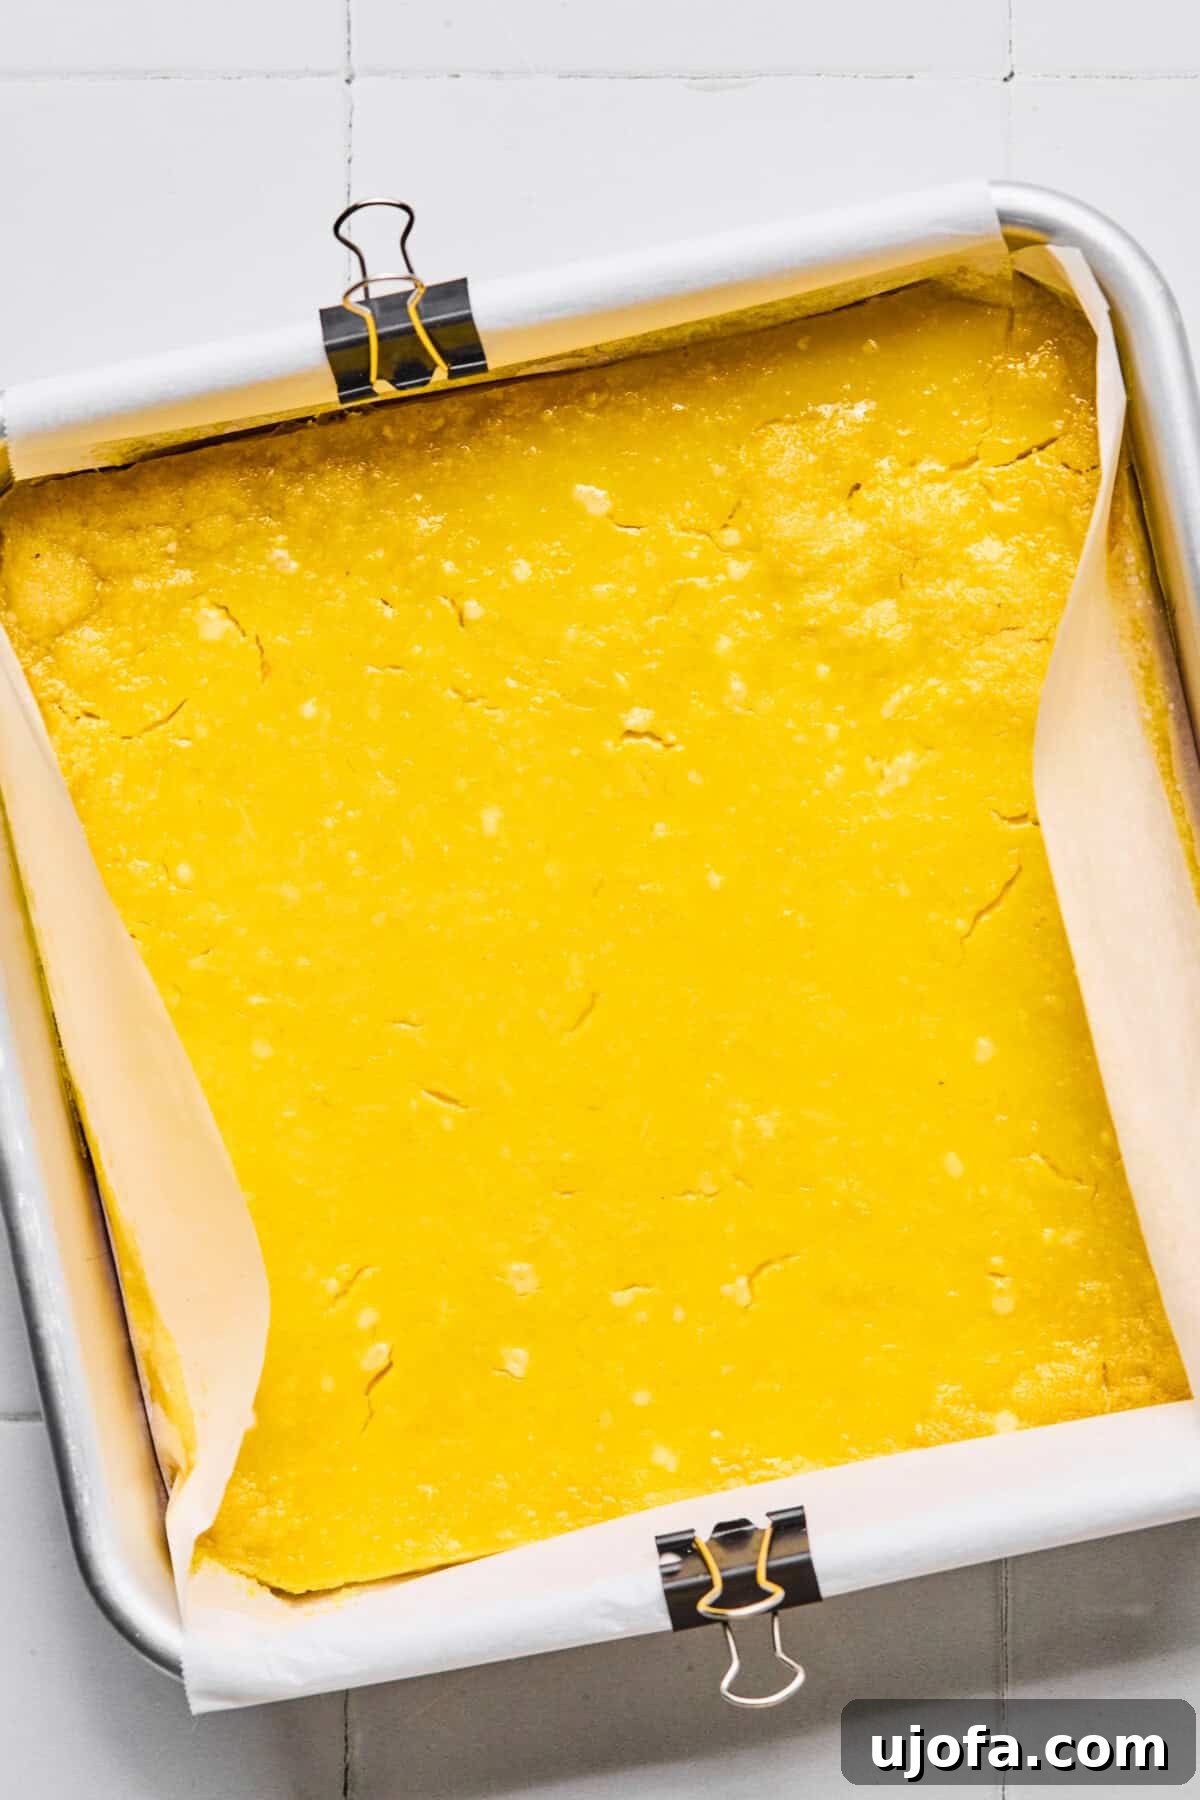
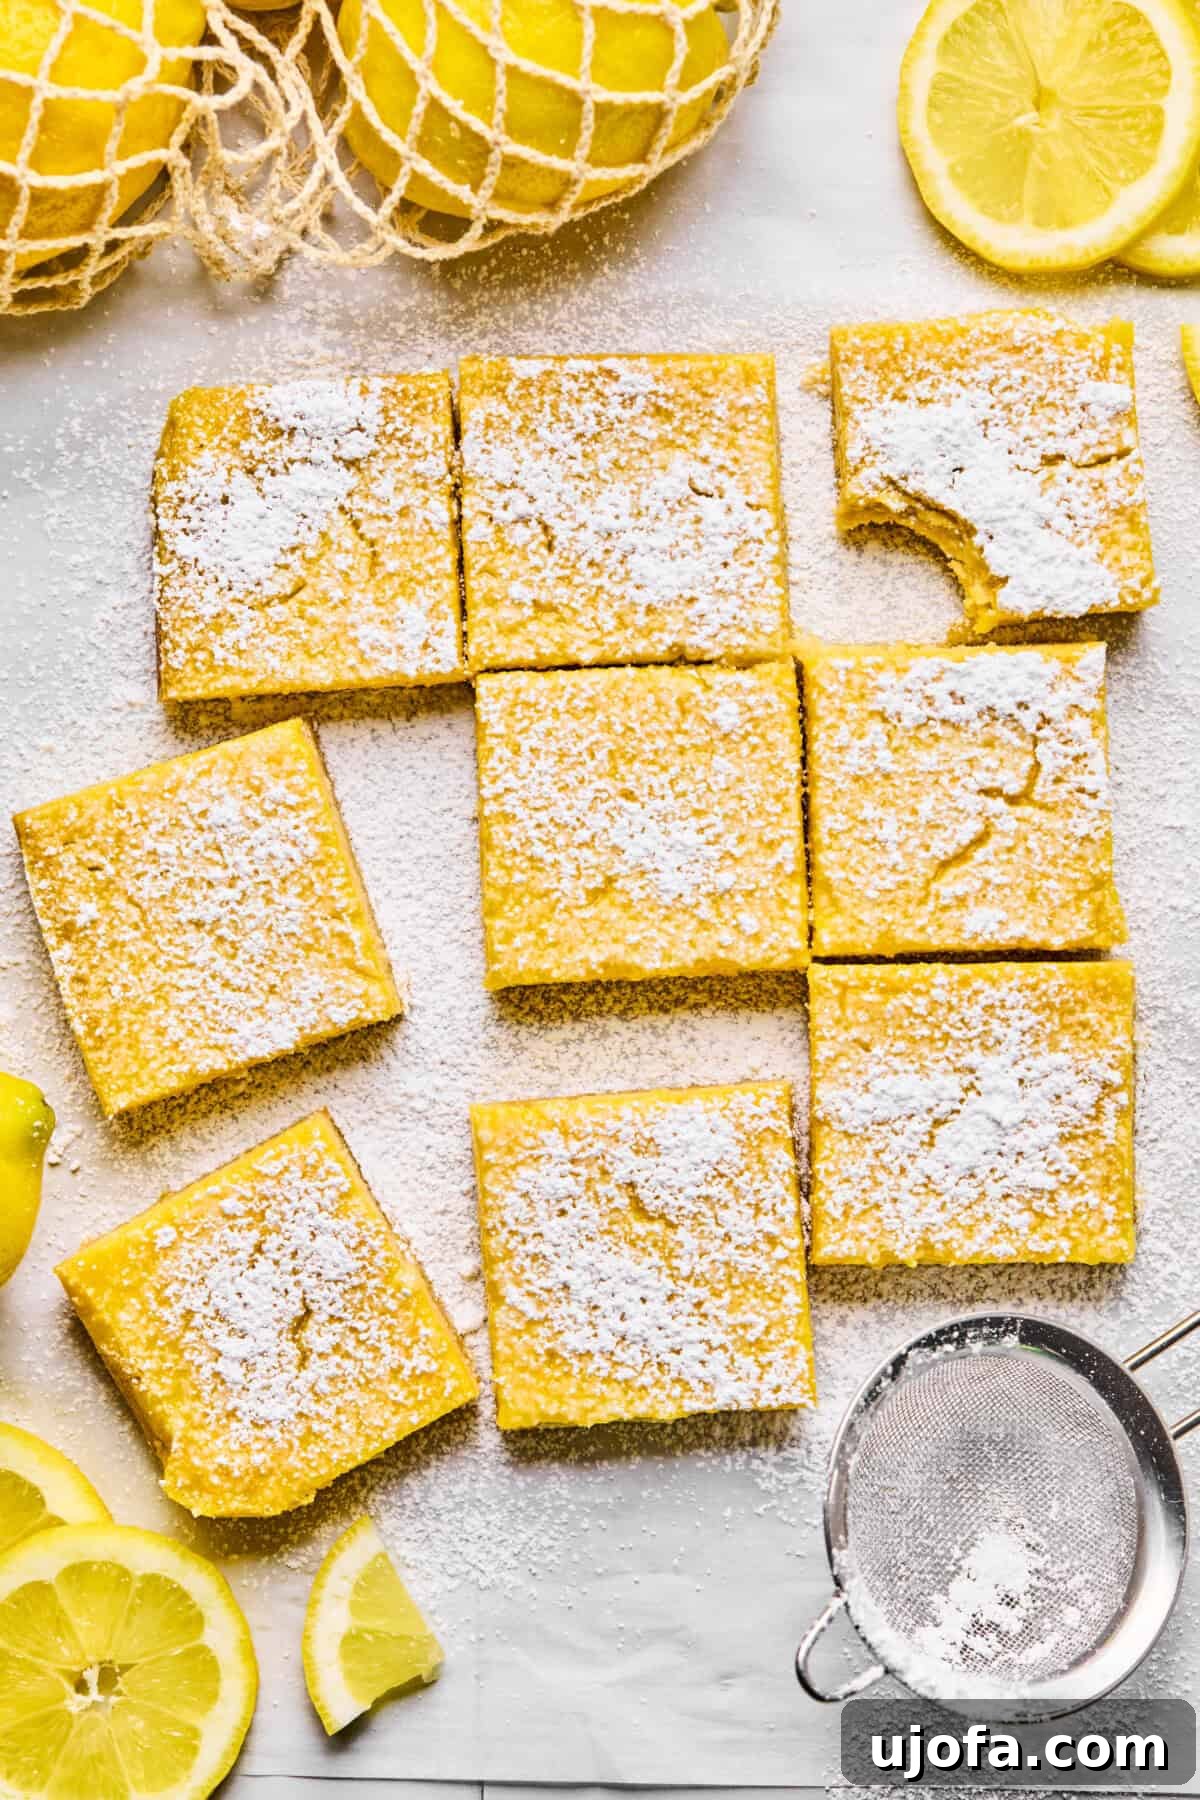
Step 5: Cool and Chill. Bake the bars for another 19-20 minutes. The center should still have a slight jiggle, indicating a creamy texture, but it should not appear wet or liquid. Overbaking can lead to a rubbery filling. Remove the pan from the oven and let the bars cool at room temperature for at least 30 minutes. This slow cooling prevents cracking. After this initial cooling, transfer the pan to the refrigerator. Chilling is the most critical step for setting the bars properly, allowing the filling to firm up and the crust to become perfectly tender. Chill for a minimum of 2 hours, or ideally, overnight.
Step 6: Slice and Serve. Once thoroughly chilled, use the parchment paper overhang to carefully lift the entire slab of lemon bars out of the pan. Place them on a cutting board. For clean, sharp cuts, use a large, sharp knife, wiping the blade clean between each slice. Cut the bars into 9 equal squares. If desired, lightly dust the tops of the bars with organic powdered sugar just before serving for an elegant finish and an extra touch of sweetness. Serve chilled and enjoy the bright, refreshing flavors!
Expert Tips for the Best Gluten-Free Lemon Bars
- Parchment Paper is Your Best Friend: Always line your baking pan with parchment paper, leaving an overhang on all sides. This simple step ensures easy removal of the entire slab of bars and allows for cleaner, more precise cuts, preventing any sticking or crumbling.
- Choose the Right Pan: While a 9×9 inch baking pan can be used, be aware that it will result in thinner bars with a slightly different crust-to-filling ratio. For the best thickness and classic lemon bar experience, an 8×8 inch metal pan is highly recommended. Metal pans tend to conduct heat more evenly than glass, which can affect baking time and crust crispness.
- Fresh Lemon Juice is Non-Negotiable: The flavor of your lemon bars hinges entirely on the quality of your lemon juice. Always use fresh lemon juice and zest. Bottled lemon juice simply cannot compare in terms of vibrant, authentic flavor and can often lead to a dull, muted taste.
- Whisk Eggs Thoroughly: To achieve a perfectly smooth, silky lemon filling without any separation or a gritty texture, it is crucial to whisk your eggs and other wet ingredients thoroughly. An electric mixer can ensure a consistently smooth mixture.
- Achieve Cleaner Slices: The secret to perfectly neat lemon bar squares is proper chilling. Allow the bars to chill in the refrigerator overnight, or for at least 4 hours. Before slicing, run your knife under hot water, dry it, and wipe the blade clean between each cut. This technique creates crisp edges and prevents the filling from sticking.
- Serving Temperature Matters: These versatile lemon bars can be enjoyed in various ways. Serve them directly from the fridge for a firm, refreshing bite, or allow them to come to room temperature for about 15-20 minutes for a slightly softer, more melt-in-your-mouth experience. Both are delicious!
- Don’t Skimp on Chilling Time: The refrigeration period is absolutely crucial. It allows the tapioca flour to fully set the lemon filling and helps the coconut oil in the crust firm up, resulting in bars that are easy to handle and slice, with a delightful firm-yet-creamy texture. Patience is key for perfection!
For even more delightful dessert options that cater to various dietary needs, make sure to check out my High Protein Cheesecake Bars or my convenient No Bake Strawberry Cheesecake Bars.
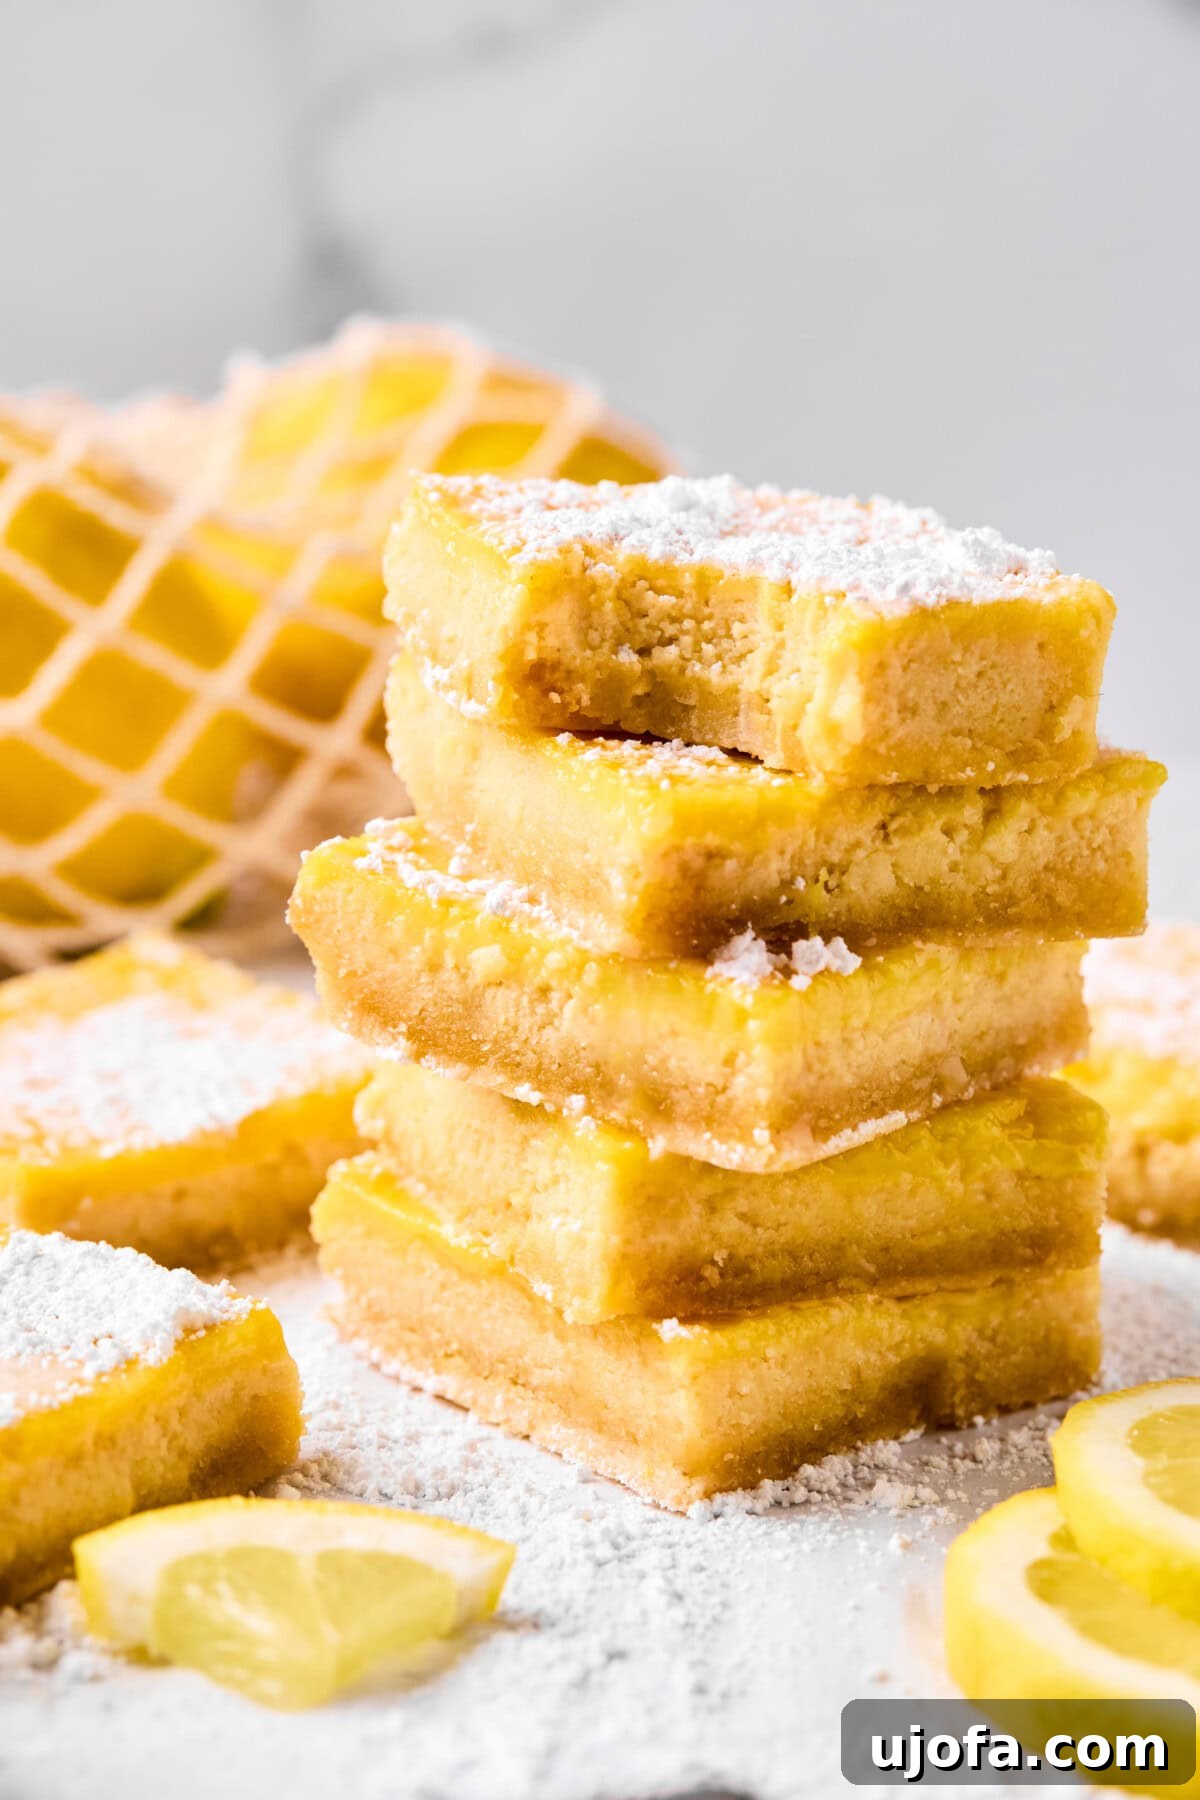
Keto-Friendly Lemon Bars: A Low-Carb Option
For those following a ketogenic or low-carb diet, these delightful lemon bars can be easily adapted to fit your nutritional goals without sacrificing flavor. With just a couple of simple swaps, you can transform this recipe into a guilt-free, keto-friendly treat that everyone will love.
You can effortlessly make these low-carb lemon bars by incorporating the following substitutions:
- Maple Syrup Substitution: Replace the traditional maple syrup with a sugar-free maple syrup alternative. Excellent options include Lakanto Sugar-Free Maple Flavored Syrup or Birch Benders Keto Pancake & Waffle Syrup. These alternatives provide the sweetness and liquid consistency needed without the added carbs from sugar.
- Powdered Sugar Dusting: If you wish to dust your bars for presentation or an extra touch of sweetness, use a powdered sugar substitute. Swerve Confectioners Sweetener is a fantastic choice that looks and behaves like regular powdered sugar but is carb-free.
With these modifications, each bar will come in at approximately 6 net carbs, making them an ideal and satisfying treat for anyone adhering to a keto lifestyle. Enjoy the bright, zesty flavor you love, tailored to your dietary needs!
Storage & Serving Tips for Maximum Freshness
To ensure your gluten-free lemon bars remain as delicious as the day you made them, proper storage is key. Follow these tips to keep them fresh and ready to enjoy:
- Fridge Storage: Store the cooled and sliced lemon bars in an airtight container in the refrigerator. Layer them with small pieces of parchment paper in between if stacking to prevent sticking. They will maintain their fresh taste and perfect texture for up to 7 days, making them an excellent make-ahead dessert.
- Freezer Storage: Lemon bars freeze beautifully, allowing you to enjoy them even longer. Arrange sliced bars in a single layer on a baking sheet and freeze until solid. Once frozen, transfer them to an airtight freezer-safe container or freezer bag, placing parchment paper between layers to prevent them from sticking together. They can be stored in the freezer for up to 2-3 months. To enjoy, simply defrost them overnight in the refrigerator.
- Serving Suggestions: These bars are incredibly versatile. They are delightful served chilled straight from the refrigerator, offering a firm and refreshing bite. Alternatively, you can let them sit at room temperature for about 15-20 minutes before serving for a slightly softer, more yielding texture. Both methods provide a delicious experience!
Recipe FAQs: Your Questions Answered
While you technically can use bottled lemon juice, it is strongly advised against for these lemon bars. Freshly squeezed lemons provide a vastly superior, more vibrant, and authentic lemon flavor that bottled juice simply cannot replicate. Bottled juices often contain preservatives and lack the bright zest and nuanced acidity that makes this recipe shine, resulting in a significantly more muted taste.
No, there’s absolutely no need for xanthan gum or a complex gluten-free flour blend in this recipe! The crust’s structure and perfect texture are expertly achieved using only almond flour and coconut flour. These specific flours work synergistically to provide the ideal crumb and hold, making specialized gluten-free blends or gums unnecessary.
There are a few common culprits if your lemon bars didn’t set as expected. First, ensure you whisk the eggs thoroughly; under-whisked eggs won’t provide enough structure. Second, accurate baking time is important – underbaking can leave the filling too loose. However, the most frequent reason for unset bars is insufficient chilling time. The filling needs at least 2 hours (and ideally overnight) in the refrigerator to fully firm up and achieve that classic lemon bar consistency.
Absolutely! This recipe doubles beautifully to fill a larger 9×13 inch pan. Simply double all of the ingredients for both the crust and the filling. Be mindful that baking times will need to be adjusted slightly. For the crust, look for a light golden-brown color, and for the filling, ensure the center has a slight jiggle but is mostly set. Keep a close eye on your oven as baking times can vary.
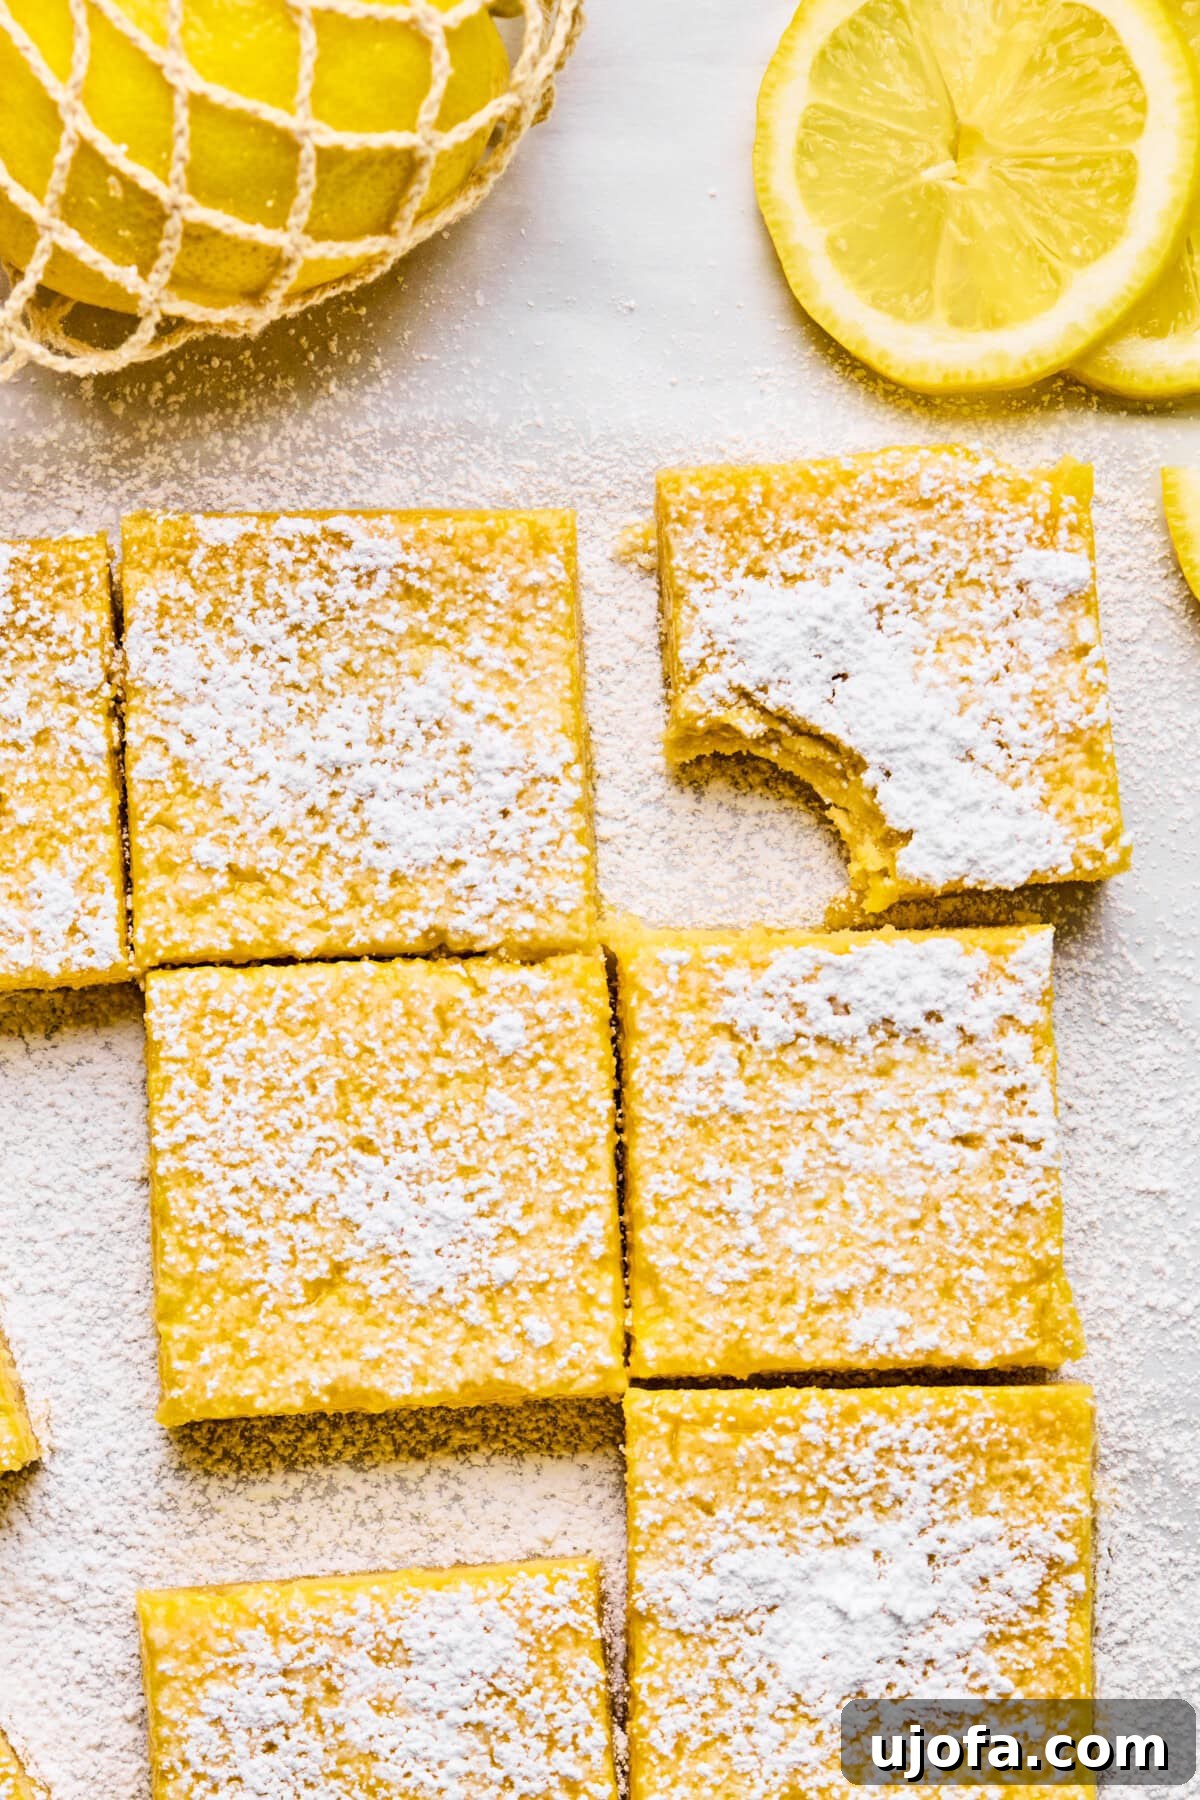
These exquisite gluten-free lemon bars are a harmonious blend of sweet, zesty, and surprisingly simple to prepare. They are truly perfect for a variety of occasions, from casual spring baking sessions and elegant Easter dessert tables to simply enjoying a refreshing weeknight treat. Their vibrant flavor and satisfying texture make them a delightful choice for anyone seeking a healthy yet indulgent dessert. If you find yourself craving more delightful citrus-infused creations, be sure to explore my Paleo Key Lime Cheesecake Bars or my irresistibly easy Lemon and Poppyseed Muffins. Dive into the world of bright, wholesome desserts!
More Delicious Dessert Bars to Explore
- Vegan Millionaires Shortbread (Gluten-Free)
- S’mores Chocolate and Marshmallow Cookie Skillet
- Paleo Blueberry Crumb Bars
- Paleo Fudge Covered Date Nut Bars
Love this recipe? Please consider leaving a 5-star 🌟🌟🌟🌟🌟 rating in the recipe card below and a review in the comment section. Or, connect with me on Facebook, Pinterest or Instagram today for more wholesome recipes!

The Best Gluten Free Lemon Bars
Mary Smith
10
35
45
9 bars
Equipment
-
1 8×8 inch metal pan (metal works better than glass for this recipe!)
Ingredients
Crust
- 1 ¼ cups almond flour
- ⅓ cup coconut flour
- ¼ cup maple syrup
- ⅓ cup coconut oil, melted
- 1 tsp vanilla extract
- ¼ tsp salt
Lemon Filling
- 4 eggs + 1 yolk
- ½ cup maple syrup
- ½ cup fresh lemon juice, about 4 lemons
- zest from 1 lemon
- ½ tsp vanilla extract
- 2 tbsp tapioca flour
- organic powdered sugar, for dusting – optional
Instructions
-
Preheat your oven to 350°F (175°C). Line an 8×8 inch metal baking pan with parchment paper or lightly spray it with cooking oil.
-
In a large bowl, combine all the crust ingredients: almond flour, coconut flour, maple syrup, melted coconut oil, vanilla extract, and salt. Mix thoroughly with a fork until the ingredients are well combined and form a cohesive crumbly dough.
-
Press the crust mixture evenly into the bottom of your prepared baking pan. Use your hands or the back of a spoon to create a firm, flat layer. Bake for 16-17 minutes, or until the edges are lightly golden brown.
-
While the crust is baking, prepare the lemon filling. In a separate bowl, whisk together the eggs (including the extra yolk), maple syrup, fresh lemon juice, lemon zest, and vanilla extract. Whisk vigorously until the mixture is very smooth and uniform. Then, add the tapioca flour and continue to whisk until it’s fully incorporated with no lumps.
-
Once the crust comes out of the oven, immediately pour the lemon filling over the hot crust. Reduce the oven temperature to 325°F (160°C). Return the pan to the oven and bake for an additional 19-20 minutes, or until the center is mostly set with a slight jiggle (it should not look liquid).
-
Allow the bars to cool in the pan at room temperature for at least 30 minutes. This helps prevent cracking. After initial cooling, transfer the pan to the refrigerator and chill for a minimum of 2 hours, or ideally overnight, to allow the filling to fully set. Once completely firm, carefully loosen the edges with a knife, lift the bars out using the parchment paper, and cut into 9 square pieces. Dust with organic powdered sugar before serving, if desired. Enjoy!
Notes
- The most important step in achieving the right consistency for these gluten-free lemon bars is refrigeration! To ensure they set properly and are easy to slice, be sure to place them in the refrigerator for at least 2 hours, or even better, overnight. Once completely set, they are ready to serve and enjoy!
- You can use a 9×9 inch baking pan if an 8×8 is unavailable, but please note that the bars will be thinner than those pictured. Adjust baking times slightly if using a larger pan.
- For optimal results and to prevent the filling from separating from the crust, it’s crucial to pour the lemon filling on top of the crust IMMEDIATELY after pulling the crust out of the oven.
- To make your own paleo powdered sugar, simply blend coconut sugar in a high-speed blender until it reaches a fine, powdery consistency. Voila!
- These delicious bars can be stored in an airtight container in the refrigerator for up to 5-7 days.
Nutrition
Serving: 1 bar
Calories: 285 kcal
Carbohydrates: 27g
Protein: 6g
Fat: 18g
Saturated Fat: 8g
Polyunsaturated Fat: 1g
Monounsaturated Fat: 1g
Trans Fat: 1g
Cholesterol: 73mg
Sodium: 104mg
Potassium: 103mg
Fiber: 3g
Sugar: 17g
Vitamin A: 106IU
Vitamin C: 5mg
Calcium: 74mg
Iron: 1mg
All nutrition facts are an estimate and automatically calculated. While I fact-check them using My Fitness Pal, please note that they may not always be 100% accurate and depend on the specific ingredients used. For the most accurate grams per serving size, it’s recommended to weigh your total yield and divide by the number of servings.
Did you make this?
Rate & comment below, and tag me on Instagram @maryswholelife