
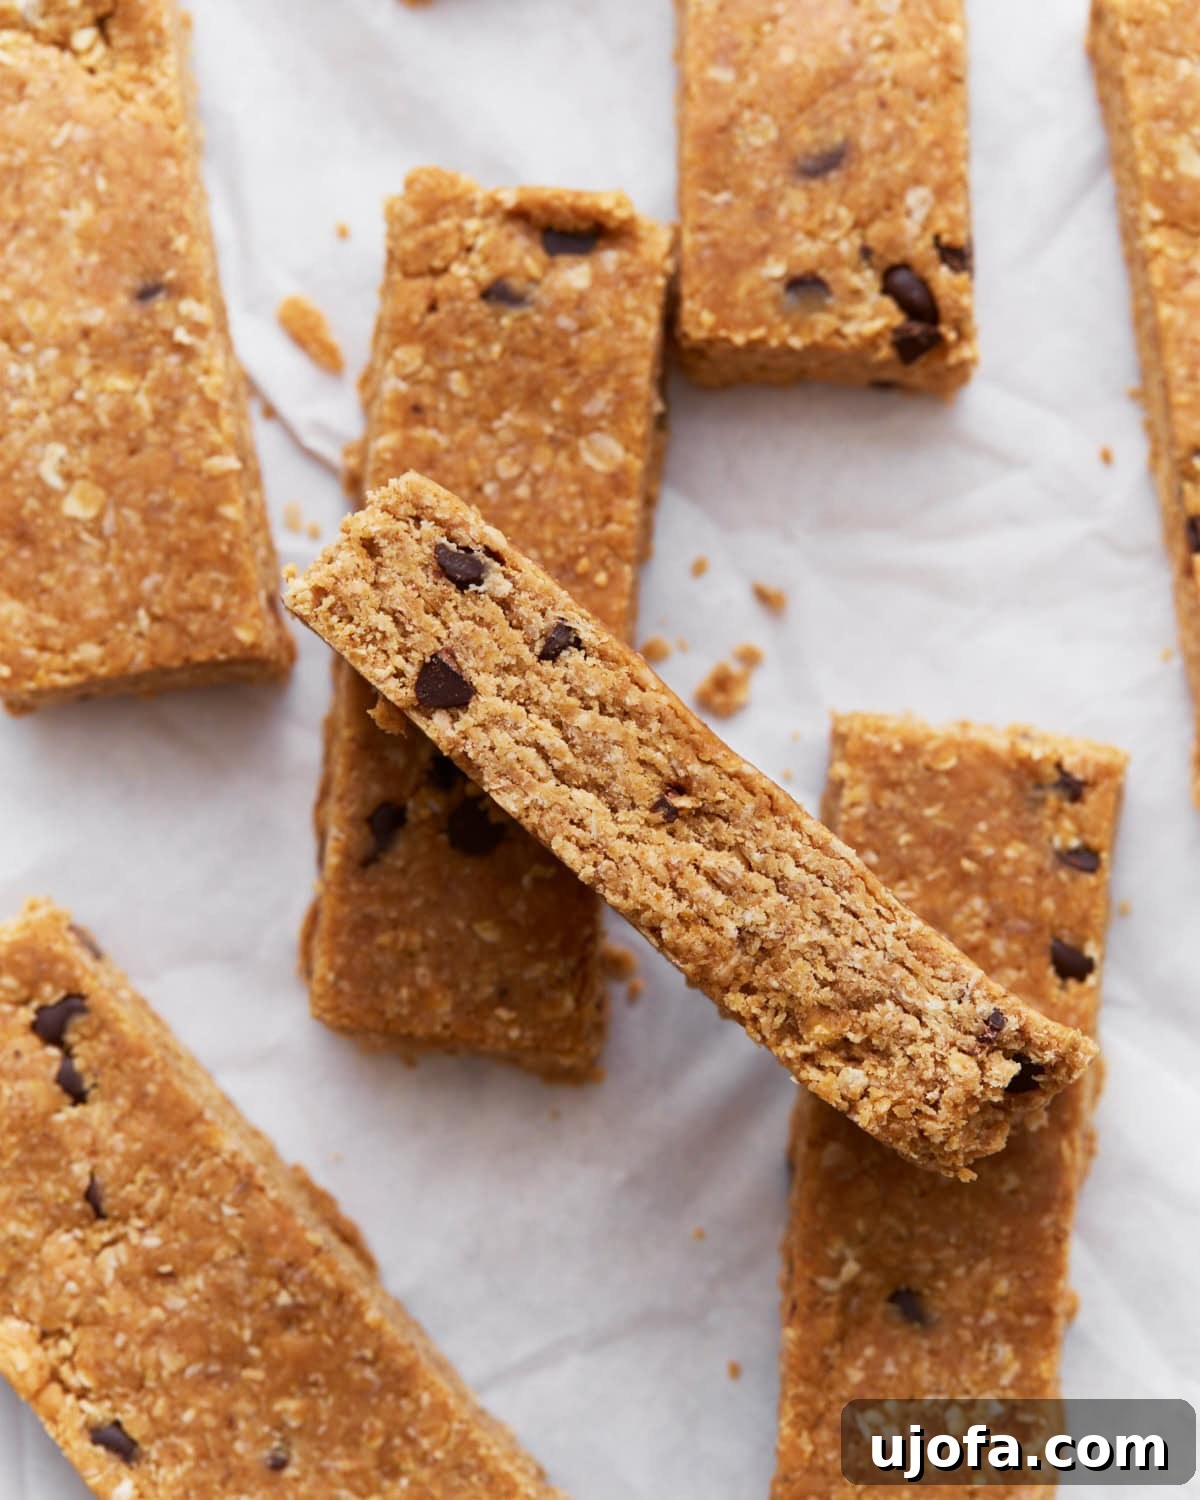
Craving a wholesome, satisfying snack that’s both delicious and diet-friendly? These homemade gluten-free granola bars are the answer! A staple in my kitchen, they’re cherished by my kids for snack time, and I love the peace of mind knowing I’m providing them with an easy, allergen-aware treat. Each bar offers a delightful chewiness and a soft texture, perfectly balancing rich peanut butter with irresistible chocolatey notes. Forget store-bought versions; these quick-to-make bars are a game-changer for any busy family seeking nutritious, on-the-go options.
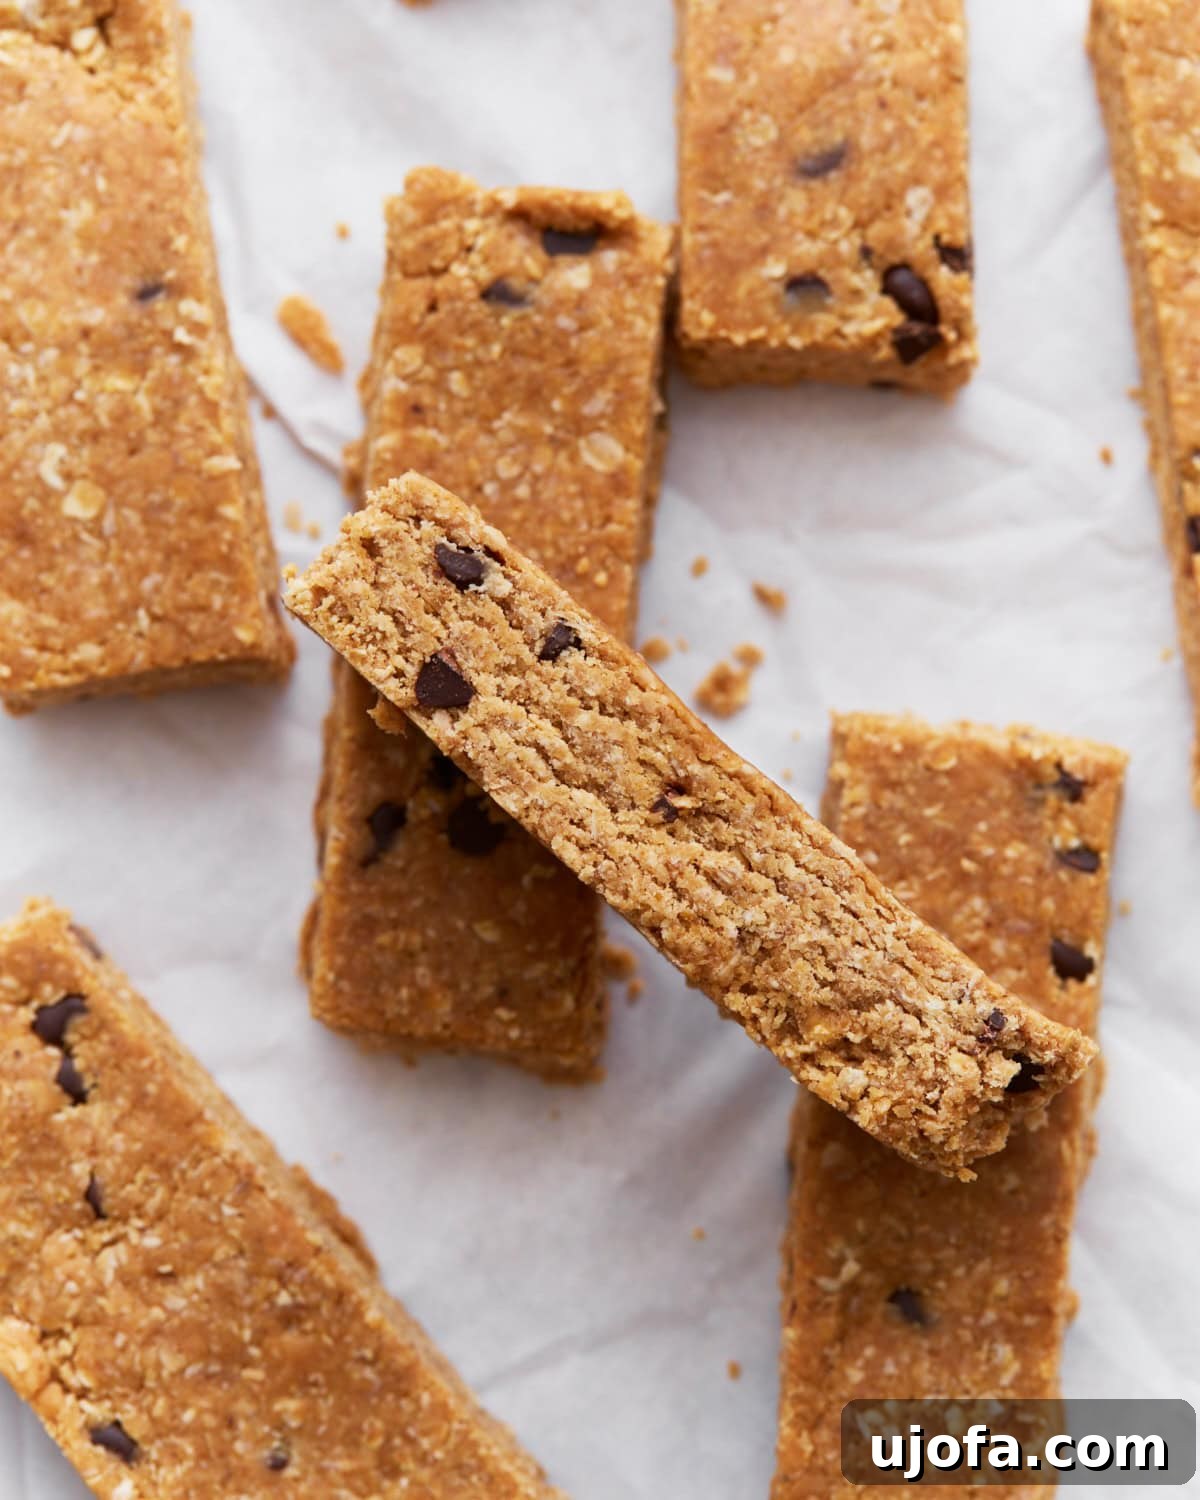
The Ultimate Homemade Gluten-Free Granola Bars Recipe
Granola bars have long been a go-to snack, but finding truly healthy, gluten-free, and dairy-free options at the grocery store can be a challenge – and often quite expensive. This recipe solves that dilemma, offering a simple, natural, and incredibly delicious alternative you can whip up at home. Whether for school lunches, an afternoon pick-me-up, or a post-workout refuel, these bars are perfectly portioned and packed with goodness. Making them yourself not only saves money but also gives you complete control over the ingredients, allowing for endless customization to suit any taste preference or dietary need.
I initially developed this recipe when my family transitioned to a gluten and dairy-free lifestyle. It quickly became clear that creating our own snacks was far more practical and economical than searching for specialty products. What began as a necessity transformed into a beloved family favorite. These bars are not just “allergy-friendly”; they are simply fantastic, boasting a chewy texture and a flavor profile that everyone enjoys. With a few basic pantry staples, you can create a batch of these wholesome treats in no time, ensuring you always have a healthy, convenient, and kid-approved snack ready to grab and go.
Essential Gluten-Free Baking Tips for Success
Navigating gluten-free baking can sometimes feel daunting, but with a few key considerations, you’ll be baking like a pro. When it comes to granola bars, particular attention must be paid to oats and mix-ins to ensure they meet gluten-free standards and contribute to the perfect texture and flavor.
- Understanding Gluten-Free Oats: Oats are naturally gluten-free, but the way they are processed and grown often leads to cross-contamination. Many conventional oats are processed in facilities that also handle wheat, barley, and rye, or are grown in fields where these gluten-containing grains are also present. To ensure your granola bars are truly gluten-free, it’s crucial to use “certified gluten-free” or “purity protocol” oats.
- Certified Gluten-Free Oats: These oats come from fields and facilities that have measures in place to prevent cross-contamination and are tested to contain less than 20 parts per million (ppm) of gluten, which is the FDA standard for gluten-free.
- Purity Protocol Oats: This is a more stringent standard. Purity protocol oats are grown in dedicated gluten-free fields, harvested with dedicated gluten-free equipment, and processed in dedicated gluten-free facilities. This significantly reduces the risk of cross-contamination, making them the safest choice for individuals with celiac disease or severe gluten sensitivities. Always look for labels explicitly stating “Purity Protocol” if you require the highest level of assurance.
- Choosing the Right Chocolate Chips: While any chocolate chips might seem fine, mini chocolate chips are ideal for granola bars. Their smaller size ensures even distribution throughout the mixture, so you get a little bit of chocolate in every bite, without overwhelming the bar or making it difficult to hold together. Regular-sized chocolate chips can be too large, leading to crumbly bars and uneven flavor. For those with dairy sensitivities or allergies, I highly recommend Enjoy Life Mini Chocolate Chips, as they are certified dairy-free and gluten-free, making them a perfect addition to this recipe.
Irresistible Homemade Gluten-Free Granola Bar Recipe
Share by Email
Print Recipe
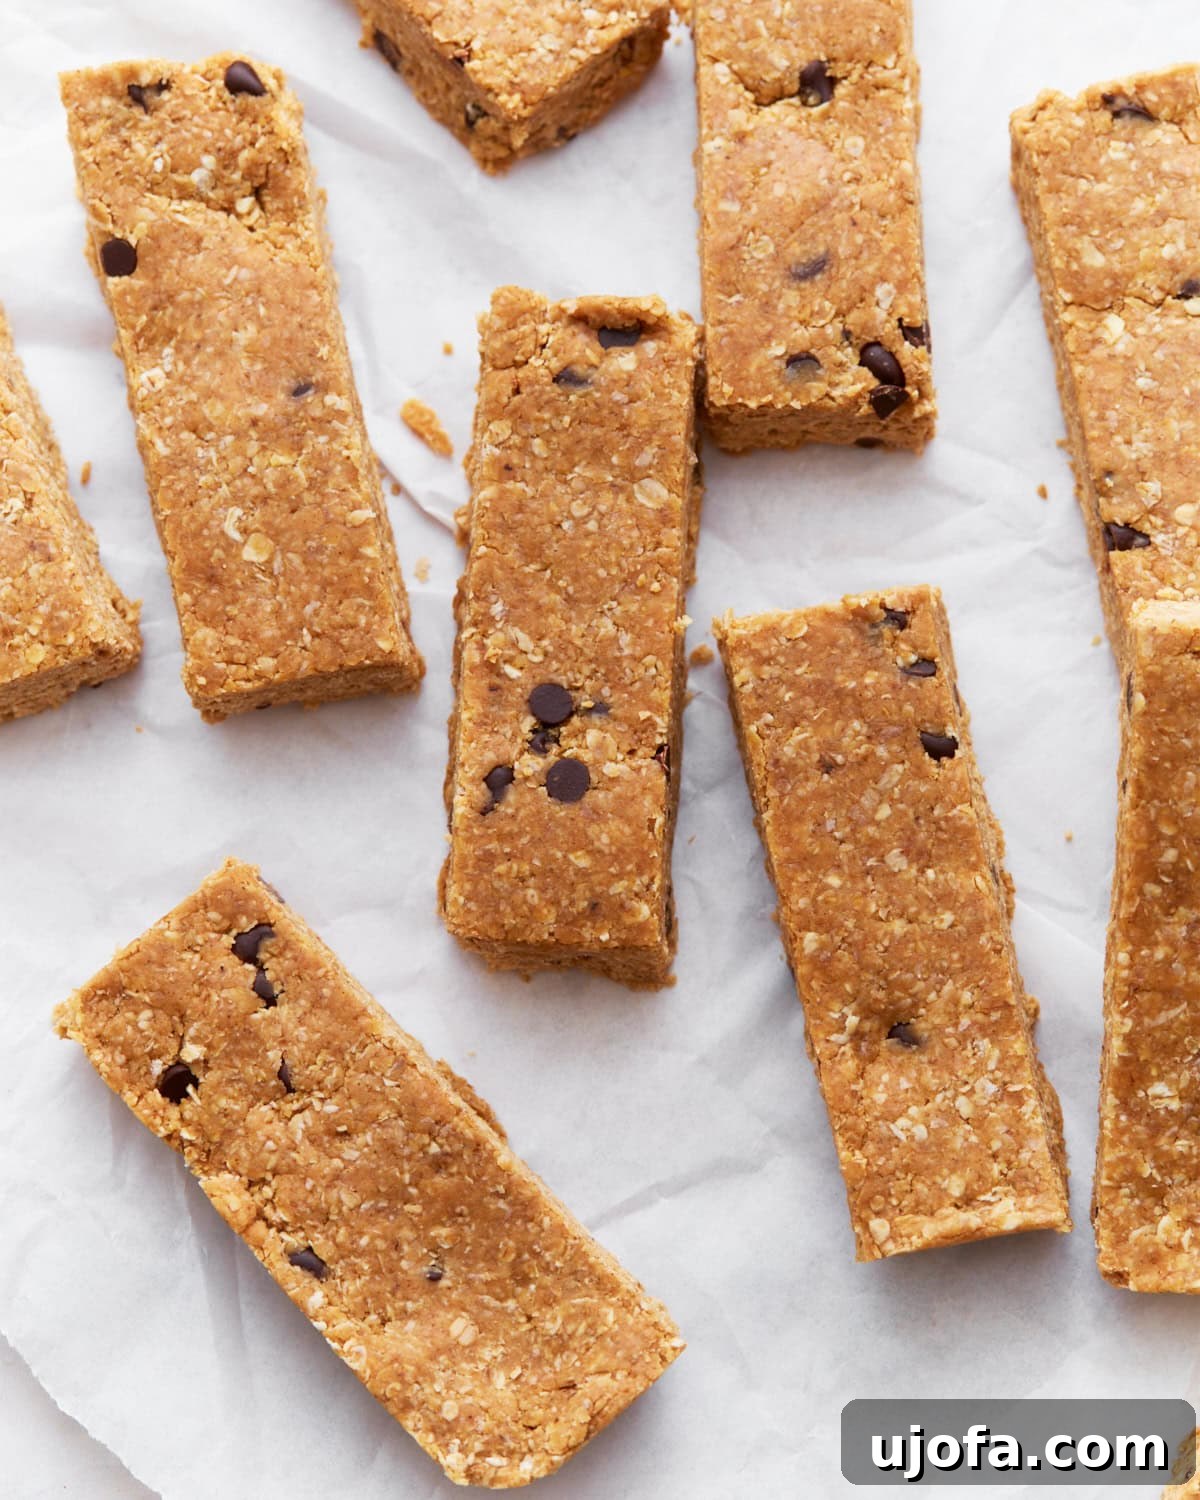
These quick and easy homemade gluten-free granola bars are a family favorite, perfect for snack time. They are wonderfully chewy and soft, with a delightful balance of peanut butter and chocolate flavor. Make a batch today for a convenient and healthy treat!
Ingredients
- 1 cup creamy peanut butter, or any smooth nut or seed butter
- ⅔ cup honey (or pure maple syrup for a vegan option)
- 2 teaspoon pure vanilla extract
- ½ teaspoon ground cinnamon
- ¼ teaspoon salt
- 3½ cups certified gluten-free quick oats (see tips for details)
- ¼ cup gluten-free mini chocolate chips (use Enjoy Life Mini Chocolate Chips for dairy-free)
Watch the video tutorial for visual guidance on making these delicious granola bars.
Instructions
- Prepare the Pan: Line an 8-inch by 8-inch baking pan with parchment paper, leaving an overhang on the sides to easily lift the bars out later.
- Combine Wet Ingredients: In a large mixing bowl, combine the creamy peanut butter, honey (or maple syrup), pure vanilla extract, ground cinnamon, and salt. Stir vigorously with a spoon or spatula until the mixture is completely smooth and well-incorporated.
- Add Dry Ingredients: Fold in the certified gluten-free quick oats and mini chocolate chips. Continue stirring until all the oats and chocolate chips are thoroughly coated and evenly distributed throughout the peanut butter mixture. The mixture might appear dry or crumbly at first, but keep mixing; it will eventually come together.
- Press and Chill: Transfer the granola bar mixture into the prepared baking pan. Using your hands or a spatula, press the mixture down very firmly and evenly into the pan. For a perfectly flat surface, you can use the back of a ¼ measuring cup to flatten and compact the mixture. Cover the pan tightly with plastic wrap and refrigerate for at least 1 hour. This chilling time is crucial for the bars to set properly and become firm enough to slice without crumbling. Do not shorten this step!
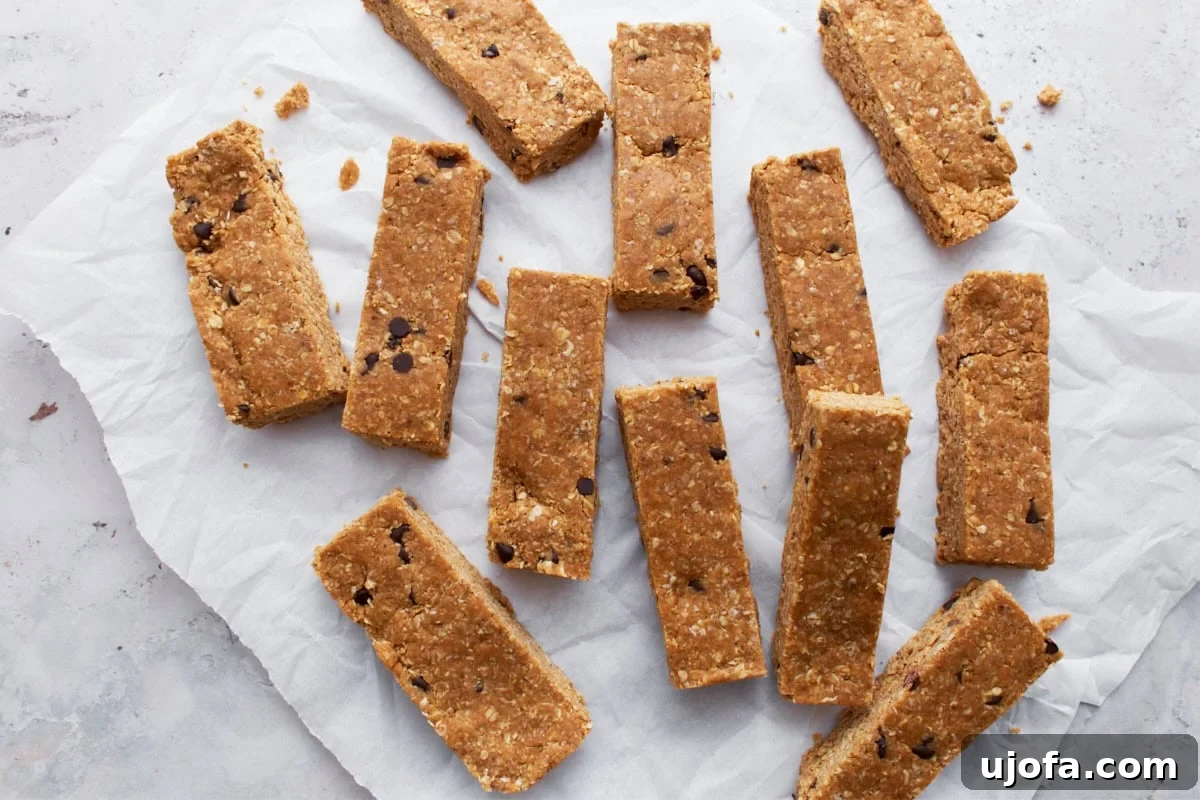
- Slice and Serve: Once thoroughly chilled and firm, remove the pan from the refrigerator. Lift the parchment paper handles to remove the entire block of granola from the pan. Place it on a cutting board and slice it into 12 even-sized bars. Serve immediately as a satisfying snack, and enjoy the fruits of your labor!
- Storage: Store any leftover cut bars in an airtight container in the refrigerator to maintain their freshness and texture. They will keep well for up to a week.
- Freezing: For longer storage, these bars can be frozen for up to 2 months. Place the cut bars in a plastic freezer bag, using a piece of parchment paper between layers to prevent sticking. When ready to eat, simply defrost them at room temperature for about 30 minutes.
Notes for the Perfect Bar
-
Smooth Nut Butter is Key: This recipe relies on the creamy consistency of smooth nut or seed butter to bind the ingredients together effectively. If your chosen nut or seed butter is too dry, thick, or has a grainy texture, it may not mix well with the other ingredients, resulting in crumbly bars. Ensure it’s stir-able and spreadable before you begin.
-
Packing it Down: Don’t underestimate the importance of pressing the mixture firmly into the pan. This compression helps create dense, cohesive bars that won’t fall apart when cut. The harder you press, the better they will hold their shape.
-
Don’t Skip the Chill: The chilling period allows the flavors to meld and, more importantly, the fats in the nut butter to solidify, creating a firm and sliceable bar. Rushing this step will result in soft, sticky bars that are difficult to handle.
Nutrition Information (Approximate Per Serving)
Carbohydrates: 38g
Protein: 9g
Fat: 13g
Saturated Fat: 3g
Cholesterol: 1mg
Sodium: 151mg
Potassium: 233mg
Fiber: 4g
Sugar: 20g
Vitamin A: 8IU
Vitamin C: 1mg
Calcium: 26mg
Iron: 2mg
Nutrition information is automatically calculated and should only be used as an approximation. Individual results may vary based on exact ingredients and portion sizes.
Additional Recipe Info
Mention @mamaknowsglutenfree or tag #mamaknowsglutenfree!
How to Make Homemade Gluten-Free Granola Bars: A Step-by-Step Visual Guide
Making these gluten-free granola bars is incredibly straightforward, even for novice bakers. Follow these simple steps, complete with visual cues, to create perfect, chewy bars every time.
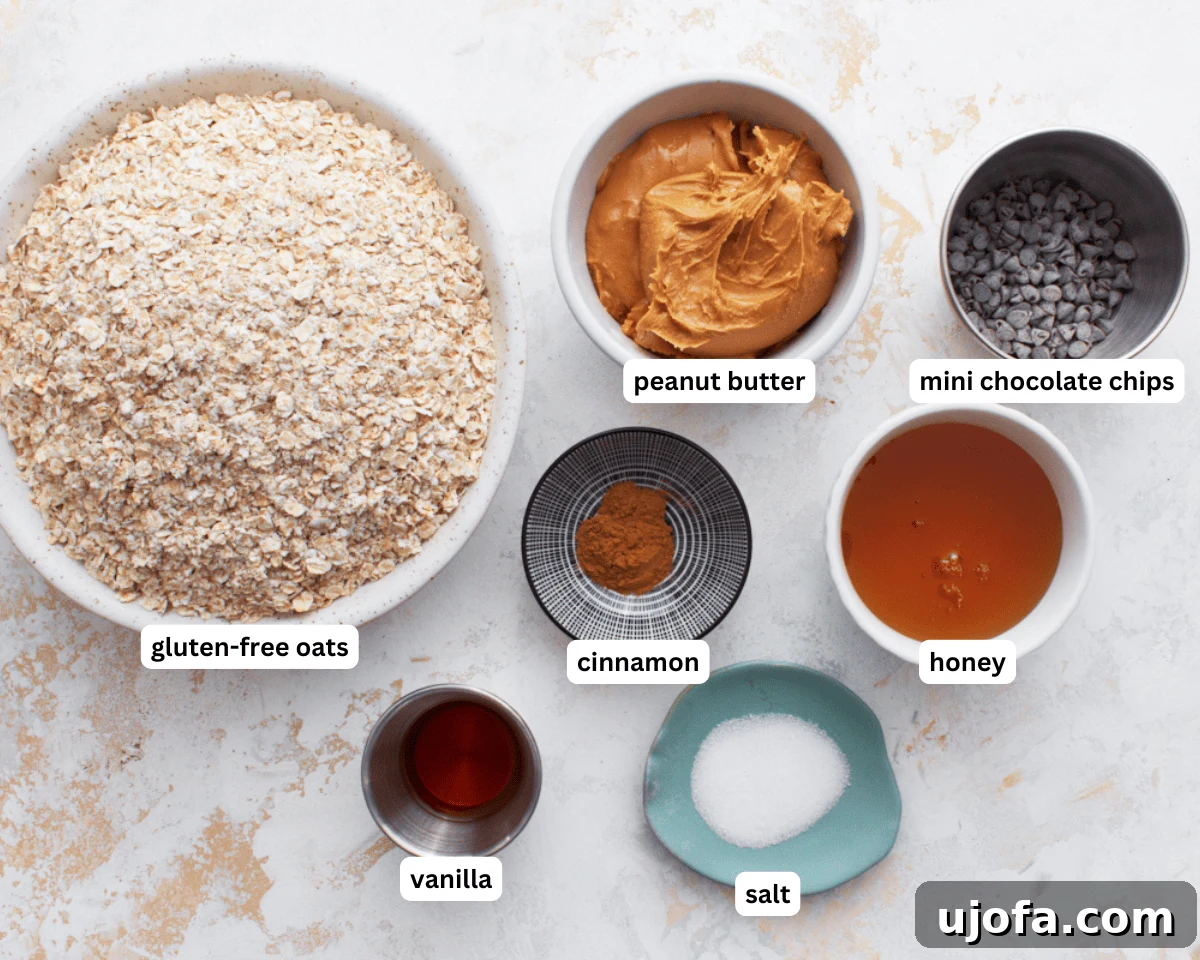
Step 1: Gather Your Ingredients. Before you begin, ensure you have all your ingredients measured and ready. This mise en place approach makes the entire process smoother and more enjoyable. You’ll need creamy peanut butter (or your preferred nut/seed butter), honey, pure vanilla extract, ground cinnamon, salt, certified gluten-free quick oats, and gluten-free mini chocolate chips. Having everything organized will allow for quick and efficient mixing.
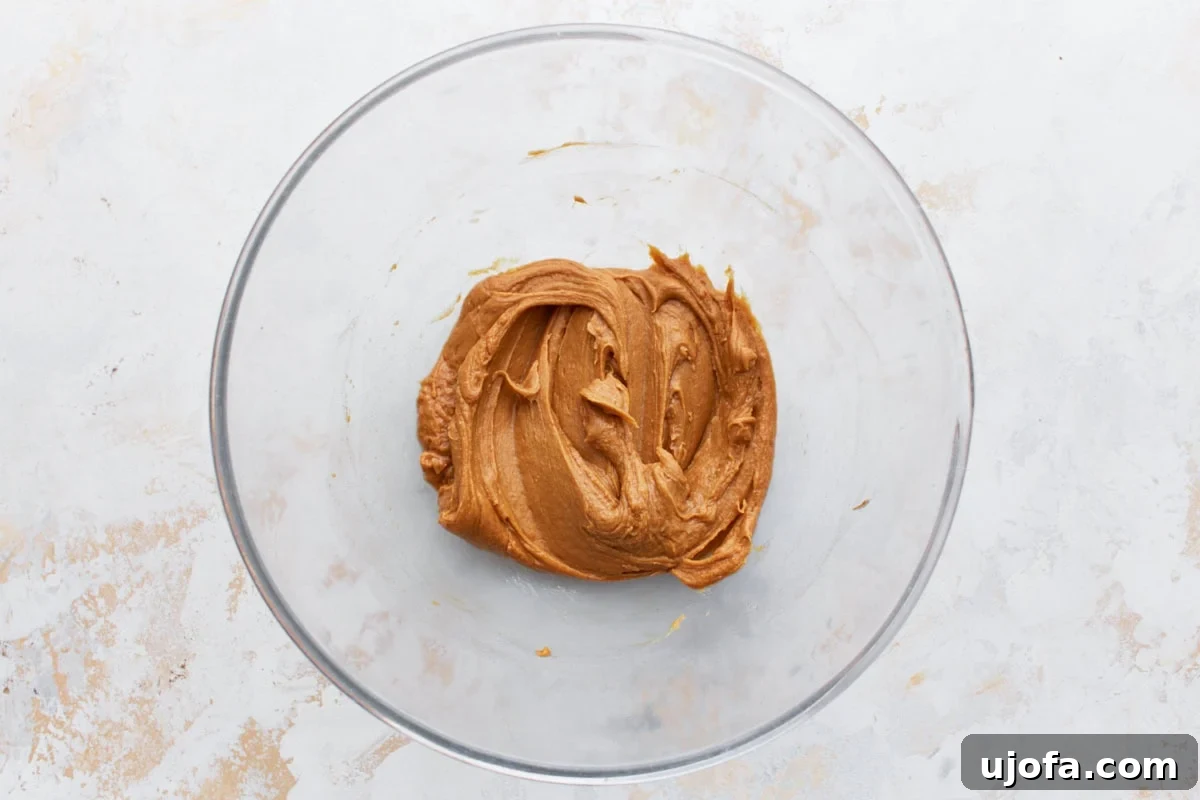
Step 2: Prepare the Wet Mixture. Line an 8×8-inch baking pan with parchment paper, allowing some overhang on the sides for easy removal of the finished bars. In a spacious mixing bowl, combine the 1 cup of creamy peanut butter, ⅔ cup of honey, 2 teaspoons of pure vanilla extract, ½ teaspoon of cinnamon, and ¼ teaspoon of salt. Stir these ingredients thoroughly until you achieve a perfectly smooth, uniform consistency. The mixture should be thick but easy to work with.
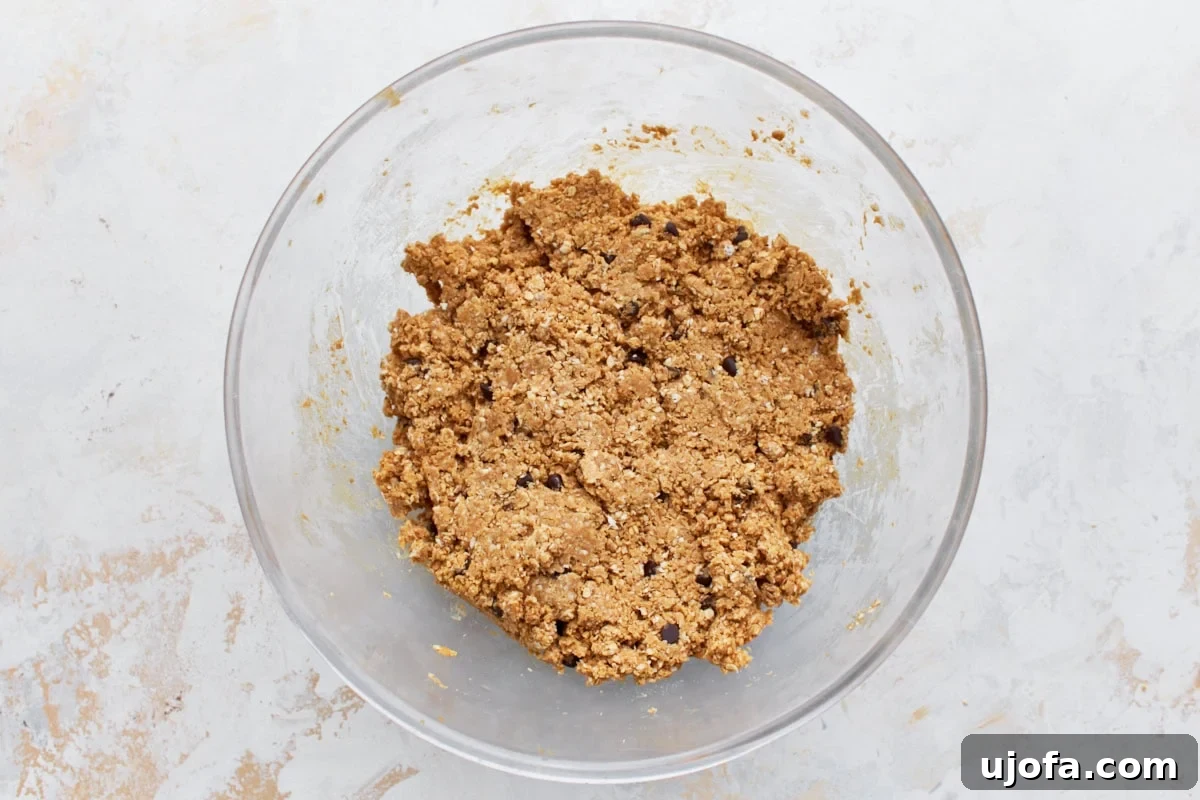
Step 3: Incorporate Oats and Chocolate Chips. Now, add 3½ cups of certified gluten-free quick oats and ¼ cup of gluten-free mini chocolate chips to the wet mixture. Stir diligently until all the dry ingredients are fully combined and evenly distributed. At first, the mixture might appear dry and difficult to combine, but continue to stir and press. The warmth from your hands and the natural stickiness of the nut butter and honey will eventually bind everything together into a cohesive dough-like consistency.
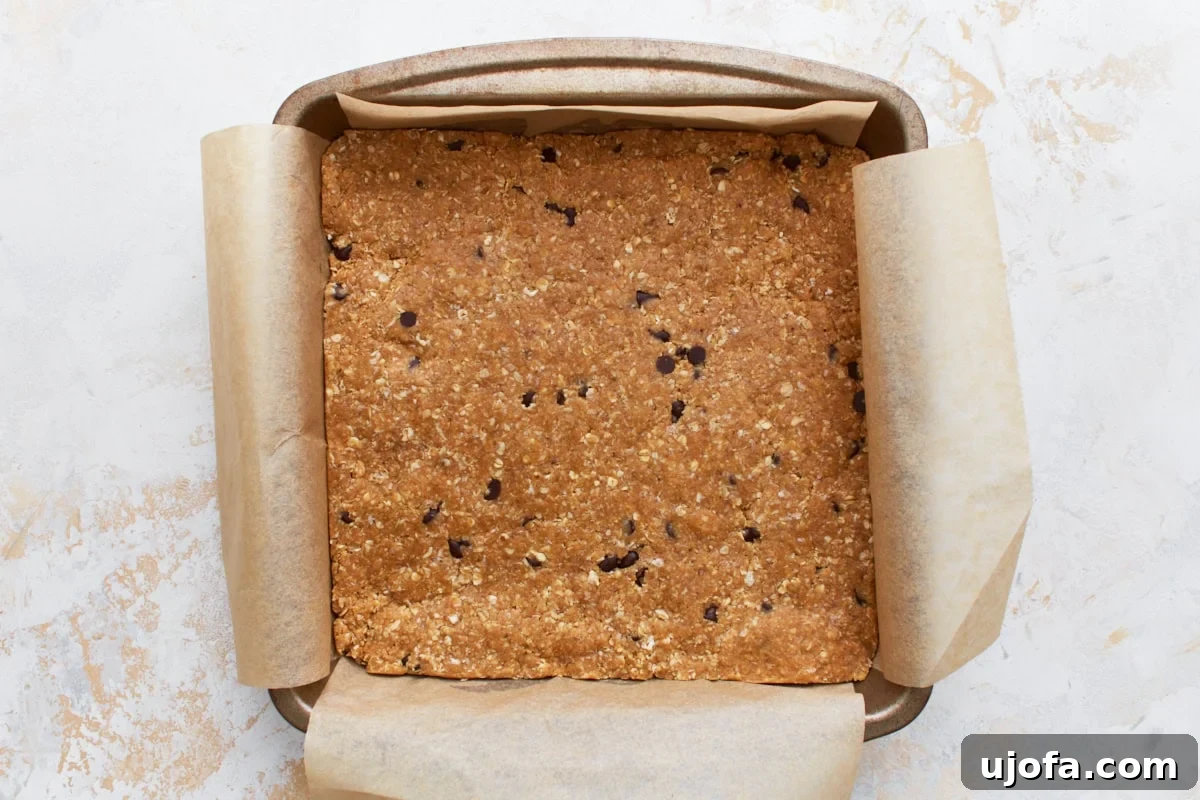
Step 4: Press into Pan and Chill. Transfer the entire oat mixture into your parchment-lined baking pan. This is where a firm hand is essential! Use your hands or a sturdy spatula to press the mixture down very firmly and evenly across the bottom of the pan. A useful trick is to use the flat bottom of a ¼ measuring cup to help compact and flatten the mixture, ensuring a dense and uniform base for your bars. Once pressed, cover the pan tightly with plastic wrap and place it in the refrigerator to chill for a minimum of 1 hour. This chilling period is absolutely crucial for the bars to set and achieve their firm, sliceable texture. Do not attempt to cut them before they are fully chilled, or they may crumble.
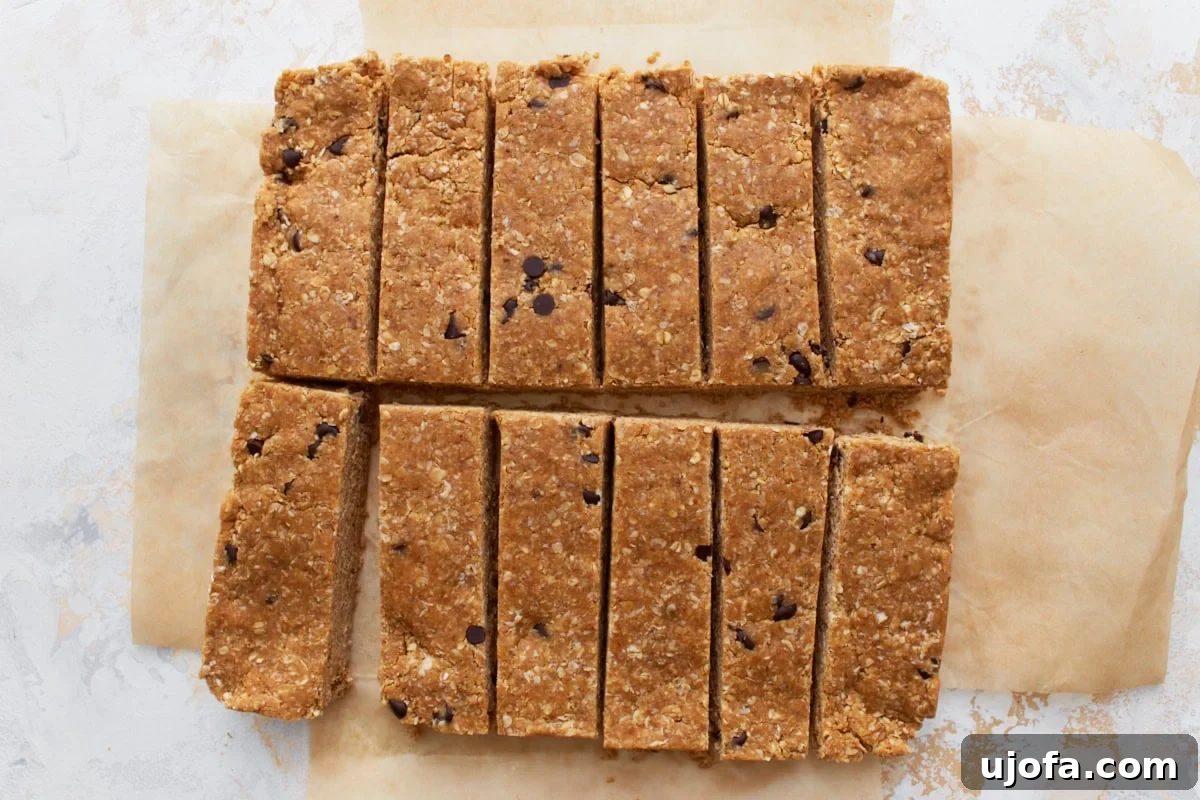
Step 5: Slice and Serve. After at least 1 hour of chilling, remove the pan from the refrigerator. Use the parchment paper overhang to gently lift the entire block of chilled granola mixture out of the pan and onto a clean cutting board. With a sharp knife, slice the mixture into 12 even-sized bars. These perfectly portioned treats are now ready to be enjoyed! Serve them as a quick breakfast, a satisfying school snack, or an energy boost any time of day. The ideal balance of sweetness and chewiness makes them irresistible.
Substitutions and Customization for Your Granola Bars
One of the best aspects of making homemade granola bars is the freedom to customize them to your liking. This recipe provides a fantastic base, but don’t hesitate to experiment with different ingredients to create your unique flavor combinations or accommodate specific dietary needs.
- Sweetener Alternatives: While honey adds a distinct flavor and excellent binding properties, you can easily substitute it with pure maple syrup. This not only makes the bars vegan-friendly but also offers a slightly different, equally delicious sweetness. Agave nectar could also work, though it tends to be sweeter, so you might use slightly less.
- Nut and Seed Butter Options: The recipe calls for creamy peanut butter, which provides a classic, comforting flavor. However, feel free to swap it out for any smooth nut or seed butter you prefer. Almond butter offers a milder taste, cashew butter lends a buttery richness, and sunflower seed butter (SunButter) is an excellent choice for those with nut allergies. Ensure whichever butter you choose is smooth and creamy for the best texture.
- Beyond Chocolate Chips: While mini chocolate chips are a favorite, the possibilities for mix-ins are endless! Consider adding a ¼ cup of:
- Dried Fruits: Dried cranberries, raisins, chopped apricots, or finely diced dates can add a lovely chewiness and natural sweetness.
- Nuts and Seeds: A quarter cup of chopped almonds, walnuts, pecans, pumpkin seeds (pepitas), or sunflower seeds can boost crunch and nutrition.
- Shredded Coconut: Toasted or untoasted shredded coconut adds a tropical flavor and unique texture.
- Spices: A pinch of nutmeg or a dash more cinnamon can enhance the overall flavor profile.
- Protein Boost: A scoop of your favorite gluten-free protein powder can be incorporated, though you might need a tiny bit more liquid (honey/maple syrup or even a splash of milk) to maintain the right consistency.
Storage and Freezing Instructions for Easy Meal Prep
These homemade gluten-free granola bars are perfect for meal prepping, allowing you to have a healthy snack ready throughout the week or even for months to come. Proper storage ensures they maintain their delicious taste and satisfying texture.
For immediate consumption, refrigerate any leftover cut bars in an airtight container. This will keep them fresh, firm, and chewy for up to a week. Keeping them chilled also helps prevent them from becoming too soft, especially in warmer environments.
I am a big fan of making a large batch of these bars and freezing them. This way, I always have a convenient, healthy option on hand for myself and my children, eliminating the need for last-minute snack purchases. To freeze, place the individually cut bars into a plastic freezer-safe bag or an airtight freezer container. For best results and to prevent the bars from sticking together, I recommend layering them with a piece of parchment paper between each layer. This makes it easy to grab just one bar at a time. When you’re ready to enjoy a frozen bar, simply take it out of the freezer and let it defrost at room temperature for about 30 minutes. They’ll be just as fresh and delicious as when you first made them!
Explore More Delicious Gluten-Free Oat Recipes
If you’ve fallen in love with the versatility and wholesome goodness of gluten-free oats through these granola bars, there’s a whole world of other delicious recipes waiting for you to discover. Oats are a fantastic base for many gluten-free treats, offering fiber, nutrients, and a wonderfully comforting texture. Here are some more favorites that feature gluten-free oats:
- Gluten-Free Peanut Butter Oatmeal Cookies: A classic combination that’s chewy, rich, and utterly satisfying.
- Gluten-Free Oatmeal Cookies: The quintessential comforting cookie, perfect with a glass of milk.
- Gluten-Free Apple Crisp: A warm, spiced dessert with a buttery oat topping, ideal for any season.
- Cranberry Oatmeal Bars: Tart cranberries complement the hearty oats in these delightful bars.
- How to Make Oat Flour: Learn to make your own gluten-free oat flour at home for all your baking needs.
Embrace the simplicity and deliciousness of homemade gluten-free snacks. These granola bars are just the beginning of a flavorful journey to a healthier, happier you!