
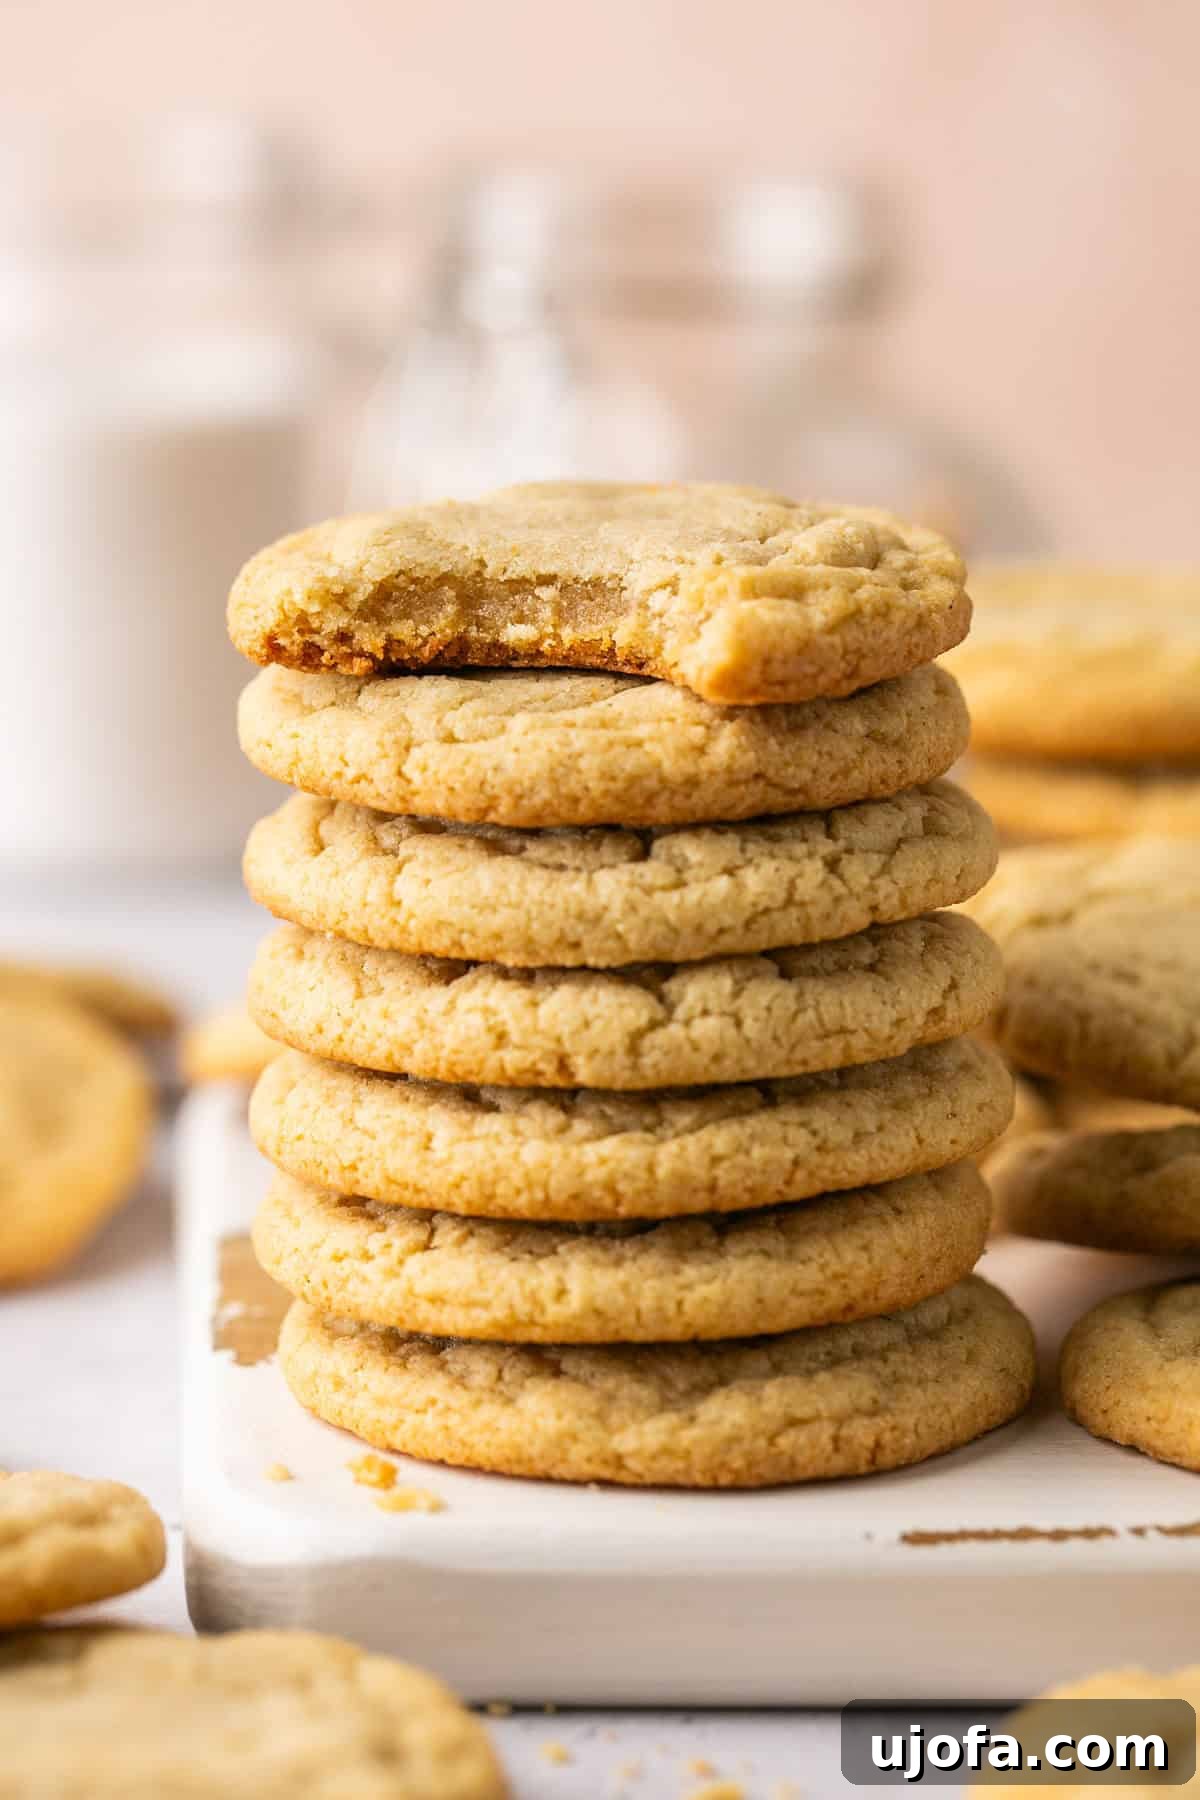
Welcome to the world of truly exceptional cookies, where the focus isn’t on what’s missing, but on the pure, unadulterated joy of the perfect dough. These Chocolate Chipless Cookies are crafted for the purists, the connoisseurs of classic cookie flavor, and anyone seeking a delightful treat without the distraction of chocolate chips. Imagine: soft, melt-in-your-mouth centers, perfectly chewy textures, and golden-brown edges that offer a delightful slight crispness, all infused with a rich, buttery vanilla essence. This recipe champions the humble cookie dough, allowing its inherent deliciousness to shine through, uncompromised. Whether you’re navigating dietary preferences, have a picky eater, or simply find yourself without a single chocolate chip in the pantry, these chipless wonders are destined to become your new favorite go-to recipe.
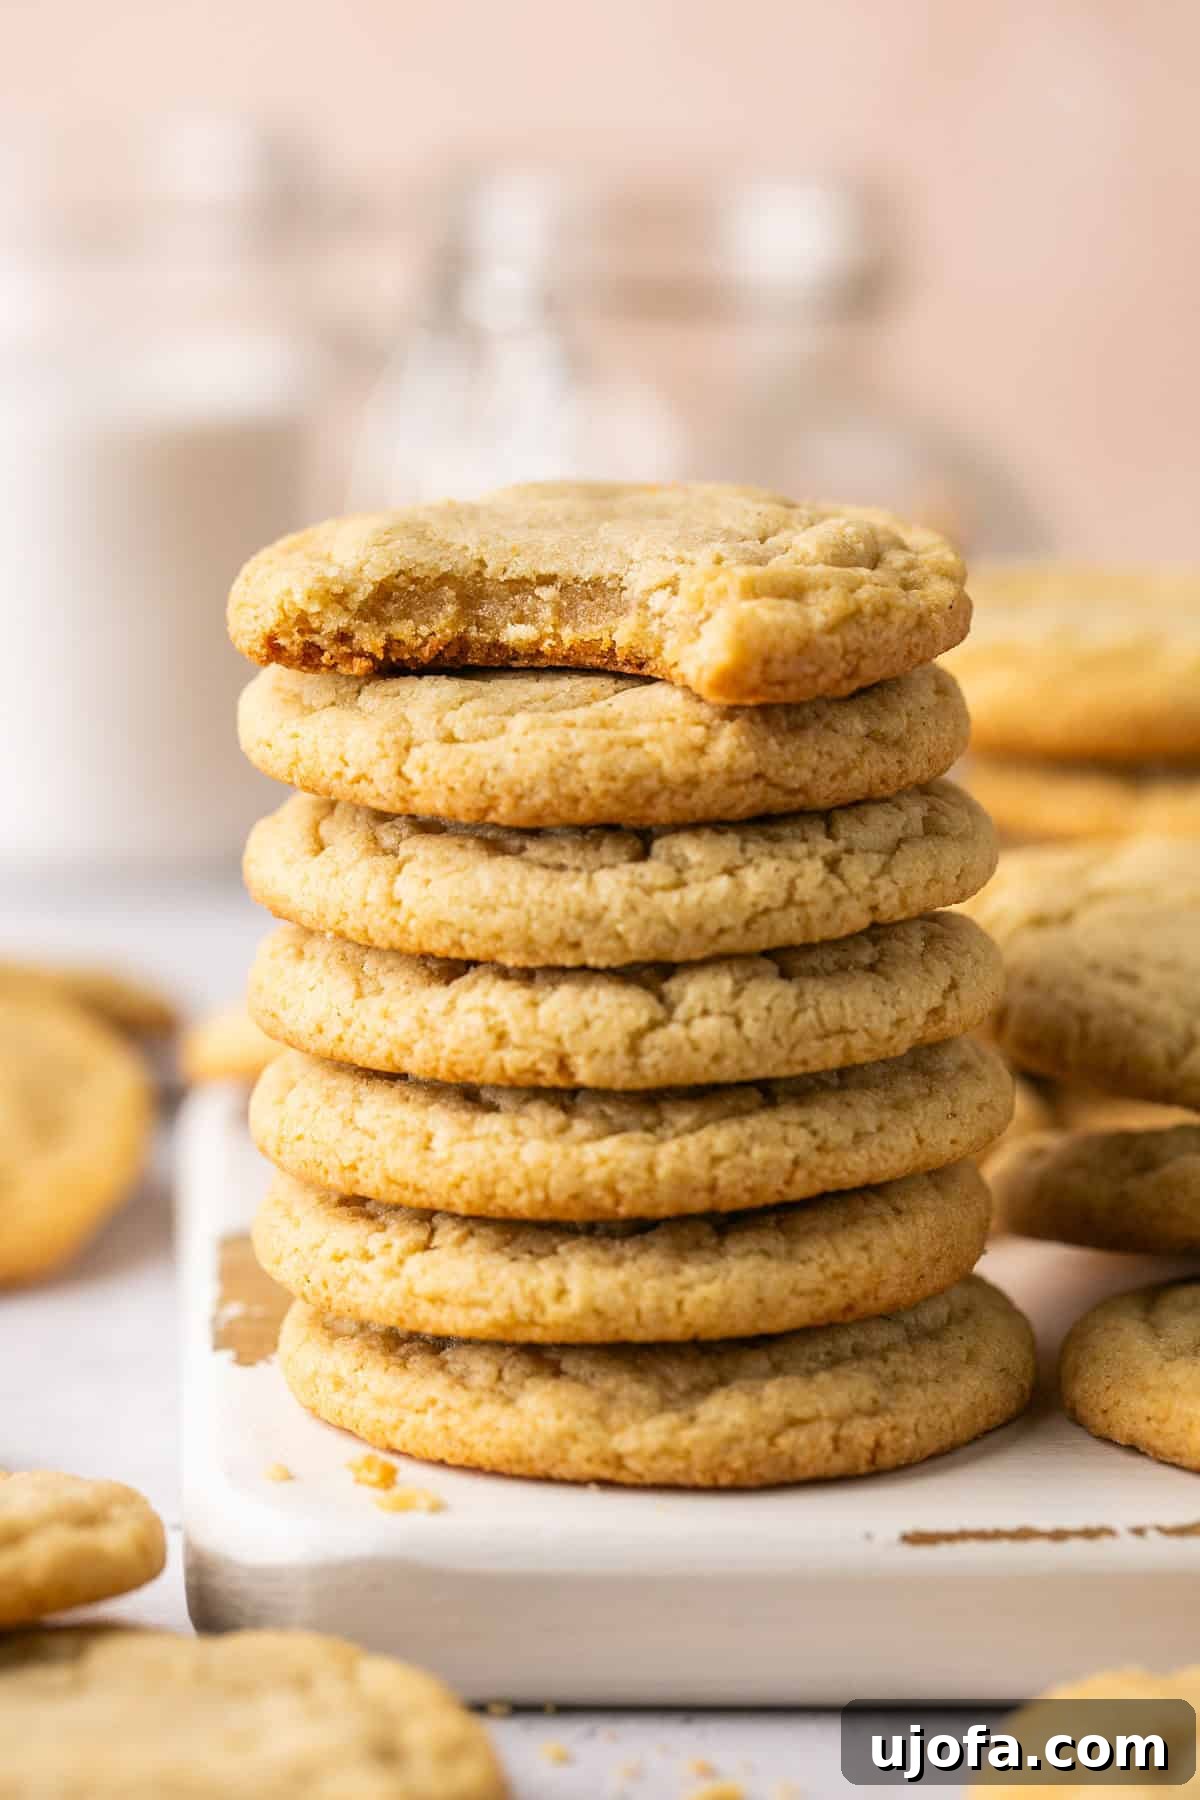
Why These Gluten-Free Chipless Cookies Will Become Your New Favorite
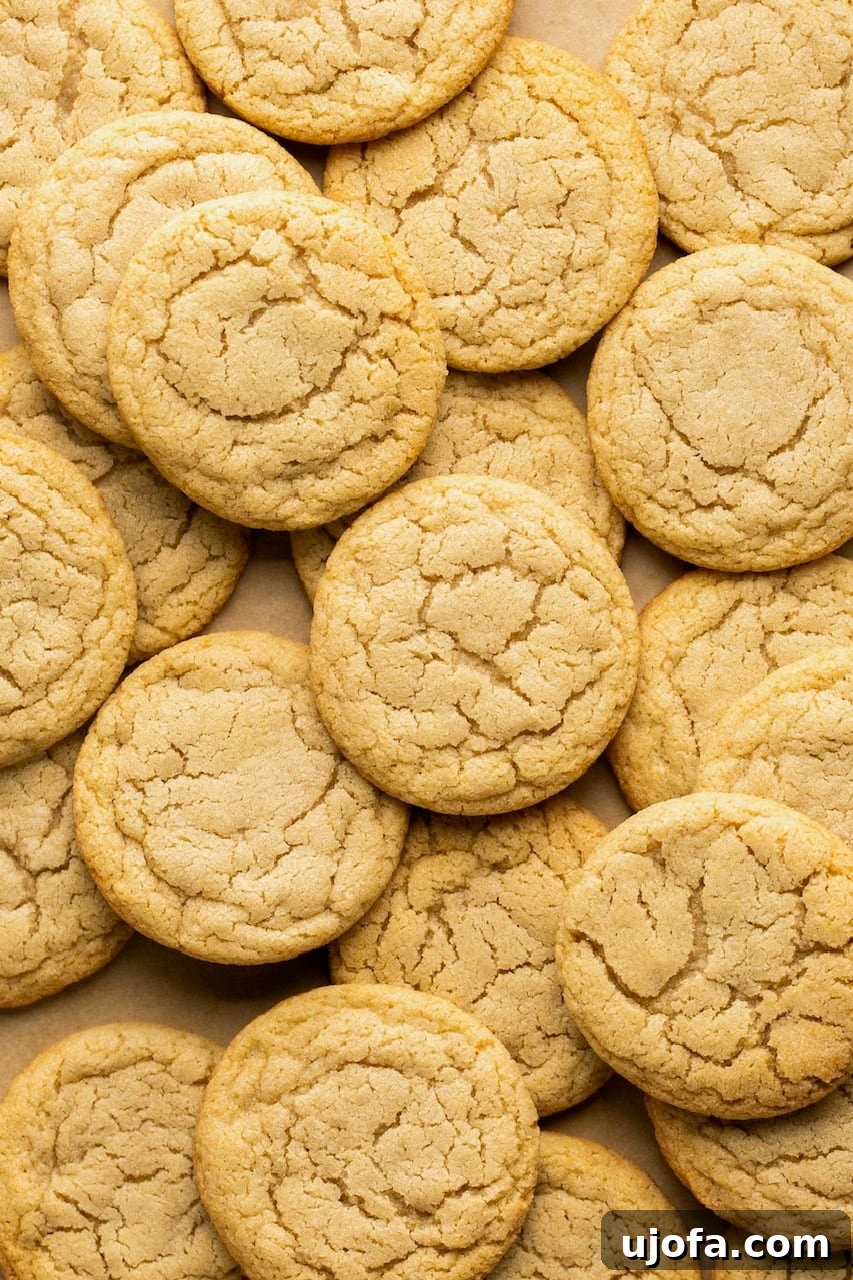
There’s an undeniable magic in the foundation of a classic cookie. It’s that warm, buttery, sweet, and perfectly chewy base that evokes a sense of deep nostalgia and comfort. Our Gluten-Free Chocolate Chipless Cookies are designed to elevate this core flavor experience, making it the star of the show. With no chocolate chips to compete for attention, every bite delivers pure, unadulterated cookie bliss: crisp edges yielding to golden-brown, soft, and tender interiors that truly melt in your mouth.
Beyond their incredible taste, these cookies offer remarkable versatility and cater to various needs. If you or a loved one have a chocolate allergy, this recipe provides a safe and delicious alternative, ensuring everyone can enjoy a classic cookie. They are also ideal as a school-safe treat for kids, free from common allergens found in chocolate. For those who simply adore the rich flavor of cookie dough more than the chips themselves, this recipe is a dream come true. Furthermore, this recipe is naturally gluten-free, using a reliable gluten-free flour blend, and can be easily adapted for dairy-free diets, making it perfect for inclusive gatherings, bake sales, or simply a cozy night in with a warm beverage.
I personally love keeping a batch of this versatile dough on hand for those impromptu cookie cravings, especially during festive periods when comforting treats are a must. The ability to whip up fresh, warm cookies in minutes makes them an invaluable addition to any baker’s repertoire. If you’re eager to explore more delightful cookie bases with unique twists, be sure to check out my Gluten-Free Monster Cookies for a fun, colorful option, or these Soft Baked Pumpkin Cheesecake Cookies for a seasonal indulgence that’s equally impressive.
Essential Ingredients for Perfect Chipless Cookies
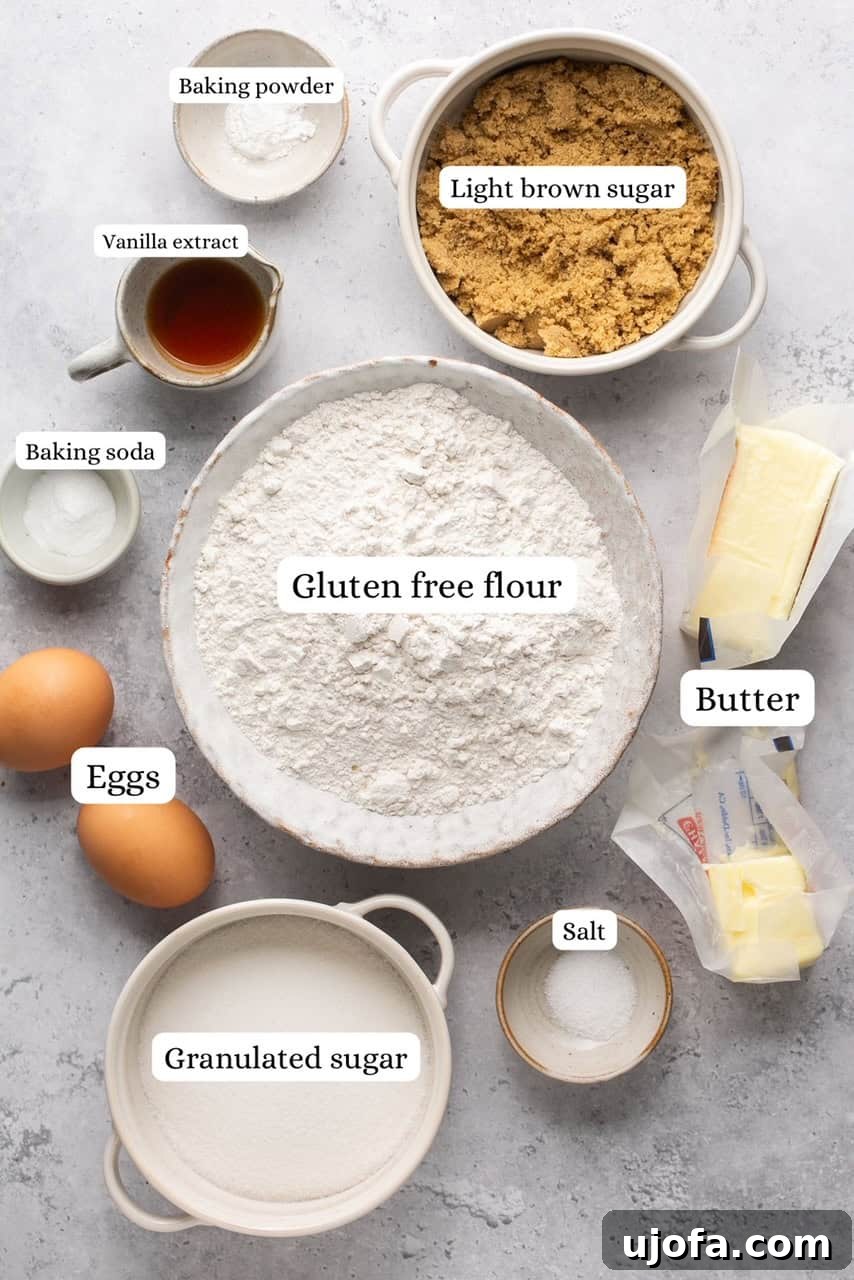
Crafting the perfect chipless cookie relies on a handful of high-quality, thoughtfully chosen ingredients. Each component plays a crucial role in achieving that sought-after chewy texture, golden appearance, and rich, nostalgic flavor profile:
- Butter: Using softened, good quality salted butter is key. It provides the foundational rich, buttery flavor and contributes significantly to the cookie’s texture, ensuring a tender crumb and crisp edges. For a dairy-free option, premium vegan butter brands like Miyoko’s Kitchen or Kite Hill work wonderfully, maintaining the desired richness.
- White Sugar and Light Brown Sugar: This dynamic duo is essential for both flavor and texture. Granulated white sugar contributes to the delightful crispness around the edges of the cookies, while light brown sugar adds a deep, caramel-like sweetness and crucial moisture, ensuring your cookies remain perfectly chewy and soft in the center.
- Pure Vanilla Extract: Vanilla is the soul of these chipless cookies. Pure vanilla extract enhances the dough’s inherent warm and nostalgic flavor. For an even more intense and aromatic vanilla forward taste, consider using vanilla bean paste. Don’t skimp on the quality here—it truly makes a difference!
- Egg + Extra Egg Yolk: The inclusion of one whole egg plus an additional egg yolk is a secret weapon for superior texture. The extra yolk significantly boosts the chewiness and richness of the cookies, and is particularly vital in preventing dryness, which can sometimes be a concern in cookies without the added moisture from chocolate chips.
- Gluten-Free Flour Blend: For guaranteed gluten-free success, I highly recommend using a high-quality “measure-for-measure” or “1:1” gluten-free flour blend. Brands like King Arthur Baking’s Measure for Measure or Bob’s Red Mill 1:1 Baking Flour are excellent choices. These blends are specifically formulated to mimic the properties of all-purpose wheat flour, ensuring the proper structure and texture for your cookies.
- Baking Soda & Baking Powder: These leavening agents work in harmony to give the cookies their perfect rise and a tender, airy interior without making them cakey. Baking soda reacts with the acidic brown sugar, while baking powder provides an extra lift, creating a balanced, appealing texture.
- Salt: A pinch of salt is crucial. It perfectly balances the sweetness of the sugars and enhances all the other flavors, bringing depth and complexity to the cookie dough. Without it, the cookies can taste flat.
Creative Variations and Simple Substitutions
While these chipless cookies are delightful as is, they also serve as a fantastic canvas for your culinary creativity. Feel free to experiment with these exciting variations:
- Dairy-Free Option: Easily make these cookies dairy-free by swapping traditional butter for a high-quality vegan butter substitute. Brands like Kite Hill or Miyoko’s Kitchen offer excellent results, maintaining the buttery flavor and texture.
- Gluten-Containing Option: If gluten is not a dietary concern for you, you can substitute the gluten-free flour blend with an equal amount (1:1 ratio) of regular all-purpose flour. The baking time and process remain the same.
- Flavor Boosters: Elevate the aromatic profile of your cookies by adding a hint of other extracts or spices. A touch of almond extract pairs beautifully with vanilla, or incorporate warm spices like cinnamon, nutmeg, or a pumpkin pie spice blend for a comforting, seasonal twist.
- Exciting Add-ins: While the beauty of these cookies is their chipless nature, you can certainly introduce other small morsels if you wish! Consider peanut butter chips, white chocolate chunks (ensure they are gluten and dairy-free if needed), dried cranberries for a tart chewiness, toasted nuts (like pecans or walnuts), or even colorful sprinkles for a festive touch.
Crafting Your Perfect Gluten-Free Chocolate Chipless Cookies: A Step-by-Step Guide
Making these delightful chipless cookies is a straightforward and rewarding process. Follow these detailed steps to achieve perfectly soft, chewy, and flavorful results every time:
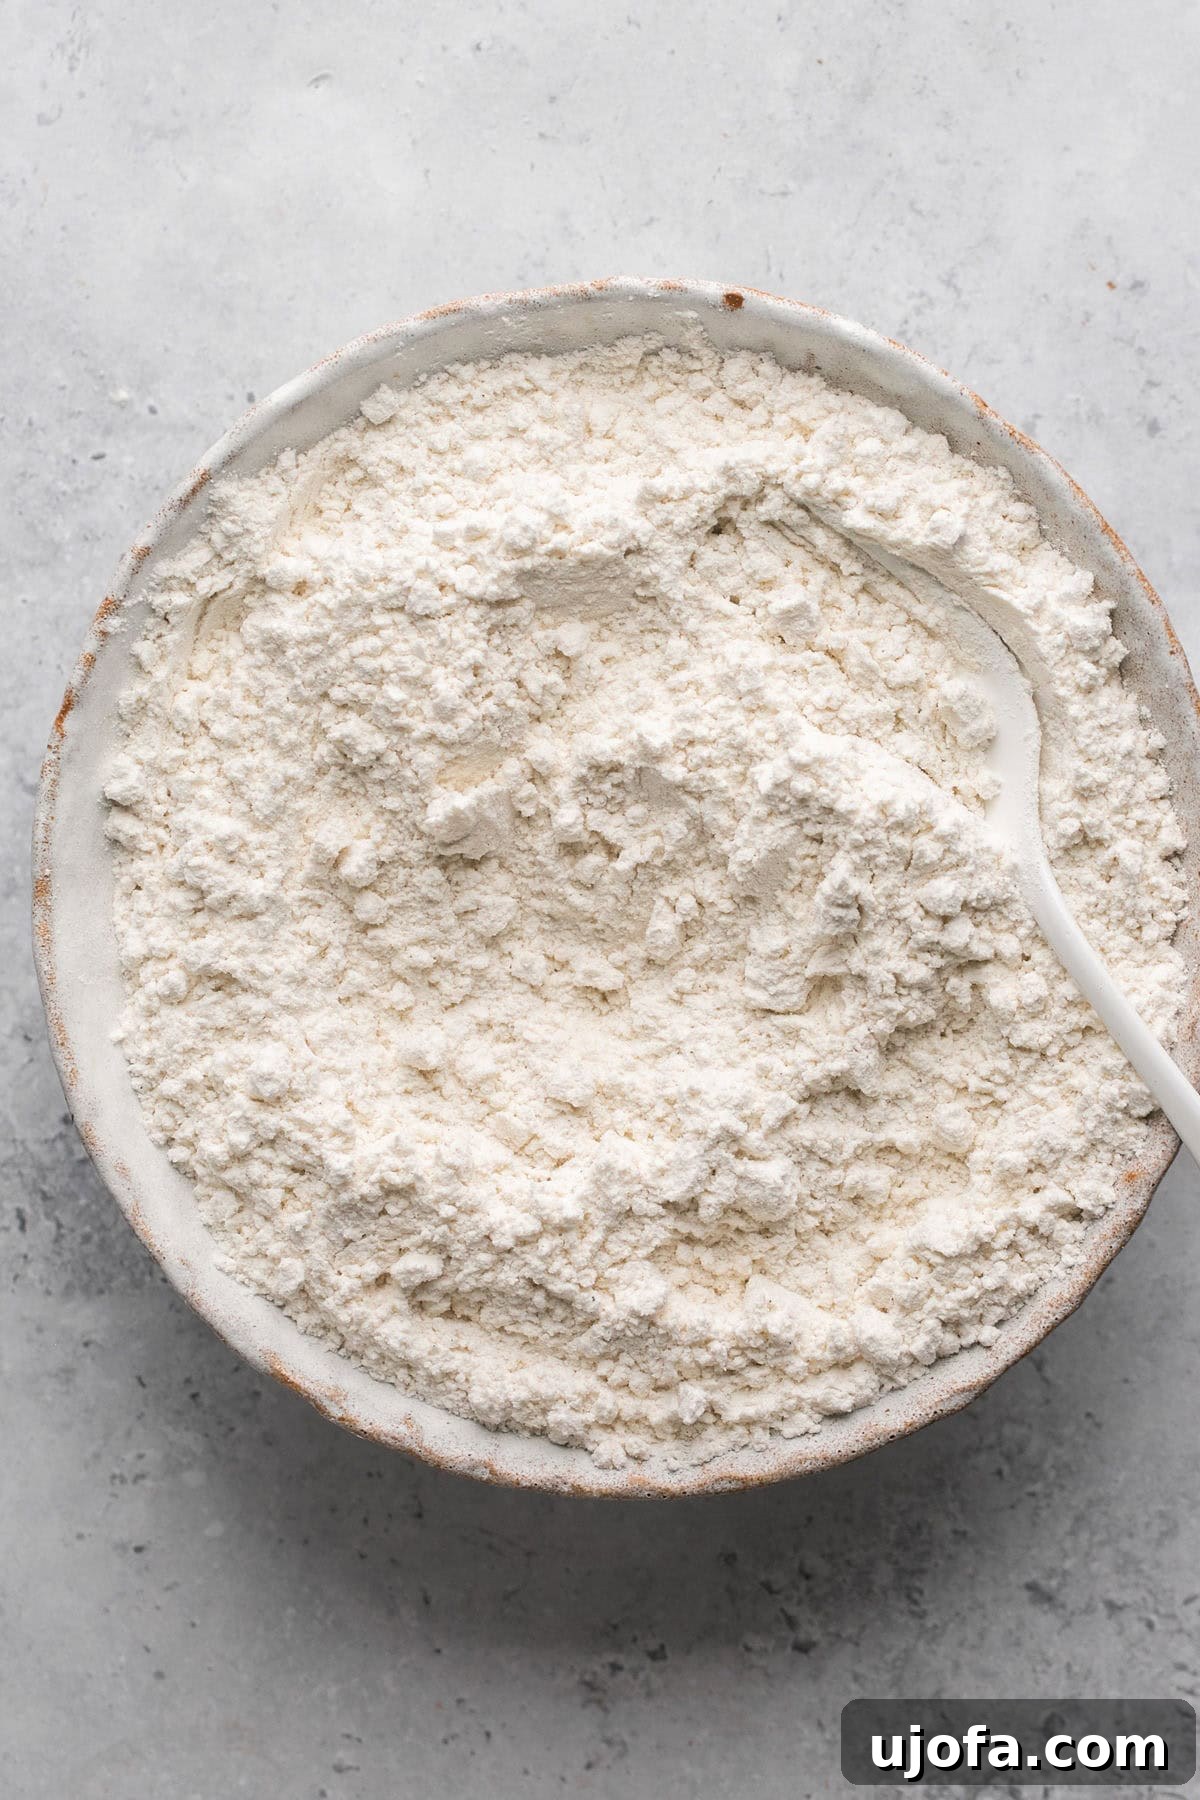
Step 1: Prepare Your Workspace and Dry Ingredients. Begin by preheating your oven to 375°F (190°C). Line one or two large baking sheets with parchment paper; this prevents sticking and ensures even baking. In a medium-sized mixing bowl, thoroughly whisk together your gluten-free flour blend, baking soda, baking powder, and salt. Whisking ensures these dry ingredients are well combined and evenly distributed, which is crucial for uniform leavening in your cookies.
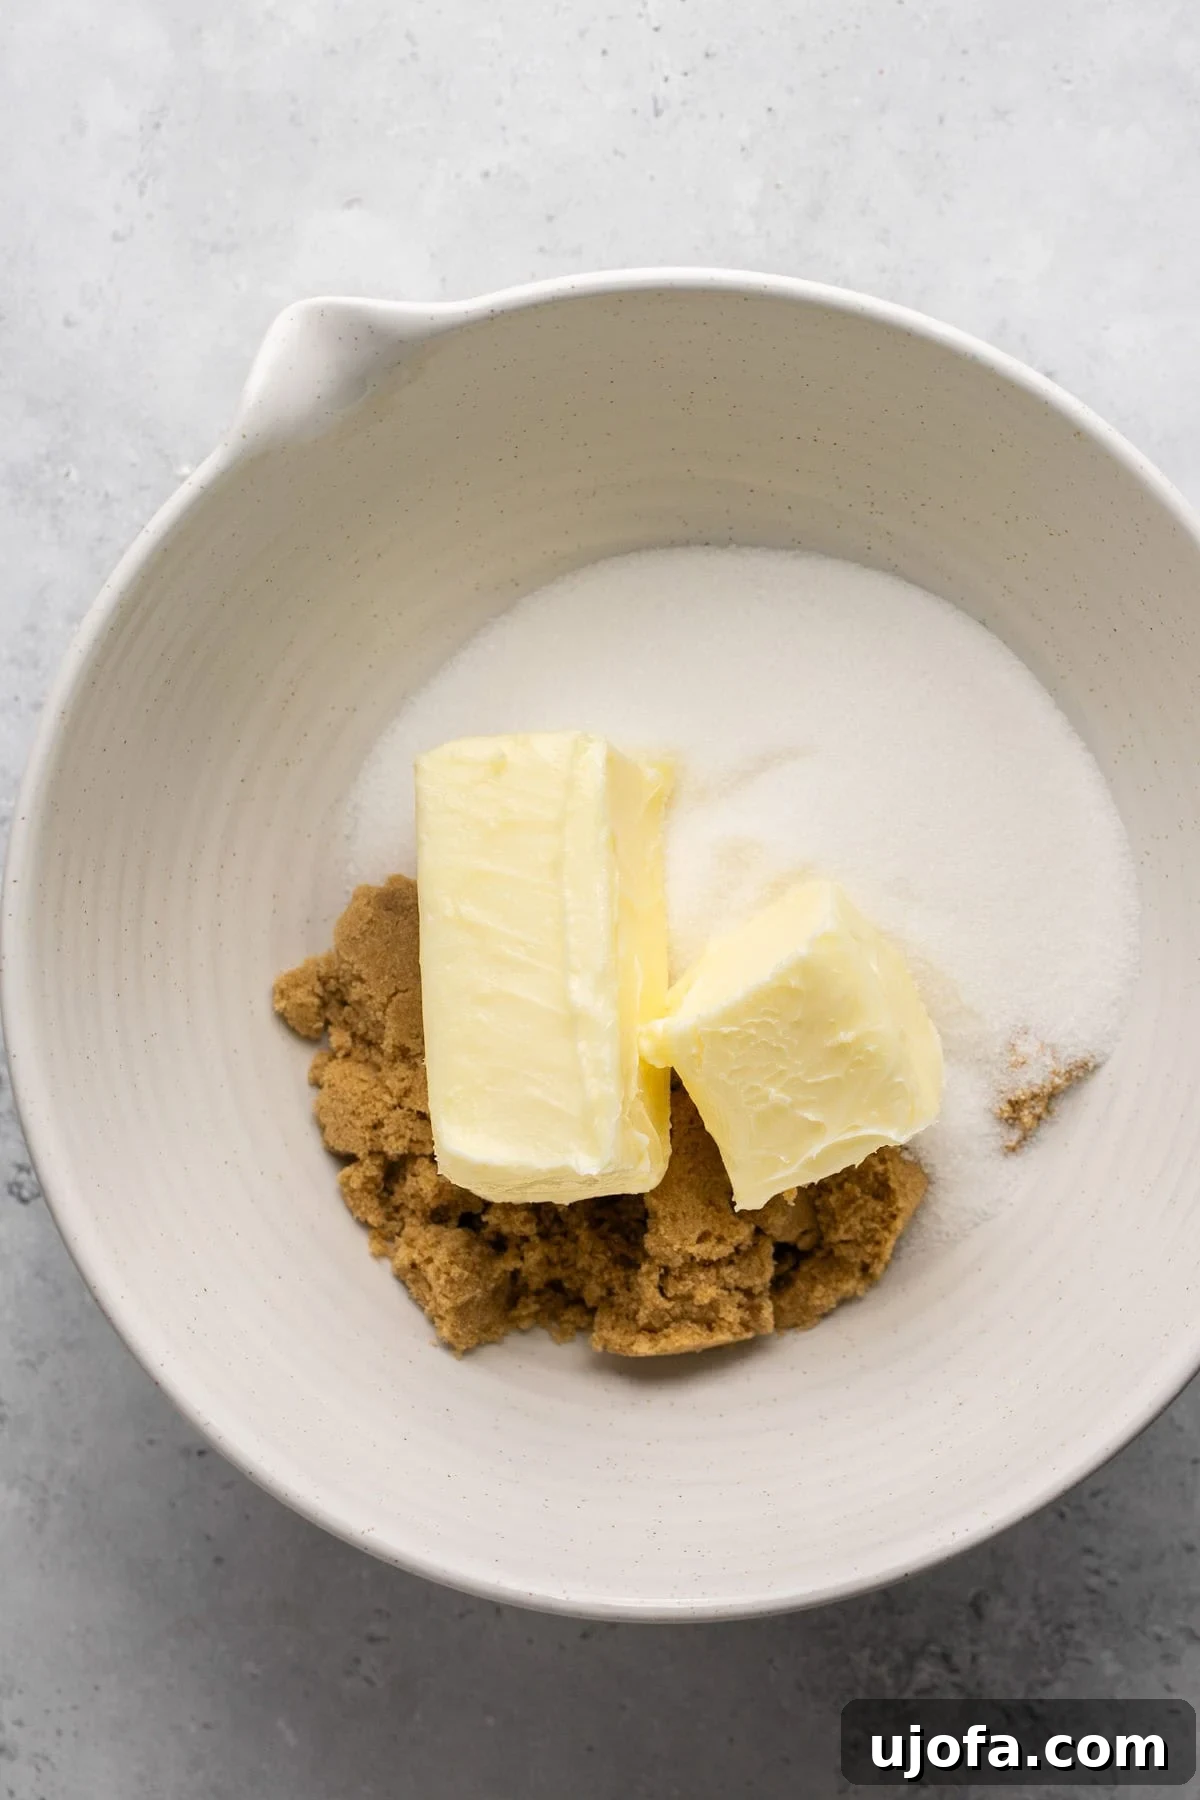
Step 2: Cream the Butter and Sugars. In a separate, larger bowl – ideally, the bowl of a stand mixer fitted with a paddle attachment, or a large bowl for a hand mixer – combine the softened salted butter, granulated white sugar, and light brown sugar. Ensure your butter is truly softened, but not melted, for the best creaming results.
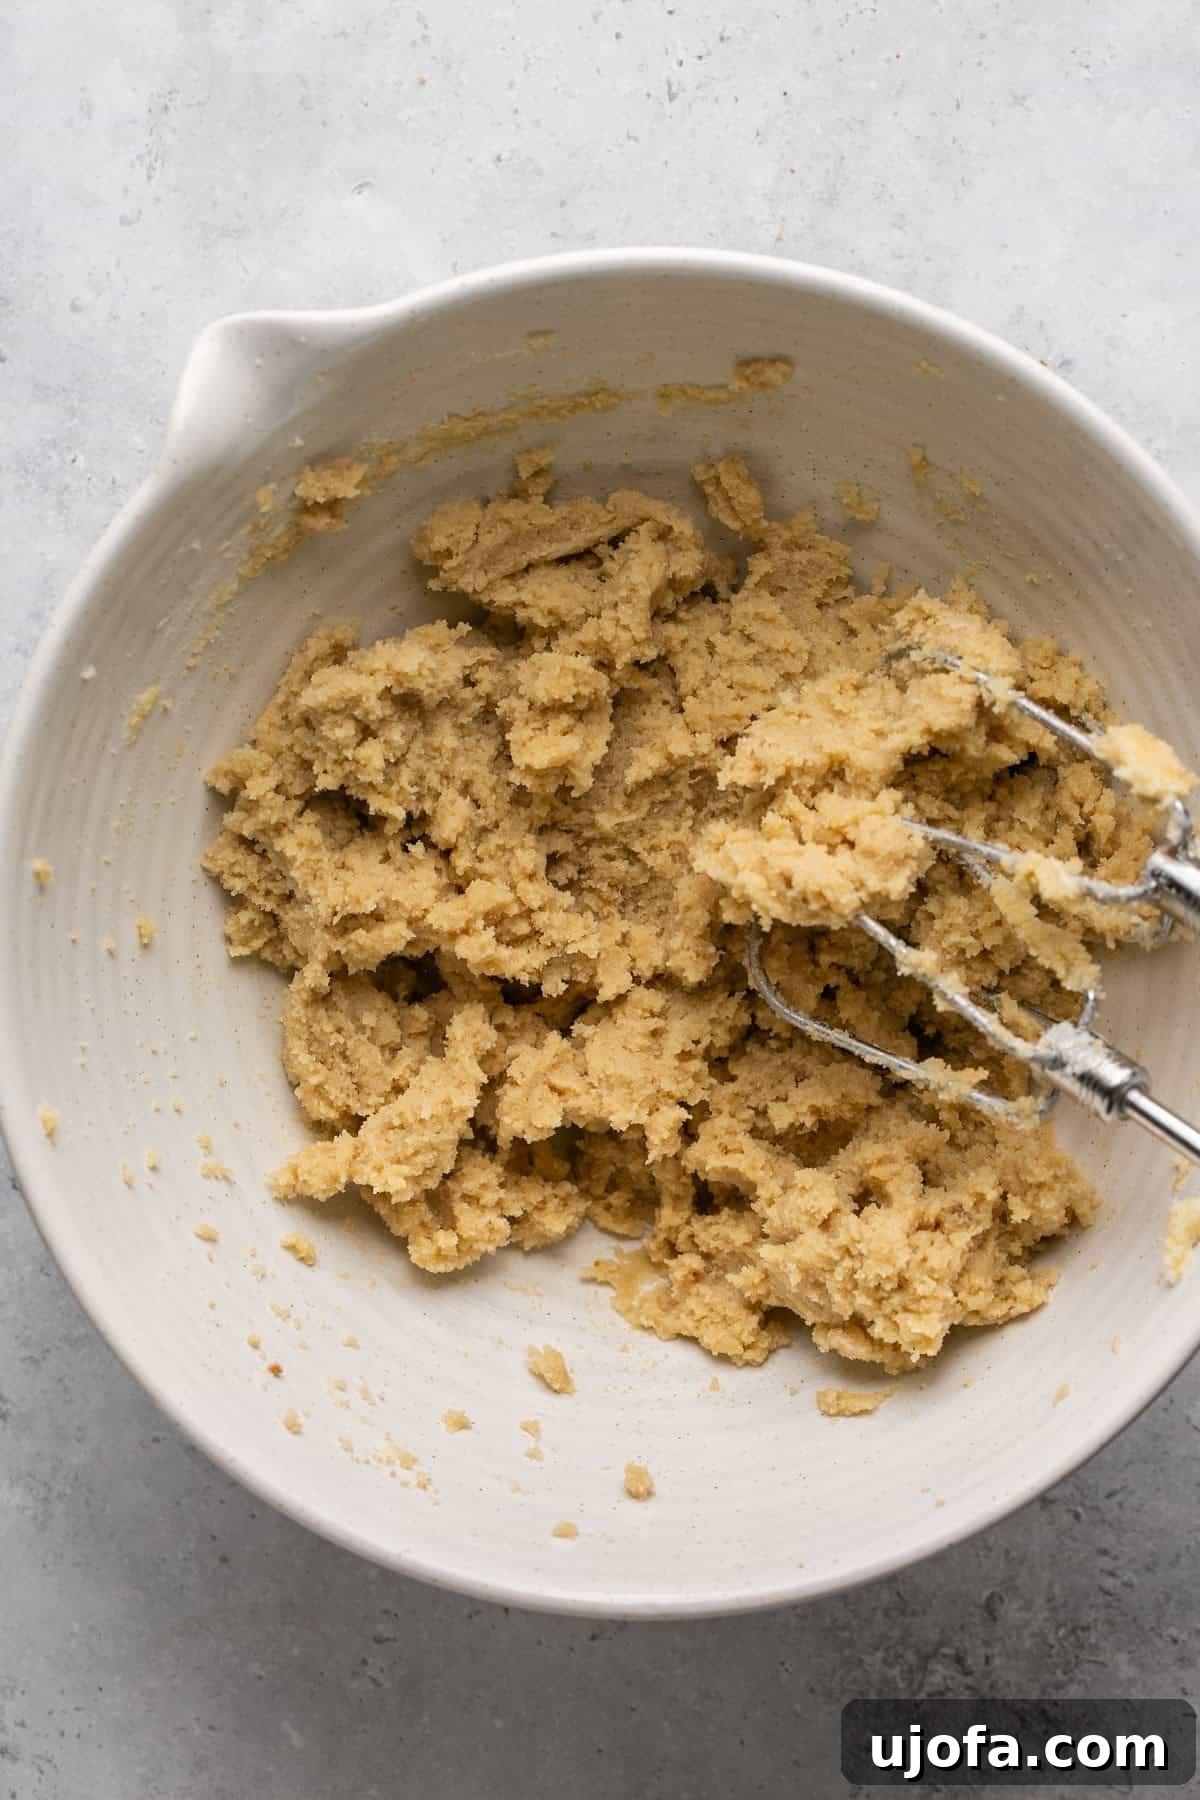
Step 3: Achieve a Fluffy Texture. Cream the butter and sugars together until the mixture becomes light, pale, and fluffy. This process incorporates air into the mixture, which is vital for the cookie’s texture. This step typically takes 2-3 minutes with an electric mixer. Scrape down the sides of the bowl as needed to ensure everything is well combined.
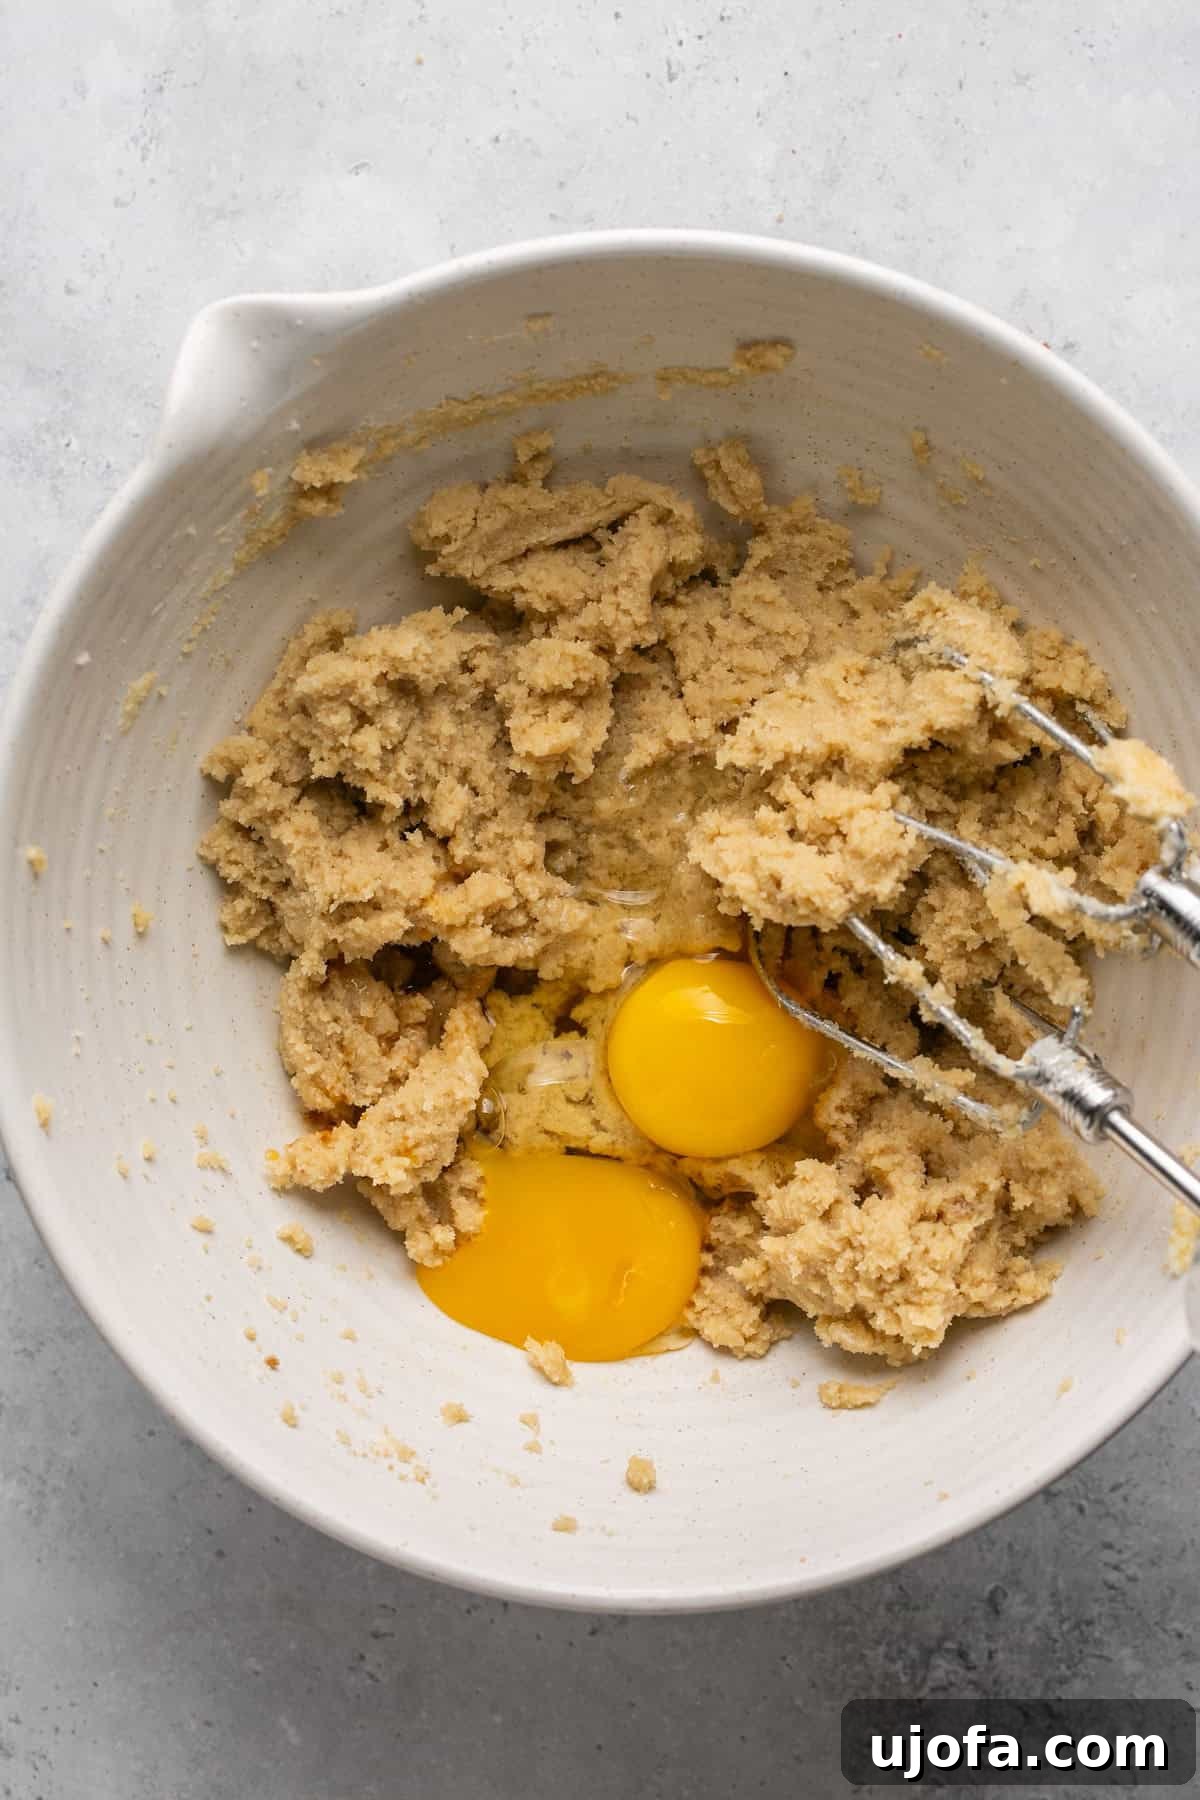
Step 4: Incorporate Wet Ingredients. Add the whole egg, the extra egg yolk, and the pure vanilla extract to the creamed butter and sugar mixture. These ingredients will add richness, moisture, and intense flavor to your cookie dough.
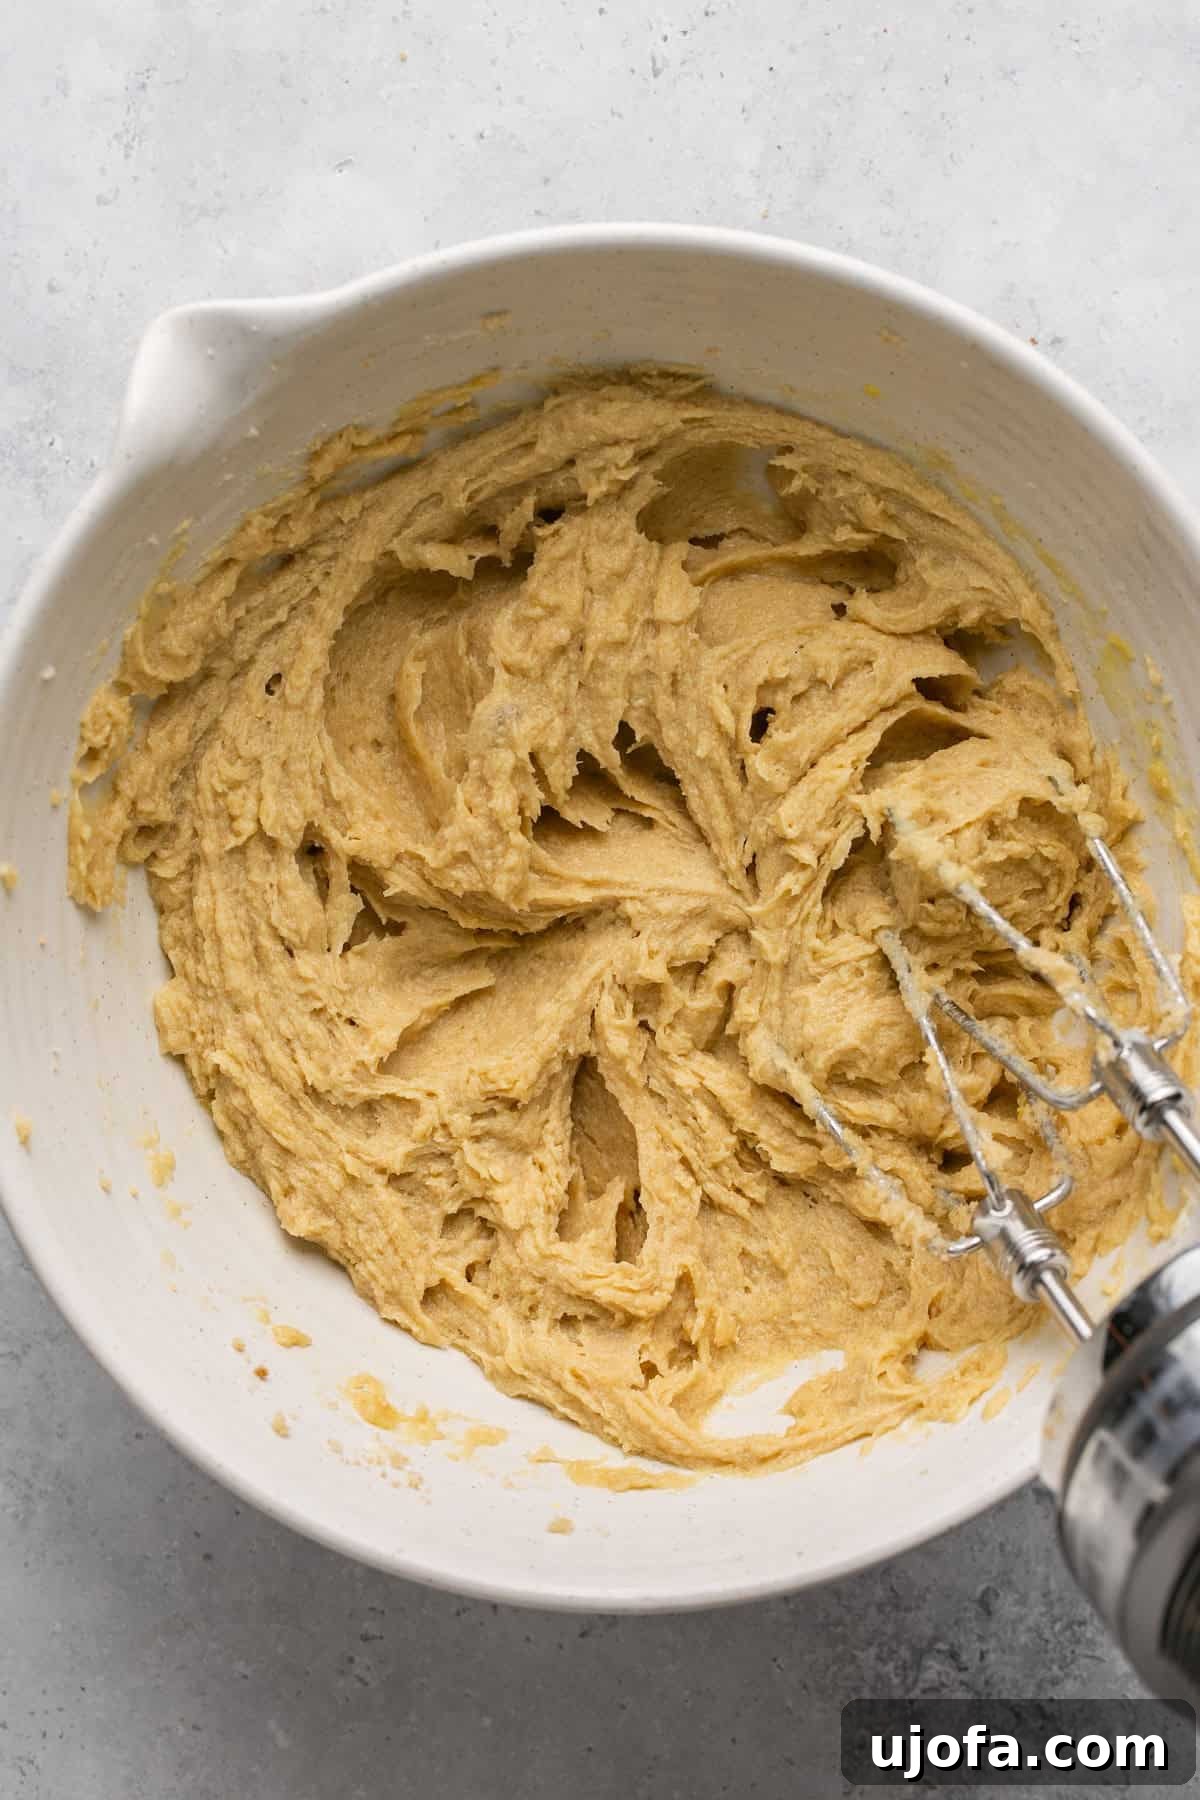
Step 5: Mix Until Smooth. Continue to mix the wet ingredients until they are fully incorporated, creating a smooth, creamy, and cohesive mixture. Be careful not to overmix at this stage, as too much air can lead to a less chewy cookie. Mix just until combined.
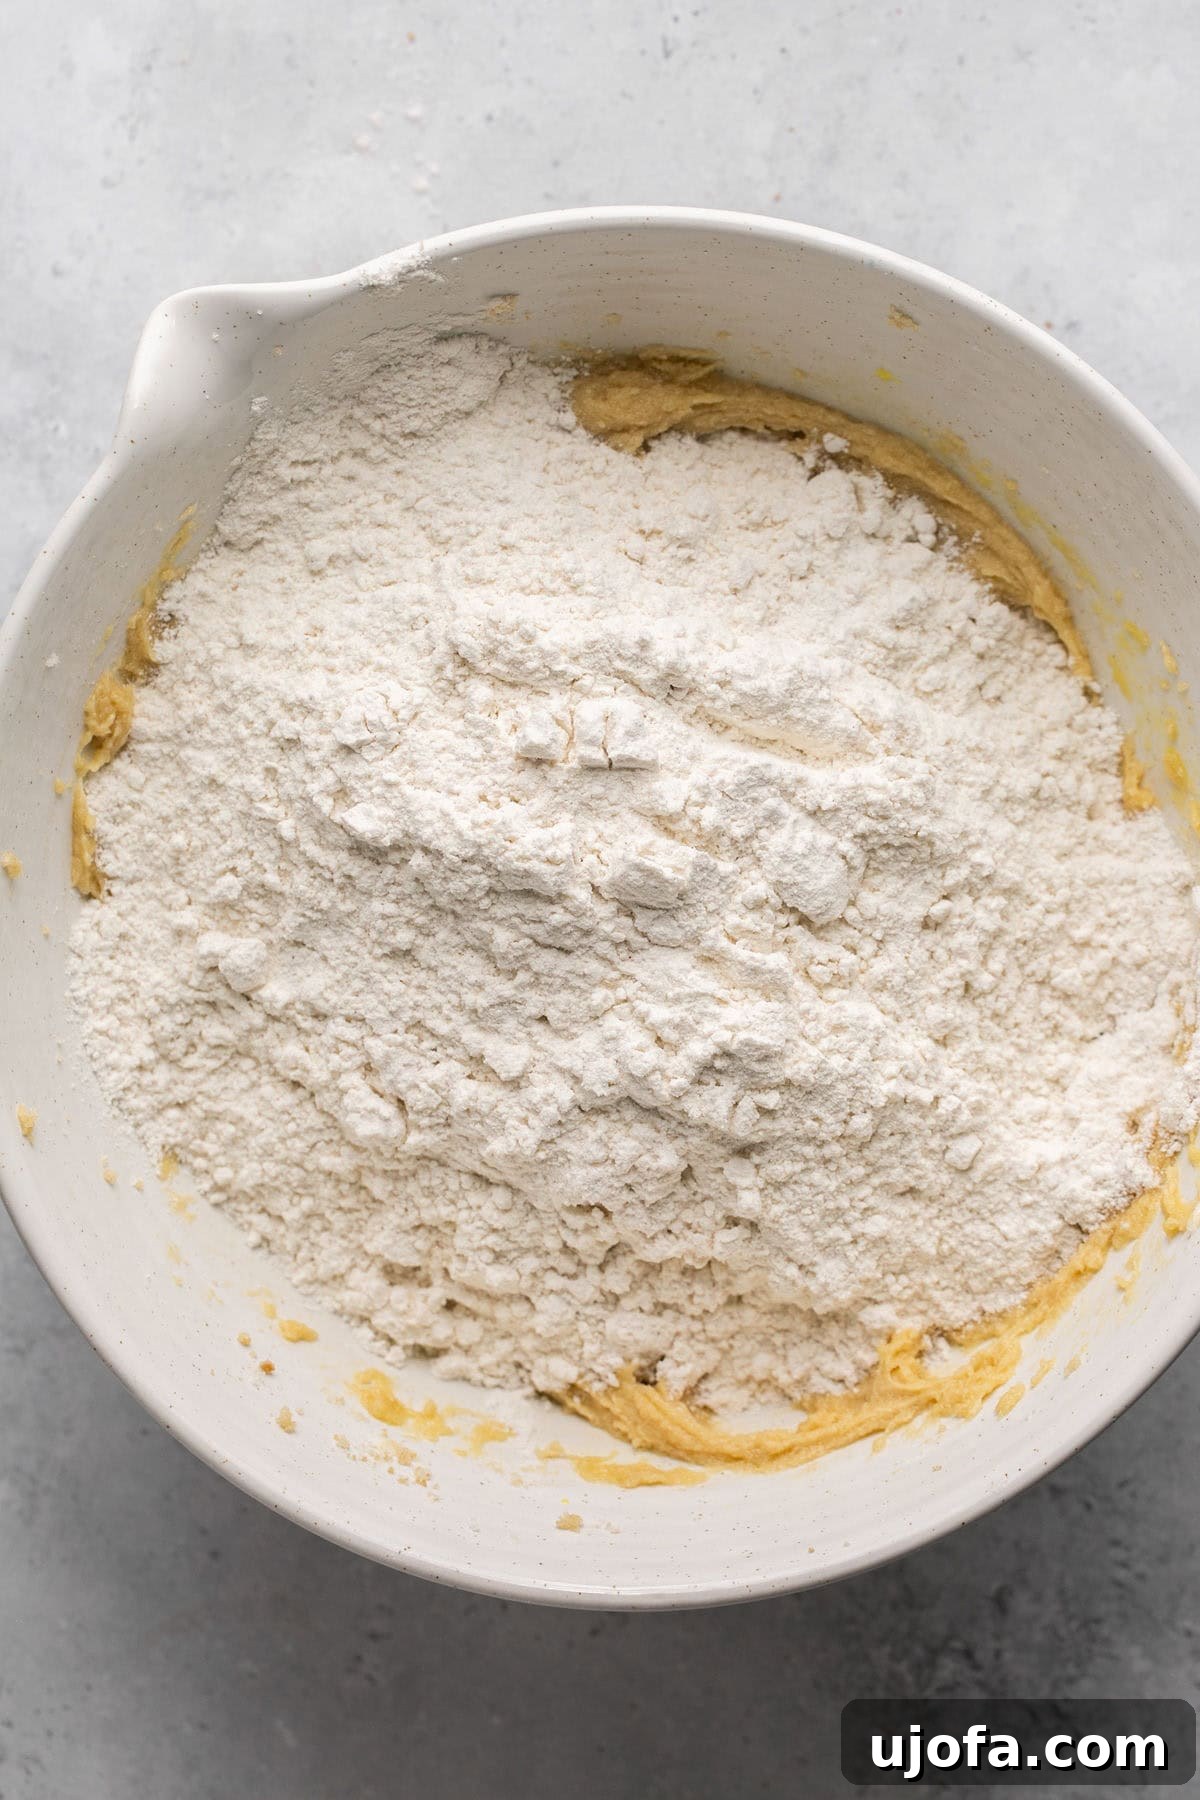
Step 6: Combine Wet and Dry Ingredients. Gradually add the whisked dry ingredients into the wet mixture. Mix on low speed or use a sturdy rubber spatula to combine until just incorporated. It’s important not to overmix the dough once the flour is added, as this can develop the gluten (even in GF flour) and result in tougher cookies. The dough will be thick and may require a bit of “elbow grease” to fully come together.
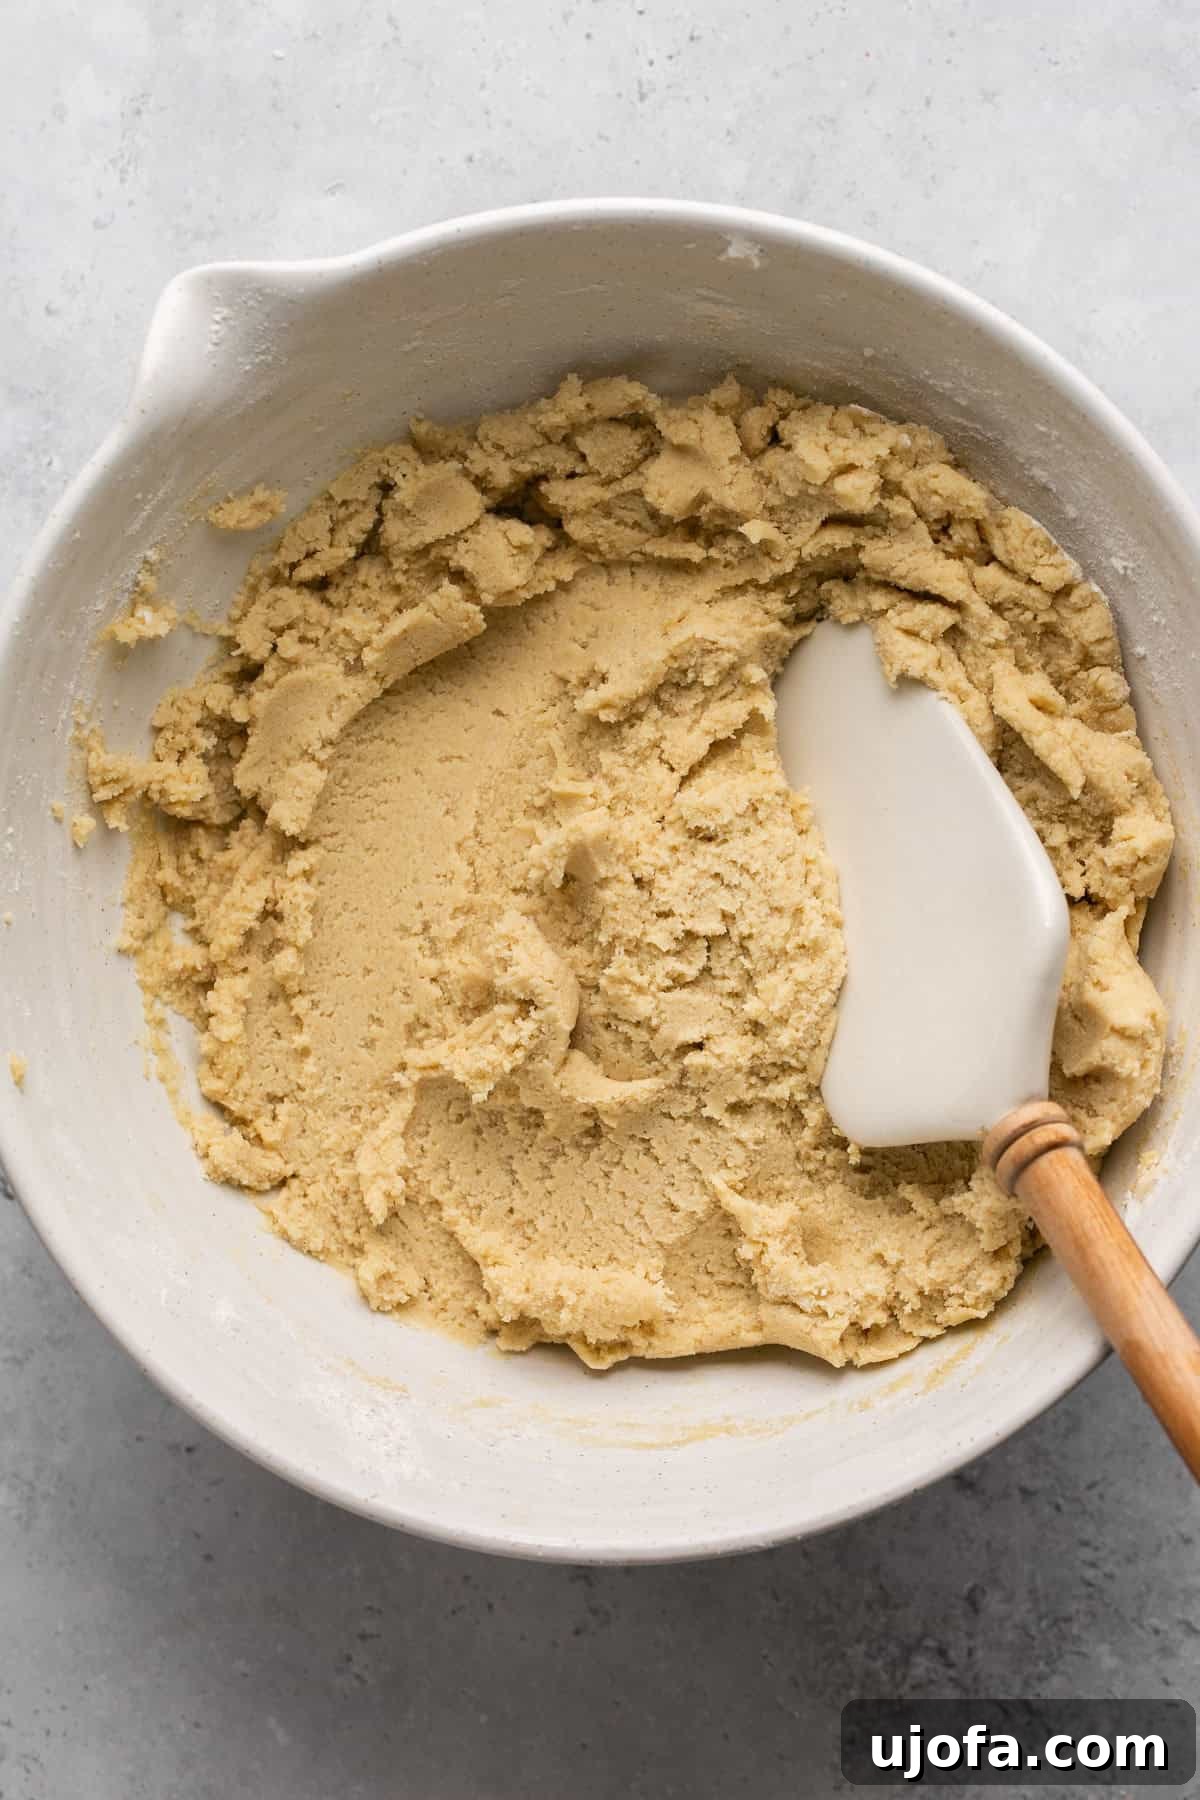
Step 7: Chill the Dough for Best Results. This step is non-negotiable for superior chipless cookies! Cover the bowl with plastic wrap and refrigerate the dough for at least 30 minutes. Chilling allows the flavors to meld, the butter to firm up, and the gluten-free flour to fully hydrate, which helps control spread during baking and ensures a wonderfully chewy cookie with excellent structure. For an even richer flavor, you can chill the dough for up to 24 hours.
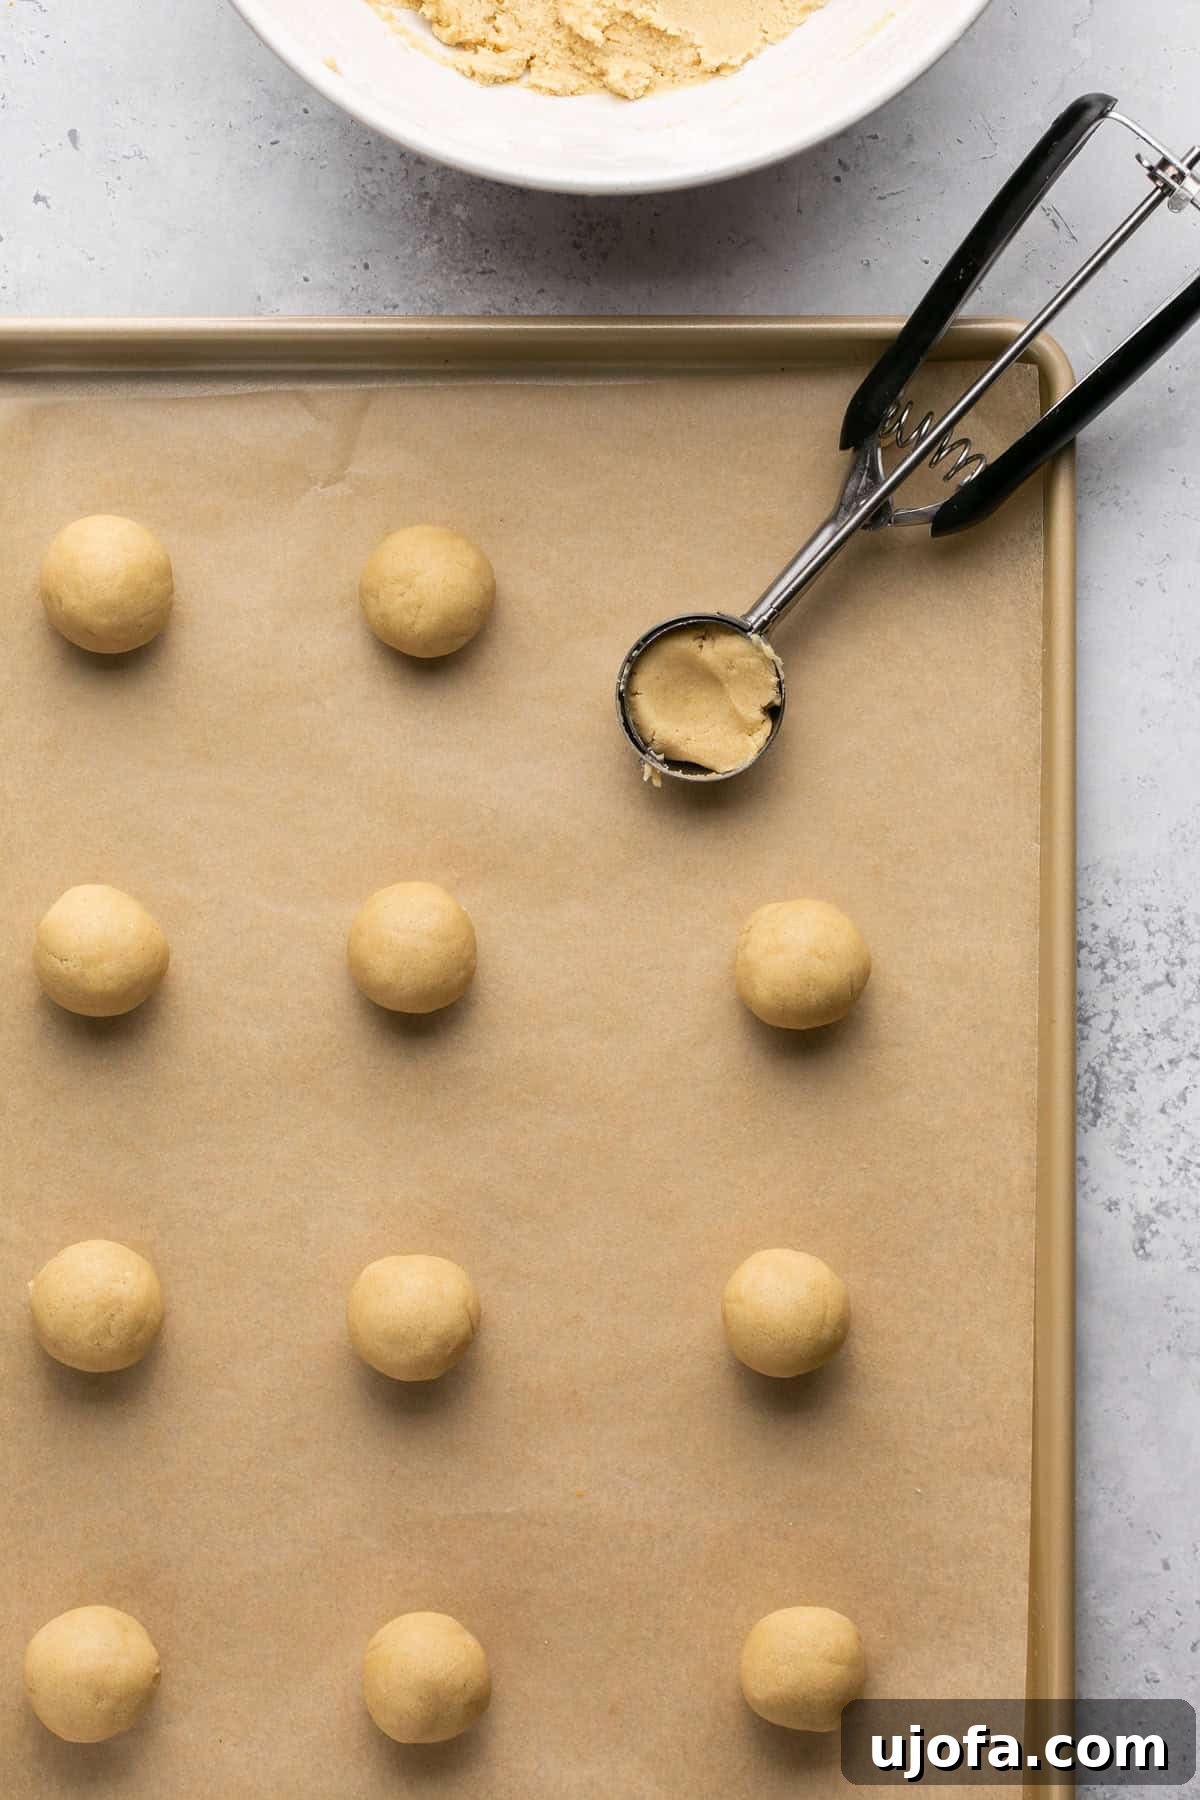
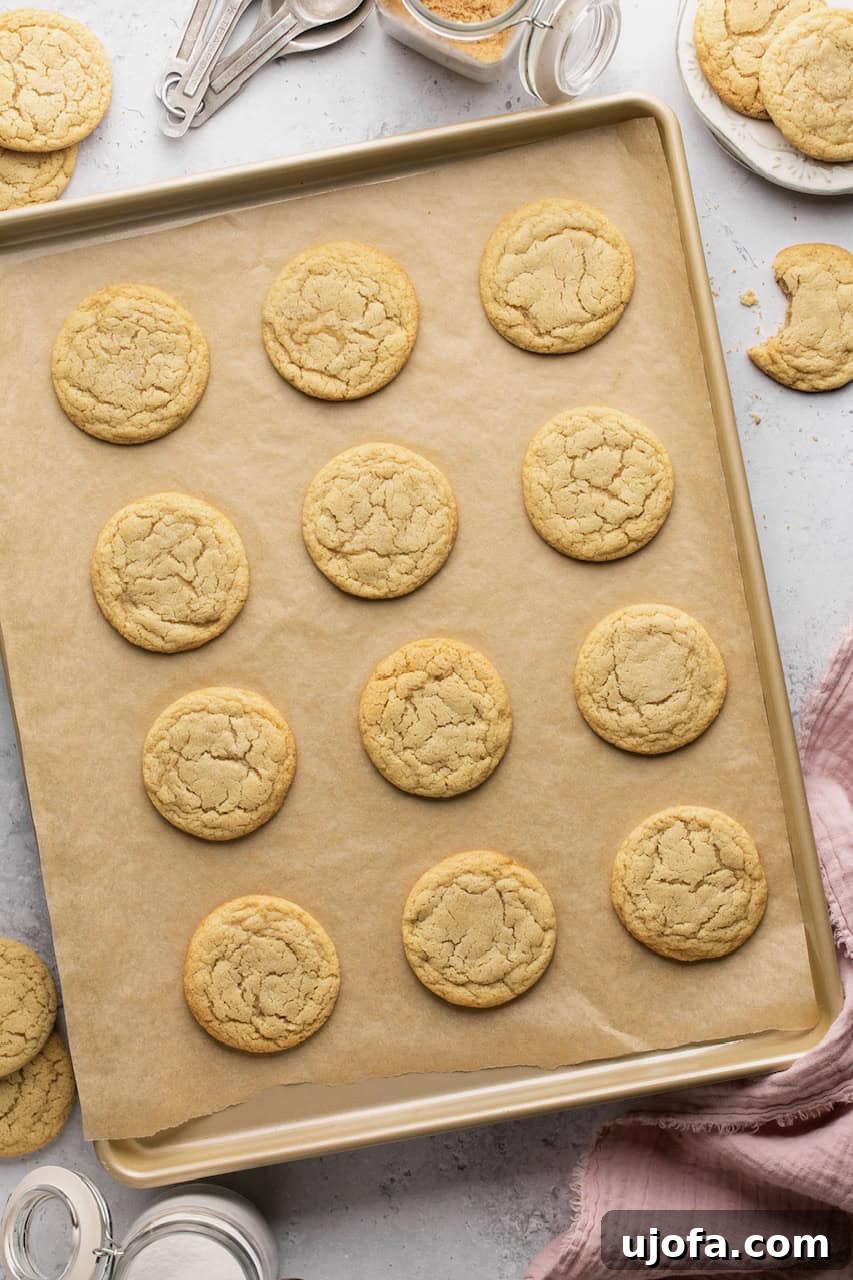
Step 8: Scoop, Bake, and Cool. Once chilled, use a 1.5 tablespoon cookie scoop to portion the dough into 24 even balls. Rolling them briefly between your palms can help create a perfectly round shape. Place the dough balls 1-2 inches apart on your prepared baking sheets to allow for even airflow and spread. Bake for 10-12 minutes, or until the edges are just beginning to turn a beautiful golden brown. The centers may still look slightly soft—this is desirable for a chewy interior! Remove from the oven and let the cookies cool on the baking sheets for 5 minutes. This crucial resting period allows them to set up and prevents crumbling. Finally, transfer them to a wire rack to cool completely. For an extra touch of gourmet flair, consider sprinkling a tiny pinch of flaky sea salt on top of the warm cookies for an ultimate flavor contrast.
Expert Tips & Tricks for Perfect Chipless Cookies
Achieving bakery-quality chipless cookies is easy with a few insider tricks:
- Don’t Skip Chilling the Dough: This is perhaps the most important tip. Chilling the dough for at least 30 minutes, or even up to 24 hours, helps the butter firm up, preventing the cookies from spreading too much in the oven. It also allows the gluten-free flour to absorb moisture, resulting in a thicker, chewier cookie with a more developed flavor.
- Use a Cookie Scoop: For perfectly uniform cookies that bake evenly, invest in a good quality cookie scoop (the 1.5 tbsp size is ideal for this recipe). Consistent size means all cookies will be done at the same time, preventing some from being underbaked while others are overbaked.
- Level Your Flour Accurately: Baking, especially with gluten-free flours, is a science. Scoop your flour into the measuring cup and then use the back of a knife or a straight edge to level off the top, removing any excess. This ensures you’re using the exact amount of flour needed for the correct dough consistency.
- Cool Cookies Properly: Resist the urge to move your cookies immediately after taking them out of the oven. Letting them rest on the hot baking sheet for 5 minutes allows them to firm up and prevents them from falling apart when transferred. Then, move them to a wire rack to cool completely, ensuring a sturdy and perfectly textured cookie.
- Don’t Overbake: For that signature soft and chewy center, pull the cookies from the oven when the edges are just golden brown, even if the centers still look a little soft. They will continue to bake slightly from residual heat on the pan, firming up to perfection.
Looking for more amazing gluten-free cookie options? You’ll love my Italian Wedding Cookies, which are absolutely perfect for any celebration or just a delightful treat!
Practical Storage Tips for Freshness
Keeping your chocolate chipless cookies fresh ensures you can enjoy their deliciousness for longer. Here’s how to store them:
- Countertop Storage: Once completely cooled, store your baked cookies in an airtight container at room temperature for up to 5 days. This keeps them soft and prevents them from drying out.
- Freezer Storage (Baked): For longer-term storage, baked cookies freeze beautifully. Place fully cooled cookies in a single layer on a baking sheet and freeze until solid. Then, transfer them to a freezer-safe airtight container or heavy-duty freezer bag, separating layers with parchment paper. They can be stored for up to 6 months. Thaw at room temperature or warm briefly in the microwave for a fresh-baked feel.
- Freezer Storage (Unbaked Dough): You can also prepare the dough ahead of time and freeze it. Scoop the dough into individual balls and place them on a parchment-lined baking sheet. Freeze until solid, then transfer the frozen dough balls to a freezer-safe bag or container. When ready to bake, place the frozen dough balls on a baking sheet and bake directly from frozen, adding just 1-2 minutes to the original bake time. This is perfect for fresh, warm cookies anytime!
Recipe Frequently Asked Questions (FAQ’s)
The beauty of chipless cookies is celebrating the dough itself. However, if you desire an alternative add-in, many options work wonderfully. Consider using M&Ms (ensure they are gluten-free if needed), butterscotch chips, peanut butter chips, raisins, dried cranberries, or even toasted coconut flakes for added texture and flavor. The key is to choose an add-in that complements the rich vanilla-butter base without overpowering it.
Preventing dry chipless cookies is crucial since they don’t have the moisture from chocolate chips. The most important step is to avoid overbaking. Always stick to the recommended 10-12 minutes and remove them from the oven when the edges are just beginning to turn golden brown, even if the centers seem slightly underdone. The residual heat will continue to cook them as they cool. Additionally, the extra egg yolk in this recipe significantly contributes to the dough’s richness and moisture, helping to keep the cookies perfectly tender.
Absolutely! This recipe provides a fantastic gluten-free cookie base. To transform them into chocolate chip cookies, simply fold in 1.5 cups of your favorite gluten-free chocolate chips (dark, semi-sweet, or milk chocolate) after combining the wet and dry ingredients in Step 6. Ensure your chocolate chips are certified gluten-free if you have dietary restrictions.
Yes, making the cookie dough ahead of time is a great time-saver. After preparing the dough, roll it into a ball, wrap it tightly in plastic wrap, and refrigerate for up to 3 days. When you’re ready to bake, simply unwrap, roll into balls, and proceed with baking as directed. Chilling the dough even longer can often lead to a more flavorful and structured cookie!
Without the bold flavor of chocolate, the other ingredients need to work harder to create a balanced taste. If your cookies taste bland, you might need to ensure your vanilla extract is high-quality and measured accurately. If they are too sweet, consider adding a pinch more salt next time, as salt is key to balancing sweetness and enhancing other flavors. This recipe carefully balances butter, two types of sugar, and ample vanilla to create a rich, full-bodied flavor that stands on its own.
It is generally not recommended to use almond flour or coconut flour as a direct 1:1 substitute for a gluten-free all-purpose blend. These flours have very different absorption rates and protein structures, which can drastically alter the texture and structure of your cookies. Almond flour is denser and absorbs less liquid, while coconut flour is extremely absorbent. Swapping them directly would likely result in dry, crumbly, or overly dense cookies. For best results, stick to the recommended gluten-free measure-for-measure blend or follow a recipe specifically formulated for alternative flours.
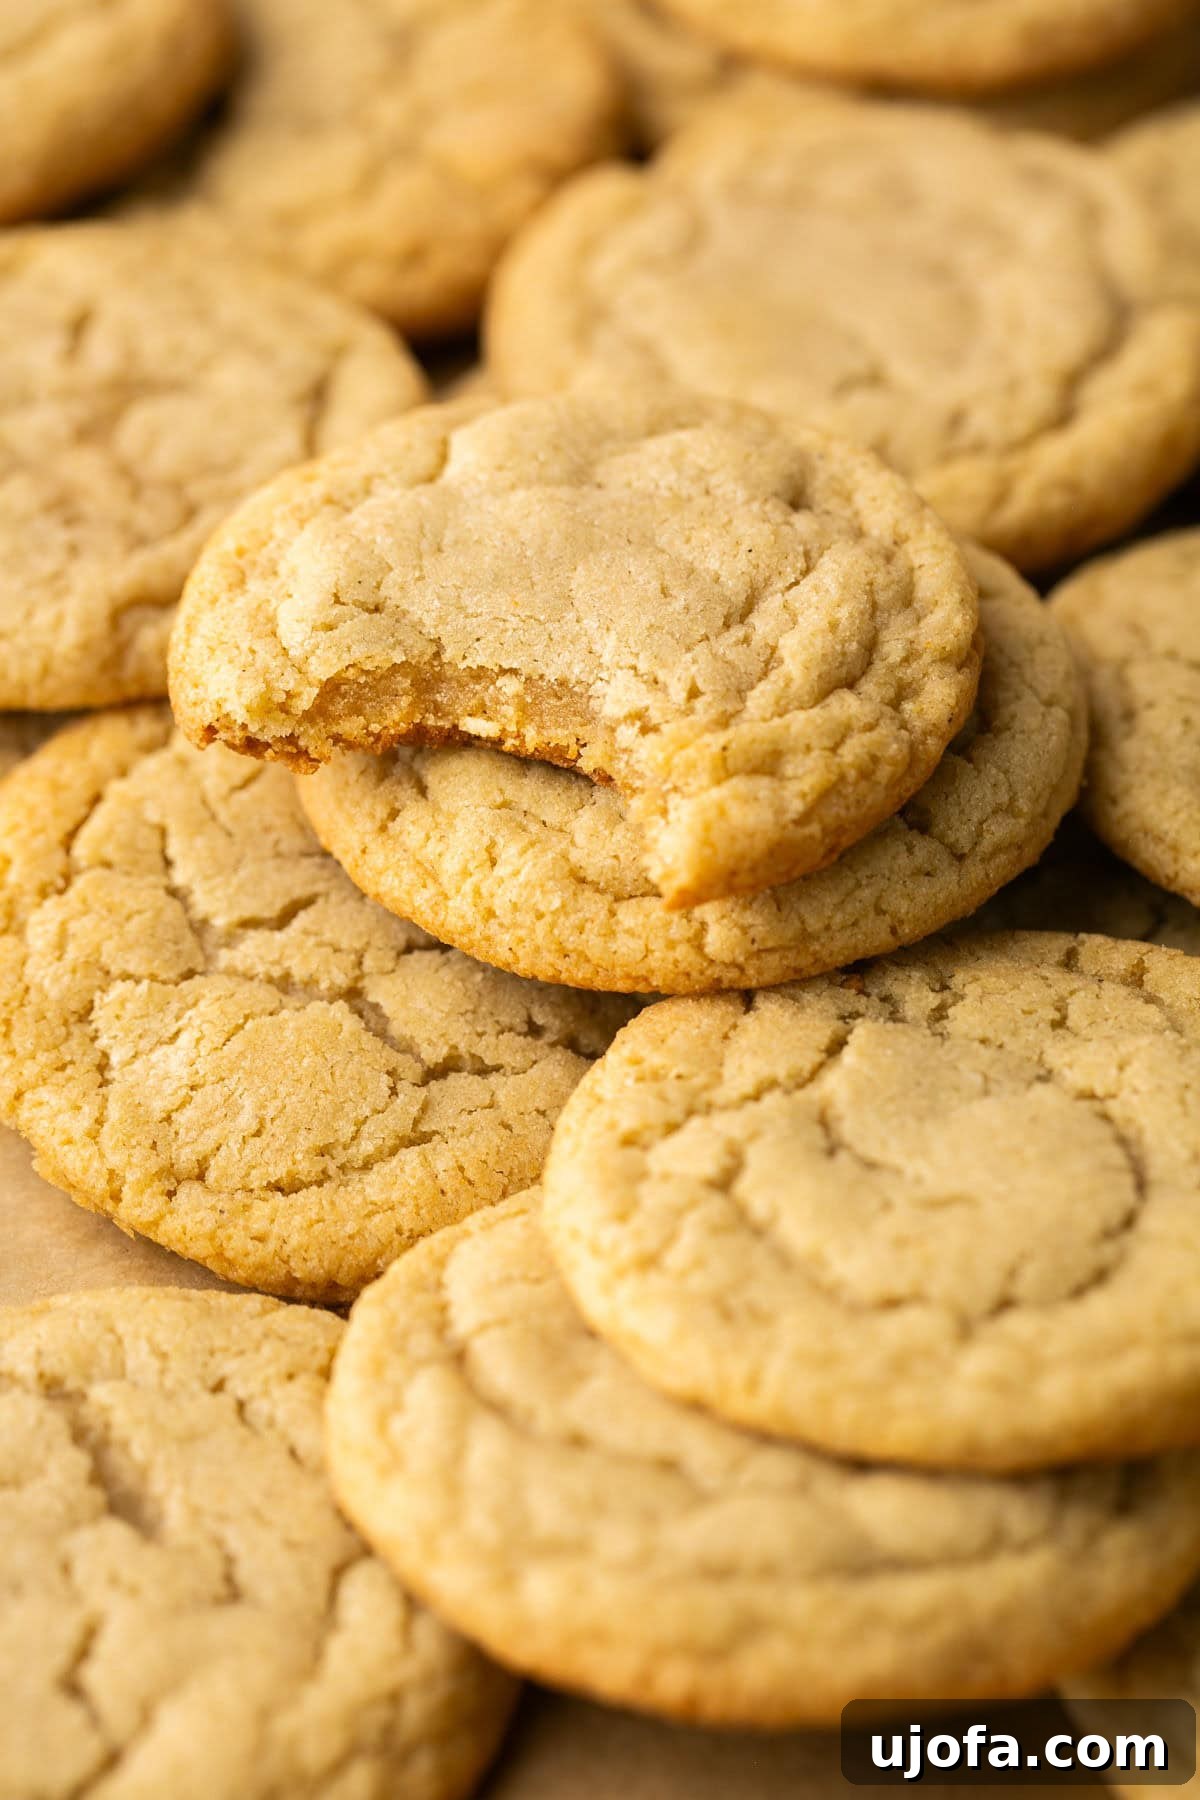
These wonderfully chewy Gluten-Free Chocolate Chipless Cookies are a testament to the simple joy found in a perfectly baked cookie. With their inviting golden-brown edges, rich buttery flavor, and that comforting, nostalgic cookie base goodness, they are designed to bring a smile to anyone’s face. They are perfect for packing into school lunches, contributing to a community bake sale, or simply indulging in a warm, sweet treat on a quiet evening.
We encourage you to try this recipe for yourself and experience the magic of the chipless cookie. Please leave a review below to share your thoughts and success! If you find yourself in a constant cookie mood, don’t miss out on my Gluten-Free Pretzel Christmas Crack for an irresistible salty-sweet combination that everyone adores, or these festive Peppermint Hot Cocoa Cookies for a delightful winter treat!
More Gluten-Free Cookie Recipes You’ll Love
Mary’s Famous Gluten-Free Peanut Butter Cookies
Raspberry and White Chocolate Cookies (Gluten Free)
Gluten-Free Monster Cookies (Dairy-Free Option)
Gluten-Free Chocolate Chip Almond Butter Oatmeal Cookies
Love this recipe? Please leave a 5-star 🌟🌟🌟🌟🌟 rating in the recipe card below & a review in the comment section. Or, follow me on Facebook, Pinterest or Instagram today for more delicious recipes!

Print Recipe
Chewy Chocolate Chipless Cookies (Gluten Free)
Mary Smith
10 mins
11 mins
51 mins
24 cookies
Equipment
-
2 cookie sheets
-
1 1.5-tbsp cookie scoop
Ingredients
- ¾ cup salted butter, softened
- ¾ cup granulated sugar
- ¾ cup light brown sugar, packed
- 1.5 tsp vanilla extract
- 1 egg
- 1 egg yolk
- 2 ¼ cups Gluten-Free Measure for Measure Flour (King Arthur Baking brand recommended)
- 1 tsp baking soda
- ½ tsp gluten-free baking powder
- ¼ tsp salt
Instructions
- Preheat oven to 375°F (190°C). Line 2 baking sheets with parchment paper.
- In a medium bowl, whisk together the gluten-free flour, baking soda, baking powder, and salt.
- In a separate larger bowl (or stand mixer), cream the butter and sugars together until light and fluffy. Beat in the egg, egg yolk, and vanilla extract until well combined and creamy.
- Gradually add the dry ingredients to the wet mixture. Mix until just combined using a rubber spatula or mixer; the dough will be thick and may require some effort. Refrigerate the dough for at least 30 minutes.
- Use a 1.5 tbsp cookie scoop to roll the dough into 24 even balls. Place them 1-2 inches apart on your prepared baking sheets.
- Bake for 10-12 minutes, until the edges are just starting to turn golden brown. Remove from oven and let cool on the baking sheet for 5 minutes before transferring to a wire rack to cool completely.
Notes
Optional: For those who love a hint of chocolate, feel free to add in 1.5 cups of your favorite dark chocolate chips after mixing the wet and dry ingredients!
Storage: Store baked cookies in an airtight container on the countertop for up to 5 days to maintain freshness.
Freezing: Baked cookies can be frozen in an airtight container for up to 6 months. Unbaked dough balls can also be frozen and baked directly from frozen; just add 1-2 minutes to the bake time.
Dairy Free: To make these cookies dairy-free, use a high-quality dairy-free/vegan butter such as Miyoko’s Kitchen or Kite Hill. If adding chocolate chips, ensure they are also dairy-free (e.g., Enjoy Life Foods dark chocolate morsels).
Regular Flour Option: If you do not require a gluten-free diet, regular all-purpose flour can be used as a 1:1 substitute for the gluten-free flour blend in this recipe.
Add-ins: While delicious as chipless cookies, you can experiment with other additions like semi-sweet chocolate chips, dark chocolate chunks, M&M’s, butterscotch chips, peanut butter chips, or white chocolate chips for extra flavor and texture.
Nutrition
All nutrition facts are an estimate and automatically calculated. While I fact-check them using My Fitness Pal, please note that they may not always be 100% accurate and depend on the specific ingredients used. For the most accurate grams per serving size, weigh your total batch and divide by the number of servings.
Did you make this?
Rate & comment below, and tag me on Instagram @maryswholelife