
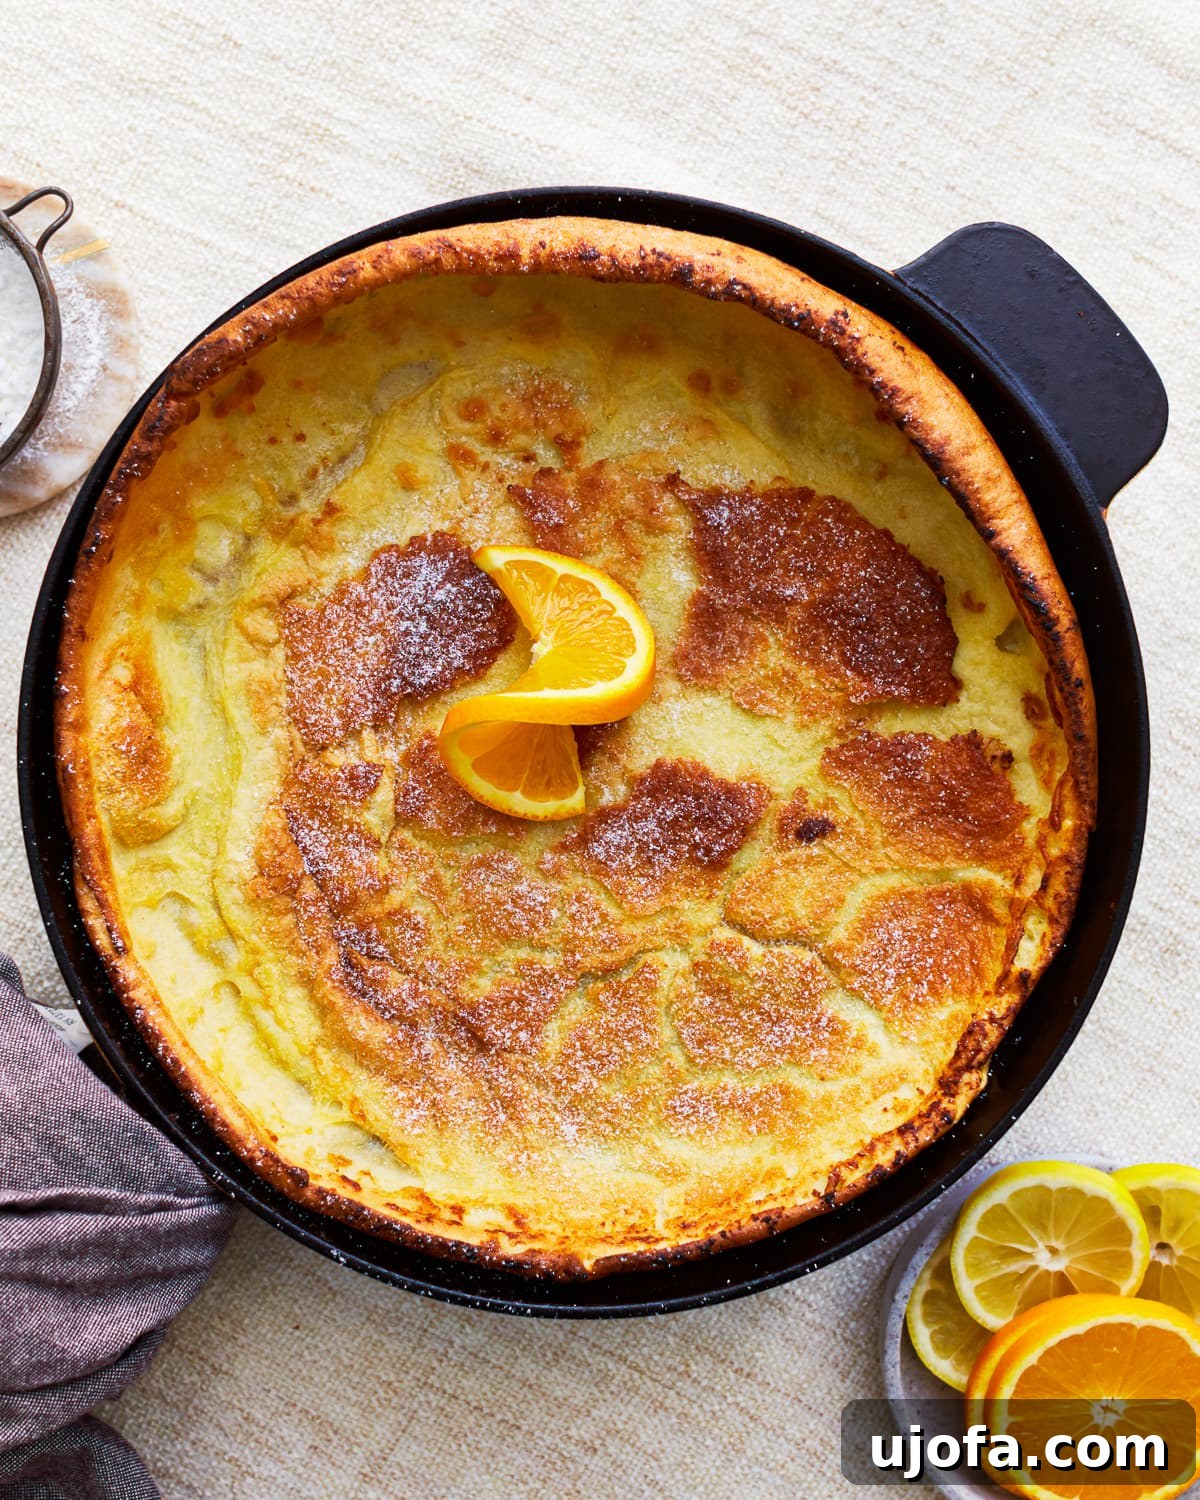
Breakfast just got a whole lot more exciting and effortlessly delicious with this incredible gluten-free Dutch baby pancake recipe. Imagine waking up to a golden, puffy, oven-baked sensation that requires minimal effort but delivers maximum impact. With simple ingredients quickly blended, poured into a sizzling hot pan, and baked to perfection, you’ll create a magnificent, mega-pancake that will truly impress everyone at the table. Whether it’s a special weekend breakfast with the family or a show-stopping brunch with friends, this gluten-free Dutch baby is guaranteed to be a hit every single time. Its unique, dramatic rise and delightfully tender texture make it a feast for both the eyes and the palate, proving that gluten-free baking can be both easy and spectacular.
What Exactly is a Dutch Baby Pancake?
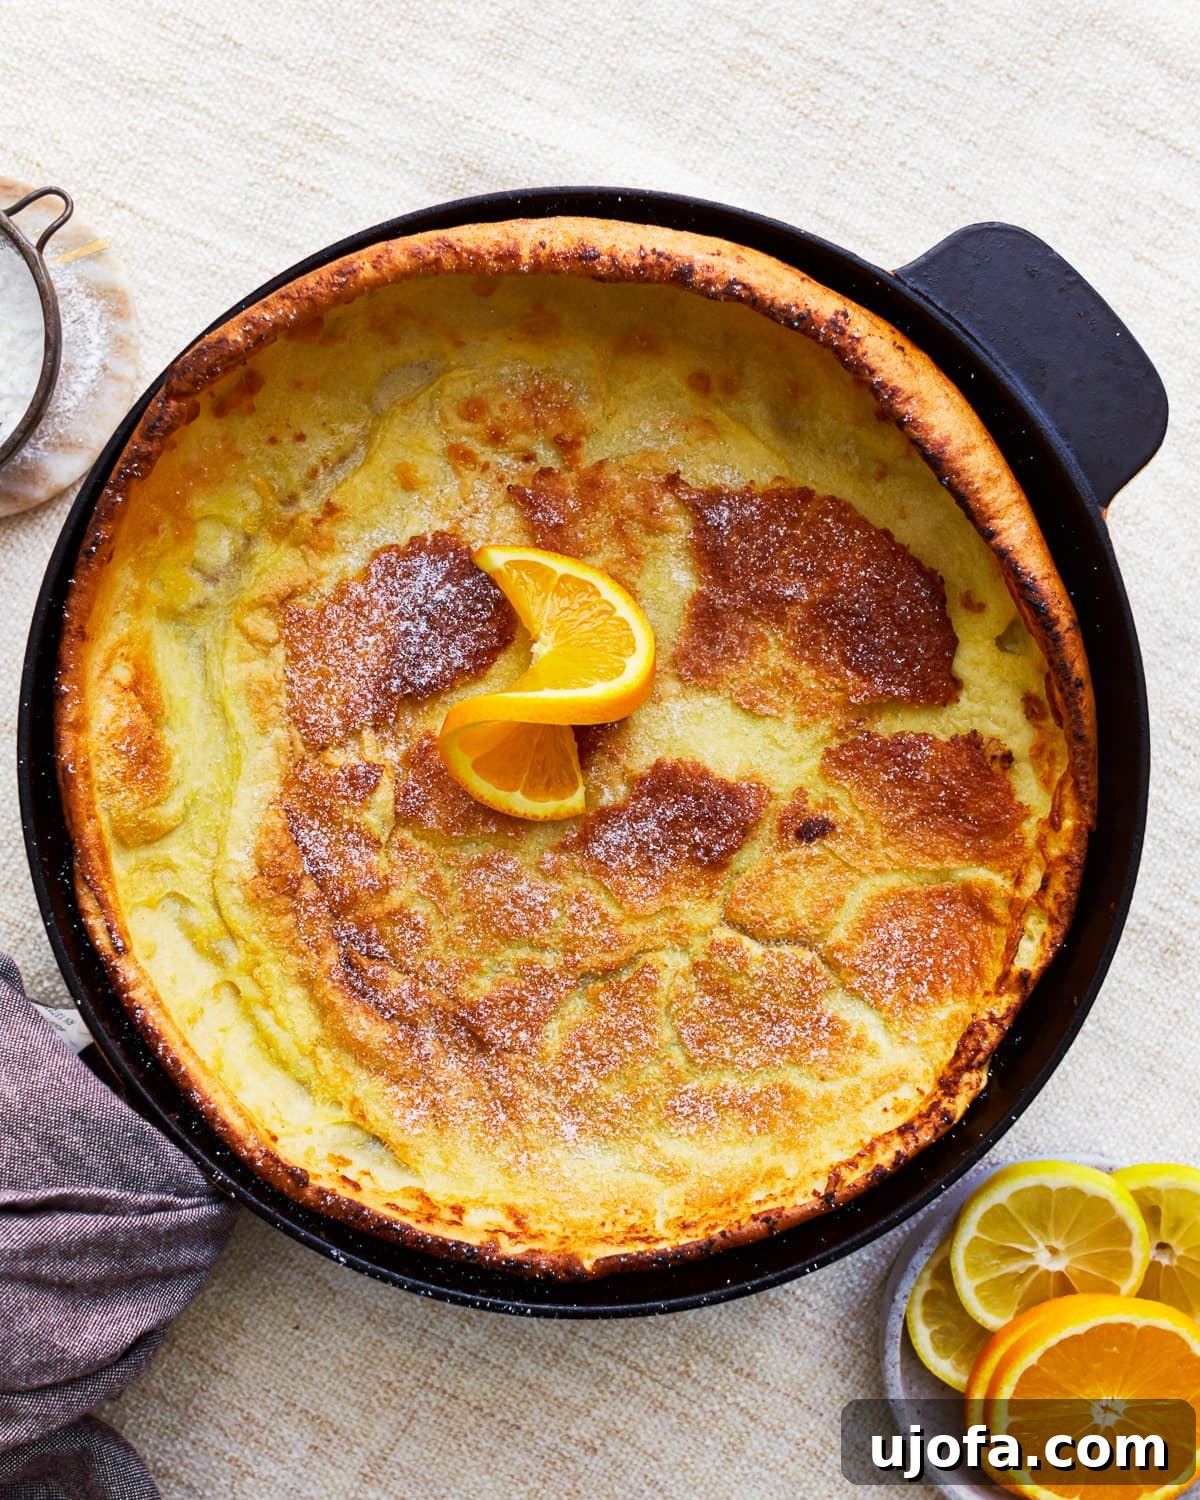
Often referred to as a German pancake, the Dutch baby is a unique and captivating breakfast pastry that bridges the gap between a pancake and a popover. Despite its name, which is thought to be an Americanization of “Deutsch” (German), this delightful creation hails from German origins. It takes a simple, thin pancake-like batter and bakes it in a screaming hot skillet, typically cast iron, in a very hot oven. The magic happens in the oven as the batter dramatically puffs up around the edges, forming a golden, airy, and sometimes irregularly shaped bowl. The center often remains a bit softer, creating a perfect canvas for various toppings. It’s far more impressive and less hands-on than flipping individual pancakes, making it an ideal choice for feeding a crowd with minimal fuss.
Gluten-Free Dutch Baby Recipe: The Art of the Puff
The Dutch baby is a culinary marvel, a German invention that transforms basic pancake batter into a show-stopping, puffy masterpiece when baked in the oven. Many might assume that achieving that signature organic shape and wonderfully fluffy texture would be challenging with gluten-free flour, given its different properties. However, I’m thrilled to report that creating a truly spectacular gluten-free Dutch baby is surprisingly straightforward and yields results just as impressive as its traditional counterpart. The key lies in understanding a few fundamental gluten-free baking principles and executing them with precision, ensuring a beautifully risen, golden-brown pancake every time.
Essential Gluten-Free Baking Tips for a Perfect Dutch Baby
- Use Room Temperature Ingredients: This tip is paramount for achieving that magnificent puff! I always recommend taking all cold ingredients, such as eggs and milk, out of the refrigerator at least 30 minutes before you plan to start making the batter. Room-temperature ingredients emulsify more effectively, creating a smoother batter and allowing the eggs to create more lift and structure, which is crucial for the Dutch baby to achieve its signature airy, puffed-up form. Cold ingredients can inhibit this reaction, resulting in a flatter pancake.
- Easily Double the Recipe: This recipe is incredibly versatile and scales up beautifully. If you’re feeding a larger family or hosting a brunch, you can easily double the quantities. You can cook a doubled batch in a single, larger cast-iron skillet (around 12-14 inches) or divide the batter between two standard 10-inch skillets. Remember to adjust your cooking times slightly if using a larger pan, typically adding a few extra minutes until it’s golden and fully puffed.
- Mix the Batter Fresh for Optimal Rise: For the best possible rise and texture, it’s always ideal to prepare the batter just before baking. Freshly mixed batter has the most active ingredients, which contribute to a more dramatic puff. While immediate baking is preferred, if you need a slight head start, you can blend the ingredients and let the batter rest at room temperature for up to 30 minutes before pouring it into the hot skillet. Any longer than this, and you risk the leavening agents losing their potency.
- Preheat Oven and Skillet Fully: This step is non-negotiable for a successful Dutch baby. Ensuring your oven is fully preheated to the specified temperature and that your cast-iron skillet (or other oven-safe pan) is ripping hot before the batter touches it is critical. The instant contact of the cold batter with the hot pan creates steam, which is what causes the pancake to dramatically puff up. Fluctuations in oven temperature or prematurely opening the oven door, especially during the first 15 minutes of baking, can cause the Dutch baby to deflate or prevent it from rising properly. Be patient and trust the process!
- Choose the Right Gluten-Free Flour Blend: Not all gluten-free flour blends are created equal. For recipes like Dutch babies that rely on specific protein structures and starch ratios for optimal rise and texture, the quality and composition of your GF flour blend matter immensely. I highly recommend using a reputable all-purpose gluten-free flour blend that already contains xanthan gum, such as Pillsbury or Better Batter. These blends are specifically formulated to mimic the structure that gluten provides. If your chosen blend does not include xanthan gum, be sure to add the recommended amount, as it acts as a binder, providing elasticity and preventing crumbling. Using other blends may lead to varied results in terms of puffiness and texture.
Gluten-Free Dutch Baby

Find detailed step-by-step photos and guidance further down below the recipe card.
Ingredients
- 3 large eggs, at room temperature
- ⅔ cup milk (dairy or non-dairy), at room temperature
- ⅔ cup gluten-free all-purpose flour with xanthan gum , For best results, I highly recommend Pillsbury or Better Batter for this recipe. Results may vary significantly with other flour blends, especially those without xanthan gum.
- ¼ tsp salt
- 3 tbsp unsalted butter
Instructions
-
Prepare your oven and skillet: Begin by preheating your oven to a high temperature of 425°F (220°C). As the oven heats, place a 10-inch cast-iron skillet (or any other heavy, oven-safe skillet) directly into the oven. This step is crucial for getting the pan incredibly hot, which is essential for the dramatic puff of the Dutch baby.
-
Blend the batter: In a high-speed blender, combine the room-temperature eggs, milk, gluten-free all-purpose flour blend (ensure it contains xanthan gum, or add it if not), and salt. Blend these ingredients on high speed for about 1 minute until the batter is completely smooth and appears slightly frothy. A smooth batter is key for an even rise and delicate texture.
-
Melt butter in the hot skillet: Carefully and with extreme caution, remove the preheated skillet from the oven using sturdy oven mitts. Add the unsalted butter to the hot skillet. The butter will melt almost instantly; swirl the pan around to ensure the bottom and sides of the skillet are thoroughly coated with the melted butter. This not only prevents sticking but also contributes to the golden crust.
-
Pour and return to oven: Immediately pour the smoothly blended batter into the hot skillet, over the shimmering melted butter. Work quickly but carefully. Once the batter is in, promptly return the skillet to the preheated oven.
-
Bake to perfection: Bake for approximately 20 minutes. During this time, the Dutch baby will spectacularly puff up around the edges and turn a beautiful golden brown. It is critically important to resist the urge to open the oven door during the first 15 minutes of baking, as this can cause the pancake to collapse and prevent it from achieving its full, glorious height.
-
Serve immediately: Once baked, carefully remove the skillet from the oven. The Dutch baby will begin to deflate slightly as it cools, which is perfectly normal. Serve it immediately while it’s still warm and impressively puffed, accompanied by your favorite toppings for a truly delightful experience.
Notes for Success
- No Blender? No Problem! While a blender makes quick work of the batter, don’t fret if you don’t have one. I’ve successfully made this recipe by hand with a whisk. It requires a bit more effort and “elbow grease,” but you can absolutely achieve a smooth batter this way. Just whisk vigorously until all lumps are gone and the mixture is well combined and slightly frothy.
- Toppings vs. Fillings: For the classic, dramatic puff, it’s traditional and highly recommended to add toppings *after* baking rather than incorporating fillings into the batter. I’ve experimented with adding chocolate chips, but they tended to sink to the bottom and burn due to the high heat and thin batter. However, if you want to infuse subtle flavors, you can certainly sprinkle a pinch of cinnamon or a bit of fresh lemon zest into the batter before baking for an aromatic twist. These fine ingredients won’t weigh down the batter or interfere with its rise.
- Butter Choice Matters: Using unsalted butter allows you to control the salt content in your recipe. If you only have salted butter, reduce the added salt in the batter by half. The butter in the hot pan not only adds flavor but also helps create a wonderfully crispy edge to the pancake.
Nutrition Information (Approximate)
Nutrition information is automatically calculated and is provided for informational purposes only. It should only be used as an approximation and may vary based on ingredients used and preparation methods.
Additional Info
How to Make Gluten-Free Dutch Baby: A Visual Guide
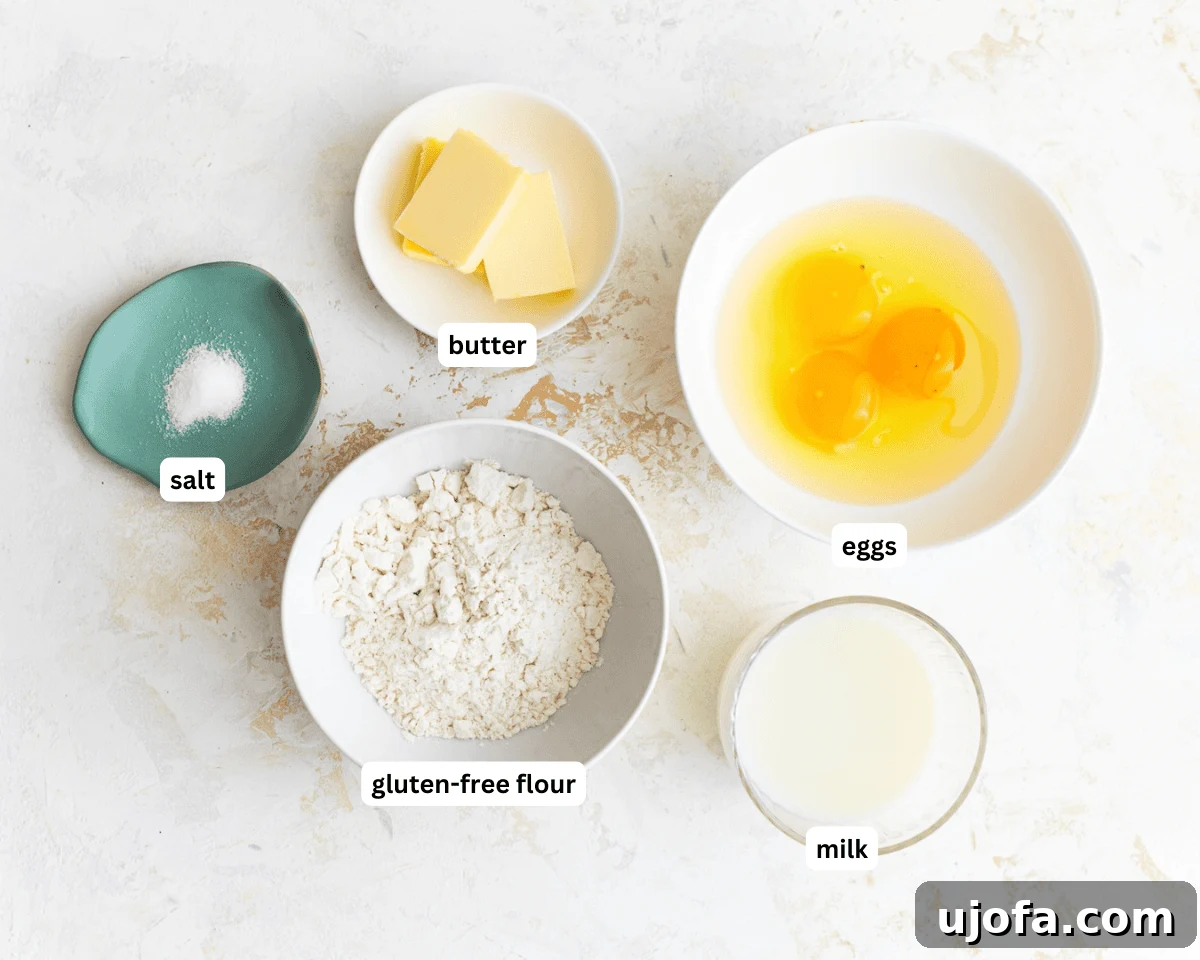
Step 1: Gather Ingredients and Preheat. Start by assembling all your ingredients on the counter. Ensure your eggs and milk are at room temperature for the best results. Next, preheat your oven to 425°F (220°C). While the oven heats up, place your 10-inch cast-iron skillet (or another heavy, oven-safe skillet) inside to get it nice and hot. This crucial step ensures the Dutch baby puffs dramatically.
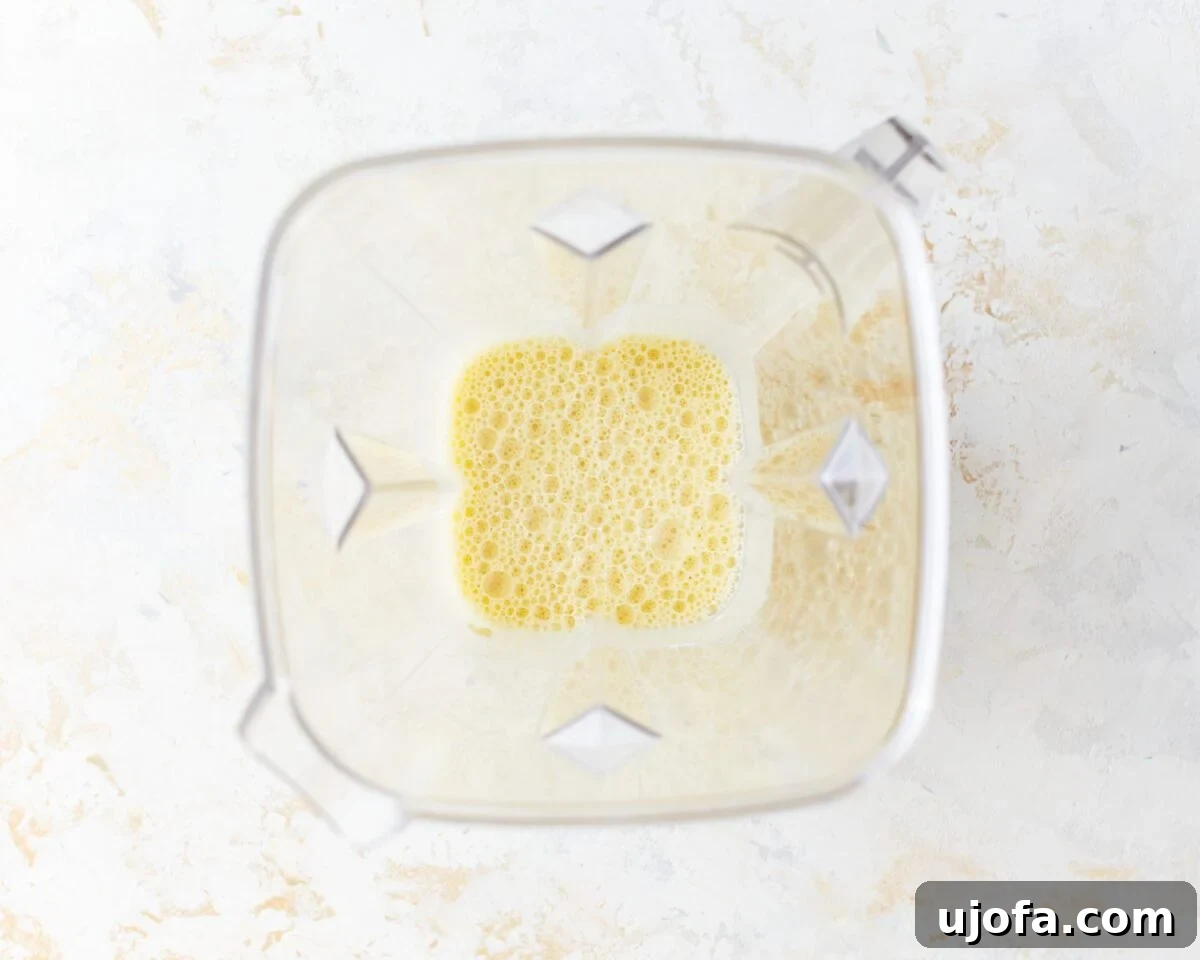
Step 2: Blend the Batter. In a blender, combine the 3 large room-temperature eggs, 2/3 cup (160 ml) room-temperature milk (dairy or your preferred non-dairy alternative), 2/3 cup (85 g) gluten-free all-purpose flour blend (remember to use one with xanthan gum or add ¼ tsp if yours doesn’t), and ¼ tsp salt. Blend on high speed for about 1 minute until the mixture is completely smooth and airy. The batter should have the consistency of thin cream, without any visible lumps.
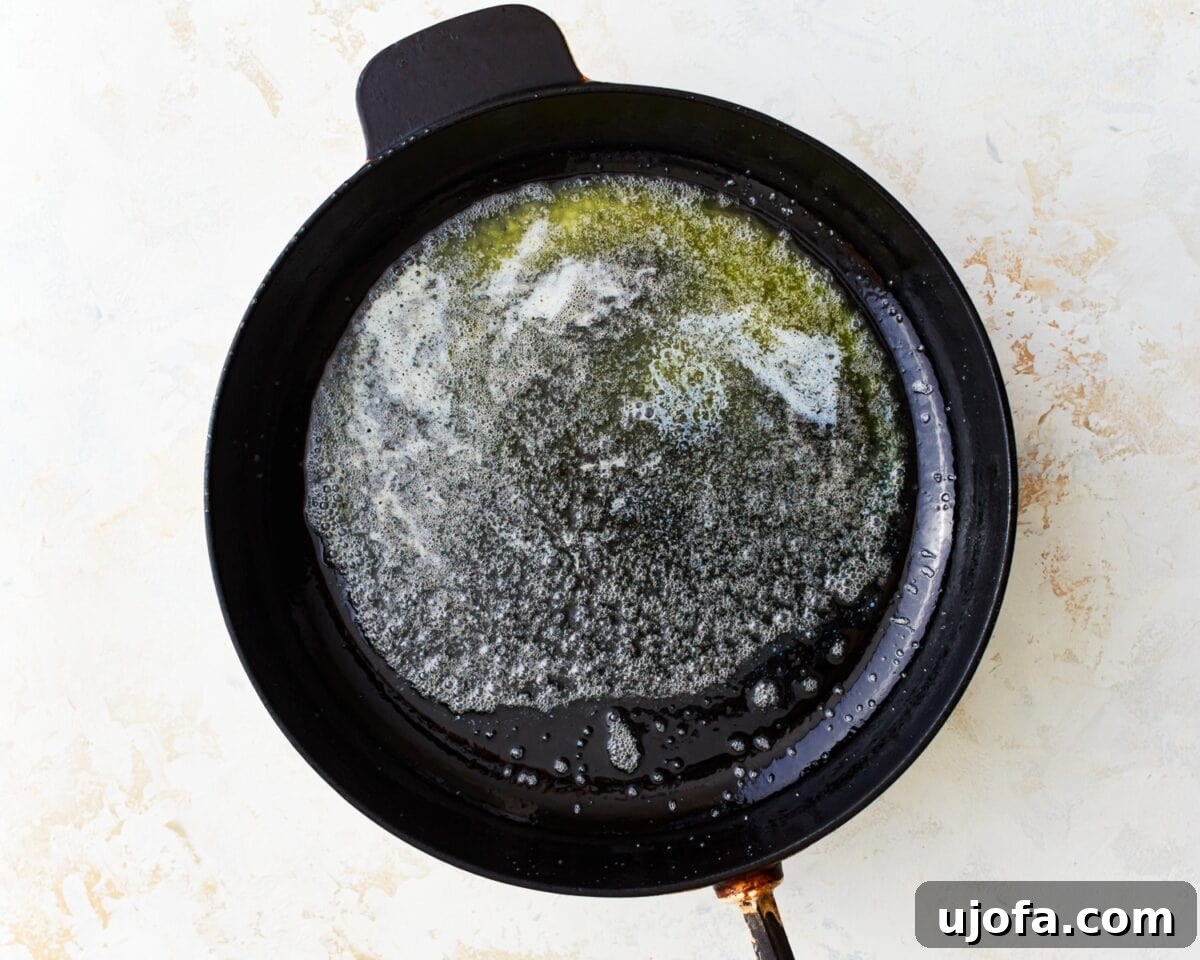
Step 3: Melt Butter in the Skillet. Using thick oven mitts, carefully remove the intensely hot skillet from the oven. Immediately add 3 tablespoons (42 g) of unsalted butter to the center of the pan. The butter will sizzle and melt almost instantly. Swirl the skillet around to ensure the butter evenly coats the entire bottom and sides of the pan. This step provides a rich flavor and helps prevent the pancake from sticking while ensuring a beautiful golden crust.
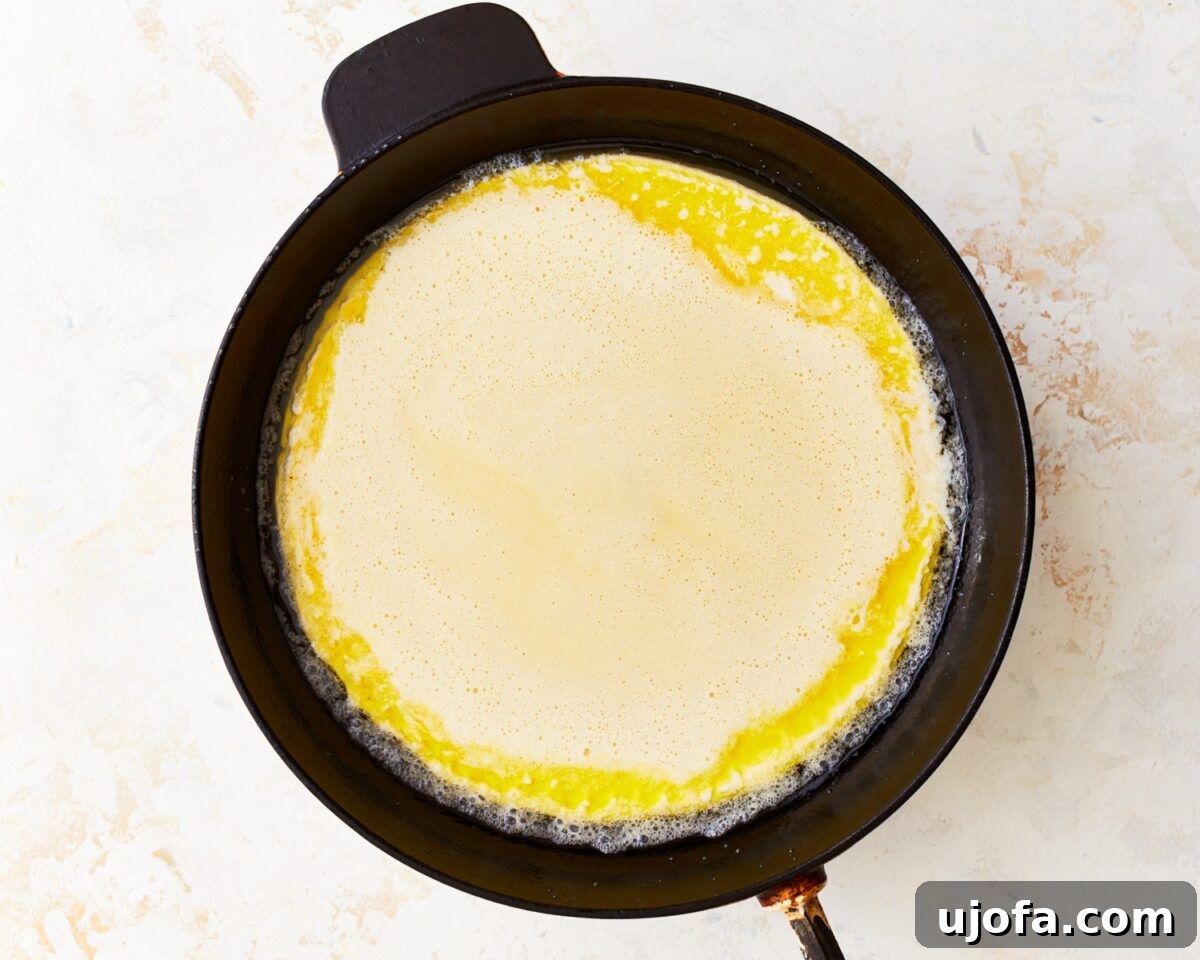
Step 4: Add Batter to the Skillet. With the skillet still very hot and coated in butter, carefully and swiftly pour the blended Dutch baby batter directly into the center of the pan. The batter will spread out to fill the bottom. Once the batter is in, immediately and gingerly return the skillet to the preheated oven. Speed is key here to maintain the skillet’s high temperature.
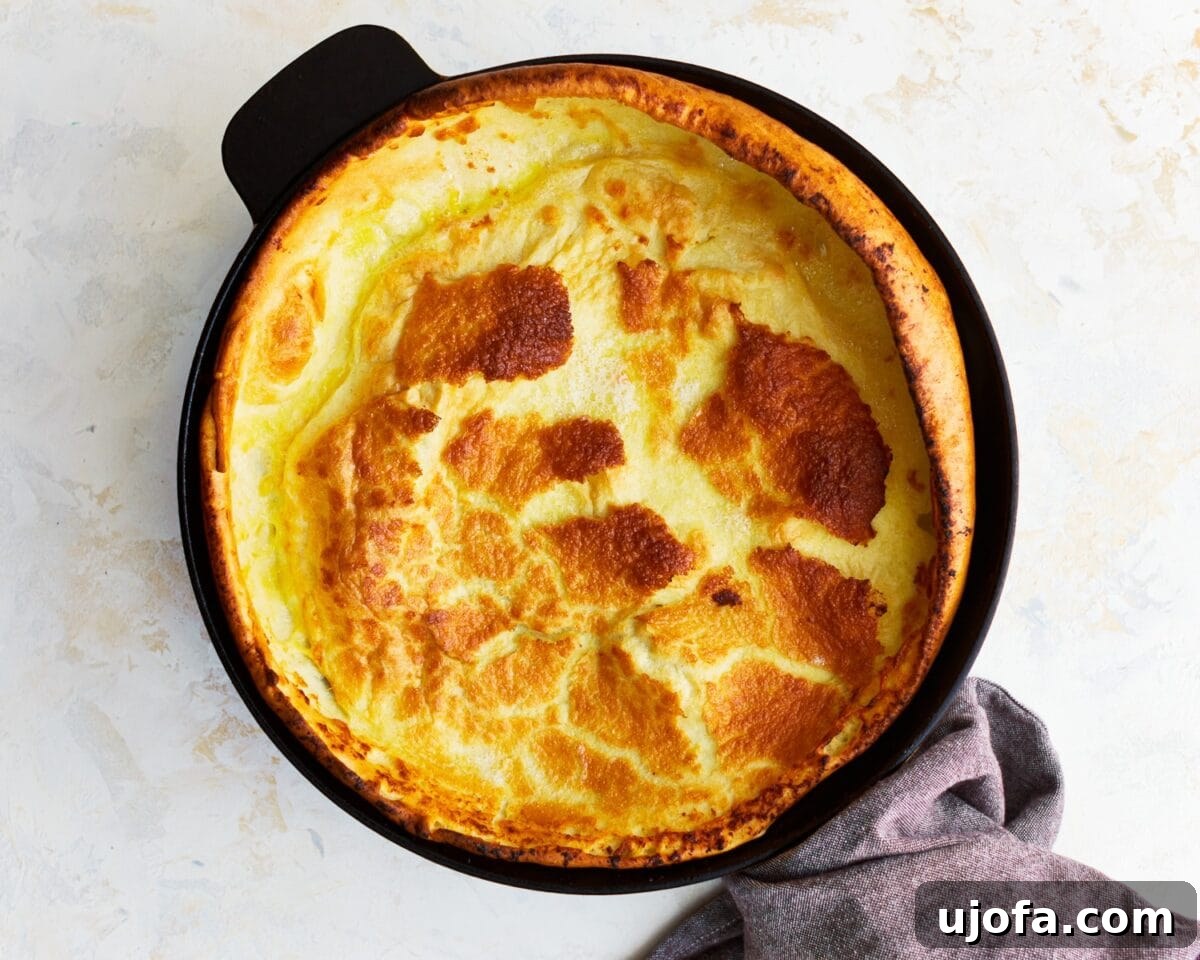
Step 5: Bake the Dutch Baby. Bake the Dutch baby for a total of 20 minutes. During this magical time, you’ll observe it puffing up dramatically around the edges, reaching impressive heights, and turning a beautiful golden brown. Crucially, resist the temptation to open the oven door during the first 15 minutes of baking. Opening the door too early can cause the delicate structure to collapse, preventing it from puffing properly. Keep the heat sealed in for optimal results.
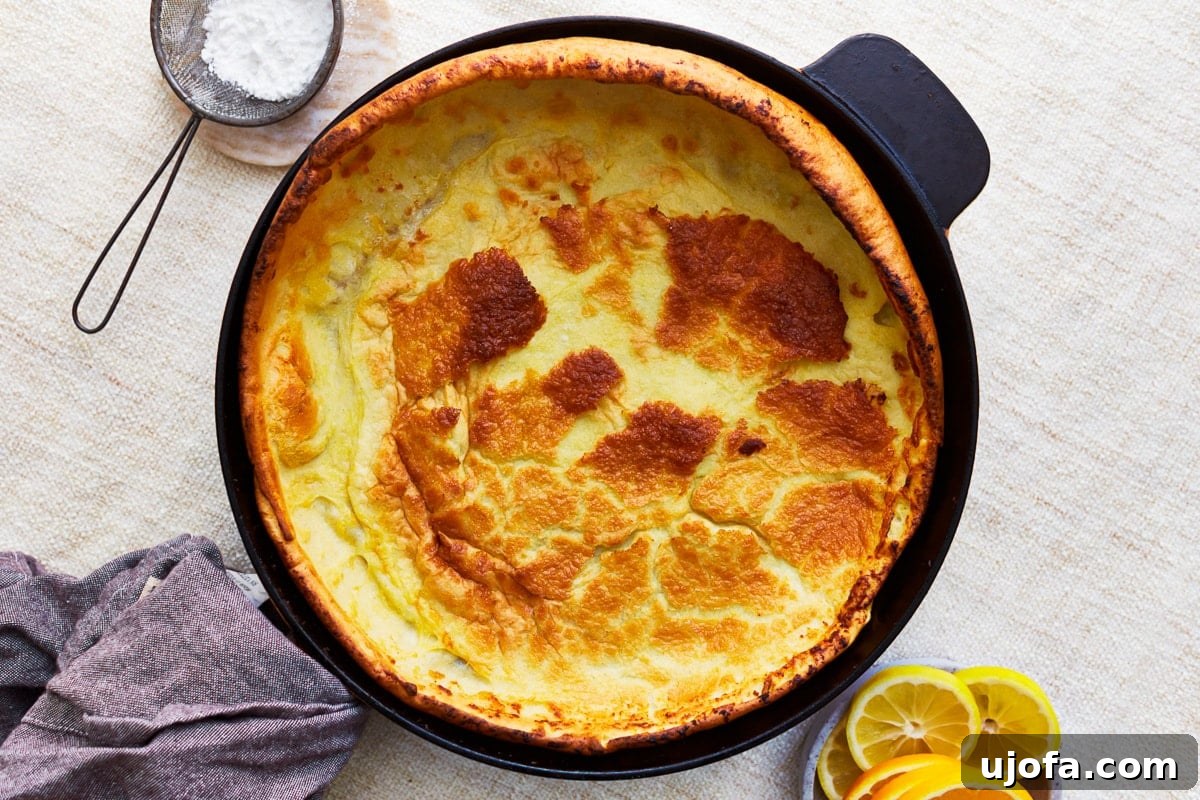
Step 6: Serve Hot and Enjoy. Once the baking time is complete and the Dutch baby is gloriously puffed and golden, carefully remove the skillet from the oven using your oven mitts. Although it will begin to deflate shortly after leaving the oven, this is completely normal and part of its charm. Serve it immediately while it’s still warm and at its most impressive. It’s a truly delightful experience that’s best enjoyed right out of the oven with your choice of delicious toppings.
Creative Serving Suggestions for Your Gluten-Free Dutch Baby
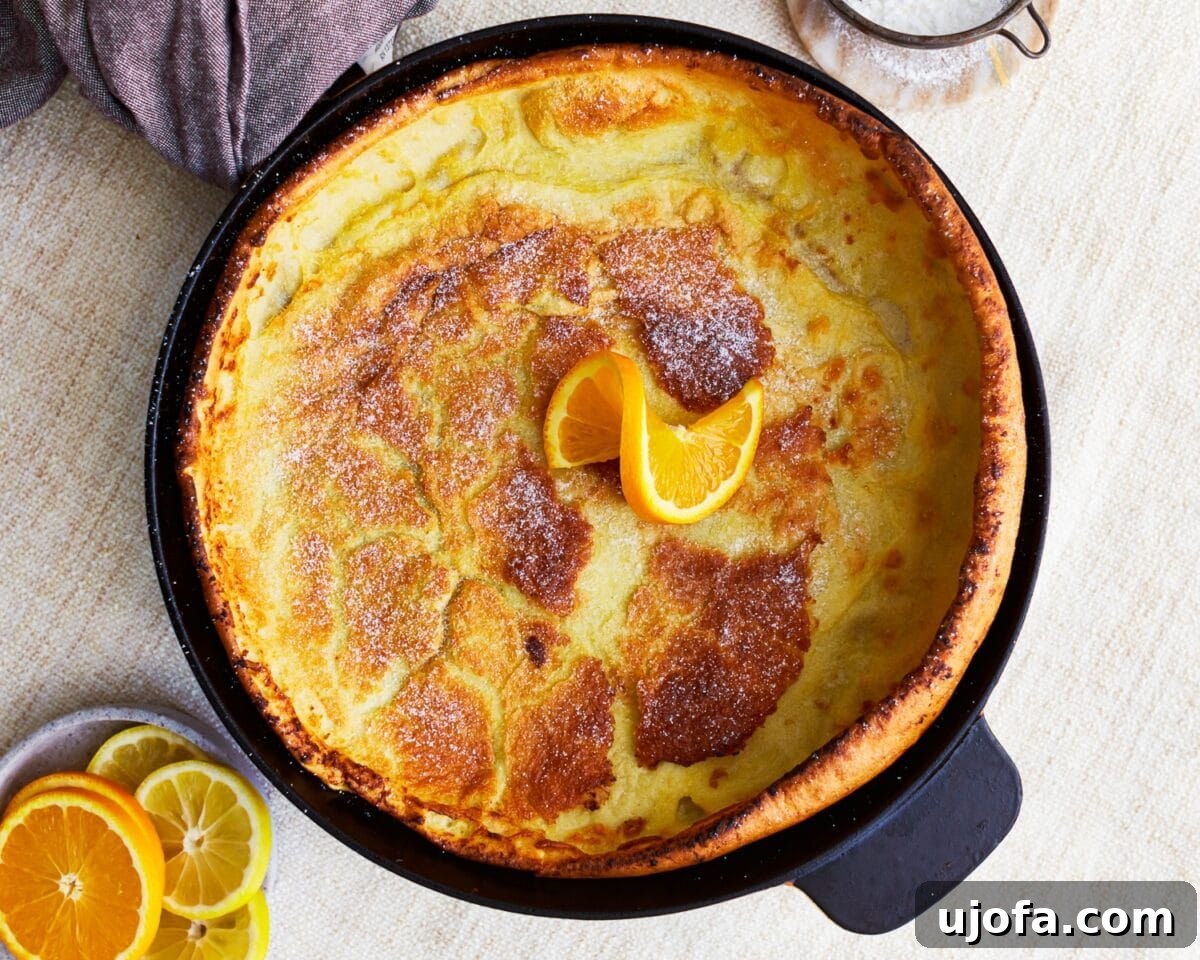
This gluten-free Dutch baby is an absolute marvel right out of the oven, presenting a beautifully puffed, golden, and airy canvas for a multitude of toppings. Its subtle flavor profile makes it incredibly versatile, perfect for both sweet and savory applications. For a classic and irresistible sweet treat, I love a simple dusting of powdered sugar, often accompanied by a vibrant array of fresh fruit. Think luscious mixed berries (strawberries, blueberries, raspberries), sweet sliced peaches, tender sautéed apples with a hint of cinnamon, or bright citrus segments like oranges or grapefruit.
Elevate the sweetness with a generous drizzle of warm maple syrup, golden honey, or even a spoonful of your favorite fruit jam or preserves. For an extra touch of indulgence, consider a dollop of whipped cream, a scoop of vanilla ice cream, or a sprinkle of toasted nuts like pecans or almonds. If you’re feeling adventurous, a lemon curd drizzle adds a lovely tart counterpoint. For those who prefer a savory breakfast, consider topping your Dutch baby with scrambled eggs, crispy bacon or sausage, a sprinkle of fresh chives, or even a light layer of cream cheese and smoked salmon. This flexibility makes it a fantastic centerpiece for any breakfast or brunch. To create a full, balanced brunch spread, serve your gluten-free Dutch baby alongside a savory crustless spinach quiche or a hearty gluten-free quiche.
Storing and Reheating Your Gluten-Free Dutch Baby
While the magic of a Dutch baby is truly best experienced fresh from the oven, still warm and majestically puffed, you can certainly enjoy any leftovers. If you happen to have some remaining (a rare occurrence!), I recommend storing them properly to maintain as much of their delightful texture as possible. Place any cooled portions in an airtight container and refrigerate them for up to 2 days. The Dutch baby will deflate significantly upon cooling, but its flavor remains wonderful.
When it comes to reheating, avoid the microwave, as it can make the pancake rubbery. Instead, I find that reheating in a 350°F (175°C) oven works best. Place the leftover Dutch baby on a baking sheet and heat for about 5-10 minutes, or until it is thoroughly warmed through. This method helps to crisp up the edges slightly and restore some of its original charm. I strongly advise against freezing a Dutch baby. The unique, delicate texture that makes it so special is unfortunately compromised during the freezing and thawing process, resulting in a soggy and unappealing consistency.
Frequently Asked Questions About Gluten-Free Dutch Babies
What makes a Dutch Baby puff up so much?
The dramatic puff of a Dutch baby comes from a combination of factors: the thin, egg-rich batter, the extremely hot oven, and the preheated skillet. When the cold batter hits the hot pan, the moisture in the batter rapidly turns into steam. This steam gets trapped within the egg proteins, causing the pancake to inflate and rise high around the edges before the structure sets.
Can I make the batter ahead of time?
While fresh batter yields the best puff, you can prepare the batter up to 30 minutes in advance and keep it at room temperature. Any longer than this, and the leavening potential of the eggs might diminish, leading to a less impressive rise. Always use room temperature ingredients for mixing, even if you plan a short rest.
My Dutch baby didn’t puff. What went wrong?
Several factors can cause a Dutch baby to fall flat:
- Oven temperature was too low: Ensure your oven is fully preheated to 425°F (220°C). An accurate oven thermometer can be very helpful.
- Skillet wasn’t hot enough: The pan must be scorching hot before the batter goes in.
- Opening the oven door too early: Resist the urge! The steam needs to build and set the structure.
- Cold ingredients: Always use room temperature eggs and milk.
- Incorrect flour blend: Ensure your gluten-free flour blend is a good quality all-purpose blend with xanthan gum, or add xanthan gum separately.
Can I make this dairy-free?
Absolutely! This recipe can easily be made dairy-free. Simply substitute the regular milk with your preferred non-dairy milk alternative (such as almond milk, oat milk, or soy milk) and use a dairy-free butter alternative (like Earth Balance) for melting in the skillet. The results will be equally delicious and fluffy.
What’s the best type of pan to use?
A 10-inch cast-iron skillet is ideal because it retains heat exceptionally well, which is crucial for the Dutch baby’s puff. However, any heavy, oven-safe skillet or baking dish of a similar size will work, as long as it can withstand high oven temperatures.
More Irresistible Gluten-Free Pancake Recipes to Explore!
If you’ve fallen in love with the ease and deliciousness of this gluten-free Dutch baby, you’ll be thrilled to discover more fantastic gluten-free pancake options to add to your breakfast and brunch rotation. From hearty oat-based pancakes to light and airy almond flour creations, there’s a world of fluffy, gluten-free goodness waiting for you. Each recipe offers a unique flavor and texture profile, ensuring you’ll find a new favorite for every craving.
- Hearty Gluten-Free Oatmeal Pancakes
- Light and Fluffy Almond Flour Pancakes
- Delicious Banana Oatmeal Pancakes (Gluten-Free)
- Classic Gluten-Free Banana Pancakes
- Seasonal Gluten-Free Pumpkin Pancakes
- Wholesome Coconut Flour Pancakes